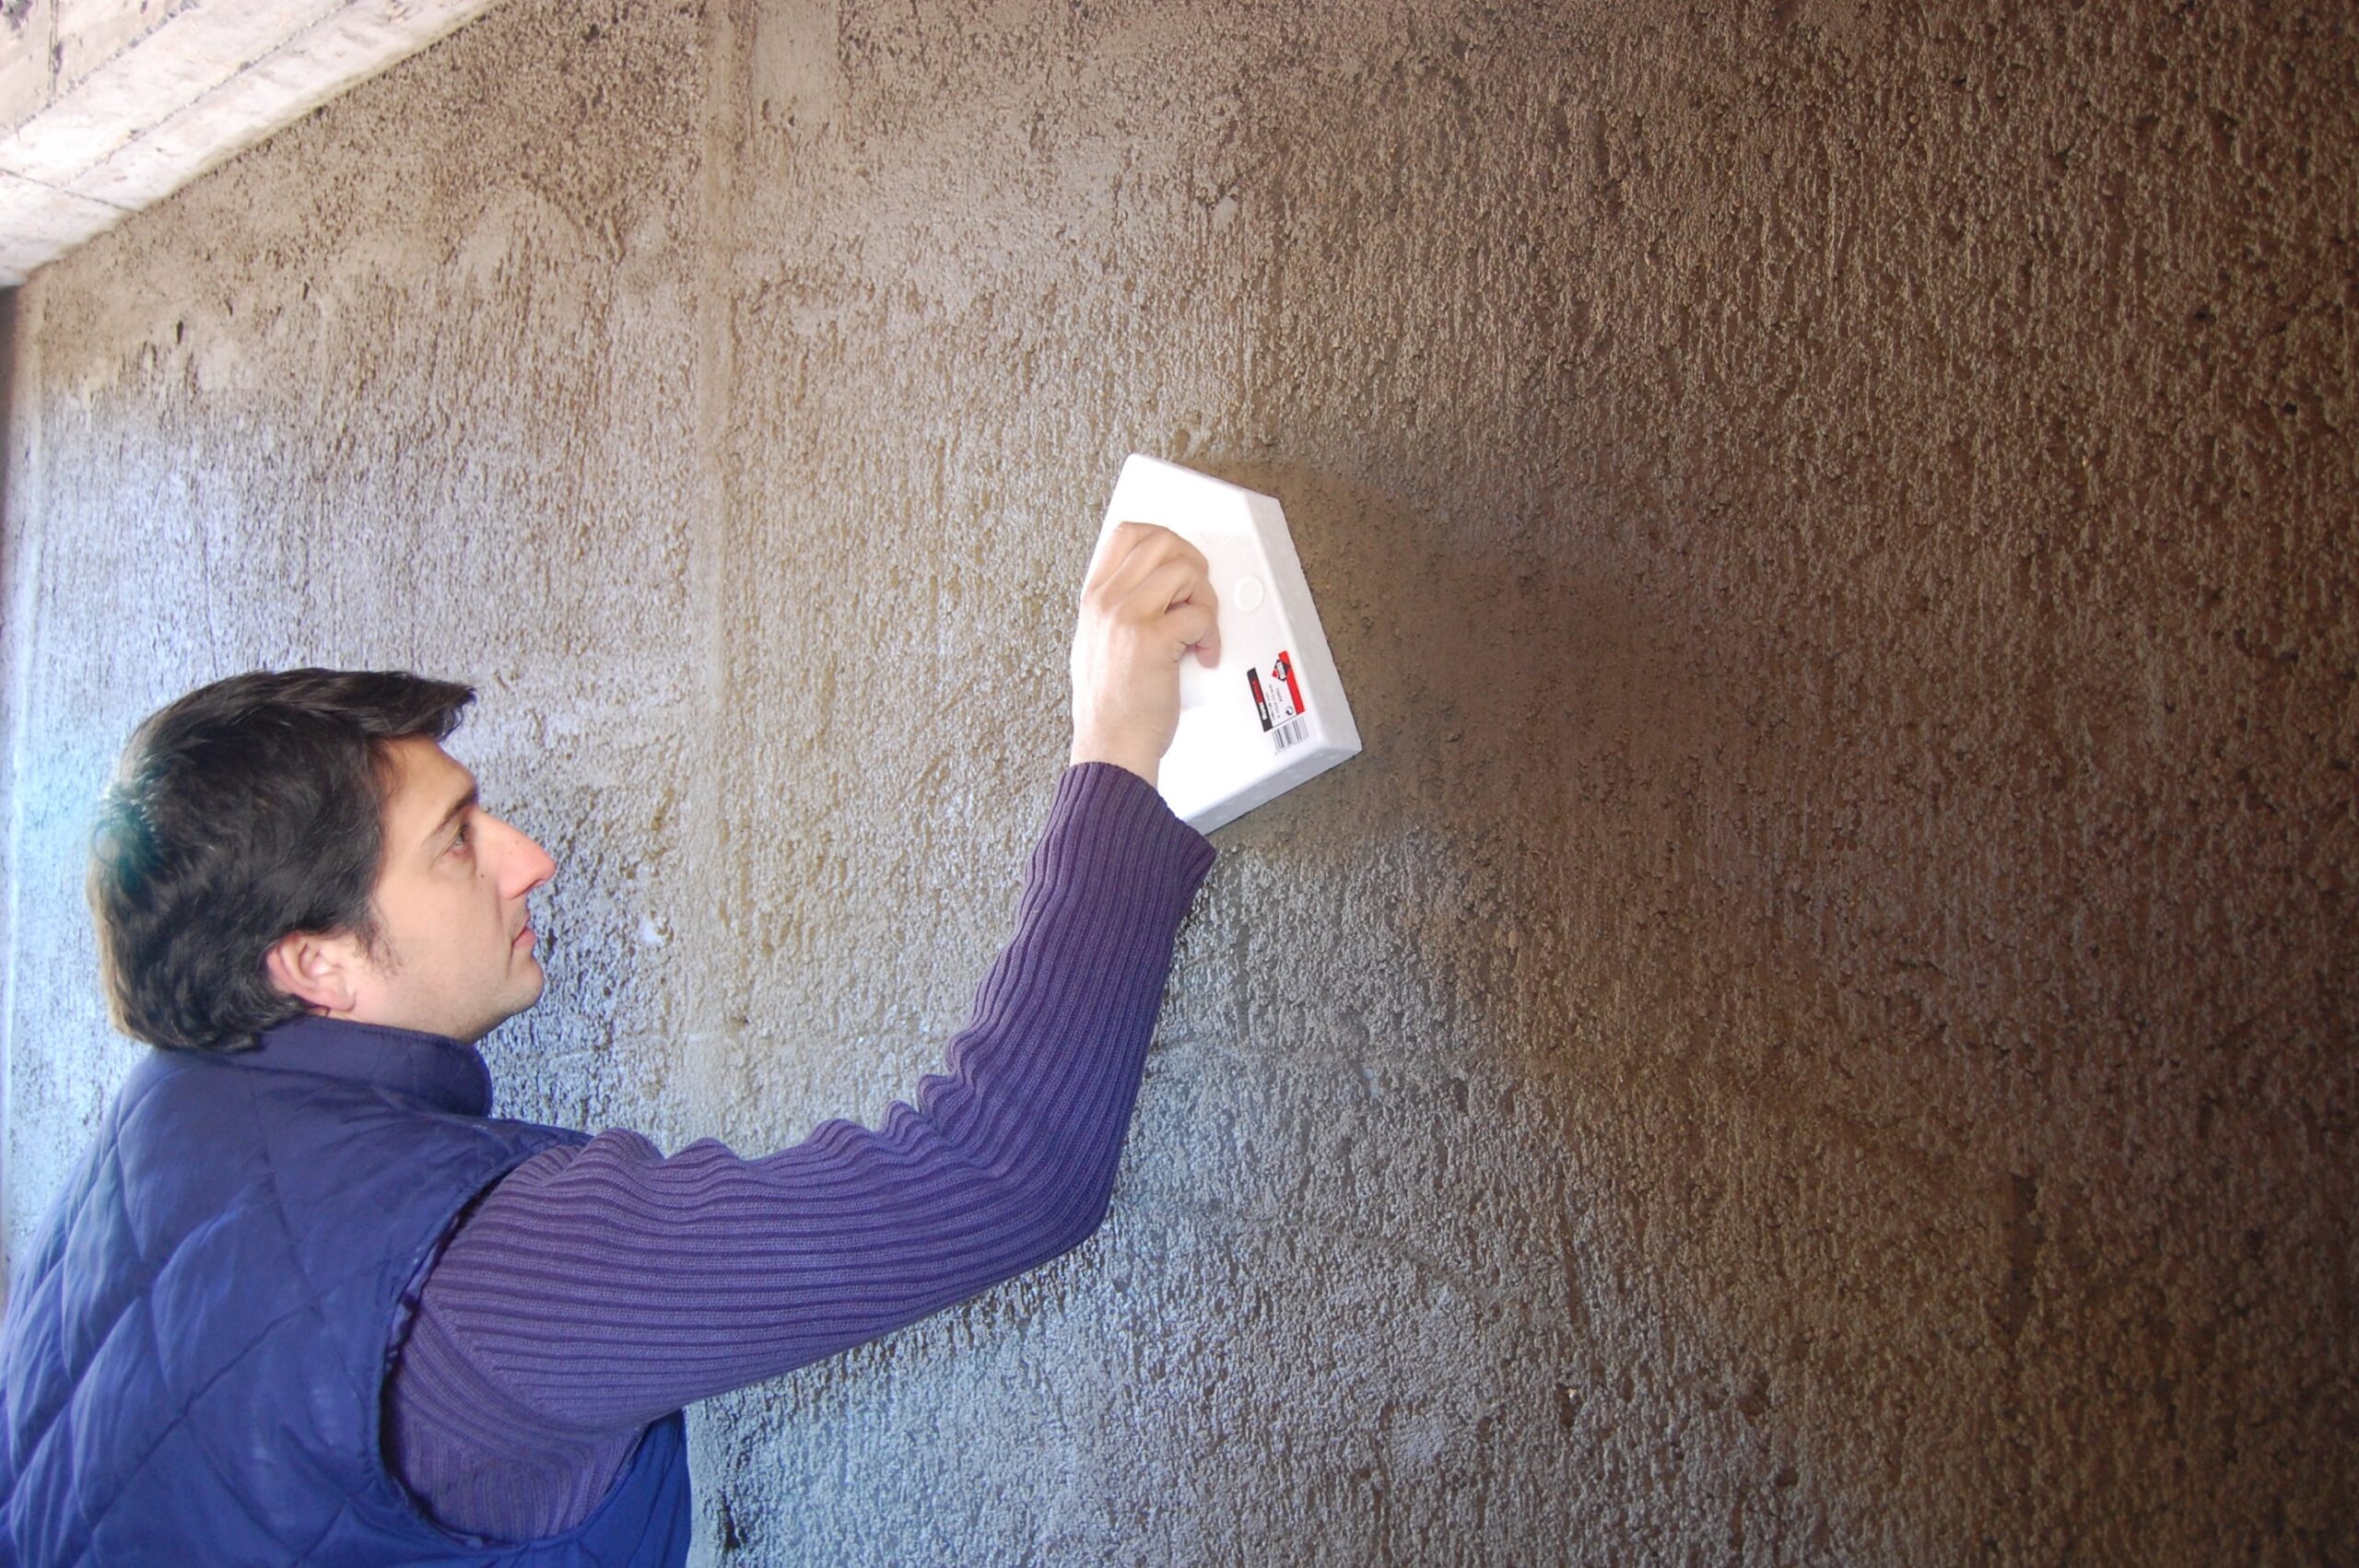
Finishing a tiling job doesn’t end once the tiles are set. Precise grouting is what separates an average project from a professional-grade result. One easily overlooked choice? The grout float. Pick the right one and you’ll work faster, protect the tile surface and achieve durable and uniform joints.

Why the right grout float matters
Benefits of using the correct float for precise and durable finishes
A high-quality float helps distribute the grout evenly into joints, removes excess material cleanly, and prevents scratching the tile surface. Using the right float hardness and design allows better control and a smoother finish, especially on large surfaces.
On site, that means fewer re-passes, cleaner edges and less time spent cleaning haze off later.
A correctly matched float also contributes to the longevity of the joints. When grout is pressed in evenly, it bonds better to tile edges, reducing the risk of gaps, discolouration, or cracking over time.
Differences between beginner and professional use
Beginners often start with a standard rubber float that works in most situations. Pros usually match the float to the grout (cementitious or epoxy), the tile surface (polished vs. textured) and joint width.
For example, a hard rubber float provides greater precision with epoxy grout, while a soft rubber float offers more flexibility for uneven tiles. Experienced tilers also tend to keep multiple floats on hand for different project types, i.e on float would be for specifically black grout as it stains floats.
For more expert insights, check out our Tips & Tricks section.
Types of grout floats
There are several kinds of grout floats, each designed for particular tile types, materials, and working conditions. Knowing their characteristics helps you choose the right one for your needs.
| Float type | Best for | Avoid when | Pro note |
| Standard rubber (medium) | Most ceramic/porcelain with cementitious grout | High-polish stone where super-clean edges matter | Safe, versatile daily driver |
| Hard rubber / epoxy-resistant | Epoxy or sanded grout; polished tiles | Deep relief/textured surfaces | Cleaner lines; clean immediately |
| Soft rubber | Textured tiles, mosaics, uneven faces | Polished stone (may round the edge) | Conforms to relief, reduces voids |

Standard rubber floats: versatility for most projects
Your daily driver for most ceramic/porcelain with cementitious grout. Good flex, safe on glaze.
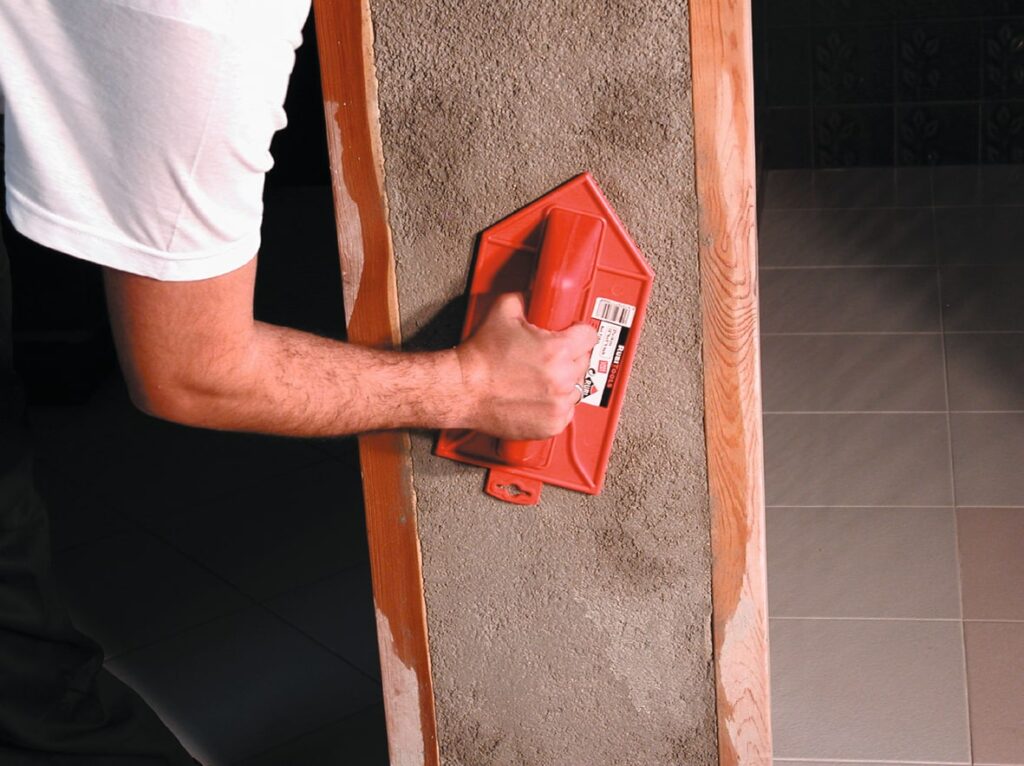
Standard rubber floats are the all-rounders of the tiling world. They feature a medium-hard rubber pad suitable for cementitious grouts and most ceramic or porcelain tiles. Their balanced flexibility makes them ideal for general wall and floor work, offering good coverage and control without damaging surfaces.
Explore RUBI’s full range of rubber grout floats for options covering all common grouting tasks.
Replaceable pad floats: efficiency and longevity
Best when you grout every week: pads swap out fast, edges stay sharp, and clean-down is quicker.
For professionals who grout frequently, replaceable pad floats are a smart investment. Their detachable pads can be swapped once worn, extending the tool’s lifespan and maintaining consistent performance. These floats are also easier to clean, saving time on site and keeping the edges sharp for better joint filling.
Hardness variations – matching float to grout and tile type
Softer pads hug texture; harder pads draw cleaner lines on polished tiles and with epoxy.
Float hardness directly affects how grout is spread. Softer rubber floats conform better to irregular or textured tiles, while harder models give more control on smooth, polished surfaces.
How to select the correct grout float for your project
Choosing the right float depends on the grout type, tile texture, and how you like to work.
Choosing by grout type (cementitious vs epoxy)
- Cementitious grouts: A standard medium-hard rubber float is usually the best choice. It provides flexibility for spreading and ensures clean removal of excess material.
- Epoxy grouts: Require a hard rubber or epoxy-resistant float. The denser surface prevents the sticky epoxy from clinging to the pad, giving a sharper finish.
As The Tile Association (TTA) outlines in its professional guidance, matching tool to grout chemistry and tile surface helps avoid premature wear and ensures clean, well-filled joints.
Considering tile texture and joint width
Check a small test area first. If you see drag lines on polished tiles, step up float hardness; if grout bridges on a textured face, step down.
- Textured or uneven surfaces: Softer floats adapt to irregularities and prevent voids.
- Smooth or polished tiles: Use harder floats to achieve a crisp, uniform line.
- Wider joints (over 5 mm): Choose a firmer float for consistent compaction.
These considerations are key to achieving consistent coverage and avoiding premature cracking or shading differences once the grout cures.

Ergonomics and professional workflow
Comfort matters, especially during long sessions. Look for floats with ergonomic soft-grip handles and lightweight materials.
Professional models such as RUBI PRO Rubber Floats feature balanced handles and reinforced bases to reduce wrist strain, essential when working on large-scale tiling or continuous surfaces.
For a full range of complementary tools, see our tools and equipment for tile fixing.
Pro tips for using grout floats
Application techniques for clean, uniform results
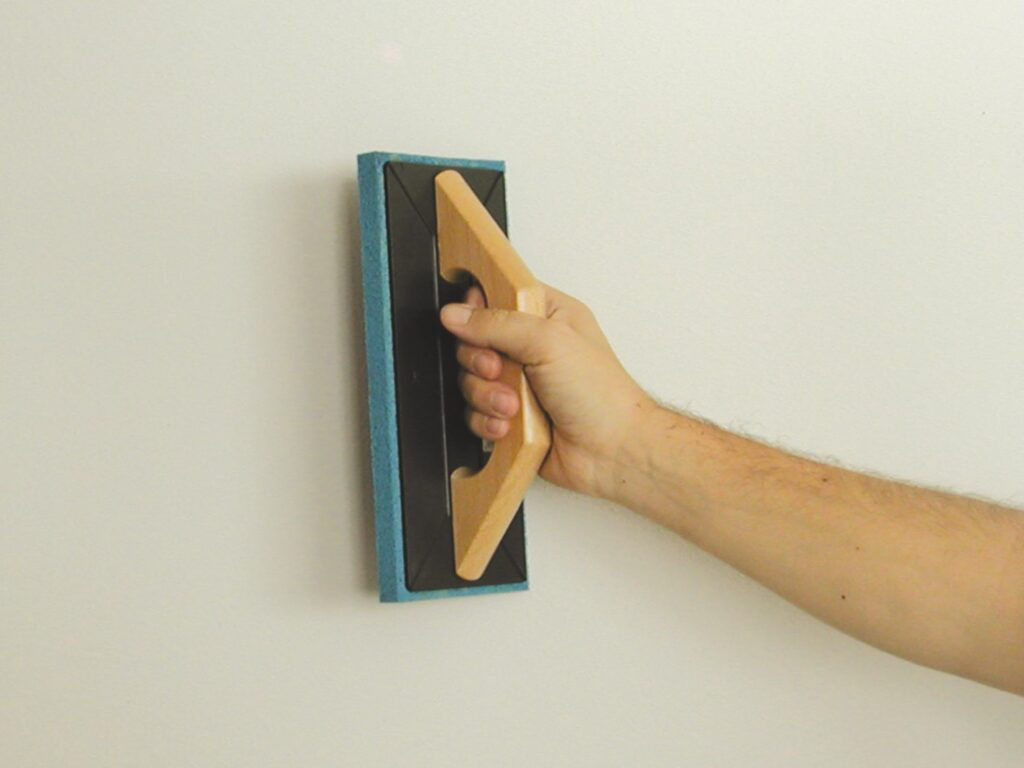
- Step 1: Apply the grout diagonally across joints to fill gaps evenly.
- Step 2: Hold the float at ~45°, press firmly. You should hear a consistent ‘scrape’, that means you’re packing the joint, not just skimming.
- Step 3: Remove excess material with the edge of the float, again moving diagonally.
- Step 4: Allow the grout to set briefly before wiping the surface with a damp sponge.
Always read the manufacturer’s curing time. Rushing can pull grout from the joints; waiting too long can make cleaning harder.
Cleaning and maintaining the float to prolong life
After use, rinse the float thoroughly with clean water and dry it. Avoid using harsh chemicals, which can harden or degrade the rubber. If you use epoxy grout, clean immediately before it sets. For replaceable pad floats, remove and wash the pad separately.
Avoiding common mistakes
- Using one float for all grout types, softer pads can degrade quickly with epoxy.
- Cleaning too late, leaving hardened residue on the rubber.
- Applying too much water during washing, which can weaken the joints, cause efflorescence and patchy colour.
Following these habits helps you achieve professional-quality results even on small-scale or DIY projects.
- If haze keeps forming: You’re over-working or using too much water → let it set a touch longer; wipe diagonally with a wrung-out sponge.
- Pinholes after curing: Insufficient compaction → increase pressure; use firmer float on wider joints.
- Drag lines on polished tile: Float too soft → switch to hard rubber/epoxy float.
Frequently asked questions (FAQs)
What type of grout float is best for epoxy grout?
A hard rubber or epoxy-resistant float. It prevents sticking and leaves cleaner lines on polished tiles.
Can I use one grout float for every job?
You can, but results improve if you match float hardness to grout and tile texture, soft for textured faces, hard for epoxy/polished tiles.
What’s the difference between a trowel and a grout float?
A trowel spreads adhesive; a float packs grout into joints. Trowels are not suitable for grout application due to risk of scratches.
Why professionals trust RUBI grout floats
Backed by decades on site, RUBI floats pair calibrated rubber compounds with reinforced bases so the pad keeps its shape pass after pass.
Durability, flexibility, and ergonomic design
RUBI grout floats are designed with professionals in mind, balancing durability with comfort and precision. Each model combines reinforced handles, carefully calibrated rubber hardness, and long-lasting materials that maintain their shape after repeated use.
Range of options for different projects and tile types
From classic rubber floats to high-resistance epoxy models and lightweight options with replaceable pads, RUBI offers a complete range tailored to every application. Whether you’re grouting porcelain floors, mosaics, or natural stone, there’s a float designed for the task.
Conclusion
Selecting the correct grout float may seem minor, but it’s a crucial step towards a professional-grade finish. Understanding the differences between float types, and matching them to your grout and tile surface, will save time, reduce waste, and enhance the final look of your project.
For additional advice and tutorials, visit our Tips & Tricks section and explore RUBI’s full selection of professional tools designed for lasting results.

On site, that means fewer re-passes, cleaner edges and less time spent cleaning haze off later.