
It’s always useful to know how to drill through tile perfectly, even if you’ve completed successful tiling projects in the past. If the design is exquisite, the tiles are perfectly cut, and everything lays evenly, it’s quite the piece of art, but your job is not finished yet. Now comes the part that could potentially damage all your hard work: drilling a hole through the tile to mount the accents. One slip or awkward move and you’ll end up with a cracked, ugly looking tile.
Before you pluck up your courage and start breaking through the smooth surface, make sure you know everything about drilling into tile. It might seem like a pretty straightforward job, but even if you are a professional installer, the smallest mistake can ruin a tile.
Fortunately for you, we have plenty of tips that will teach you how to drill through tile without breaking it. Keep in mind that these steps will not guarantee that your tile will not crack. They will, however, minimise this possibility significantly.
Without further ado, here’s how to go about drilling into tile the right way.

How to Drill Into Tile
Step 1: Know your tiles
One of the first things you need to pay attention to is the type of tile you are working with. If you know the characteristics of the material you are trying to drill through, then you will have a better understanding of the scope of the task at hand.
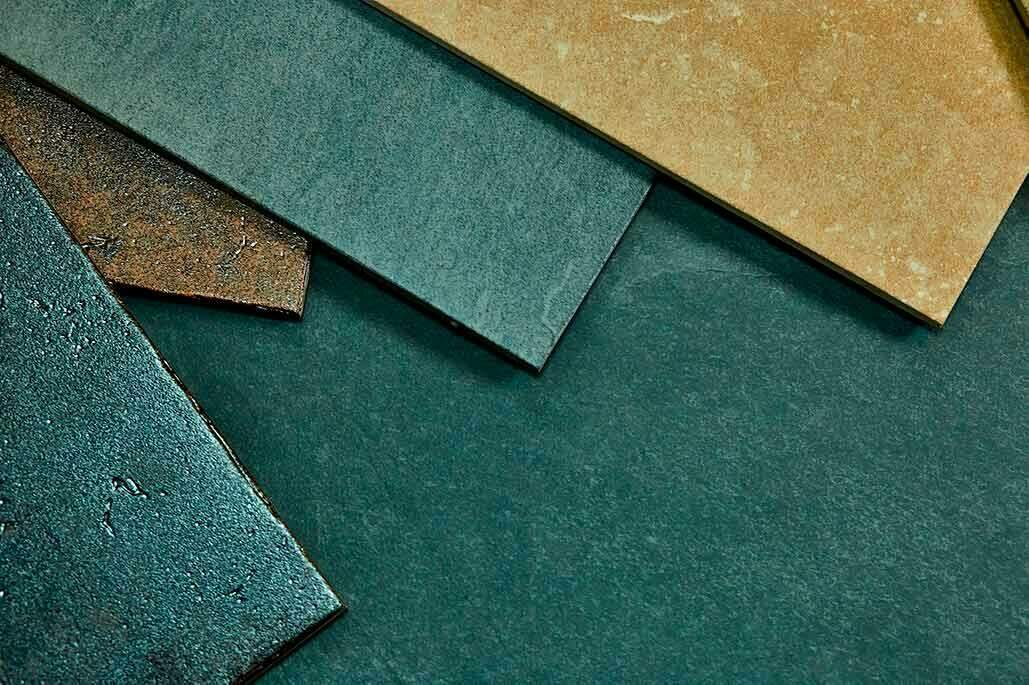
Porcelain tiles, for instance, are harder to drill through than ceramic tiles, since they are very dense. As a result, drilling through porcelain tiles will require more work and preparation than cutting through other types of tile. You will also need a specialised drill bit that can penetrate the hard surface of porcelain. The same goes for drilling into stone tiles.
Now that you know what you’re up against, let’s look at the tools you’ll need for drilling into tiles.
Step 2: Make sure you have the right drill bit
Regardless of the material you’re trying to drill through, never use an old and worn out drill bit for tile. Not only are they not as efficient as new ones, but also the chances of damaging the surface of the tile increase dramatically if the drill bit isn’t performing at optimal capacity.
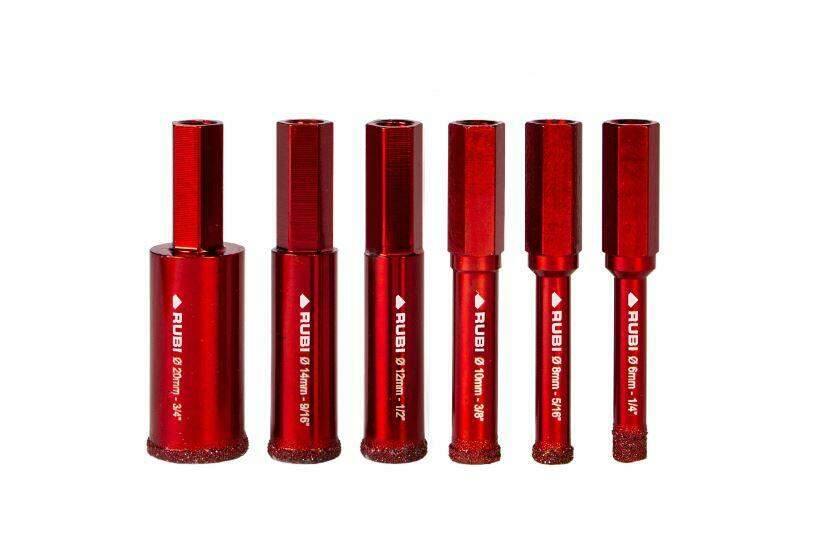
Additionally, don’t use your regular drill bits for this task. They are not strong enough to penetrate the hard surface of the tile. Instead, you should opt for either diamond-tipped drill bits or carbide-tipped masonry drill bits. The first option, although a bit more expensive, is extremely durable and can drill through even the hardest tile surfaces, such as porcelain. Moreover, they will not burn out as easily as the masonry bits.
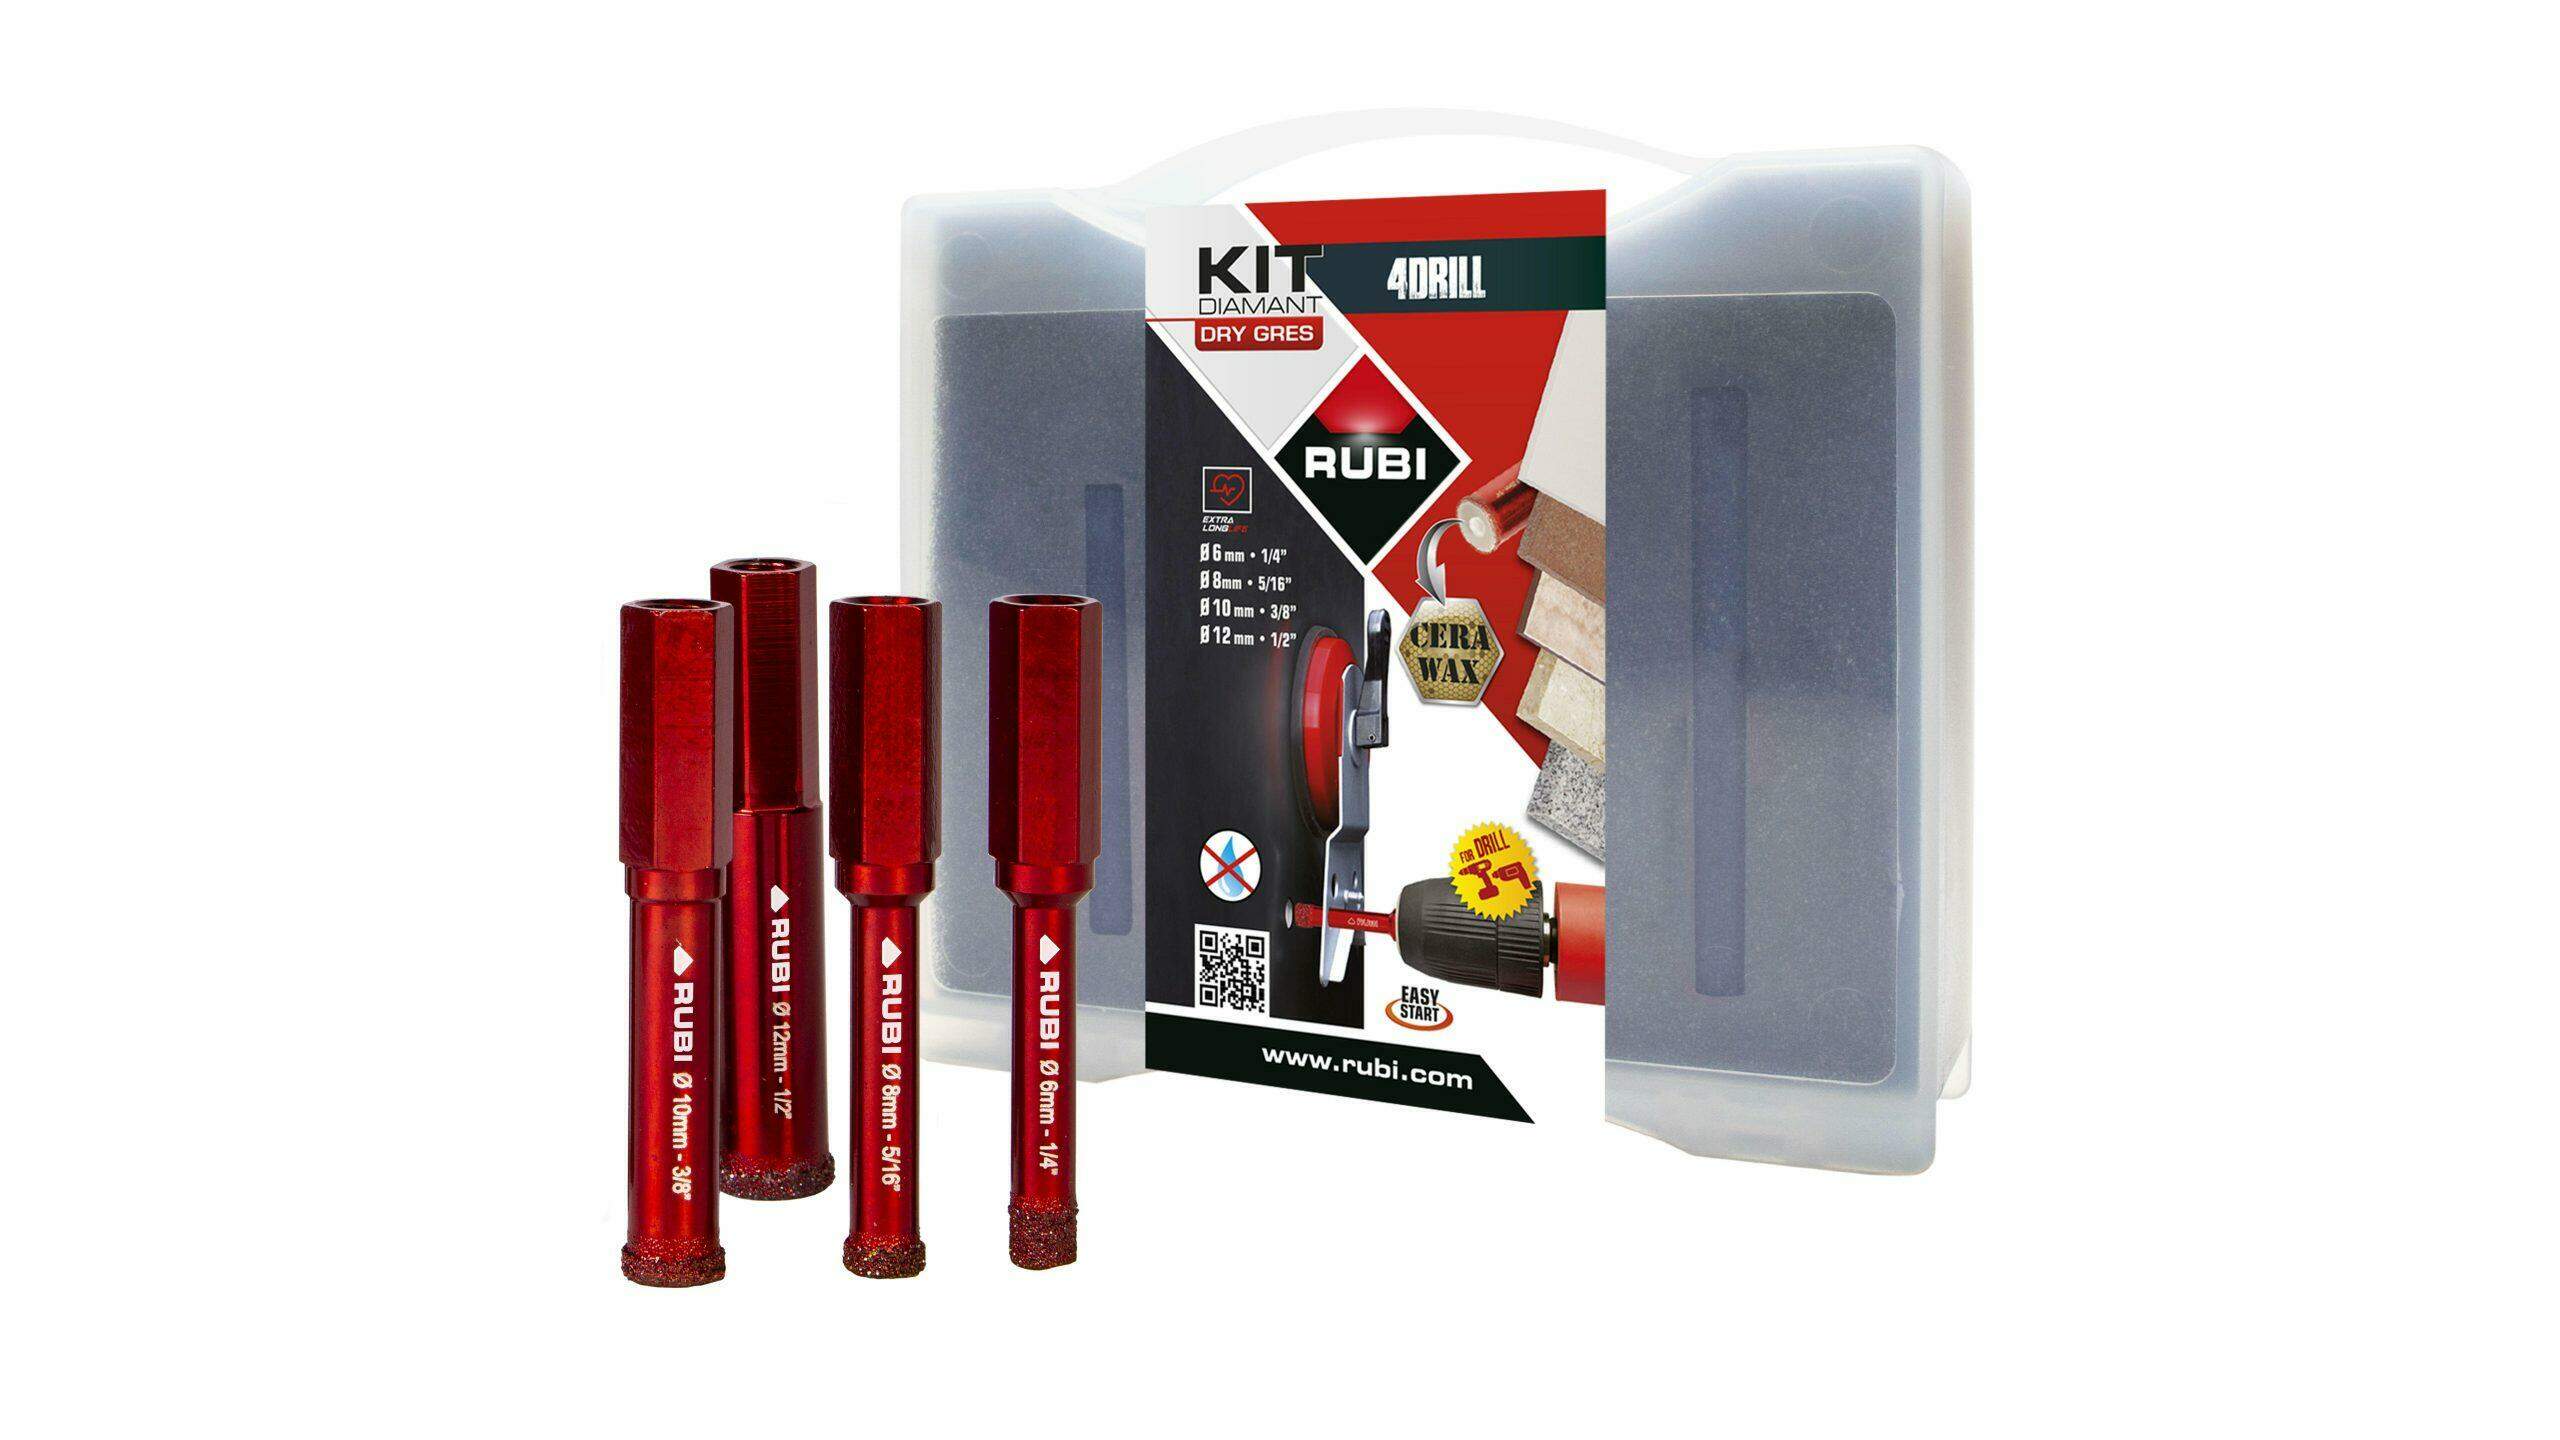
Carbide-tipped masonry drill bits, on the other hand, are probably the most common type of drill bits for drilling through tile. However, although this type of drill bit will do the job on glazed ceramic tile and stoneware, it’s not recommended for dealing with porcelain stoneware. For porcelain stoneware and harder materials, you will need tough diamond drill bits like our DRYGRES drill bit range.
If you don’t have the tools you need for drilling into tile, at RUBI you can find a complete range of drill bits to help you tackle this task successfully!
Step 3: Measure and mark the area
If you’ve ever tried to drill a hole through tiles, then you probably know that the bits tend to slip around on the surface, making it difficult to hold them in place. Now, that’s a big problem. One wrong move and you’ll scratch or, even worse, crack the tile.
One simple trick that you can use to create some tension is to use masking tape over the area where you want to drill the hole. Measure the area, mark it with an X, and place the masking tape. Measure it again after placing the masking tape to ensure that you didn’t misplace the hole. That way, you will gain enough surface traction to grip the bit when you start drilling.
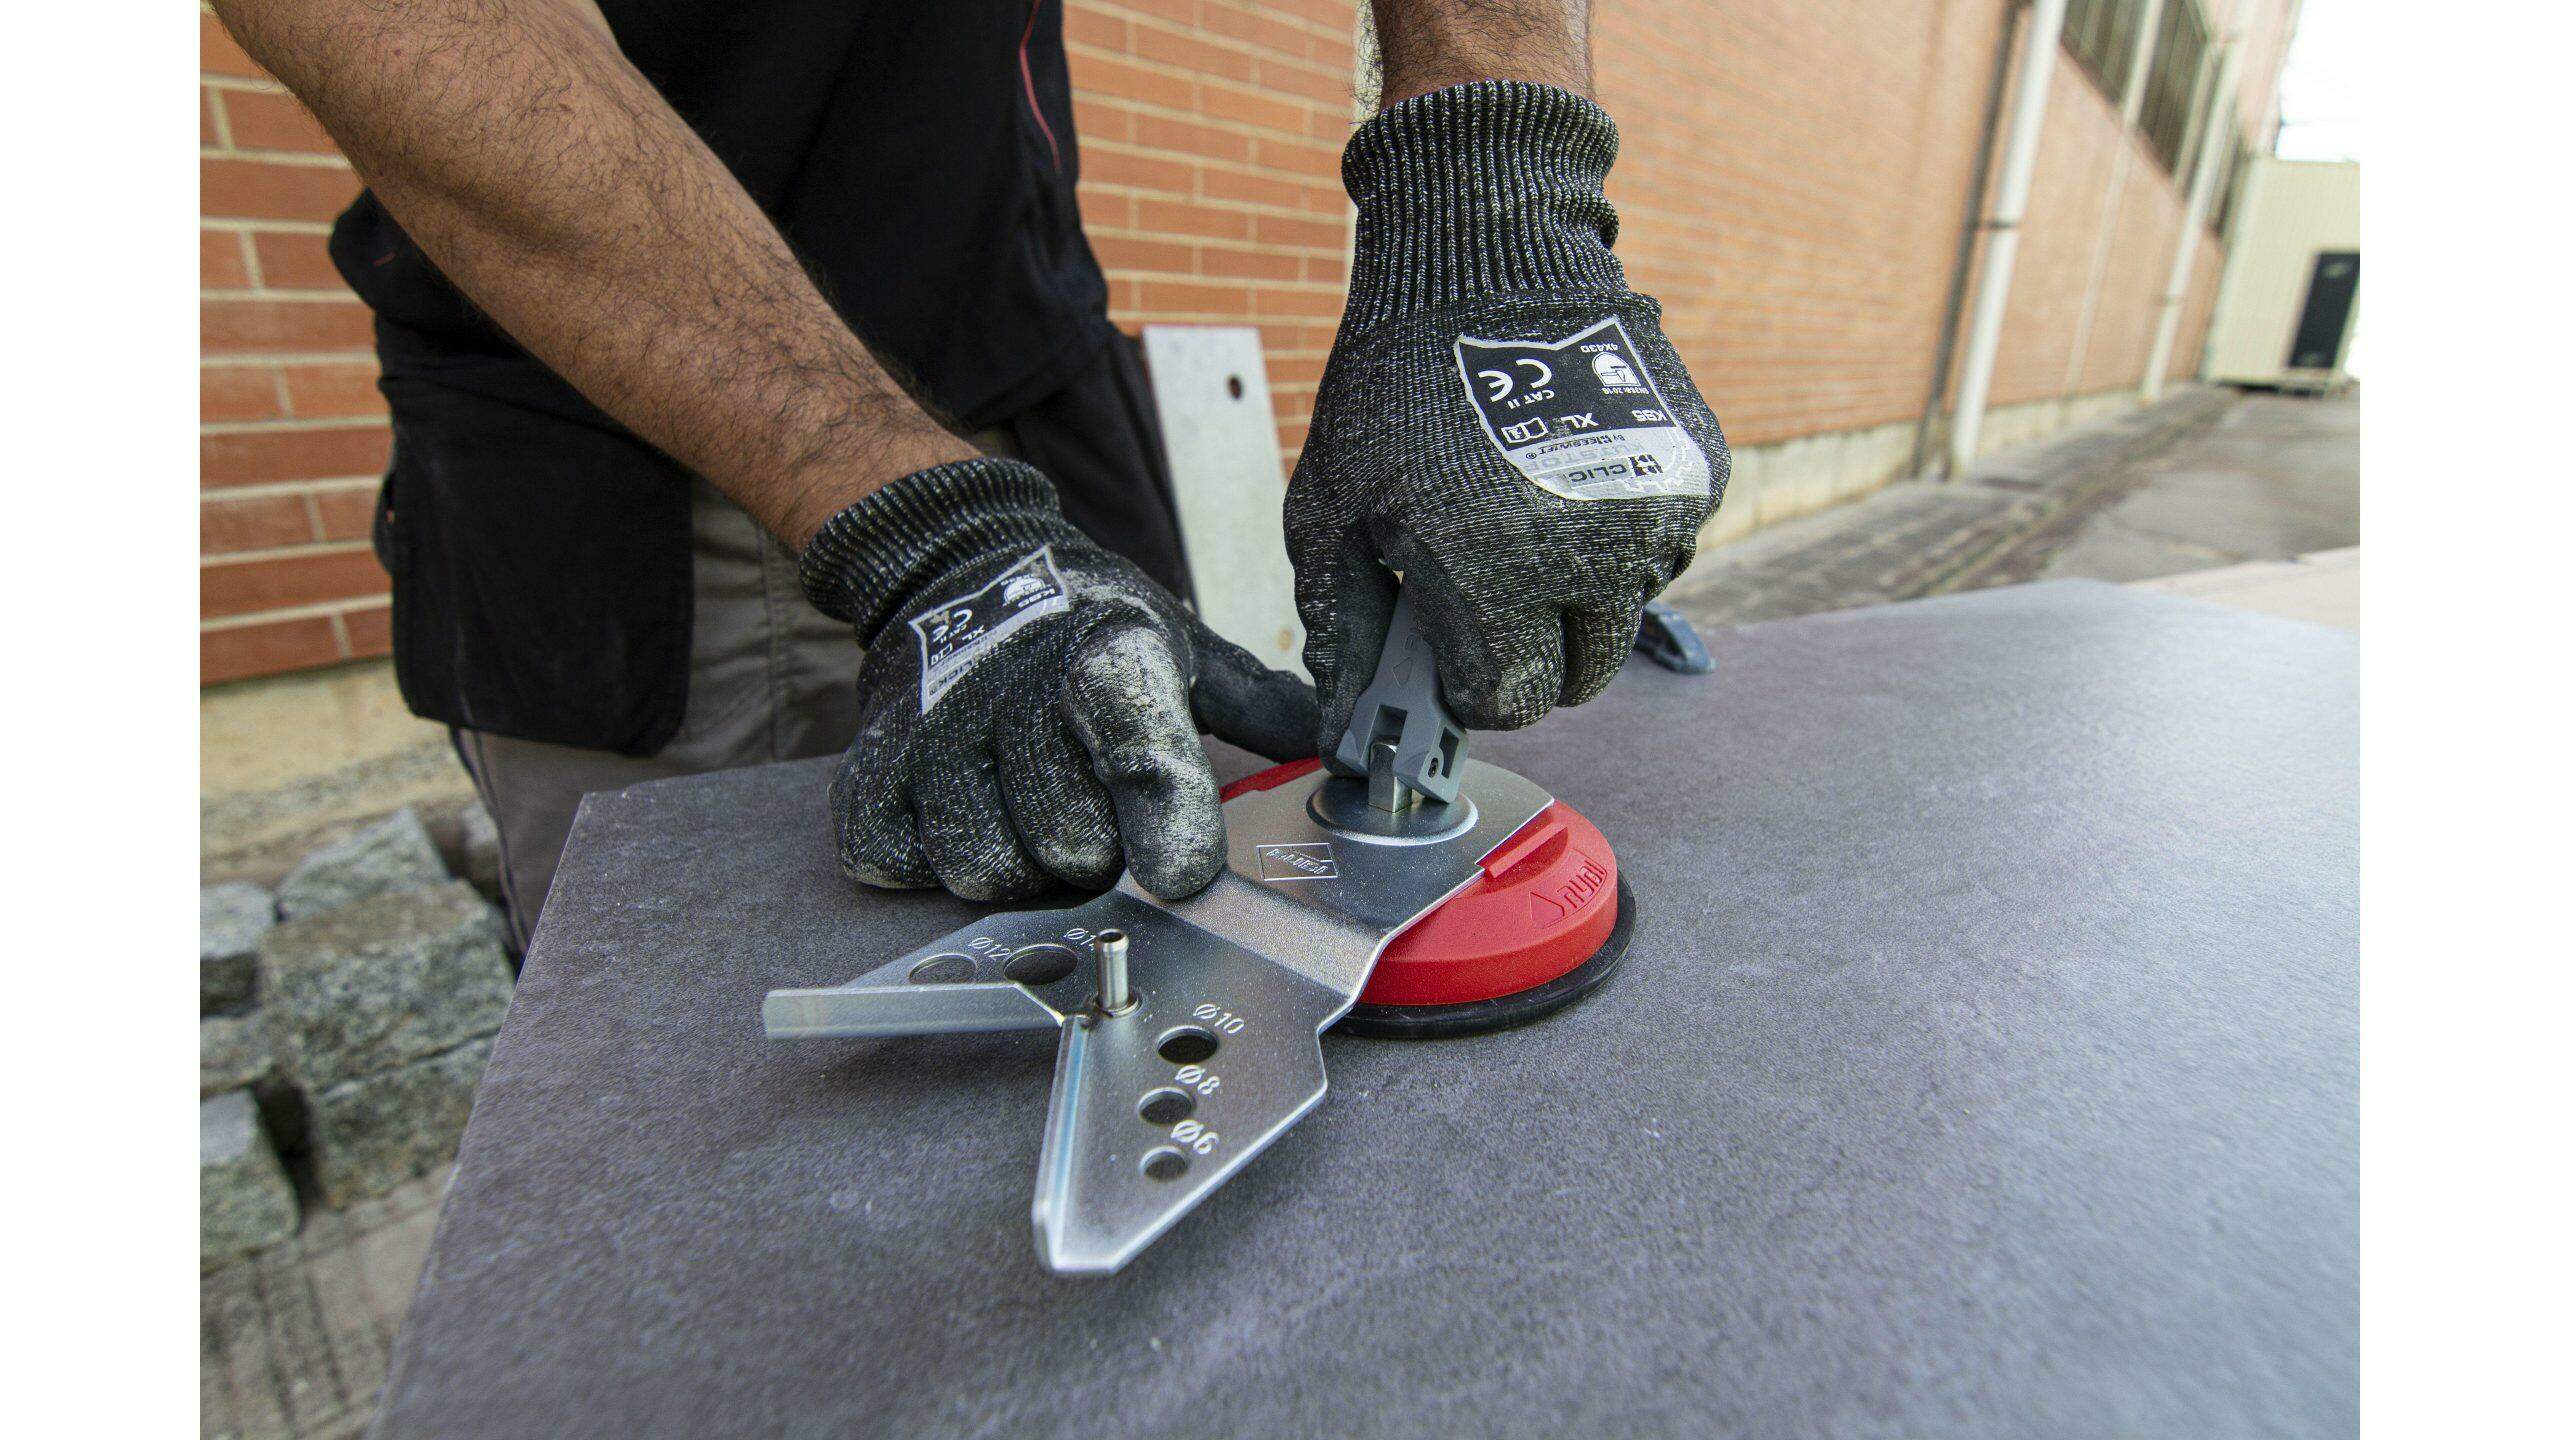
If you have more than one hole to drill and you don’t want to repeat this process over and over again, then you could create a template with a block of wood. Cut a hole through the wood, making sure it’s the same size as the drill bit you will be using. Place it over the drill hole and hold it firmly with your free hand.

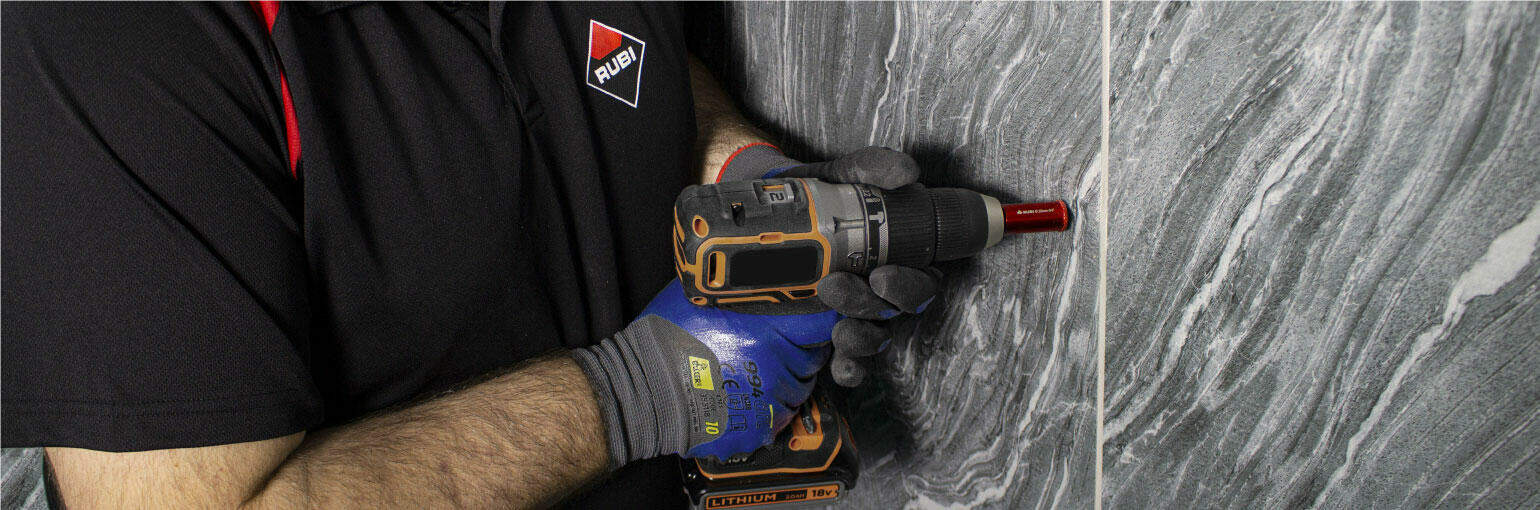
Step 4: Start drilling
This is where the fun begins. Here is the part where you will really learn how to drill through tile. Once the surface is marked or you have your wood template in place, it’s time to start.
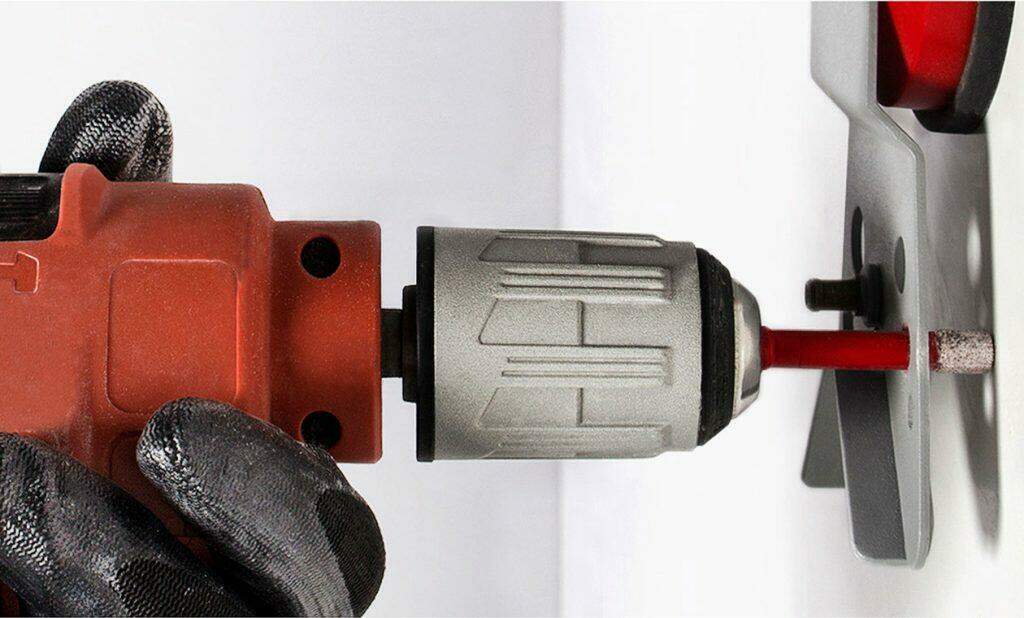
The problem with tiles (although, we’re not sure if we can call this a problem) is that they are designed to withstand a lot of abuse, which also makes them resistant to drilling. If you rush through the process, you might end up damaging all of your hard work.
One of the most important things you need to keep in mind is that drilling through tile is a task that requires a lot of patience. Start drilling on low speed and slowly. Take your time – it might take a while before you penetrate the hard glazed surface. Don’t make the mistake of believing that going full-speed is more effective. In reality, you will only overheat everything and create vibrations that could damage the surface.
Apply constant pressure but not too much. Otherwise, you will break through the tile instead of drill into it, which will result in cracks.
Step 5: Don’t forget to cool the drill
One of the secrets to drilling a hole through tile is keeping everything cool. Use a small wet sponge to cool down the drill bit and prevent it from overheating.
If you’re on your own and can’t hold the drill bit in one hand, the wood pattern in the other, and cool the drill bit at the same time, then you can stop from time to time and spray some water on it. Just make sure not to pour water into the motorized section of the drill.
Another trick you can use to keep the drill cool is holding a wet sponge under it. That way, you’re not only preventing the drill from overheating, but you are also catching the dust and debris produced by the tile. Not to mention, you’re preventing the water from pouring down the wall and all over the floor.
A short note here: unlike carbide drill bits, which stop the second they overheat and need to be kept cool at all times, diamond bits are not as high-maintenance. They will continue to work even when they are hot, as long as you allow them to cool down. But, if you want to increase the lifespan of your tools, drill slowly, don’t apply too much pressure, and lubricate the drill with cool water.
Step 6: Change the drill bit when you hit the wall
You’ve cut through the tile and hit the wall surface without creating any damage. You can breathe a sigh of relief now. You’re almost there! All you need to do now is bore through the wall and then mount the accents.
Keep drilling slowly to avoid hitting the wall surface. If the wall is destroyed, your anchor will not hold properly and the accents will be loose. This is the time to change your drill bit to one that is suitable for the substrate being drilled. The secret, however, is to keep the drill slow and steady. This way, you will achieve the perfect hole with no tile damage.
Step 7: Kick back and relax! You’ve just learned how to drill through tile
Take a step back and admire the result. You can even give yourself a pat on the back. You did well. No, scratch that! You did amazing! Now you are prepared to tackle the next project from start to finish with more confidence. Before that, thought, take a look at at how to use the RUBI DRYGRES 4DRILL.
There are a few main takeaways you should remember about drilling into tile. First of all, you need to have the right tools. Without the appropriate drill bit for the job, the chances of screwing up increase significantly. Secondly, you need to be patient. Drilling holes through tile isn’t a race. You need to take your time and go slowly and steadily. Also, don’t forget to keep everything cool. Overheating is one of the main factors that cause the tile to crack.
Last but not least, you need to be persistent. With practice, this task will only get simpler and drilling through tile will no longer be something that makes your heart drop to your stomach.
Know more tips on how to drill through tile? Did we miss something? Let us know in the comments below!
Post a comment