
When installing tiles or stone, it’s important you choose the right type and grout to complete the project. Grout is an essential part of the tile installation process. Choosing the right one can make a huge difference in the end result of your installation. It affects how it looks as well as how successfully it behaves over time.
In today’s blog, we are answering the question, what is grout? We will explain everything you need to know about this material, why it’s important, and how to properly use it.

WHAT IS GROUT?
Unlike adhesive, which is primarily used as a binder to lay your tiles on to, the main function of this material is to act as a filler between your tiles once they have been laid. Its should also aesthetically compliment the tiles. Many come in infinite colours to match tile types, as well as natural stone. Floor grouts tend to be more course in nature because they are wearing surfaces and can span over or bridge tile gaps up to 20mm.
Wall grouts tend to be smoother, so that they do not scratch tile surfaces during application. Generally, these materials are applied to floors with a minimum of 3mm spacing or 5mm for large format tiles. Wall tiles start at 2mm or correspond to matching floor tile widths.
The other function is the expansion of the tiles. As temperatures rise the tiles expand, any slight movements is taken up from the grout. Tiles that demonstrate linear cracks are usually a result of substrate or background movement.
Grout is an essential part of the tile installation process. It adds rigidity and strength to your tile installation, forming a strong join that alleviates any minor stresses.
It also helps protect your work for longer by keeping dirt and debris from getting in-between or under your tiles, which may disturb the adhesive and cause the tiles to come loose over time.
In addition, this material can help provide a great aesthetic to your floor. Use opposing shades of grout on your tiles to help them stand out and create a bold statement. Alternatively, grouting with a similar colour that blends with the tiles creates a subtle effect.
DIFFERENT TYPES OF GROUT
Choosing the right grout for your tile is key to ensuring you have a successful installation. Different types of grout are appropriate for different applications. There are three main variations that are available in both sanded and unsanded varieties.
Epoxy
Epoxy grouts are the most durable choice, due to their resistance to water damage and stains. They are a great choice to use in high footfall areas, or areas where moisture and food will be present such as in kitchen and bathroom installations.
It’s important to note that, unlike with other grouts, due to the chemical reaction that comes when mixing the base and activator together, you will have a limited amount of time to finish grouting your tiles before it sets and becomes too hard to work with.
If you are still new to this, we’d recommend hiring a professional tiler who will have more experience working with this material.
These types of grouts are usually two part and also impervious once applied. Any surface debris can be easily removed with appropriate cleaners to restore their full colour. They are best applied by professionals since they are slightly harder to apply and have a shorter working window when the two components are mixed.
Cementitious
These are normally polymer modified grouts and come in a range of colours. They can be applied both inside and outside including in fully submerged conditions. Generally, these are easier to apply.
Sanded
Sanded grout is cement-based, where sand material is added to the mixture to bond. This helps create a bond that is very durable and more resistant to shrinking and cracking unlike unsanded grout which can pull away from tiles. As the mix dries, the sand becomes locked into place as it stiffens. Sanded grout is the best choice for the majority of flooring installations. It can handle the higher footfall and is used for larger tile joints.
Unsanded
Unsanded grout is a much stickier substance due to it containing no sand or aggregate. As unsanded grout will shrink as it cures, it is most commonly used on walls with joints measuring 1/8” of an inch or less.
This will allow you to fill the lines between your tile easily and with more precision, unlike sanded grout which is difficult to apply in these small areas due to its consistency being quite thick.

WHICH COLOUR SHOULD I USE?
Deciding on the colour of grout you want to apply can be a tricky decision. There are not only many different options to choose from, but you also need to take into consideration the maintenance and overall impact your grout lines will have on the design of the room. For example, a lighter colour can make stains in your lines more visible and require more maintenance in keeping clean.
Darker grout lines help to hide these stains and any additional build up of dirt, however they can be prone to fading and can give your room a more ‘worn’ feel in less time.
If you want the colour or design of your tiles to draw the eye and be the centre of attention, we suggest closely matching the colour or tone of your grout lines to your tiles. This will prevent the eye from being drawn away from the tile itself and make the lines around your tile more subtle.
SHOULD I SEAL MY GROUT?
Sealing your line is particularly important when using a light-coloured grout or working in rooms with a lot of moisture such as kitchen or bathroom areas. The only type of grout that doesn’t need to be sealed is epoxy, which is impervious.
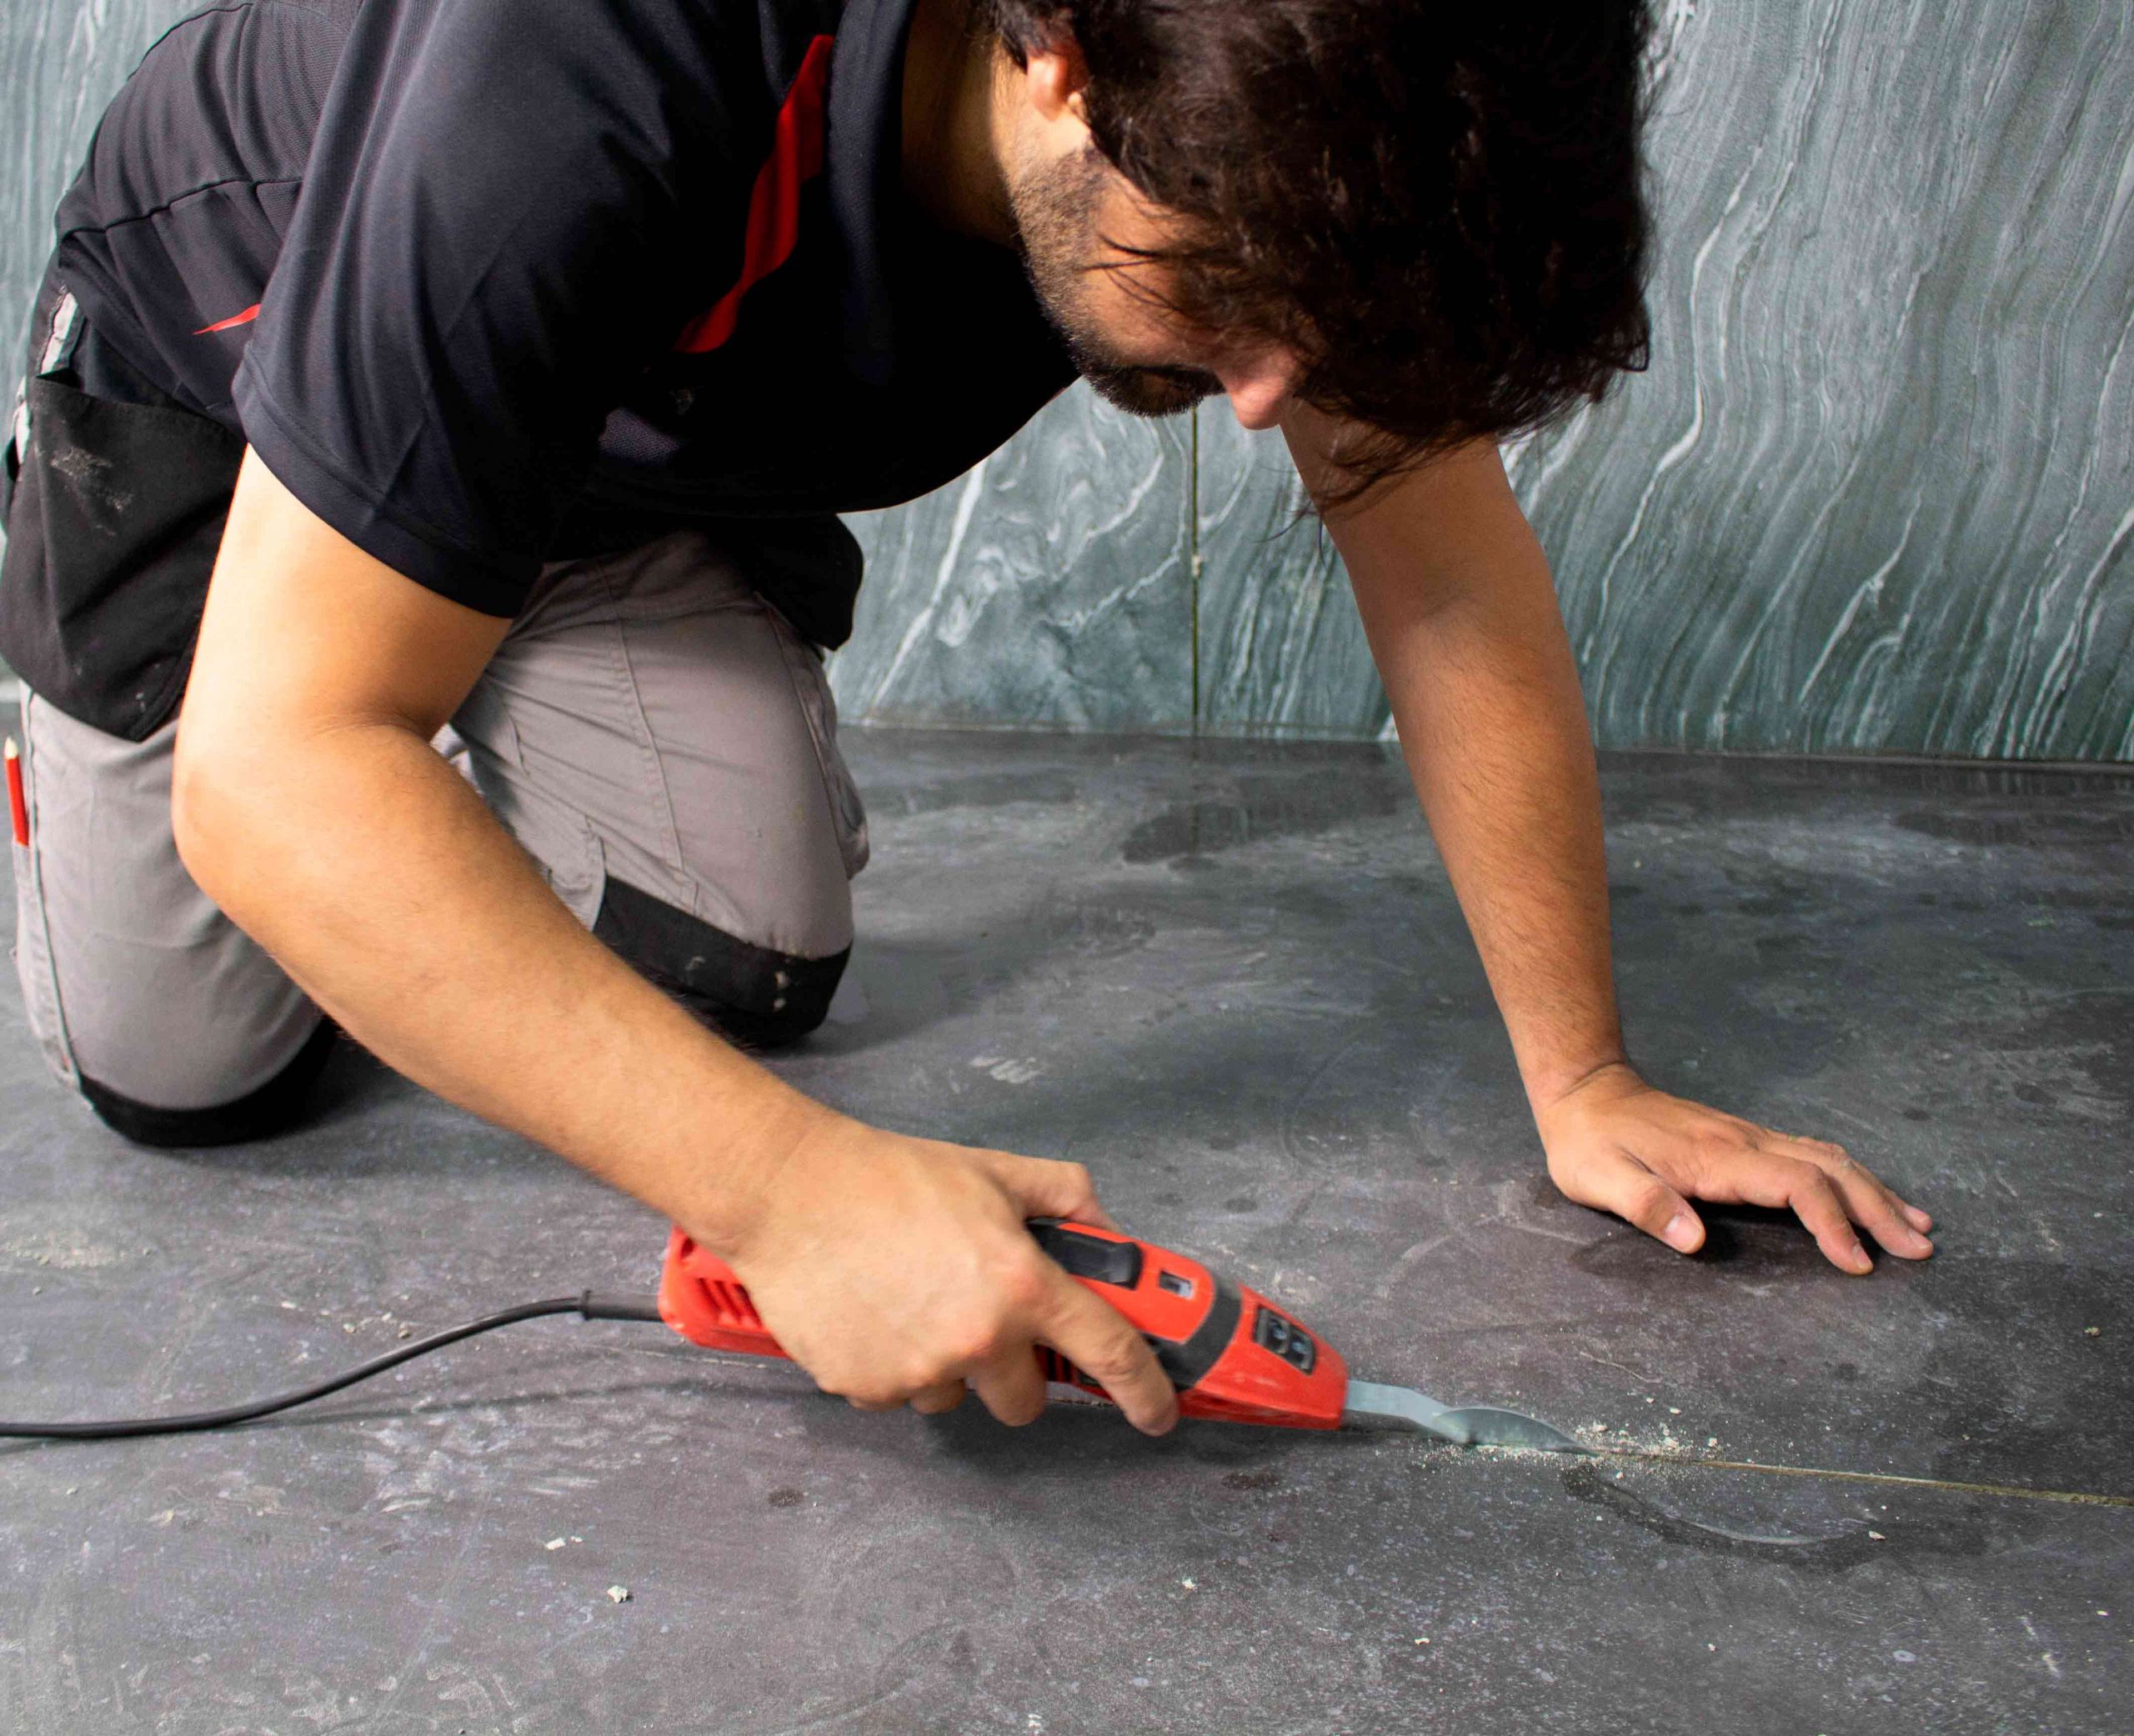
HOW TO GROUT TILES
One of the final but equally important steps is knowing how to grout your tiles. Grouting can only be applied once the tiles are fixed in place and the adhesive has completely dried.
For this you will require a grout float. For your grouting needs, check out our range of floats here!
The time to dry can vary depending on the type of adhesive you’ve used, so follow the manufacturer’s advice on the packaging. Once you’ve confirmed your grout colour and have mixed it to the manufacturer’s instructions, use your grout float to spread the over the tiles.
Holding the float at a 45-degree angle, work it into the joints between the tiles, making sure to fully cover the joints.
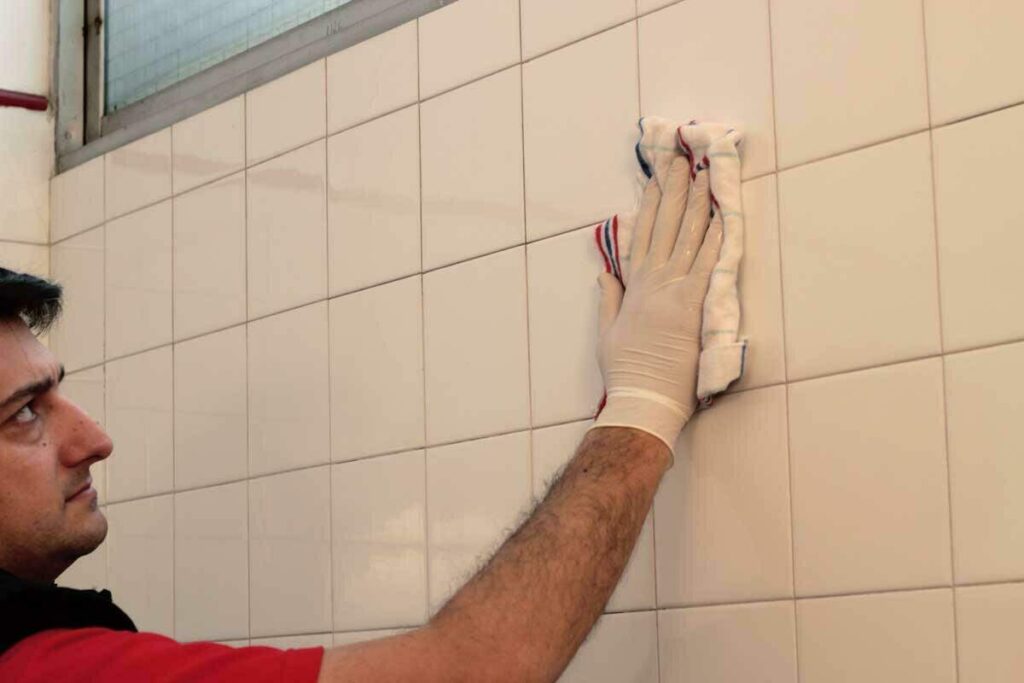
As you finish grouting each section of your floor or wall, run over the tiles with a damp sponge. This is to make sure you remove any excess grout before it dries and becomes too difficult to remove any residues on the tile.
Our RUBICLEAN PRO Kits are equipped with a sponge and grout float, trowel and RUBIClean Pro washboy! All the key tools you will need to lay and grout your tiles.
LOOKING AFTER THE GROUT
Once you’ve completed your tiling project and fully grouted all your joints, use a grout protector spray to help stop any stains or penetration.
Particularly in areas such as kitchens and bathrooms, your tiles will be vulnerable to water, dirt, oil, grease, and limescale. Using a protective spray will help to prolong the life of your grout lines, making the area easier to keep clean.
We hope you found our blog useful! To get up to date information on future blogs and product releases, sign up to our mailing list!
For more of our Tiling Ideas, click here!
This is really what I was searching for. I am feeling joyful to came here. I would like to thank you for sharing such info with us, I like to advise you that Keep sharing such ideas in the future as well. Thanks & Regards Floor grouting services in dubai
Thank you for the sharing good knowledge and information, it’s very helpful and understanding… as we are looking for this information since long time…. Regards Grout cleaner uae
Nice information providing by your article and I would really like to thank for your article it’s really helpful. Regards Floor grouting service in dubai