Installing a tile border is an excellent way to improve the finish of your walls and add a decorative touch that brings style. Whether it’s to separate areas, protect edges, or enhance the design of the covering, tile borders add both style and functionality.
In this article, you’ll learn how to install a tile border step by step, with practical tips for achieving a clean, professional finish.
Understanding Tile Borders and Their Importance
What Is a Tile Border?
A tile border is a decorative strip placed between different sections of a tile covering, either at the top or bottom of a tiled wall. It serves to visually delimit spaces and protect the edges of the surface.
Benefits of Installing a Tile Border
- Improves overall aesthetics and adds a decorative touch.
- Protects tile edges from knocks or chips.
- Facilitates transitions between different tile types or heights.
- Allows customization with different materials, colors, or textures.
Depending on the design, a tile border can also act as a visual break between two wall finishes, such as painted and tiled sections. It’s an easy way to add personality and create a more polished, balanced appearance in bathrooms, kitchens, or hallways.
Most Common Materials
Tile borders can be made of ceramic, porcelain, glass, natural stone, or metal. There are also aluminum and PVC profiles or trims used to finish exposed corners or edges.
Before You Start: What You’ll Need
It’s important to prepare everything you need before you begin. Having the tools and materials ready saves time and prevents mistakes during the process.
Basic tools:
- Tile cutter or angle grinder with a ceramic disc
- Notched trowel or spatula for applying adhesive
- Spirit level or laser level
- Tile spacers
- Pencil, tape measure, and ruler
- Sponge, cloth, and bucket of water
Materials:
- Border tiles
- Tile adhesive or thin-set mortar suitable for the surface
- Grout for joints
- Sealant or silicone for the final finish
For more information on installation tools and equipment, check out Tools and Equipment for Tile Fixing or visit ourTile Installation Tools section.
Preparing Your Wall for Tile Border Installation
Cleaning and Leveling the Wall Surface
The wall must be clean, dry, and completely smooth. Remove any dust, grease, or loose paint. If there are uneven areas, level them with mortar or leveling compound. A uniform base ensures better adhesive bonding.
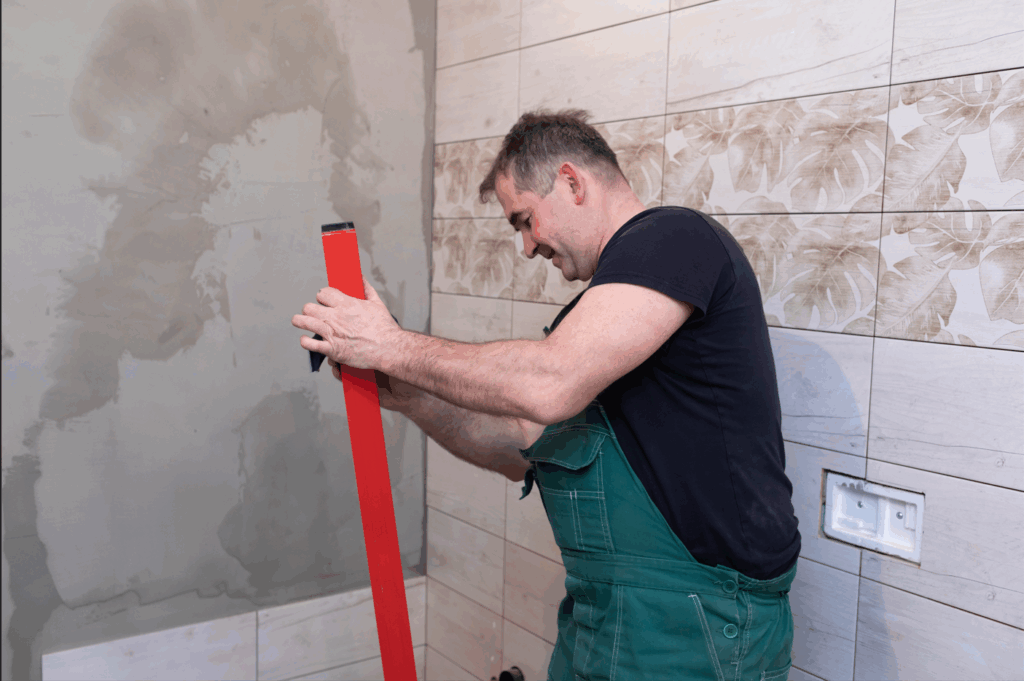
Measuring and Marking the Installation Area
Use a level and tape measure to mark a guide line indicating the exact height of the border. This step is key to keeping the installation straight and uniform.
Selecting the Right Adhesive for Your Tile Border
The type of adhesive depends on the border material (ceramic, stone, metal, etc.) and the wall surface. In damp areas, use flexible, water-resistant adhesives to prevent detachment over time.
Remember to check the adhesive’s open time—the period during which it remains workable after application. Using the correct trowel size will also help ensure even distribution and avoid gaps that could affect bonding strength.
Step-by-Step Installation Process
Applying Adhesive to the Wall
Using a notched trowel, apply an even layer of adhesive to the area to be tiled. Comb the adhesive in one direction only to promote proper bonding. Don’t spread more adhesive than you can cover within 10 to 15 minutes.
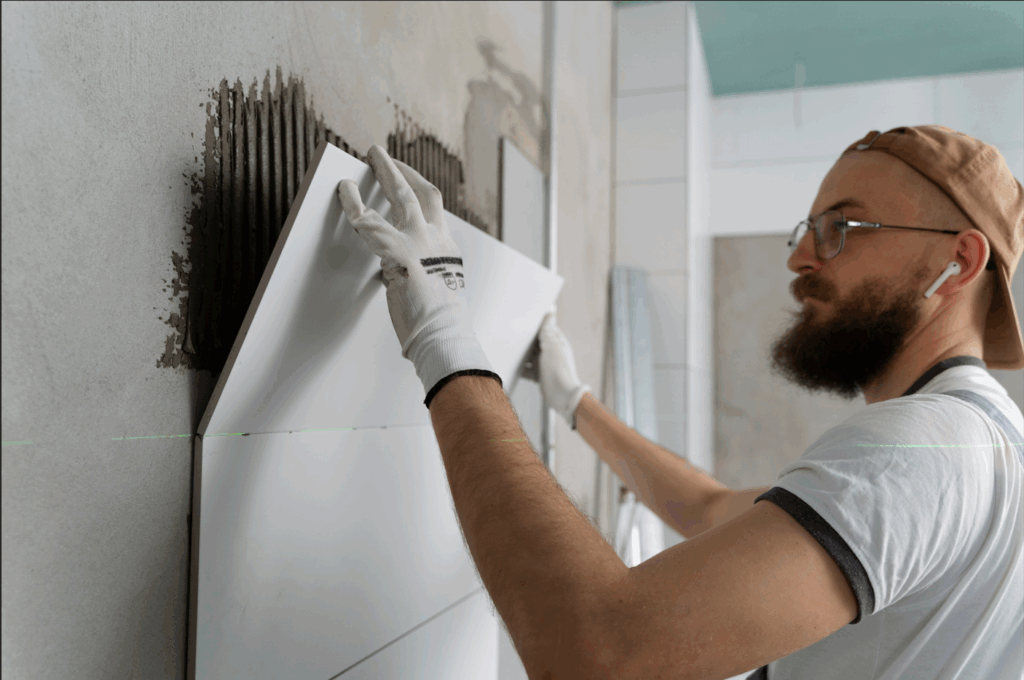
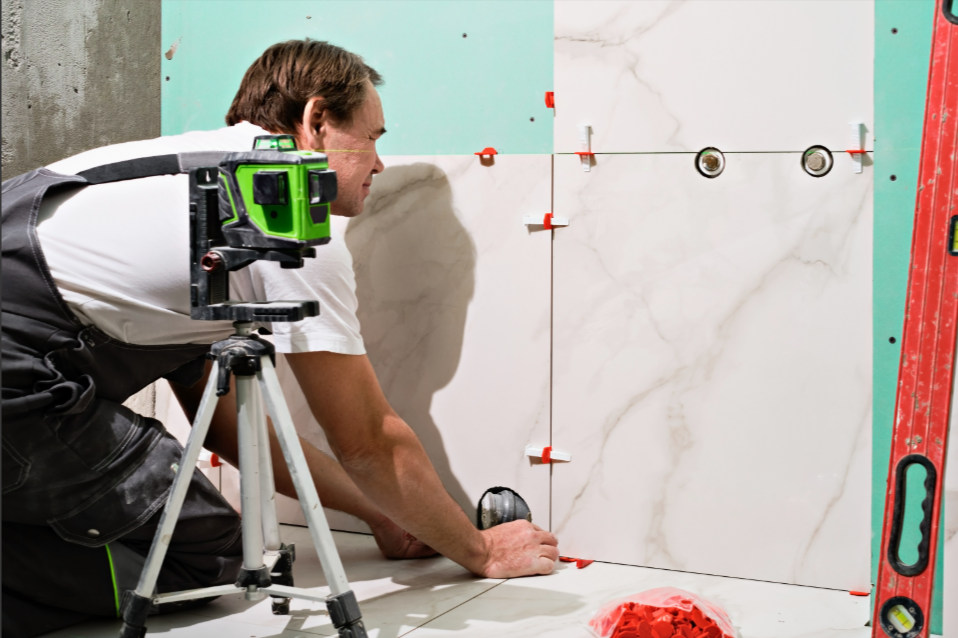
Positioning and Setting the Tile Border
Press each piece onto the adhesive following the guide line. Place tile spacers between pieces to keep joints uniform. Check with a level to ensure the tiles are perfectly aligned.
It’s best to start setting tiles from the center of the wall and work outward. This technique ensures symmetry and helps hide any small size adjustments at the ends or corners.
Cutting Tiles to Fit Corners and Edges
In corners or areas where a full piece doesn’t fit, cut carefully using a tile cutter or angle grinder. Measure twice before cutting and smooth the edges to avoid chips or visible imperfections.
When cutting detailed shapes or small pieces, a wet saw provides greater control and reduces the risk of cracking. Always make test cuts on spare tiles before working on your final pieces to ensure accuracy.
If you want to learn more about cutting tools and available options, visit Tile Cutters.
Finishing Touches and Maintenance Tips
Grouting and Sealing the Tile Border
Once the adhesive has dried (according to the manufacturer’s instructions), remove the spacers and apply the grout with a rubber trowel. Spread it diagonally across the joints until they are completely filled. Then remove the excess with a damp sponge before it hardens.
Using Trims or Profiles for a Professional Finish
For a cleaner and more durable result, install trims or moldings on edges and corners. In addition to improving the appearance, they protect the tile ends from knocks or chipping. Choose a finish that complements the color or texture of your tiles.
Cleaning and Maintaining Your Tile Border
Once finished, clean off any adhesive or grout residue with a soft cloth and water. Avoid abrasive products that could damage the glaze or metal edges.
To maintain the shine and durability of the border, clean it regularly and check the joints from time to time.
Troubleshooting Common Installation Issues
If you notice misaligned tiles or uneven joints, the adhesive may have been applied unevenly. In that case, remove the tile before the material hardens and reposition it. Also, be careful not to apply too much pressure when pressing the tiles.
Trust RUBI for Your Tile Installation Projects
Installing a tile border on a wall is a simple task if you follow the right steps. With good preparation, the right tools, and a little patience, you can achieve a professional and durable finish.
For more guides and expert tips, visit How to Install a Tile Border on a Wall or explore our Tips & Tricks section for more professional advice and techniques to improve every project.
Whether you’re a professional installer or a DIY enthusiast, following these steps will help you achieve results that not only look great but also stand the test of time.
Every detail matters when it comes to tile work. A well-installed border not only enhances the wall’s appearance but also reflects the care and precision that define professional craftsmanship. At RUBI, we believe that quality begins with the right tools and a thoughtful process — because even the smallest details can transform an ordinary project into a lasting piece of work.
Post a comment