
Most flooring specialists have an intimate knowledge about the difference between sanded vs. unsanded grout. But even some experienced general contractors are still unsure about the differences between the two most common grouting materials.
So, to help you take a side in the sanded vs. unsanded grout debate, we’ve put together this guide. Whether your next project is a residential shower tile installation, an outdoor patio, or a kitchen renovation, you’re sure to benefit from the knowledge you’ll gain from our guide.
Read on, and learn about the ideal applications for both sanded and unsanded grout – and the biggest differences between the two.

1. Sanded Grout Is Thicker Than Unsanded Grout – And It’s More Durable
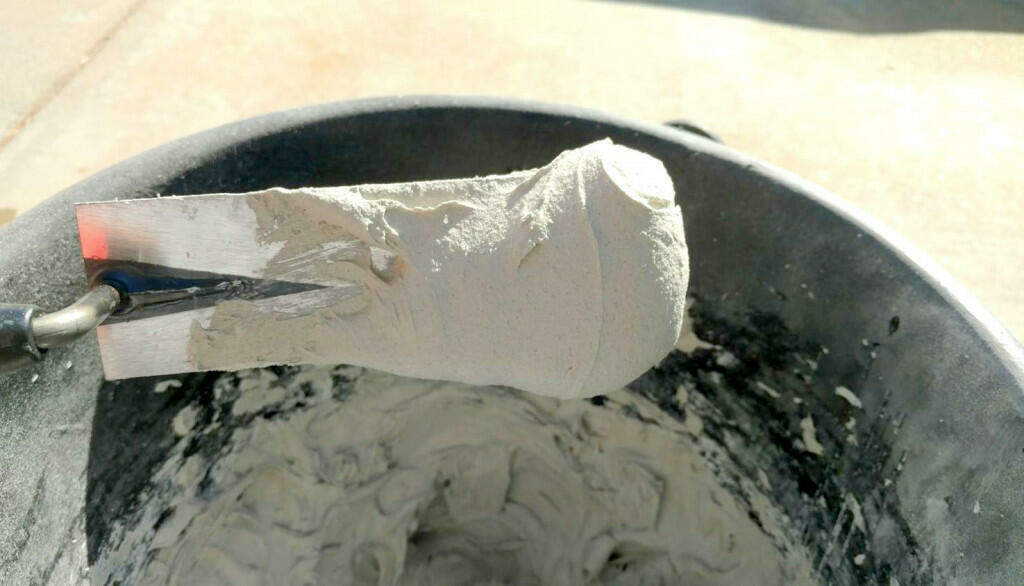
Sanded grout is exactly what it says at the box when you pick it up at your local hardware store. It’s a standard grouting material with aggregate sand material added. The added aggregate material makes sanded grout much more durable than unsanded grout, for one simple reason. Shrinkage.
When cement-based, unsanded grout dries, it shrinks – and it can pull away from tiles. Adding sand to the grouting mix ensures that the material doesn’t shrink as much. This is because the ratio of aggregate material to cement is much higher. For pure durability, sanded grout always wins in the contest between sanded vs. unsanded grout.
As the grout cures, the sand becomes locked in place and it won’t move. This is true even when the grout is completely dry. This ensures proper adhesion of tiles that must be placed more than 1/8 of an inch apart, and for tiles that are going to have heavy foot traffic on them – such as in the bathroom.

Sanded grout also resists cracking, making it more durable. Unsanded grout can be prone to severe cracking when it has pressure applied to it, making it unsuitable for most flooring applications.
Sanded grout is the go-to choice for most interior flooring installations. This is because it is more durable than unsanded grout, can handle foot traffic, and is usable for larger tile joints. Next time you take on a big project for a customer and are going to be renovating a tile kitchen or a bathroom, you’ll definitely want to grab some high-quality sanded grout.
A final note is that you won’t be able to use just any sanded grout if you’re working on extremely large tile joints. For projects with a 3/8 of an inch or larger tile joint, you’ll need what’s known as “wide-joint mixture” grout, which is readily available at most flooring and hardware stores. Wide-joint mixture has a higher volume of large aggregate material to further reduce shrinkage issues. This makes it perfect for tile projects with large grout joints.
2. Unsanded Grout Provides A Better Hold On Vertical Surfaces
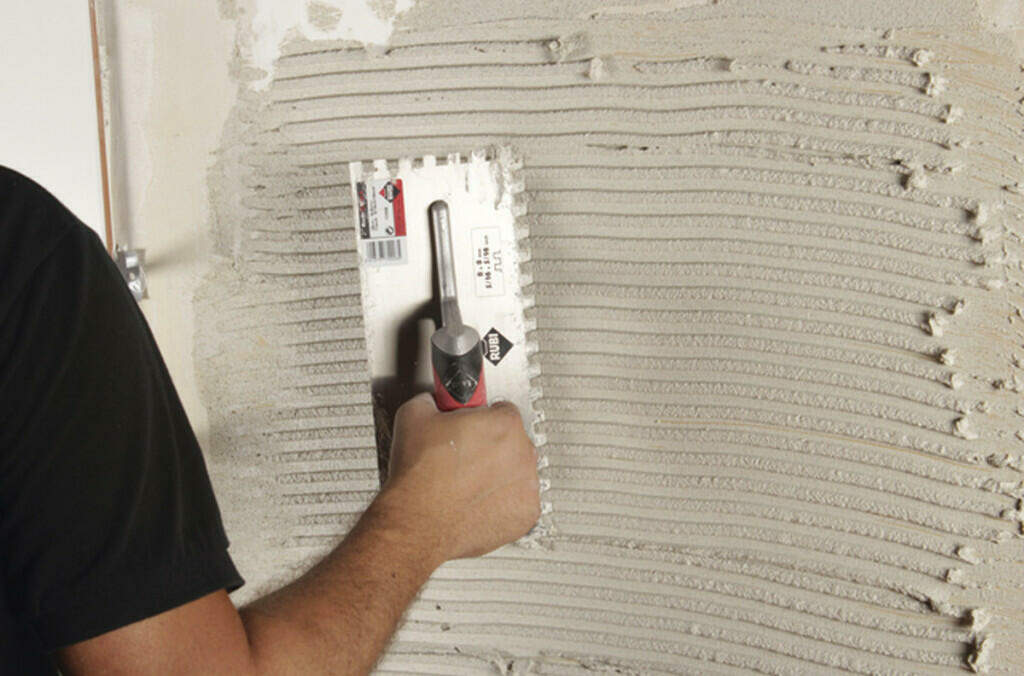
If you’ve ever installed a shower before, chances are that you used unsanded grout. Unsanded grout is extremely sticky, because it has no additional sand or aggregate added to it. You can easily spread it onto a vertical surface, and will stick there with no issue as you work to force it into grout lines.
And even though unsanded grout shrinks, this isn’t much of an issue on a vertical surface. Tiles are typically fairly close together – usually between 1/8 of an inch and 1/16 of an inch. This means that the shrinkage that will occur after the grout dries and cures, won’t have an effect on the durability of the tile.
Durability is also not much of a concern for vertical tiles. Though unsanded grout is not ideal for applications where tile has a lot of foot traffic on it, you will have no problem with great hold on vertical surfaces. In addition, it won’t crack, because there is little-to-no pressure applied to it.
There is an additional benefit to using unsanded grout for more tricky vertical surfaces. It’s easier to work with than sanded grout, and you can get a totally even spread when working with unsanded grout. This allows you to focus only on placing your tiles in the right spot – and delivering a great project.

3. Sanded Grout Can Damage Smooth Tiles
Another consideration when choosing between sanded vs. unsanded grout is the tile material that you’re working with. The harsh aggregate material present in sanded grout can damage delicate materials such as granite, marble, limestone, and other soft stones.
Sanded grout can work a lot like sandpaper. The materials used to create the sand are often much harder than soft stones. Spreading sanded grout over soft tiles can cause damage, especially on soft limestones and marbles. This is a huge determining factor when choosing between sanded vs. unsanded grout.
Unsanded grout is often the best choice for smooth, polished tiles like marble, even if the joint width is 1/8 or larger. Usually, most contractors use an epoxy-based unsanded grout in these situations – not traditional sanded or unsanded grout.
Both sanded grout and unsanded grout can be purchased in an epoxy-based form – and they’re essentially the same as their portland-cement based relatives.
However, instead of being using the reaction between cement and water, these grouting options use advanced chemical compounds, consisting of a base and an activator. When you add the activator to the base, the grout begins to cure in a non-reversible chemical reaction that results in an extremely strong hold.
The primary drawback of epoxy-based unsanded grout is that it’s quite expensive. It’s over twice the cost of traditional unsanded grout. It can also can be difficult to work with, due to short cure times. If you don’t manage to coat your entire work area in your epoxy-based unsanded grout before it cures, it’s going to become totally stiff and unworkable – you won’t be able to spread it at all.
Using an advanced mixer like the RUBIMIX-9 N Mortar Mixer to get your grout mixed quickly can help, but it’s still a challenge if you’re working on a large area.
Still, if you’re working on highly-polished tiles that have a joint of more than ⅛ of an inch, epoxy unsanded grout is going to be the best choice. It’s more durable than traditional grout, and doesn’t pose the risk of scratching, that sanded grout does. When it comes to preserving softer, more delicate tiling materials, the contest between sanded vs. unsanded grout is not a contest at all.
4. Sanded Grout Should Never Be Used For Joints Smaller Than 1/8 Of An Inch
If you try to use sanded grout for a tiling project using joints that are smaller than 1/8 of an inch, you’re going to have some serious problems.
It’s a bad idea to use sanded grout for precision joints that are smaller than 1/8 of an inch. For precision work, unsanded grout is almost always a better choice.
Here’s why.
First, it’s harder for you to work with sanded grout in tight spaces. The aggregate “sand” material used to create it can be quite bulky, and preclude you from being able to squeeze it into small tile joints, making it unsuitable for precision work. Sanded grout is durable, but that doesn’t really matter if you can’t even manage to squeeze it in between your tile applications correctly.
Another problem that sanded grout causes in small joints is pinholing. Using sanded grout for small joints can require contractors to use more water in the base. This makes spreading the grout easier – but excess water can often cause pinholes.
Pinholes occur when grouting traps large amounts of water, which then evaporates over a long period of time. When this happens, the grout that sits above the now-empty air cavity collapses, causing a small, pin-like hole – hence, the name. Customers don’t like pin-holes – they’re a sign of shoddy workmanship.
So if you’re doing a project with joints that are smaller than 1/8 inch, you run the risk of having trouble installing your tiles correctly. In addition, you could be leaving behind, pinholes that tell customers that you used the wrong grouting material– neither of which is ideal.
Understand The Difference Between Sanded Vs. Unsanded Grout – And Make Your Next Contract A Success
Now, you probably already know most of what we went over above – you’re a professional, after all – but it’s always good to expand your knowledge as a contractor.
More knowledge means that you’re able to better serve your customers. And after getting an inside look at the differences between sanded and unsanded grout, you’re armed with all of the knowledge you need, to knock your next tiling project out of the park.
Just like any other tool, each type of grout is different. So don’t just grab a one-size-fits-all grout for your next job. Think about what you’ve learned above, and the basic differences between sanded vs. unsanded grout. After you carefully consider what will be appropriate for the task at hand, you can make your purchase.
After all, making the right grouting purchase decision can be the difference between a happy customer with a gorgeous new kitchen backsplash – or an unhappy one with a cracked tile floor that’s ridden with pinholes.
[RELATED: Are you mixing mortar the right way? Know the perfect mortar recipe]

You’ve made some decent points there. I checked on the net to find out more about the issue and found most people will go
along with your views on this website.
Wow that was unusual. I just wrote an very long comment but
after I clicked submit my comment didn’t show up.
Grrrr… well I’m not writing all that over again. Anyway, just wanted to say
fantastic blog!
Thank you for the auspicious writeup. It in fact was a amusement account it.
Look advanced to more added agreeable from you! However,
how can we communicate?
I need to grout between the granite counter top and the tile backsplash
I used a vinyl caulk and it did not last. It shrunk terribly
The wall with the tile is an outside wall
What should I use
We recommend an epoxyco grout. You’re dealing with an exterior kitchen wall. That means your grout will need to withstand A LOT of temperature fluctuation, wich epoxy resin, epoxydica, and epoxyco are good for.
My house is a new build. My kitchen back splash looks very gritty. When speaking with the contractor he says it’s normal because it has sand in it. The tiles are set at 1/8 of an inch. My kitchen tile grout looks gritty however the tile which was installed a couple weeks later in the butler’s pantry looks good. What can be done? I’m very unhappy with the quality of work.
From what we’re understanding of your comment, it sounds like the tiles themselves are too gritty for your tastes. If you don’t like the appearance of the tiles themselves, unfortunately the only solution is a new tile installation. You can tile directly over the old tiles if you want to, but the better rout by far is to take the old ones off and then replace them.
If the installation looks poorly done to you, meaning the tiles are not leveled or laid in a way that looks aesthetically pleasing, you might be able to contact a professional tile layer to remove and replace only the tiles that are badly placed. This will be a lot less work than a completely new installation.
Great blog! I was actually looking for an article that explained the type of joint that I should prefer with black marble flooring but found this to be helpful too! Thanks to the author.
Thanks for reading and we’re glad we could help! 😀
If you’re using a colored sanded grout and you run out, can you use a color of the same non-sanded grout and will the color stay the same?
Hi Christopher. This question would probably be better asked to the company that manufactures the grout you’re using. It probably depends a fair amount on the particular grout you’re using. Thanks for reading our blog!
The subcontractor that installed glass tiles on an accent wall in our tub shower combo did not put uniform spacing between 3″ x 12″ tiles. Some spacing was 1/16″ and some were 1/32″. The tile design is a little busy so the uneven spacing is not glaringly noticeable but some people still do notice it. In addition to this problem you can tell by running your fingers over the tiles that some are not level. Is there some way to salvage this? On top of that, the subcontractor’s helper wasted a bucket of epoxy grout by mixing the cleaning packets with the part A and B solutions, making the translucent grout turn white and harden within minutes of mixing it up. The subcontractor has the gall to want to charge a premium over and above what the general contractor was paying him to do the job. Are you aware of anyone with a similar experience and what their recourse was? We are not inclined to pay the premium charge for an unsatisfactory job. For another bathroom we have marble mosaic tiles to be installed on a shower floor. Am I correct from reading your blog that epoxy grout would be best since sanded grout could scratch the marble tiles and unsanded grout may not stand up to daily usage of the shower? I wish I had come across your blog sooner. Thank you and my apologies for the long-winded comment.
Hello. Regarding the differences in the grout width, we recommend you bear in mind that there is a variation of 1/32nd of an inch in some of your grout lines. This is a very small difference and probably isn’t noticeable. Also, tiles are installed by hand, so expecting every grout line to be identical down the to 1/32nd inch might be asking a bit much.
Regarding the levelness of the tiles, if you can’t see visually (not by touching them) that the tiles are not perfectly level, then it’s probably not worth redoing parts of the installation, which is what you’d have to do to change this. Do you know if your contractor used a leveling system? If he did, than it’s definitely not worth it to reinstall sections of the tile because he’s done what’s possible to keep the tiles as level as they can be.
Usually a subcontractor is hired by the original contractor, and payment should have been worked out ahead of time between the two of them. Of course, how much money the subcontractor is paid in the end will depend on the hours he works, which can be hard to predict sometimes. Still, it seems unusual to us that the subcontractor is charging you directly, rather than indirectly through the contractor. Ask your original contractor what his agreement was with the subcontractor before deciding what to do.
Yes, epoxy grout would be the way to go in a marble tiled bathroom.
No need to apologize. We’re happy to help!
Hi Ashok. All that sounds perfect except for that you should use 1/8 inch grount lines for most tile projects, especially for tiles that big.
Our contractor used sanded on our vertical wall tiles. Can we use non sanded over this? Or do we need to remove and regrout?
In general it’s better to remove tiles if you want to do a new installation. You have the option of tiling over tiles, but it’s not the best way to do things and won’t save you that much money.