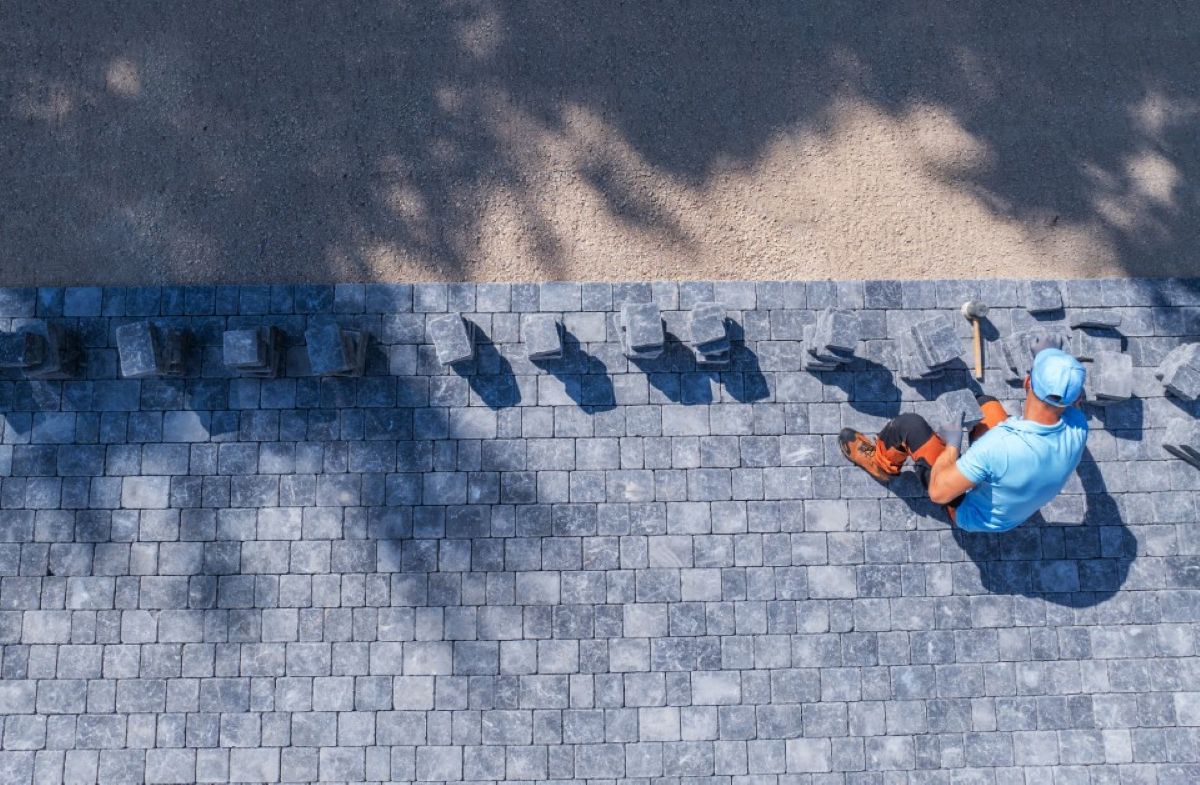

Installing pavers on a slope requires more than adjusting levels as you go. On sloped outdoor surfaces, base stability, drainage, alignment, and safe handling all become more critical. A successful installation depends on controlling water, preventing movement, and choosing the right system for the grade, the material, and the type of outdoor space.

Why slopes require special installation techniques
Sloped paving fails when installers treat it like a flat patio with minor corrections. Once grade changes are involved, gravity affects base retention, runoff, and piece stability. That is why slope work demands a more controlled approach from layout through final placement.
What counts as a slope in outdoor paving projects
In outdoor paving, a slope is any surface where elevation change affects drainage, base depth, or installation method. That includes backyards, pool decks, side yards, terraces, and rooftop areas where the finished surface must either follow the grade or compensate for it.
For installers, a slope becomes significant when it changes one or more of these conditions:
- Water flow direction.
- Base thickness.
- Piece stability during placement.
- Edge restraint requirements.
- Drain location and discharge.
Common challenges when installing pavers on uneven terrain
The main challenge is that movement starts earlier on a slope. Bedding can shift, pieces can slide slightly out of line, and the downhill edge usually takes more stress than the rest of the field. With porcelain pavers, irregular support also increases the risk of rocking or lippage.
Other common site issues include:
- Inconsistent compaction.
- Weak restraint at the perimeter.
- Drifted joint lines.
- Water concentrating in low spots.
- Chipped edges during handling or rework.
Drainage considerations when building a patio on a slope
Drainage must be designed into the installation from the start. The surface needs to direct water away from the structure, but the assembly below also needs to avoid trapping moisture or washing out support material over time.
Before installation, confirm:
- Where surface water exits.
- Whether the low point needs a drain or swale.
- How runoff affects adjacent landscaping or structures.
- Whether the substrate already has a built-in slope.
- How transitions at doors, coping, or steps will behave in heavy rain.
Planning a sloped backyard patio
A sloped patio should be planned as a system, not just a finish surface. Material choice, grade control, drainage, and installation sequence all need to be resolved before the first paver or porcelain slab is set.
Sloped backyard patio ideas that combine design and functionality
The best sloped backyard patio ideas reduce technical risk while improving usability. In many projects, that means dividing the outdoor area into manageable levels instead of forcing one long continuous plane across changing ground.
Common solutions include:
- Terraced patio zones.
- Integrated steps between activity areas.
- A paver field combined with porcelain feature zones.
- Raised terraces over structural slabs.
- Border layouts that visually organize irregular spaces.
This approach usually performs better than trying to correct a difficult slope only during installation.
Choosing between pavers and porcelain for outdoor slopes
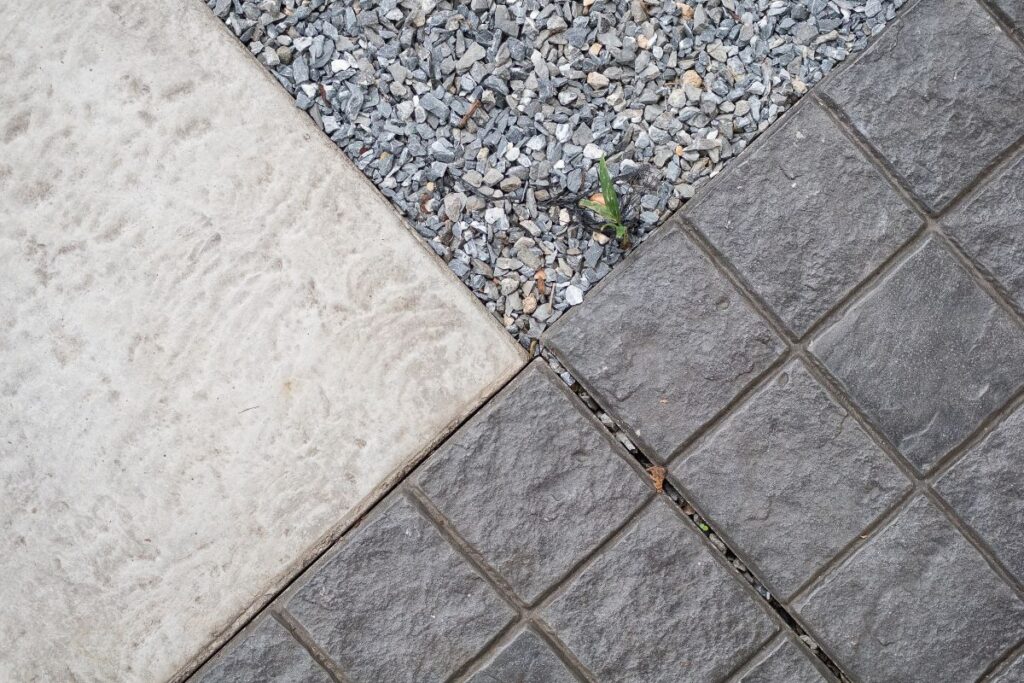
The material should match the installation conditions. Concrete pavers are often more forgiving on ground-supported patios because they work well with compacted granular base systems. Porcelain pavers offer a cleaner finish and lower surface absorption, but they need tighter support, better handling, and more precise cutting.
| System | Mechanism | Advantages | Limitations | Application |
| Concrete pavers on compacted base | Interlocking units over granular base | Good for large outdoor areas, repairable, adaptable | Needs strong compaction and restraint on slopes | Backyards, walkways, pool surrounds |
| Porcelain pavers on rigid support system | Dense slabs over prepared substrate | Clean finish, low maintenance, modern appearance | Less forgiving of voids and handling mistakes | Premium patios, outdoor living areas |
| Porcelain on adjustable pedestals | Elevated slabs over sloped substrate | Level finish above drainage plane, easy access below | Only suitable for specific structural conditions | Terraces, rooftops, balconies |
For a broader material comparison, see The Complete Guide to Choosing the Best Outdoor Tile.
When adjustable deck pedestals are the best solution
Adjustable deck pedestals are the best solution when the substrate is already sloped for drainage but the finished walking surface needs to be level. This is common on terraces, balconies, rooftops, and other elevated exterior installations.
They are especially useful when the project needs:
- A level surface over a sloped structural slab.
- Access to drains or services below the finish.
- Fast replacement of individual pieces later.
- A dry installation method without a bonded bed.
They are not a substitute for a stable base in ground-supported patio construction.
How to install pavers on a slope step by step
Installing pavers on a slope requires a strict sequence. The base has to be stabilized first, drainage must be established before finish work begins, and the field should be installed from a restrained reference so the layout stays controlled as the slope works against it.
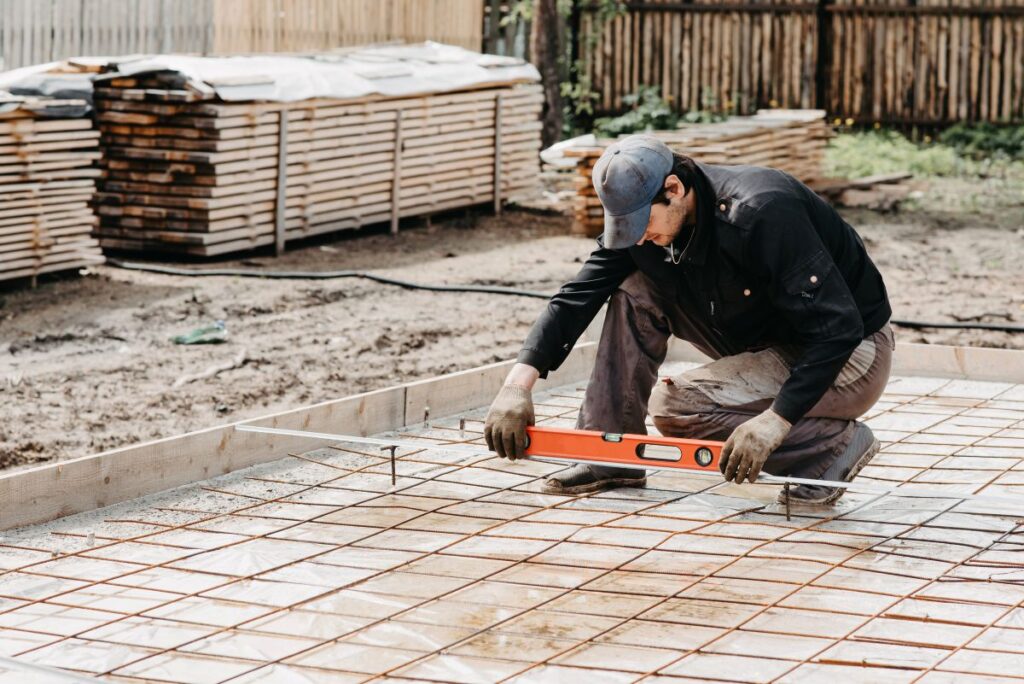
Preparing the base and stabilizing the slope
Base preparation is where most slope installations succeed or fail. A weak or inconsistent base will not just settle. On a slope, it can shift downhill, open joints, and overload the perimeter.
Use this checklist before laying material:
- Excavate to consistent depth.
- Remove soft or organic material.
- Compact the base in controlled lifts.
- Build in proper edge restraint.
- Stabilize transitions and low edges.
- Check finished heights before setting.
If the downhill edge behaves like a retaining condition, treat it accordingly. The paving surface alone will not hold the assembly in place.
Creating proper drainage and grading
Drainage and grading should be established before tile or pavers are placed. Trying to correct pitch during setting usually leads to uneven support, trapped water, or visible irregularities in the finish surface.
Best practice includes:
- Setting elevations from a fixed reference.
- Maintaining a consistent fall away from the structure.
- Eliminating low spots and reverse pitch.
- Protecting drain locations during installation.
- Checking transitions at thresholds, steps, and coping.
A clean surface is not enough if water stays underneath or washes out the support layers.
Laying pavers while maintaining alignment and stability
On a slope, layout control matters from the first row. Start from the most secure reference line and keep checking joint spacing, plane, and bearing as the field progresses. Do not rely on visual correction alone once the pattern begins to move.
For concrete pavers, the focus is on stable bedding, joint consistency, and restraint. For porcelain pavers, the priority is full support, accurate cuts, and careful handling during placement.
This is also where low-quality lippage-control systems can create problems. If clips do not break cleanly, leftover plastic can be difficult to remove without damaging the edge. On outdoor porcelain, that kind of rework can easily lead to chipped corners or full tile replacement.

Installing pavers on a steep slope: extra reinforcement techniques
When installing pavers on a steep slope, standard methods may not be enough. Extra reinforcement is often needed to keep the assembly stable and prevent the downhill side from becoming the failure point.
Depending on the site, that may include:
- Stronger edge restraint.
- Small retaining elements.
- Segmented layout zones.
- Intermediate steps or landings.
- More frequent grade checks during installation.
In some cases, the best solution is not one continuous paved plane but a broken-down design that reduces the effective slope.
Tools and equipment for working on sloped surfaces
The right tools improve both safety and finish quality on sloped projects. Heavy materials are harder to control on uneven ground, and dense porcelain requires reliable cutting equipment if exposed edges and tight tolerances matter.
Why suction cups improve safety when handling large pavers
Suction cups improve control when handling large or heavy pavers on a slope. They reduce the chance of gripping from fragile edges, twisting while carrying, or losing control during final placement on uneven footing.
That matters most with large-format porcelain, where breakage often happens before the piece is even installed. Using professional Suction Cups helps crews place units more safely and with less fatigue.
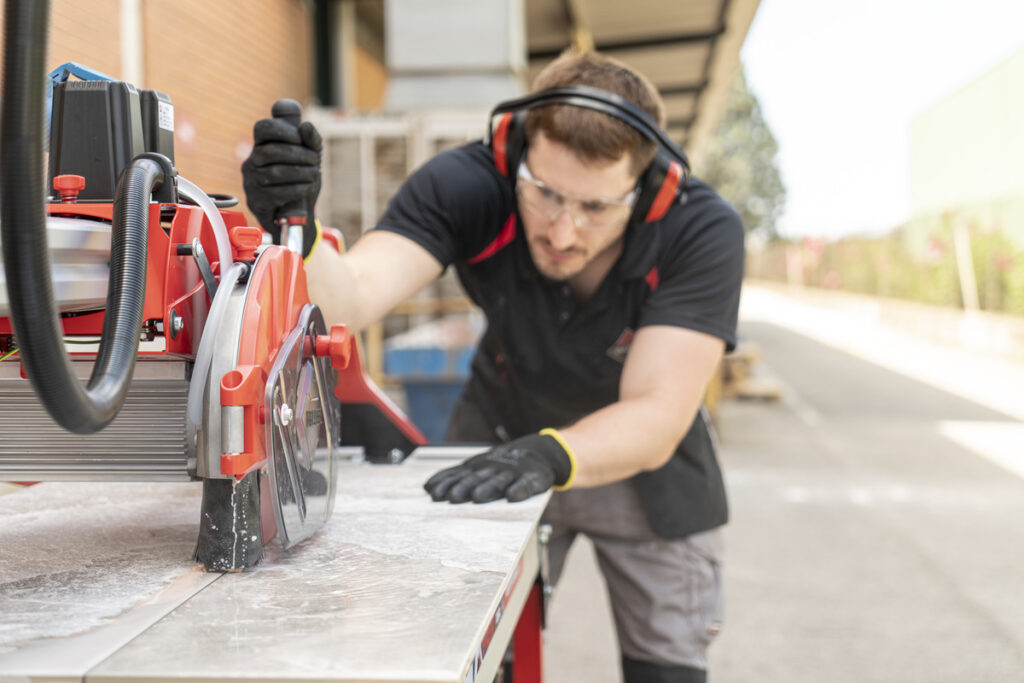
Cutting porcelain pavers with professional tile saws
Porcelain pavers are dense, hard, and less forgiving than many standard ceramic materials. On outdoor jobs, installers usually need repeatable cuts, clean edges, and enough stability to manage thick pieces without chipping.
That is why professional saws matter. For demanding outdoor work, the best results come from equipment designed for large-format material, straight guided cuts, and clean repetitive trimming. In many cases, that is more efficient than forcing the job through a light-duty setup.
For related equipment, see Tile Installation Tools and Manual Tile Cutters for Professional Installation.
Why thicker diamond blades perform better on outdoor pavers
Outdoor pavers and thick porcelain create more vibration and more edge stress during cutting than lighter interior tile. A thicker blade body improves stability, reduces deflection, and helps produce a cleaner cut on dense materials.
That is especially useful when the project includes:
- Thick porcelain pavers.
- Repetitive perimeter cuts.
- Exposed edges.
- Hard outdoor materials.
- Long straight cuts where blade stability matters.
For blade selection by material and application, see Diamond Blades.
Using adjustable pedestals for elevated outdoor installations
Pedestal systems are not another version of a compacted base. They solve a different installation problem by creating a level finished surface above a sloped substrate, typically in elevated exterior applications.
What adjustable pedestals are and how they work
Adjustable pedestals are support units that elevate porcelain slabs above the substrate. The cavity below allows water to drain away while the visible surface remains level and accessible for maintenance.
Their main advantage is that they separate the drainage plane from the walking surface. That makes them useful where the substrate needs slope, but the usable space does not.
Adjustable deck pedestals vs traditional base systems
Traditional base systems are designed for ground-supported paving where load is distributed through compacted soil and aggregate layers. Pedestal systems are better suited to structural environments where drainage, access, and elevation control are the priority.
Choose a traditional base for:
- Ground-level patios.
- Garden walkways.
- Poolside paving on grade.
Choose adjustable deck pedestals for:
- Rooftops.
- Balconies.
- Terraces.
- Elevated exterior decks with drainage below.
Deck supports for porcelain pavers on terraces and rooftops
Deck supports make porcelain practical on terraces and rooftops because they allow a level finish without burying drains or fixing every piece permanently into mortar. They also simplify access for inspection and maintenance.
Still, installers should verify:
- Tile thickness compatibility.
- Drain access.
- Perimeter detailing.
- Support spacing.
- Job-specific structural requirements.
A pedestal installation may look simple from above, but it depends on accurate planning below the surface.
Common mistakes when installing pavers on a slope
Most failures on sloped paving jobs come from trying to fix structural or drainage problems during installation. By that stage, the real error is already built into the project.
Poor base preparation
Poor base preparation causes settlement, movement, edge failure, and repeated callbacks. On slopes, the most common mistakes are shallow excavation, weak compaction, and inadequate restraint at the downhill perimeter.
Frequent site errors include:
- Skipping compacted lifts.
- Leaving soft pockets in the subgrade.
- Feathering the base instead of building it correctly.
- Starting layout before confirming heights.
- Assuming the finish material will compensate for a weak assembly.
Incorrect drainage planning
Incorrect drainage planning leads to standing water, erosion, staining, and instability below the paved surface. Even a well-installed finish will not perform if water cannot leave the area properly.
Typical drainage mistakes include:
- Pitching runoff toward the house.
- Ignoring low points.
- Blocking discharge with edging or landscape features.
- Forgetting maintenance access to drains.
- Creating inconsistent slope across the finished field.
Unsafe handling of heavy pavers
Unsafe handling causes both injuries and material loss. On sloped surfaces, large pavers are harder to lift, turn, and place accurately, especially if installers try to work without the proper handling tools.
Typical mistakes include:
- Carrying large pieces by the edge.
- Twisting while walking on grade.
- Adjusting heavy porcelain after the setting material begins to grab.
- Removing stubborn clip fragments carelessly.
- Reworking chipped edges instead of replacing damaged units.
Why professionals choose RUBI tools for outdoor tile and paver projects
Professionals choose RUBI for outdoor tile and paver work because sloped installations demand accuracy, safe handling, and clean cutting under tougher conditions. While our specialized suction cups and diamond blades manage the technical challenges of dense porcelain, the RUBI experience goes far beyond the tool itself.
We stand by the installer with dedicated field support and a global commercial service designed to solve real-world challenges on-site. Furthermore, we provide industry-leading peace of mind: all tools come with a robust warranty that can be extended up to 5 years by joining CLUB RUBI.
For installers working on patios, pool decks, and terraces, this combination of high-performance equipment and professional backing means less risk, fewer handling errors, and a more efficient workflow. You can explore the full range of Tile Installation Tools, Suction Cups, and Diamond Blades.

Post a comment