
When it comes to tiling and learning how to tile, there’s a lot of myths, questions and uncertainty towards a particular question: can you tile on wood? Simply, the answer is yes! By following some simple rules, you are not only able to tile on wood, but in fact there is no more difficulty to tiling on wood than there is on any other surface! And we’re here to tell you exactly what you need, to know how to tile on wood successfully.


Things to consider
When asking yourself, can you tile on wood, it’s important to note that because wooden floors bend, expand and shrink naturally, making it very easy for tiles to move and crack under the pressure if it you do not install them correctly.
If you are planning to tile over a wooden surface, one of the first and most important things you need to do is ensure the wooden subfloor has enough rigidity to not disrupt the tiles as well as selecting the correct tile adhesive, that is flexible to manage the small movements in the subfloor.
Common issues you may face
There are several typical problems that can arise that you need to consider when asking, can you tile on wood surfaces such as floorboards or chipboard floors.
1. Deflection due to load applied
The floor will deflect according to the stiffness of the structure and the load applied to the tile. If the adhesive is not flexible or laid thick enough to absorb the force and movement applied, there’s a high risk the tiles will begin to move and may crack.
This issue is particularly worse when working with large format tile, due to the size of the tile and added weight.
2. Expansion and contraction due to temperature rates
When there are changes in temperature, wood expands and contracts at a much higher rate than other surfaces and materials such as mortars, ceramics and stone.
So you need to take into consideration the right adhesive to use that can effectively manage the changes in the wood.
3. Expansion and contraction due to moisture & humidity
Whether it’s due to atmospheric humidity or from water spills, wood swells when it gets wet. This can be a big problem, particularly if you’re tiling over wood in wet areas such as a shower or bathroom.
It’s also important to remember, if you are planning to tile over wood in areas such as these, you must make sure the wood is not wet before you plan to install your tile.
4. Movement joints
Tiling directly onto floorboards, can come with added risks as movement beneath the tiles could result in unwanted cracks and broken tiles. Hairline cracks can often start to appear, if there’s too much movement and interruption in the joint under the increased load of the tiles.
The joints can be supported by joists, which will reinforce the floor and remove the additional pressure from the tiles.
Step-by-step guide: can you tile on wood?
When it comes to your tiling project, always start by making sure the surface you are tiling onto, is even and secure to ensure a long-lasting finish. Here’s our step-by-step guide to answer your question: can you tile on wood.

1. Secure loose floorboards
The first thing you need to do is to make sure your floorboards are not loose. Make sure to check around your room for any loose or creaking floorboards that need to be secured down.
This will help you create an even surface for your tiles. When nailing down your floorboards, take extra care to watch out for any hidden pipes or wires to avoid causing any damage to them.
We recommend using shorter screws and looking for where the current screws are placed to nail alongside these will help you reduce the risk of causing damages to any pipes or exposed wiring. Typically, joists tend to run in the opposite direction to floorboards, so make sure to take this into consideration when you’re nailing down your floorboards.
Before moving onto the next step, as part of securing your floorboards, you should check to make sure your floor is even and level for when it comes to laying tiles. If your floor is not completely level, make sure to sand down these areas until your floor is even before moving on.
2. Choosing your overboard
Under British standards, the main material you should use to lay over your floor before tiling, this is backer board. Backer board is a lightweight, inexpensive material that is specifically designed for tilling installations.
We recommend using a backer board, as it will contribute to a longer-lasting, more durable tile installation. Another benefit of using backer board is the floor level. Due to the thickness needed for other materials to lay your tiles upon, this along with the adhesive will increase the level of the room.
Backer board however, provides a thinner option for your overboard and helps to maintain a more consistent floor level from room to room.
3. Laying the overboard
To properly secure your overboard to the floor, a combination of screws and adhesive should be used before you begin tiling, helping to create a smooth, level surface.
Working from one corner of the room to the other, cut the overboard to fit the corner of the room, and work your way around, piecing together your overboard. Once you have fully layered your room, you can begin to stick things down.
4. Using tile primer
Before you move on to tiling your floor, the next thing you will need to do is prime the newly created flat surface.
To prime your overboard, we suggest using a recommended primer for tiling wooden floors. Do not use PVA as a replacement to primer, as there is a high risk of water getting in behind the tiles and reactivating the PVA which can loosen your tiles.
This will help to promote better flexibility, waterproofing and adhesion to your adhesive and tile, resulting in a better bond and overall tile laying experience.
If you don’t use a primer, there is a strong risk of your overboard becoming damp which can prove difficult to work with and cause further problems once you’ve laid your tiles.
5. Mixing your adhesive
You are almost ready to begin tiling, but before you begin you need to mix and apply adhesive to the surface.
When laying tiles on wooden floors, it is important to choose the most suitable type of adhesive for your project. We recommend using a flexible adhesive and grout as this will react better to any movement from the wooden floor and reduce the risk of your tiles shifting and cracking.
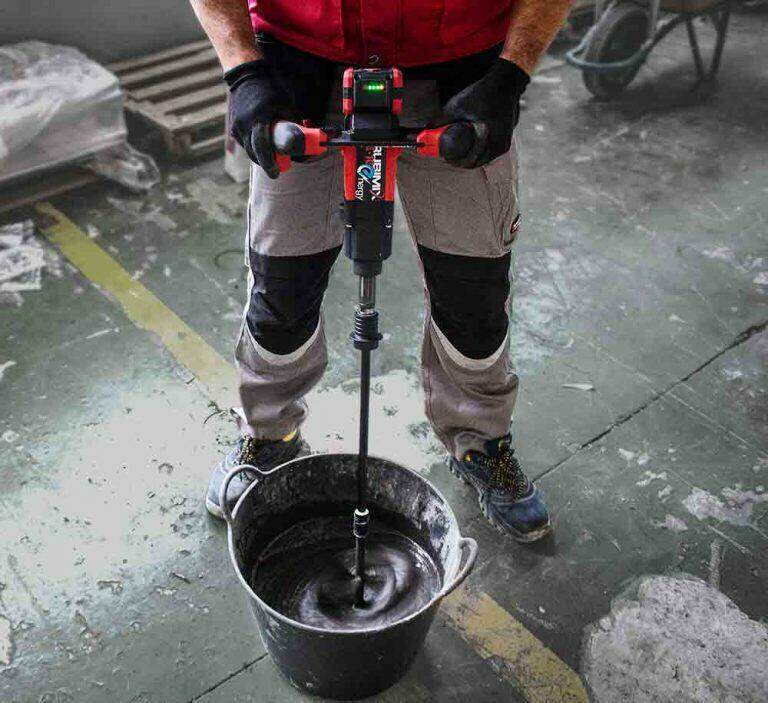
To correctly mix your adhesive, please follow the instructions on the manufacturers packaging as this will give you the correct measurements and instructions to follow to achieve the perfect consistency and bond for that adhesive.
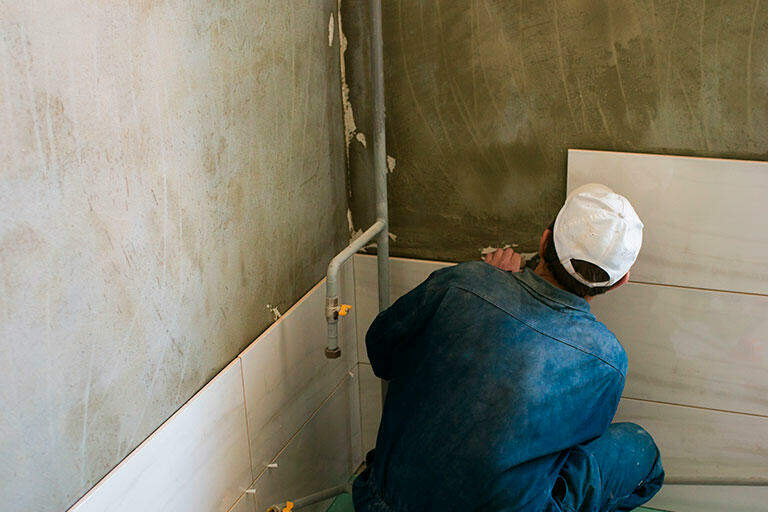
6. Lay your tiles
Once you have mixed your adhesive to the correct consistency, using a suitable sized trowel, spread your adhesive onto your surface.
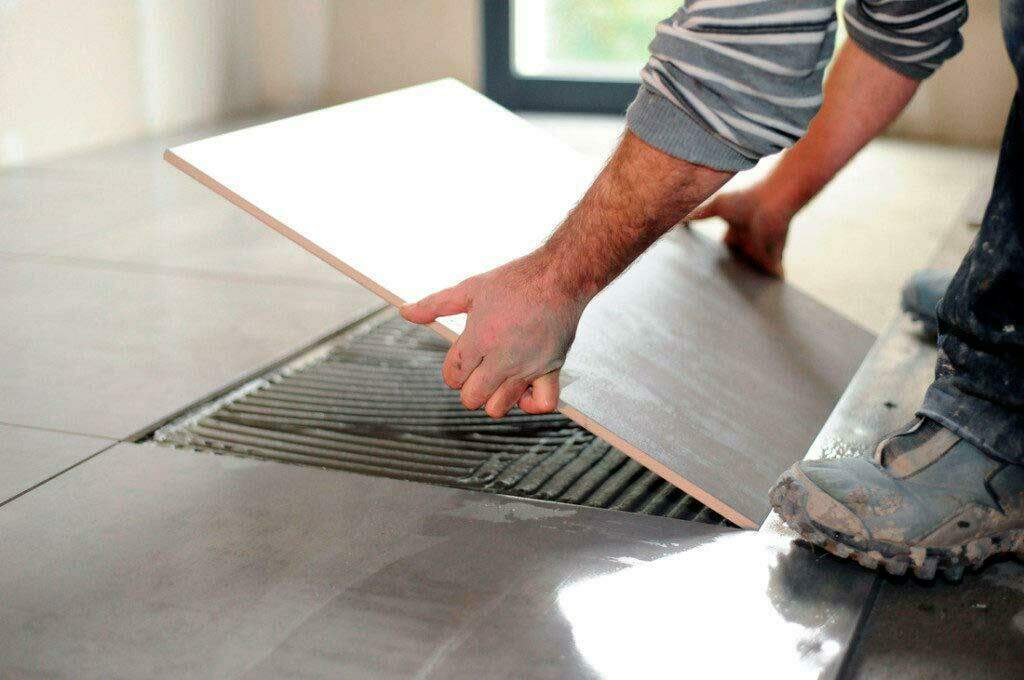
Finally, lay your tiles, remembering to ‘back-butter’ your tile with adhesive to help create a strong bond between the tile and the overboard.
And there you have it! We hope we’ve answered your question on ‘can you tile on wood’.
For more tiling tips and tricks on how to tile, please check out more of our blog articles here.

Post a comment