If you are looking for a new look for your patio, something modern and stylish, you could consider learning how to tile 20mm porcelain tiles. Learning how to lay outdoor tiles will give it a contemporary feel, although not the most cost efficient.


There are a number of ways to tile an exterior, the most economical is to tile over a concrete base.
Another option would be a PorcelQuick system that saves money and materials. It consists of a series of small pedestals created with sand and quick cement to which the tiles are then attached.
A third alternative is to go for a self-levelling pedestal system. These systems are ideal for small areas such as balconies and terraces and small patios. It is a matter of researching each system and choosing the option that best suits the needs of the installation.
The advantages of laying porcelain tiles outdoors are obvious. They are very easy to clean, look beautiful and blend well with the interior as there are many finishes available such as stone or wood imitations among others. They are also very hard, do not freeze and do not slip. Other solutions deteriorate much faster and require constant cleaning, but they will be cheaper. Finally, we must not forget that we will certainly need to cut some pieces, for which we will need specific tools.
MATERIALS NEEDED TO LAY OUTDOOR TILES
Let’s see what materials we need to lay tiles outdoors:
- The outdoor porcelain tiles themselves.
- Sandbags, mortar and cement for the base.
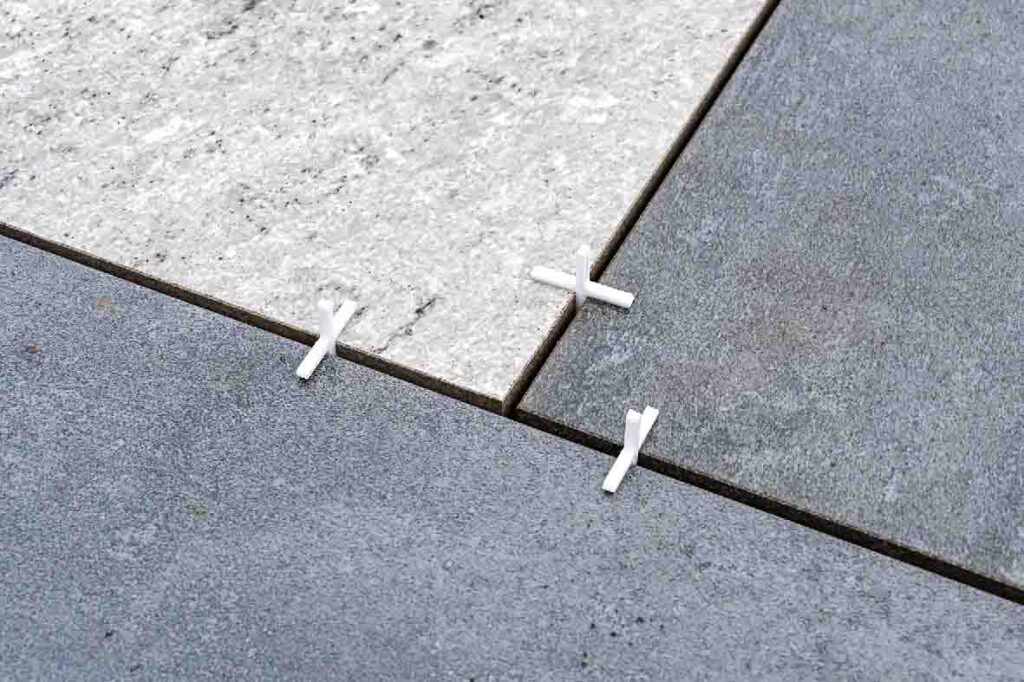
- Crosses and levelling systems to leave a perfect finish.
- Finishing joint to fill the joint between the tiles.
NECESSARY TOOLS
- In addition, we will need tools to work correctly when laying tiles outdoors:
- A mixer for the grout and adhesive, such as our new RUBIMIX Power Max.
- A manual tile cutter to fit the tiles or another cutting system for porcelain tiles.
- A level, the longer the better.
- A rubber mallet.
- A spatula to level the cement.
- A tape measure to take measurements.
- A wheelbarrow to move the materials around the patio.
- A shovel to work the materials.
- A joint trowel to apply the joint.
- Sponges and buckets for cleaning such as our RUBICLEAN systems.
We always recommend working with safety footwear, a mask at least FPP2 for working with adhesives, and gloves. Also lift correctly, keep children and pets away from the yard, try to work in good weather, and clean the area at the end of each day.

HOW TO LAY OUTDOOR TILES – STEP BY STEP
Now that we know everything we need, let’s get down to work.
1. THE BASE
Before we start we need to mark and prepare the area. We have the option of installing over the existing patio or removing everything and laying on top of the concrete. The first option will save time and money by not having to pick up debris.
However, if we are starting from scratch and working above ground, we need to create a base, usually consisting of about 5-10 cm of mortar and a protective membrane.
It is important to make sure that the patio will not accumulate water to avoid problems. This is why we need a minimum slope of 1.2 to 2 cm every metre. This ensures rainwater does not stagnate in the patio, and is instead directed to the right place.
2. PREPARING THE TILES
Porcelain tiles are not at all absorbent and require some priming to ensure good adhesion to the cement base. You will need to prime each tile and once the cement is mixed, lay the tiles.
3. MIX THE ADHESIVE
4. LAYING A TILE
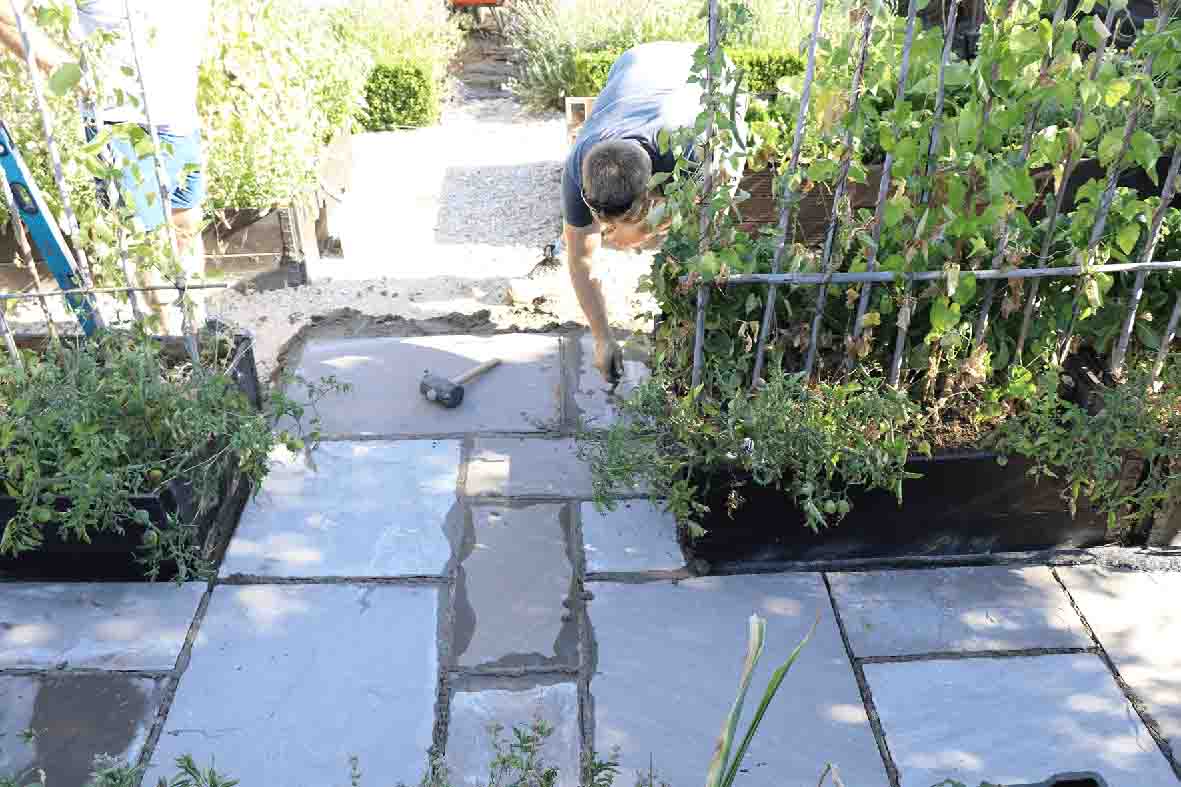
The first tile is the most important, it has to be perfectly aligned as it will be the base for the rest. Make sure you follow the line correctly, lay the tile, tap it with the rubber mallet and place it level with the help of the level. It is important to take your time with this and not to step on the tile until the adhesive has dried completely. We will go on laying the following tiles with the help of a levelling system and crosspieces to leave the joint we want.
5. LAYING THE REST OF THE OUTDOOR TILES
Make sure you place the crosspieces correctly and use the levelling system to achieve a perfect finish. It is important to check that each tile you lay is correct as after the adhesive has dried it is difficult to fix.
Once the time recommended by the adhesive manufacturer has elapsed, you can walk on the tiles and you are almost finished.
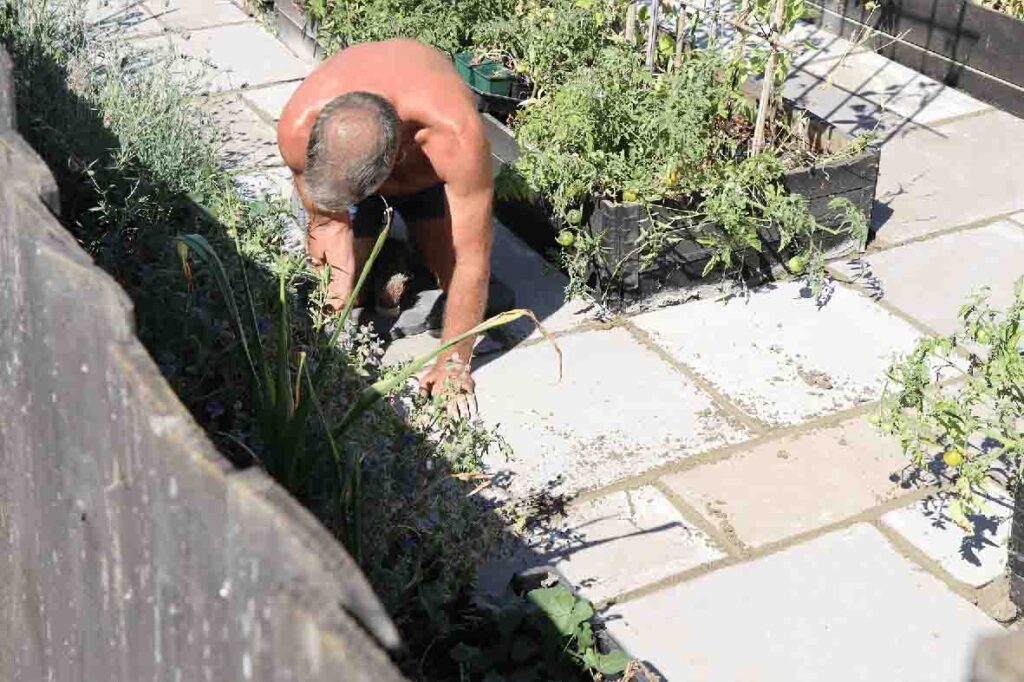
6. APPLYING THE JOINT AND CLEANING
This is a tricky part of the job. You have to mix the grout slowly to prevent it from drying out and clean it while it is still fresh to make it easier, so it is best to go slowly. We apply what we have mixed and clean it with a sponge before continuing. We use a grout trowel to apply it and do not hesitate to fill the joints well as it is the barrier against water and gives additional support to each tile.
7. ENJOY A JOB WELL DONE
Let us know what you think of this step-by-step guide on how to lay tiles outdoors, we look forward to your comments.

I blog quite often and I seriously thank you for your content.
Your article has truly peaked my interest.
I am going to bookmark your site and keep checking
for new details about once per week. I subscribed to your Feed too.