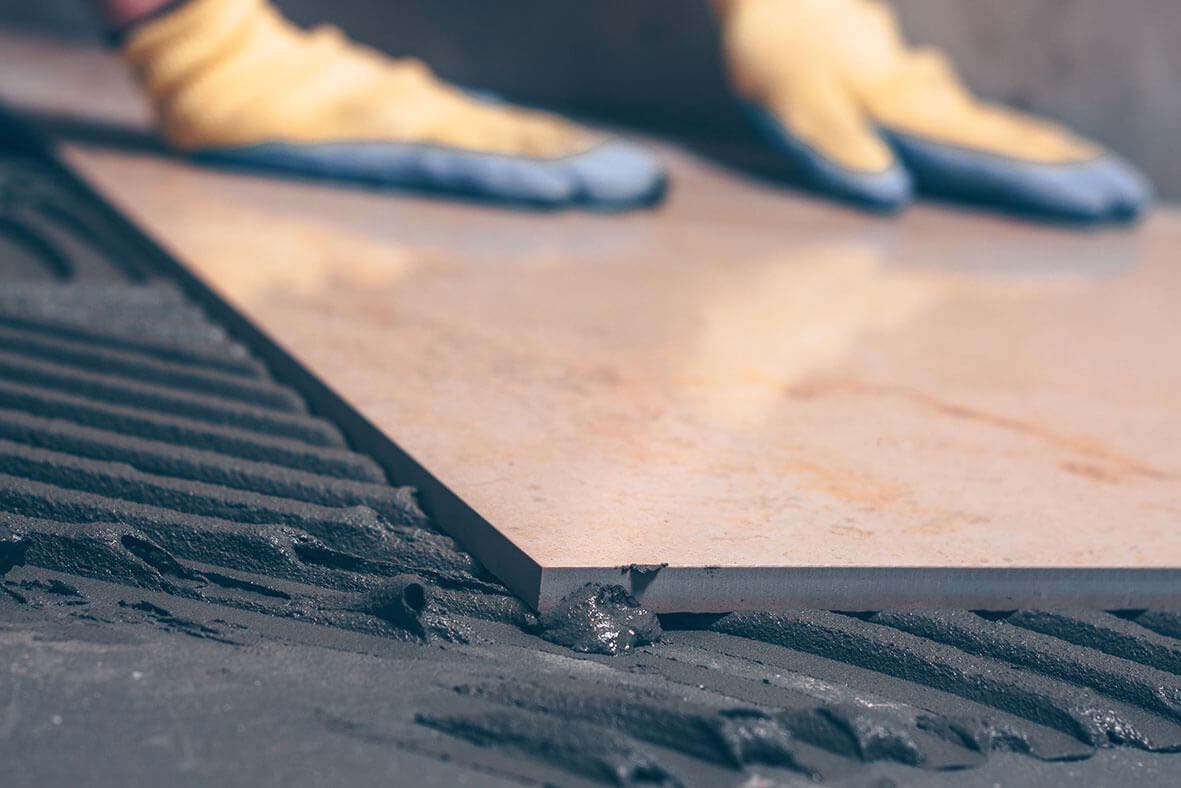
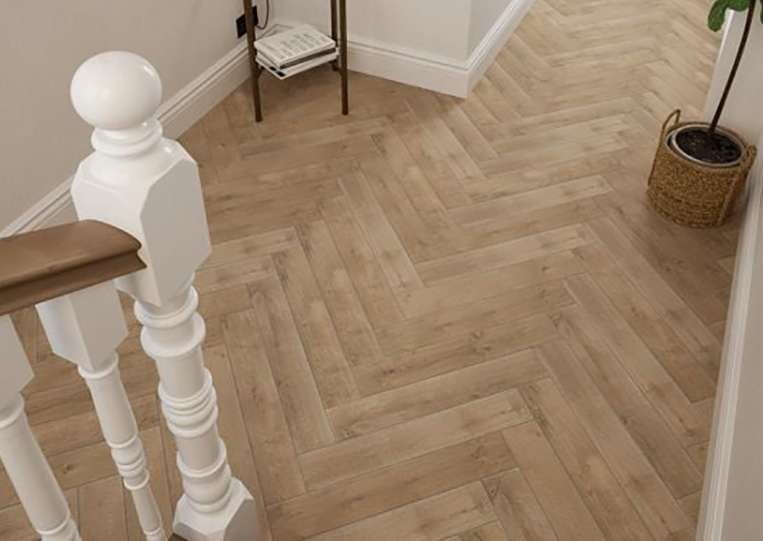
Knowing how to tile and how to cut floor tiles can completely transform and enhance the aesthetics and functionality of any space. However, achieving flawless results requires precision and skill, especially when it comes to knowing how to cut floor tiles to fit around edges, corners, and obstacles. In this comprehensive guide, we’ll discuss the tools, techniques, and best practices for mastering the craft of cutting floor tiles.

Tools of the Trade:
Before diving into the cutting process, it’s essential to familiarise yourself with the tools at your disposal:
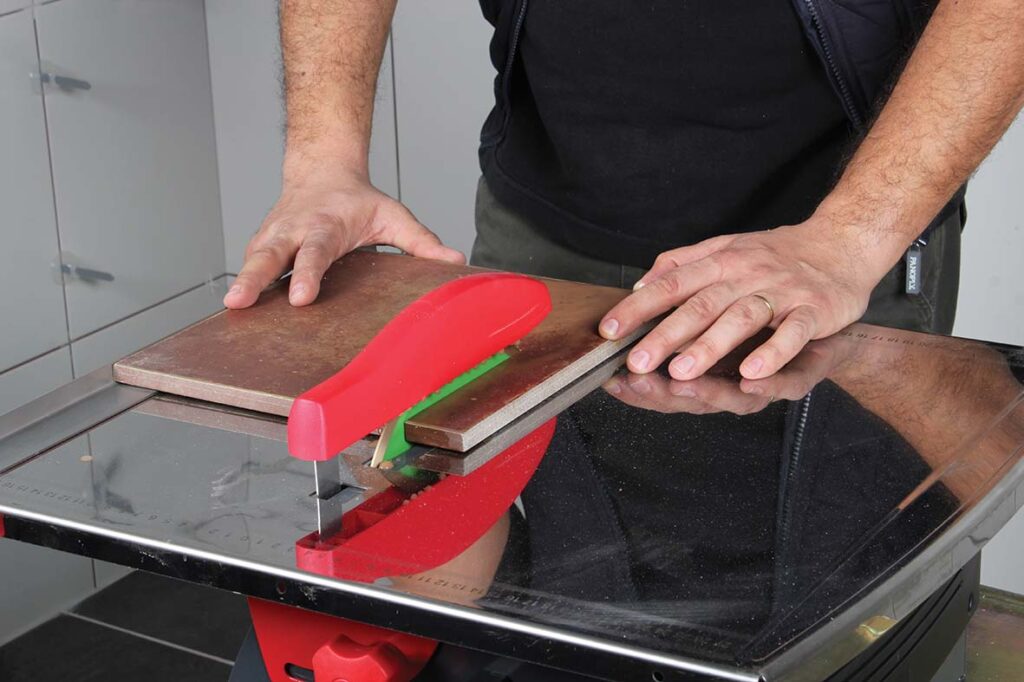
- Manual Tile Cutters: These manual tools are ideal for straight cuts on ceramic and porcelain tiles. They offer ease of use and are suitable for small to medium-sized tiling projects.
- Wet Saws: Wet saws utilise a diamond-coated blade and water to cut through a variety of tile materials, including ceramic, porcelain, and natural stone. They are perfect for precise cuts and are suitable for larger projects or tiles with intricate designs.
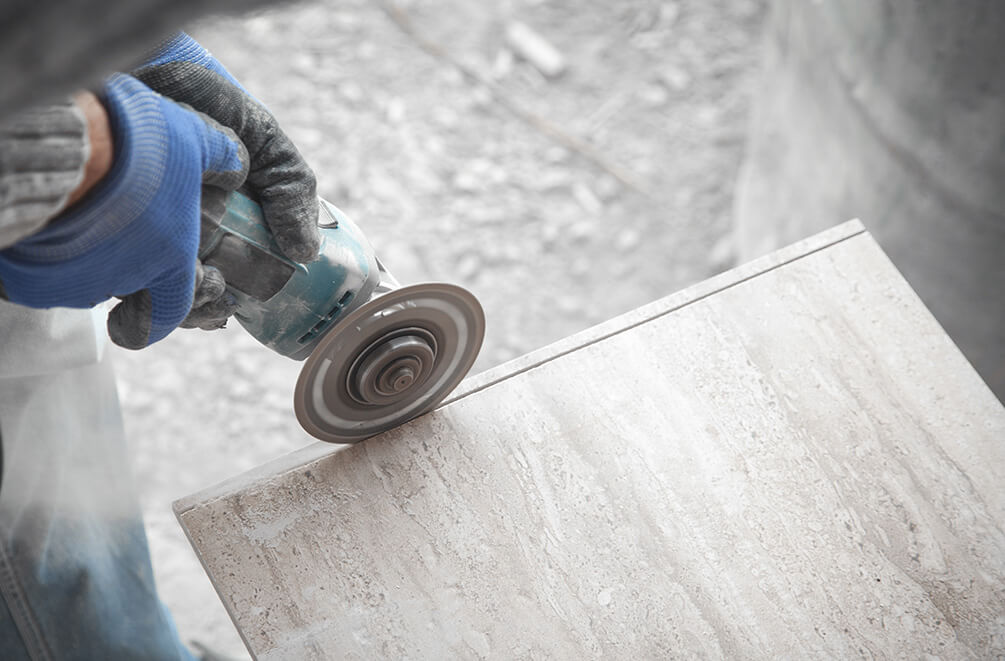
- Angle Grinders with Diamond Blades: Angle grinders equipped with diamond blades are versatile tools capable of cutting through even the toughest tile materials. They are ideal for cutting curves, notches, and irregular shapes.
Choosing the Right Tool:
Each cutting tool has its pros and cons, which largely depend on the tile material, thickness, and complexity of cuts required. But other factors that come into play include experience and space. If you are limited with space in your home or storage, then a large wet saw isn’t the best choice for you, and if you have never used an angle grinder before it might not be the way forward for learning how to cut floor tiles.
Below we have a list of pros and cons for each option:
- Tile Cutters: Pros include affordability, simplicity, and portability. However, they are limited to straight cuts and may struggle with thicker or harder tile materials.
- Wet Saws: Offering precision and versatility, wet saws excel at straight and angled cuts on various tile types. Nevertheless, they require a water source and can be bulky and expensive.
- Angle Grinders: Ideal for intricate cuts and irregular shapes, angle grinders provide flexibility and power. Yet, they require a steady hand and may produce more dust and debris compared to other tools.
Preparation and Marking:
Before making any cuts, proper preparation and marking are crucial:
- Measure Twice, Cut Once: Use a tape measure to determine the dimensions of the area needing tile. Double-check your measurements to ensure accuracy.
- Marking the Tile: Use a pencil or marker to mark the cutting lines directly onto the tile’s surface.

Cutting Techniques:
Now, let’s explore the step-by-step process for cutting floor tiles using different tools:
- Tile Cutters: Place the tile in the cutter, aligning the cutting line with the scoring wheel. Apply slight pressure to score the surface, then press down on the handle to snap the tile along the scored line. You don’t need too much pressure to make the cut, let the scoring wheel do the work. Too much pressure can result in a chipped tile surface, and a rough cut.
- Wet Saws: Adjust the saw’s guide bar to the desired cutting width. Turn on the saw and slowly pull the blade through the tile. The cut should be slow, allowing the blade to do the work. You can listen to the sound of the motor as it’s cutting through the tile. If it changes pitch that is an indication that you are pulling the blade through the tile too quickly, which results in a poorer quality of cut. Remember to use steady pressure. Ensure the water reservoir is filled to prevent overheating and minimize dust.
- Angle Grinders: Attach a diamond blade to the grinder and adjust the blade guard to the appropriate angle. With a firm grip on the grinder, carefully follow the marked cutting line, making small, controlled movements until the desired cut is achieved. For some tiles, if they are thick such as 2cm, it can be best to use the blade to cut 10mm deep into the tile along the length of the marked line, and then go back to the start and cut through the full width. In this way you can elongate the life of the blade and get a smoother quality of cut.
Safety First
Regardless of the cutting tool used, you should always wear appropriate PPE (personal protective equipment). This can be safety gloves, goggles or glasses, ear defenders, and dust masks.
While you might think that wearing PPE can be over the top for some work, it’s important to remember that no matter which tool you decide to use there is always the risk when cutting tiles. Dust and debris can get into your eyes and mouth while you cut and affect your eyesight, along with your breathing.
When making wet cuts with a saw or grinder, tiles can become slippery, and it can be easy to lose your grip. This is why it is always recommended to wear work gloves with a grip texture to aid you.
Mastering the art of cutting floor tiles requires patience, practice, and attention to detail. By choosing the right tools, employing proper techniques, and prioritising safety, you can achieve professional-quality results in your tiling projects. With these guidelines in hand, you’re ready to tackle any flooring renovation with confidence and precision. Happy tiling!

Post a comment