
So you’ve decided your room is in need of an update. Your current décor is not to your taste and it’s time you gave it a bit of a makeover. Maybe you’ve already found some stylish new tiles to install. But there’s a problem! Your current walls are still covered in your old, outdated tiles and you’re not sure how to remove tile from wall. Don’t worry – tile removal is a simple job! In this article on how to tile, we’ll tell you everything you need to know about the process.

How to Remove Tile from Wall
SAFETY IS KEY
Before you start, it’s important to consider safety. Once you start loosening and chipping away at your tiles, it’s likely that shards will break and fly around the room.
Make sure you are wearing safety goggles and protective gloves. These will protect your eyes and hands from any sharp pieces of tile that may shoot out from the wall when you’re working.
COVER THE ROOM
Before starting to remove tile from a wall, it’s also important to protect the rest of the room around you. For example, during bathroom renovations, the presence of large, sharp tile pieces falling from the walls poses a significant risk of scratching your bathtub, shower tray, or sink.
Before you start to remove tiles from the wall, make sure to cover these up! We suggest using cardboard or some old sheets to protect your fixtures or sanitary fittings from any damage.
GRAB YOUR TOOLS
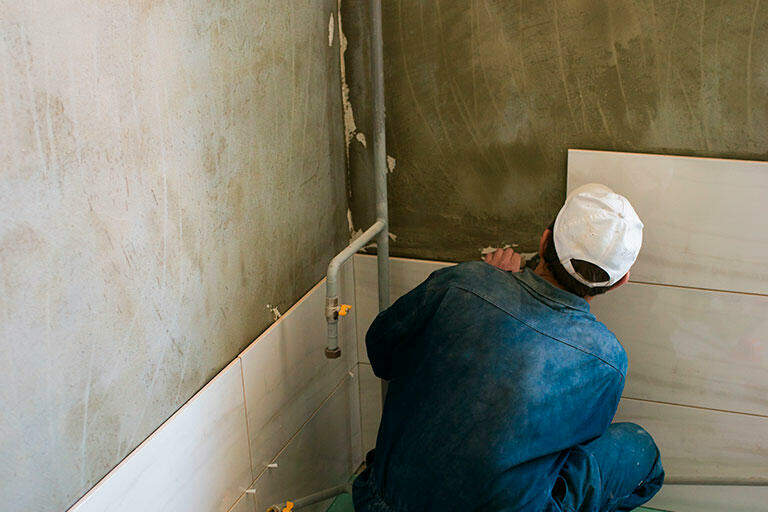
Now that you’ve got on your protective gear and have prepared your room, it’s time to begin removing tiles!

REMOVE THE GROUT
Before starting to removing tile from walls, the first thing you need to do is scrape out the grout between your tiles. This will help to loosen the tiles and allow you to achieve a much easier and cleaner removal. It will also reduce the likelihood of tiles chipping and snapping, which is useful if you were planning to re-use the tiles or recycle them.
To remove tiles from your wall with ease, particularly for cement-based grout joints, we recommend using the RUBISCRAPER. This tool will enable you to maintain and control the depth of the grout removal. This reduces the risk of chiselling too deep into the wall and causing problems later on when it comes to re-tiling.
The RUBISCRAPER’s tungsten carbide blades also use a pneumatic like action rather than friction when removing the grout. This means that, unlike other methods such as a grinder, this tool will not generate dust. This minimises the need for frequent cleanups and eliminates the health risks associated with inhaling dust particles.
The self-guided system will also allow you to stay inside the joint, lowering the risk of damaging or breaking the tile when removing the grout. The RUBISCRAPER also has an ergonomic design that will give you greater comfort and stability when carrying out this work.
HAMMER AND CHISEL
Now that you’ve removed all the grout, it’s time to remove these tiles from your wall!
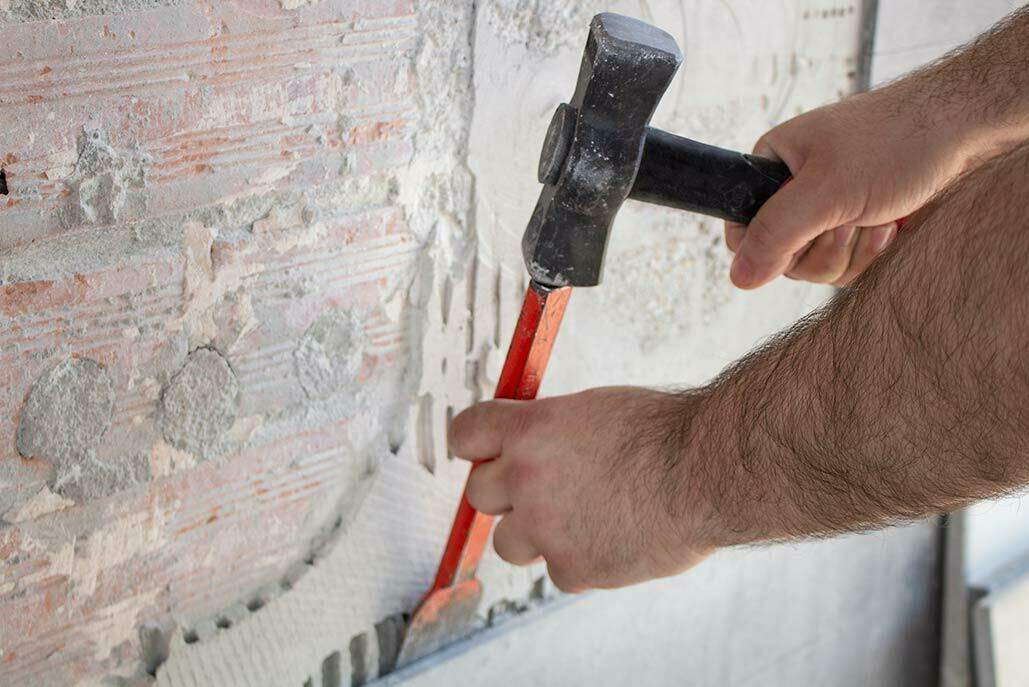
For this step, all you’ll need is a hammer and a chisel. The first tile you remove will usually be the hardest as there’s no easy access from the sides.
To use the chisel effectively, insert it between the wall and the tile, using the recently removed grout lines to facilitate access between the tiles. Then, gently tap the end of the chisel with a hammer to apply pressure.
This should start to loosen the tile from the adhesive on the wall. Depending on the size of your tiles and how well bonded they are to the adhesive, you may want to repeat this process in a few different spots along the back of the same tile to get it to completely loosen from the wall.
Once you’ve removed the first tile, you can use the new exposed edges to begin to target the surrounding tiles and gaps behind the tile.
To safeguard the floor, ensure it is adequately covered with multiple layers of protective material. This precaution significantly mitigates the risk of tiles falling and causing damage to the floor surface..
REMOVE THE ADHESIVE
Once all the tiles have been removed, the next thing you will need to do is scrape off the remaining adhesive from the wall.
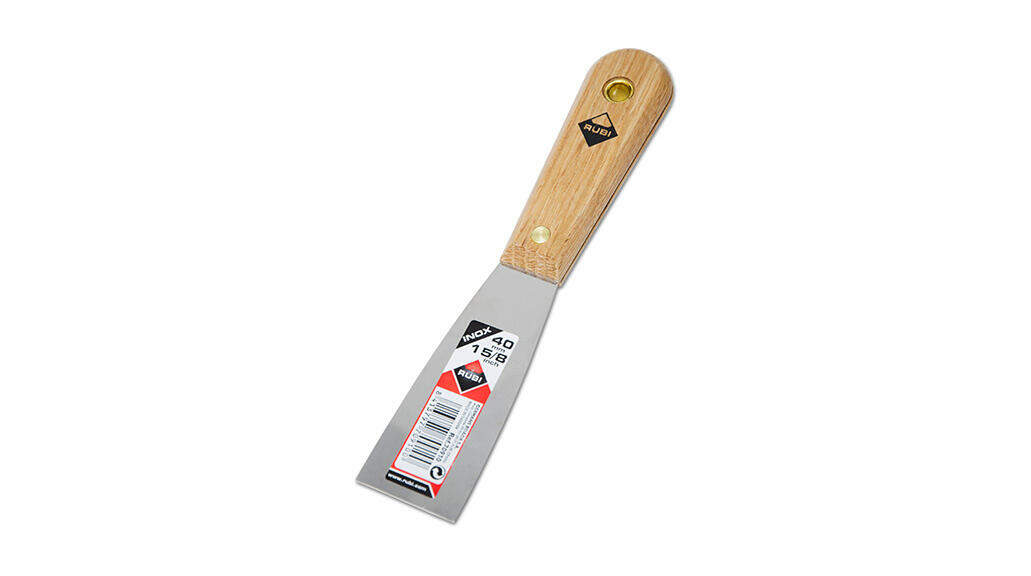
To complete this task, all you need is a putty knife. Use it to carefully scrape along the wall, removing any remaining adhesive residue. If the adhesive proves stubborn and partially rigid, you can apply additional force with your hammer to aid in its removal.
However, do be careful not to chip or dent the wall itself. This system won’t fully remove all the adhesive. To make sure all areas of the wall are level, sand down any remaining areas that are uneven. This is highly recommended if you are planning to re-tile the wall, as this will ensure that your new layer of tiles are completely even and you can maximise bonding between your adhesive, wall and tile when re-applying it.
CLEAN THE AREA
You’re almost finished! To wrap up, use a dustpan and brush to gather any loose tile pieces or excess dust that remain. Then, thoroughly vacuum the area to make sure you’ve picked up any small tile fragments and dust particles.
And that’s it! You now know how to remove tile from wall successfully.
For more tiling tips and tricks, please check out more of our blog articles here.

Post a comment