
In the following article, you will find the best tiling tips and everything you need to know for a successful tile installation.

12 Top tiling tips
We will discuss some of our top tips to think about when starting your tiling project to leave you with all your boxes ticked and hopefully less hick-ups along the way.
1. Check and then double check your measurements
All too often we’ve been in this position. We’ve measured the space where we need to tile, marked it and made the cut, only to find when we’ve gone to lay the tile… it’s the wrong measurement.
Particularly on the first cut, once you’ve made your measurement and are working it out on the tile, make sure to double check your measurements to ensure there’s no errors. It’ll save you a wasted tile & some choice words.
2. Check where your cuts are going to be

When you’re mapping out the plan of your tiling installation, always make sure to plan where your cuts are going to be.
If you don’t plan ahead, you may end up with slither cuts at your edges. This can be done by dry laying a row your tile to see where the cuts will be needed.
By planning ahead, you can make sure your last tile doesn’t need to be cut by more than half or require a thin cut to finish. If it does, you can shift your starting point to allow your tiles to end with even cut tiles that wont stick out, leaving you with a much cleaner finish.
3. Always follow the instructions on the bag when mixing adhesives and grouts
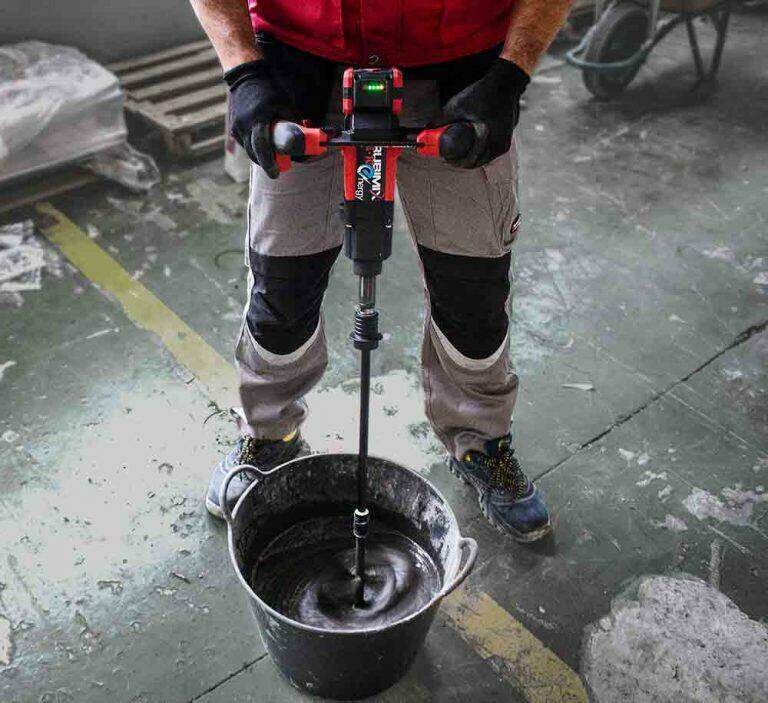
The best advice to give when mixing adhesives and grouts, is to read the instructions the manufacturers put on the bag.
There are several different types of adhesive and grout, and brands that will all have varied instructions and measurements to follow to achieve the perfect consistency and bond for their adhesive.
Follow the instructions printed on the bag and continue to mix both your adhesive and grout until fully combined and the right consistency.
You want to be able to apply the mix to the wall without dropping too much, while still being workable enough that you can manipulate the tiles a little after applying them.
4. Use tile levelling systems even on wall tiles larger than 300x300mm
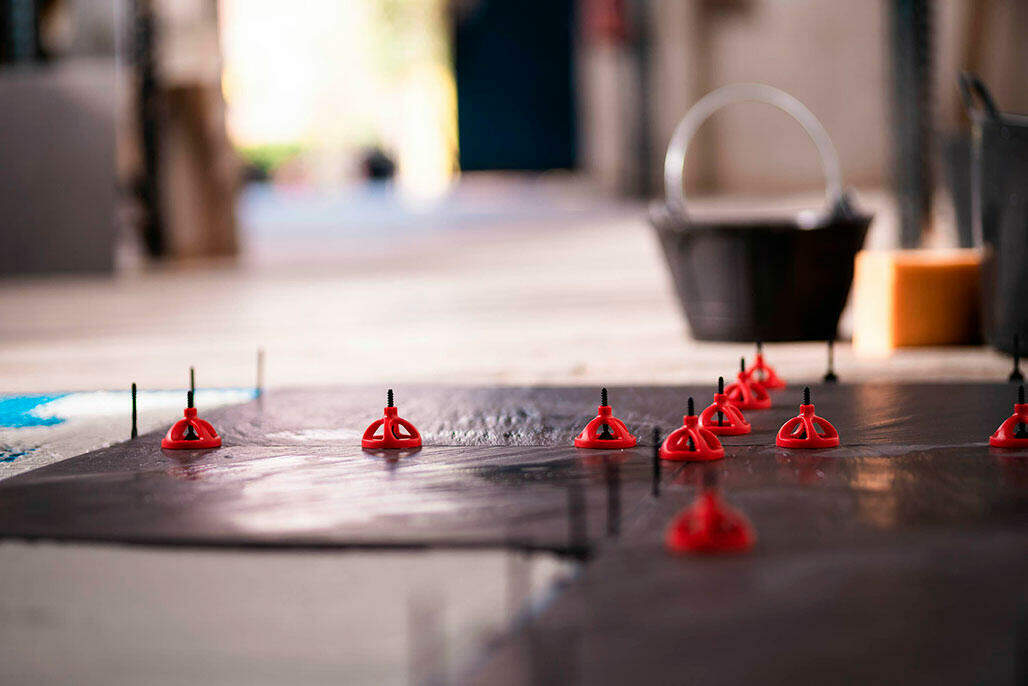
Any tile larger than 300x300mm is considered large format.
Therefore, if you’re working with large format tiles, it’s important to use a levelling system. Using a levelling system will help you remove the differences in level & tile lippage that can commonly arise between large format tiles and prevent further issues occurring over time.
Adding clips between your tiles and a wedge to apply sufficient pressure between the tiles will help prevent lippage and easily leave you with a flat surface.

5. Use a self-leveller on the floor if you have electric underfloor heating
Tiling over underfloor heating can bring up a number of issues. We recommend using a self-levelling compound when tiling over underfloor heating as this will drastically reduce the risk of any damage caused to the cables when laying floor tiles.
Using a self-levelling compound will help to protect your wires and avoid any potential damage when trowelling the adhesive. It is also beneficial if you want to or must replace the tiles, you have a much lower chance of damaging the system when bringing the tiles up as it’s separately enclosed.
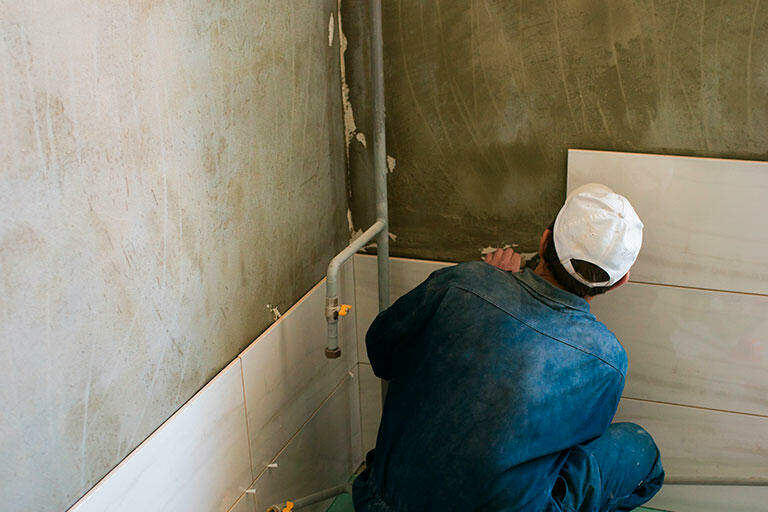
6. Make sure you have the right trims (i.e. tile to carpet or tile to laminate) before starting
Making a transition between different materials such as tile to carpet, can be a great way to update your space with a new and different texture.
There are a number of different transitional options and trims to choose from that will help make a smooth transition onto your other surface.
If you’re looking to make a transition from tile to carpet, its easy to see this as an easy enough job.
One of the key issues that make the transition from tile to carpet so prone to mistakes is thinking ahead to laying your tile. Remember, you need to consider the adhesive and how you will fit your trim when selecting the right size to install.
Often, when using trims for the transition, you are tiling onto the trim to lock it in place with your tiles. We also recommend choosing a trim that is one size bigger than your tile; this will account for the adhesive added and thus ensure the tile fits in the trim once the adhesive and tile has been laid.
7. Always try to remove sinks and lift toilets to avoid wasteful cutting

Tiling around a toilet base may seem like a more efficient and easier solution at the time, but we assure you this can prove to be a lot more hassle than it’s worth.
For one, you will need to make sure your measurements around both your toilet and sink are perfect before cutting your tile, as well as siliconing around the line where the tile meets the toilet in order to give a seamless transition look and avoid ugly looking cuts.
This also becomes a greater hassle if in the future you need to replace or ever plan to update your toilet with a new style, as the tile has been cut to fit that exact shape.
We suggest removing your toilet and sink, around tiling around the flange so your toilet sits over a full tile. This will not only save you the hassle down the line, but will leave you with a much cleaner finish.
8. Ensure you have the right trowel sizes for the tiles.
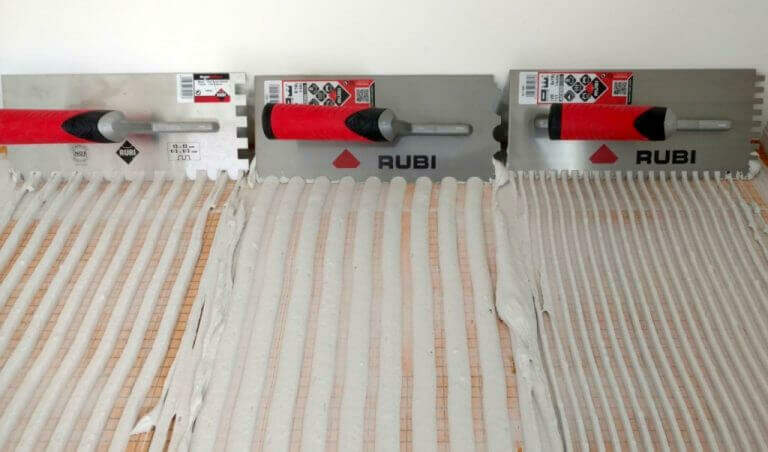
Always make sure before beginning to trowel, you are using the right trowel sizes for the tiles you are laying.
The trowel size determines how much adhesive to put on the surface as well as how thick the bed of adhesive will be under the tile.
As a general rule; the smaller the size of the tile, the smaller the trowel size or the larger the tile, the bigger the trowel notch size you will want.
9. Don’t scrub the grout too soon!

Another tip for when it comes to cleaning your grout lines, is to let the grout harden slightly before you clean off the excess.
In doing this, you will avoid any dripping grout joints which will spoil your finish. Make sure to not let the grout go dry or harden too much as it will be a lot harder to clean off.
It’s always easier to work in small sections at a time, to avoid this issue arising.
10. Change the water regularly when cleaning the grout off
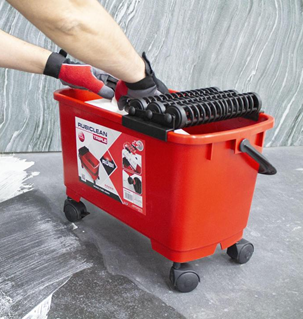
A top tip that may seem obvious is to make sure you regularly change the water in your bucket when cleaning your grout lines.
By doing this you ensure that you’re properly cleaning the surface and don’t risk spreading grout residue on your newly laid tiles.
11. Watch professional online tutorials if needed
Another easy tip to follow if you’re ever not sure is to simply watch a professional online tutorial where possible to make sure you’re doing it right.
RUBI host a number of different product demos and tutorials on our YouTube page. You can check them out here!
12. Choosing the right machine for your job

When choosing the right machine to cut tiles, whether you’re using a manual cutter to score and snap tiles or a wet saw, make sure that you select the right machine that is suitable to cut the type of material you’re tiling with.
It’s also important when making, if you are going with a manual cutter, be sure to select the right scoring wheel. With the growing presence and popularity of large format tiles such as porcelain, you will need to choose a scoring wheel that work with these tougher materials.
For hard materials such as porcelain tiles, we recommend using the RUBI Extreme Scoring Wheel, which is specifically designed to suffer less wear during use and combat the hardness and thickness of these types of material.
We hope you found these tiling tips useful!

Nice information providing by your article and I would really like to thank for your article it’s really helpful….. Kind Regards Tiles steam cleaning company in dubai