

Choosing the right tiles can significantly impact the look, feel, and functionality of a space. Among the different options available, rectified porcelain tile stands out for its precision and versatility. Whether you’re an experienced designer or someone who loves doing it yourself. Understanding the nuances of rectified porcelain tile can elevate your tile installation to a whole new level. In this guide, you’ll learn exactly what sets rectified porcelain tile apart, its unique characteristics, and how to work with it seamlessly.

Benefits of Rectified Porcelain Tile
Rectified porcelain tile is a special type of tile that’s cut very precisely during manufacturing. It’s super smooth and has clean edges. This tile is designed to be tough and resistant to scratches and stains.
These tiles are also made to be the same size. Making them fit together perfectly without big gaps.
When laid, they create a smooth and clean look. With tile edges lining up neatly next to each other. You can find them in many different designs, colors, and textures to match any room style.
Rectified Porcelain vs. Other Tile Options
Before you begin your project, it’s important to make sure rectified porcelain tile is the best choice for your design needs. Consider the look and feel you desire for your space. Below is an overview of how rectified porcelain compares to other types of tiles.
Standard Porcelain vs. Rectified Porcelain
Standard porcelain tiles showcase a charming uniqueness through slight size variations. Their subtle differences add character and depth to the overall design. Providing a more artisanal and textured appearance to the finished surface.
On the other hand, rectified porcelain tiles offer a sleek, contemporary look with consistent tile dimensions and sharp edges. Providing a more streamlined and precise aesthetic.
Ceramic vs. Rectified Porcelain
Ceramic tiles often showcase a handcrafted appeal with their slightly irregular edges. Offering a touch of artistic uniqueness to each piece. While their edges may not be as precisely cut as rectified porcelain, ceramic tiles typically appeal to those seeking a more organic, rustic, or eclectic aesthetic in their spaces.
Natural Stone vs. Rectified Porcelain
Natural stone tiles inherently display significant variations in both size and shape due to their organic nature. They are often celebrated for their inherent beauty derived from their organic origins. Their unique variations create a rich, earthy aesthetic that cannot be replicated.
While rectified porcelain tiles offer uniformity, natural stone tiles provide a one-of-a-kind appeal that connects spaces with nature’s diverse and captivating patterns.

What You’ll Need When Working With Rectified Porcelain Tile
The hallmark of rectified porcelain tile lies in its precise dimensions. Offering a variety of sizing options to match different design preferences. Knowing the standard sizes and options for customization helps you create more intentionally designed spaces.
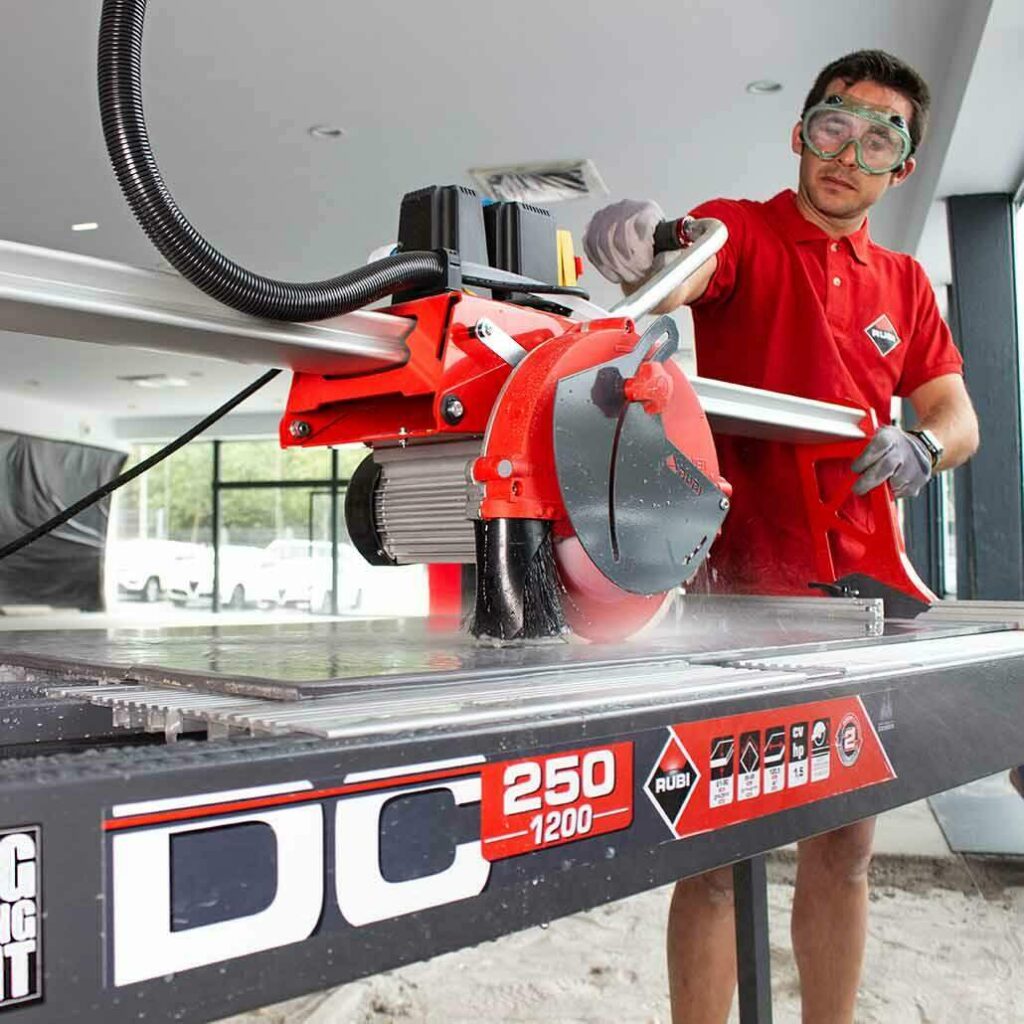
Specialized tools, like precise cutting instruments and leveling systems, are crucial for flawless installations. These tools ensure accuracy, a key feature of rectified porcelain tile.
Specialized tools for working with rectified porcelain tile include:
- Tile Cutter or Wet Saw: These precision tools are designed specifically for cutting porcelain tiles with accuracy without chipping or breaking
- Tile Nippers: Used for tiny adjustments or cutting curves for more precise shaping
- Tile Leveling System: This includes clips and wedges designed to make sure tiles are laid perfectly level and with consistent spacing
- Tile Spacers: Crucial for maintaining uniform spacing between tiles during installation for an even and professional finish
- Notched Trowel: Essential for spreading adhesive evenly on the substrate before tile installation, ensuring a strong bond and level surface
- Grout Float: Used for applying grout into the spaces between tiles for thorough coverage and a neat finish
- Grinder with Diamond Blade: Helpful for making precise cuts or shaping edges on the tiles during installation
- Level and Straight Edge: To verify that the tiles are laid flat and in alignment, ensuring a polished overall look
These tools are designed specifically for rectified porcelain tiles, making handling and installation more precise. Helping contribute to a flawlessly executed project.
Although rectified porcelain tile is really durable, sealing it carefully can make it even stronger. Following the suggested sealing schedule keeps your tile looking great for much longer.
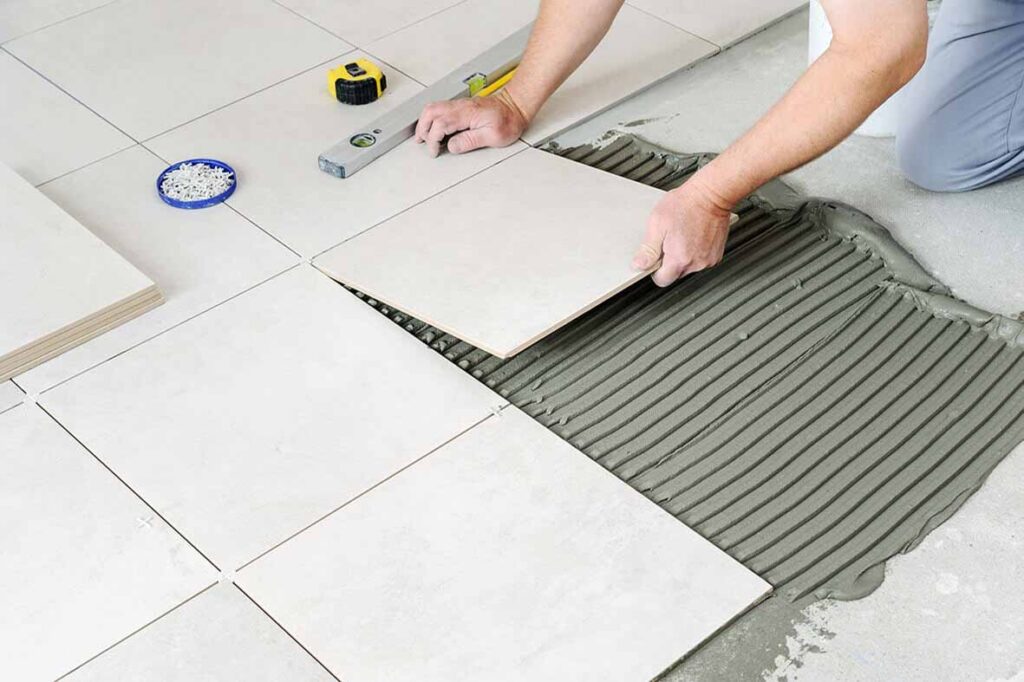
How to Lay Rectified Porcelain Tile
Laying rectified porcelain tile involves precision and attention to detail. Here are the general steps:
Prepare the Area
Ensure the surface is clean, flat, and free of debris. Measure the area to determine the layout, ensuring the tiles fit evenly across the space.
Gather the necessary materials, such as tile adhesive, spacers, a tile cutter or wet saw, a trowel, level, grout, and a grout float.
Apply Adhesive
Spread the adhesive on the surface using a notched trowel. Work in small sections to prevent the adhesive from drying out before placing tiles. Use the trowel to create grooves in the adhesive for better tile adhesion.
Tile Placement
Measure and mark tiles that need cutting for edges and corners. Use a tile cutter or wet saw to make precise cuts on the marked tiles.
Start at the center of the area and work outward. Place tiles firmly into the adhesive, using spacers to maintain consistent gaps between tiles. Use a level regularly to ensure the tiles are even and aligned.
Allow the tiles to set in the adhesive as per the manufacturer’s instructions. This typically takes 24 hours.
Grout Tile
Once the tiles are set, remove the spacers. Prepare the grout mixture following the instructions on the packaging. Apply the grout using a grout float, pressing it into the spaces between the tiles at a 45-degree angle.
Make sure to remove excess grout with a damp sponge before it dries. Consider sealing the grout to protect it from stains and moisture. Let the grout dry as per the manufacturer’s instructions. Buff away any grout haze on the tiles with a dry cloth.
Tips and Best Practices for Best Results
When you’re working with rectified porcelain tiles, there are a few things to consider for a great design. Decide how you want your tiles to look when they’re placed together. You can create cool patterns by arranging them in different ways.
You can use tiles of different sizes together to make your space look interesting. Think about how different sizes can work well together.
Before starting the installation, plan the layout of the tiles to minimize cuts and achieve a balanced look. Especially if you’re dealing with irregular room shapes.
Rectified tiles have very straight and precise edges, allowing for minimal grout lines. Opt for thin grout lines to achieve a more seamless and modern look. Use a high-quality thinset mortar to adhere the tiles to the substrate. This ensures a strong bond and helps maintain the tiles’ alignment.
Pay close attention to the alignment and spacing of the tiles during installation. Rectified tiles are unforgiving when it comes to imperfections, so precise placement is key.
Regularly clean the tiles using a pH-neutral cleaner to preserve their appearance. Avoid harsh chemicals or abrasive cleaners that might damage the surface. If you’re not experienced with tile installation, consider hiring a professional. Proper installation is crucial for rectified tiles to achieve a polished look.
Common Problems and Fixes When Working With Rectified Porcelain Tile
Sometimes (despite being rectified) tiles might not align perfectly due to irregularities in the substrate or improper installation techniques. Ensure the substrate is flat and use leveling systems or spacers for accurate alignment.
Choosing the right grout is crucial. For rectified tiles with narrow grout lines, non-sanded grout is best. However, if the tiles have wider gaps, then sanded grout might be necessary. Always follow the manufacturer’s recommendations to avoid rework.
While porcelain tiles don’t typically need sealing, the grout does. Ensure the grout is adequately sealed to prevent moisture penetration and staining.
When installing rectified tile, keep in mind the floor needs to be flat. Not level, but completely flat. If not, the difference in elevation between two adjacent tiles will be magnified. If you’re using tiles longer than 15 inches on a side, they’re called large format tiles (LFT). Best practice dictates that the surface the tiles go on should be no more than 1/8 inch for every 10 feet.
Despite being rectified, color variation might exist among tiles from different batches. Always check and blend tiles from various boxes to minimize color discrepancies.
If you encounter any of these issues, addressing them promptly and correctly can prevent further problems and ensure a better finish. If you’re unsure about the best approach, consulting with a professional installer or contractor could be beneficial.
Mastering Rectified Porcelain Tile With Rubi Tools
Rectified porcelain tiles offer endless design options. Allowing for precision, elegance, and seamless integration into any space. However, working with this versatile tile requires attention to detail and the use of specialized tools.
Rubi Tools stands as a testament to the precision required in handling rectified porcelain tile. We offer top-notch equipment designed specifically for this type of tile. Be sure to check out some of our popular tools before starting your next project.

Post a comment