

Did you know that when it comes to cutting tile for a tile installation, you have more than one option? You can use a manual or electric tool. While both tools get the job done, your success using either one depends on how well you know how to use a tile cutter. For the novice or seasoned DIYer, a guide to best practices is a must. Here’s what you need to know before you cut that first tile.


Does It Matter Which Tile Cutter You Use?
Whether or not you’re up to speed on the latest and greatest DIY home improvement tools, you’ll appreciate a little knowledge about the most popular tile cutters on the market today. And yes, it matters which one you choose for your project.
Manual Tile Cutter
The manual tile cutter is the most basic tool you can use to cut tiles, but basic doesn’t mean you can just put a tile on it and be done. There is a technique, which we’ll cover in a minute.
In short, the manual tile cutter scores the tile, then you apply pressure with the breaker or separator to finish the cut.
Electric Tile Saw or Electric Tile Cutter
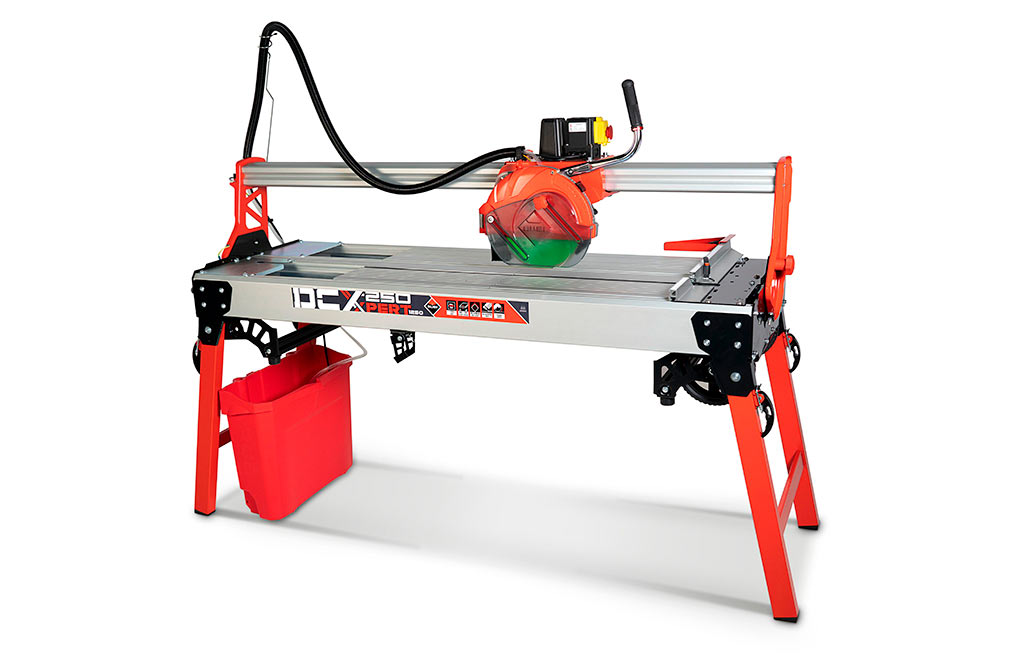
Electric tile saws, also called wet saws, use diamond blades cooled by water. They come in either a handheld version or as a standing table. Wet saws operate on electricity.
Picking the Best Tool for the Job
Even the most experienced tile installation professional puts proper planning into a project before digging in and cutting tiles. It may be second nature to someone with experience, but they still figure out how to handle the necessary cuts ahead of time.
A manual tile cutter is an excellent choice for smaller tile cutting projects because of its portability, though there are small and light electric cutters on the market if you look for them.
For larger jobs or those that require miter cuts, a wet saw is the best option.
Before You Make the First Cut
Whether you need a straight or diagonal cut, there’s a general process you go through before ever touching your cutting tool. It starts with a measuring tape and a pencil. However, there are alternative methods to dragging out the old tape measure!
First, decide how big you want the grout joint. Next, for those tiles that butt up against the wall, add 1/8 of an inch to accommodate the tile/wall gap. Finally, mark the tile on the glazed side with a pencil or water-soluble marking pen.
Tip: Electrically cutting tile creates dust and debris, so a face mask and eye protection are essential, as well as gloves to protect yourself from accidentally touching the diamond blade. Manually cutting tiles can result in sharp edges, so gloves are essential.
Ready to Score
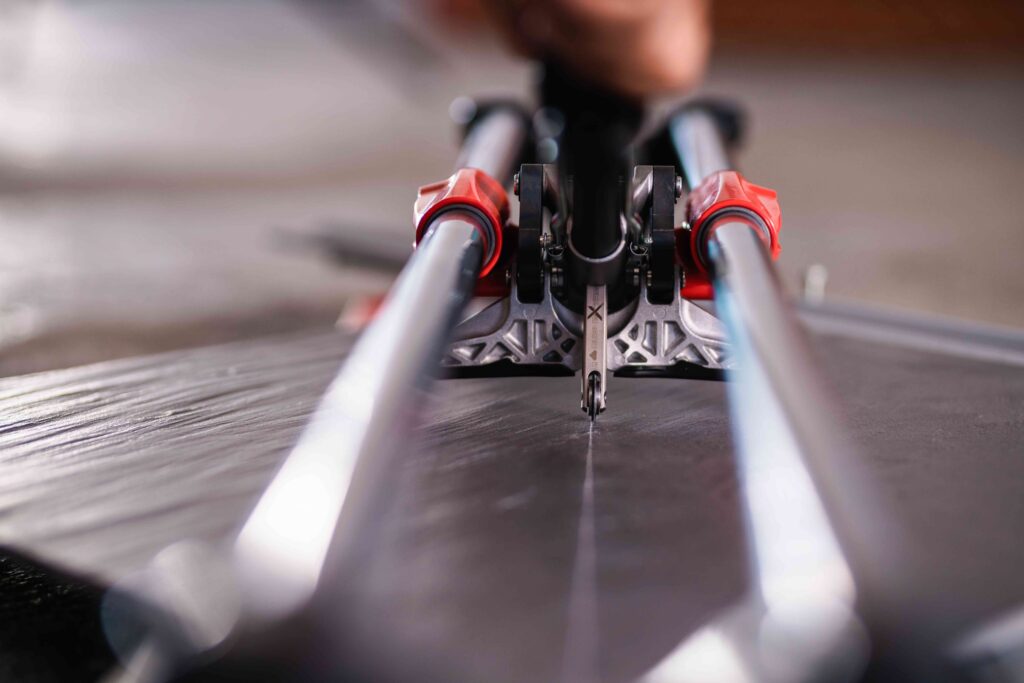
You can’t just set the tile on the cutter and go. First, make sure you push the tile snugly against the fence. Next, check that the line you marked on the tile sits right under the scoring wheel.
Think about pizza! Scoring tile is a little like cutting a slice. Using slight pressure on the handle, let the scoring wheel move forward across the tile. Just don’t get too aggressive, as it could cause the tile to crack.
Like pizza, you may want to score twice so that the mark is visible. Imagine what a slice of pizza looks like after too many passes with the pizza cutter. The cheese gets stringy, and the other toppings get mangled.
Over-zealous scoring will chip the glazed edge, and you’ll end up with a rough edge.
You’ll also want to make sure you use the right size scoring wheel. Scoring wheels come in sizes ranging from 6 mm to 22 mm.

The Art of the Cut
Maybe it’s not exactly an art form, but following best practices for using tile cutters include perfecting the art of the snap. You can make a mistake in measuring and marking because both can be corrected before you make the cut. However, once you’ve scored and cut the tile, it’s too late to make corrections.
The tile cutter does the work here with a bit of guidance, a.k.a. firm downward pressure, applied by you, on the handle of the cutting tool. Be careful not to slam the handle down and press hard. You want to use a firm hand but, at the same time, gently increase the downward pressure on the handle.
Why does this matter?
Your goal is to apply even pressure. Otherwise, you’ll end up with a messy cut. Firm pressure with a gradual increase forces the breaker to apply pressure evenly to both sides of the tile.
A clean cut means less waste. You can’t glue a jagged tile back together and start over.
Once you’ve scored, check the tile edges and, if necessary, use a rubbing stone or polishing pad to smooth any rough spots.
How to Use a Tile Cutter That Isn’t Manual
Don’t let the fact that professional tile installers use these tile cutters intimidate you! Anyone can learn how to use professional grade cutters with adequate time and extra tiles to practice with. You don’t need to go big either—a portable electric tile cutter can make any job easier, and there are many powerful options on the market that are great for beginners.
You can cut any tile on a wet saw. That said, there are certain tile materials that do better on this type of cutting tool, such as:
- Natural stone
- Porcelain
- Glass
- Commercial grade ceramic floor tiles
Using a wet saw means positioning it on a level, sturdy surface. Since it sprays water, you’ll want to use it in an area where you can clean up without too much fuss.
The key to using an electric handheld or table tile cutter is patience.
Make sure you’ve filled the water reservoir. Then, set the widest side of the tile between the fence and the blade. After you press the guard down over the blade, you can go ahead and turn on the saw.
Before you make the cut, allow the blade to reach full speed. Once the water begins spraying the blade, you’re good to go.
Use both hands and feed the tile slowly. Forcing it to move faster risks fracturing, chipping, or breaking the tile.
After you make the cut, turn off the saw and let it come to a complete stop. Only then should you remove the two pieces of tile.
Ready to Put Your Tile Cutting Skills to Use?
Whether you need to make straight cuts or your project requires diagonal, corner, or curved cuts, you can learn how to use a tile cutter without getting a degree in tile cutting and installation. We’re not even sure there is such a degree, but we can guarantee you don’t need one to use our tools!
RUBI Tools USA can help you select the best tools and accessories for the job, regardless of your skill level. Download our full catalog and start planning your next project.

Post a comment