

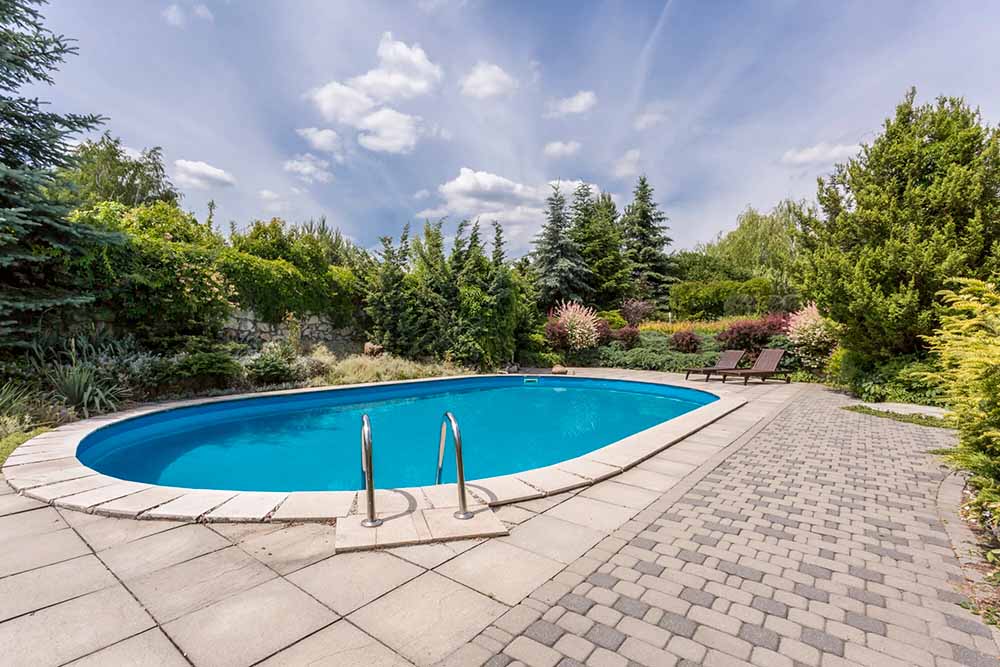
Over 7% of all American homes have the luxury of a swimming pool on their property. If you aim to join this prestigious group, you will need to ensure you install it correctly, and this likely includes a well-made tile pool deck. Though, would you know how to put one together if doing this yourself? This article aims to inform you of the steps you need to start pool deck tile installation yourself. By the end, you should know how to start the process and have all the information you need to enact a DIY solution you can be proud of to lay your own tile pool deck.

Planning and Preparation
Before you touch a single tile you will need to both ensure you prepare the area you plan to work in as well as get all the tools you need. The more work you do ahead of time, the more likely it is you will get great results.
Assessing the Area
Make sure you measure the whole area where you want to put the pool deck. This information will allow you to calculate the number of tiles you need, so you do not waste money on excess later.
At the same time as you make measurements, check the surface to see if there is any damage or other issues. If you have not laid down a foundation, this might include checking to see if there are pipes or other installations you might need to access later. You may need to divert these in case you want to repair or maintain them.
If you already have a deck in place, make sure it can both support the weight of any tiles, as well as that any tile adhesive will not cause damage to it. If it will, you may need to use a coating to ensure it retains its integrity.
Pool Deck Tile Layout and Design
Start planning how you wish to lay the tiles out on the deck. Start with paper plans, then move on to the physical space later, so you save time and effort. Also, check out other examples of pools for inspiration.
Think about aesthetic aspects such as symmetry, color theory, and highlighting specific areas of the pool. Also, if you need to add accessibility features of any kind, remember to bear them in mind. Also consider the shape of the pool and how your tiles will sit around them, as you may need to deal with awkward curves or angles.
When you move on to the deck itself, place down guidelines or mark the area out so you can put tiles down faster. This way you can have a good overview of what the layout will look like when standing near it before you even place a single tile.
Selecting the Right Tiles
When you shop for pool tiles, make sure you pick ones that exist for pool decks. Many different types of tiles exist, and some are more porous or have less friction. Both of these issues can impact the durability or safety of the area.
Of course, you should ensure you consider the aesthetic you want to aim for. As such, consider the material you want to pick and think about your options for texture, patterns, or colors. Find tiles that match your needs closer, though understand if specific options are not available you may need to update your plans.
The Best Tools for the Job
Having all the equipment ready means you will not need to go back and get anything you are missing later. Many sites offer detailed listings of all the items you might want, but you can expect to need to pick up the following:
- Trowels for mortar
- Tile cutters or wet saws for shaping tiles
- Levels and Straightedges
- Rubber mallets
- Tile spacers
- Grout floats
- Sponges for cleaning off excess material
You are likely to also need safety equipment such as the following:
- Goggles
- Gloves
- Knee pads
Of course, you will also want to have the tiles, mortar, and grout ready to use.
Cleaning the Deck
Before you place a single item, you need to ensure the deck is clean and clear of any debris. This means your adhesive will secure the tiles to the surface and remain for much longer despite the punishment of regular use.
If in previous steps you have found cracks or uneven surfaces, repair these using appropriate materials. Make sure this repairing process does not leave even more debris in the area.
Preparing Mortar or Adhesives
Many mortars or tile adhesives will have specific instructions you must follow to get the best results. Make sure to follow these steps, and only make as much as is necessary. You also do not want to produce too much at once, as you do not want anything to set before you place the tiles.

Techniques for Placing Tiles
When your pool deck installation progresses to placing the tiles, make sure to start in one corner of the area you plan to lay. From there, work your way around the surface, ensuring to press the tile firmly down to make sure it secures.
If you need to move a tile to align it with the area around it, use a twisting motion as it moves. This will prevent bubbles from forming and weakening the adhesive material.
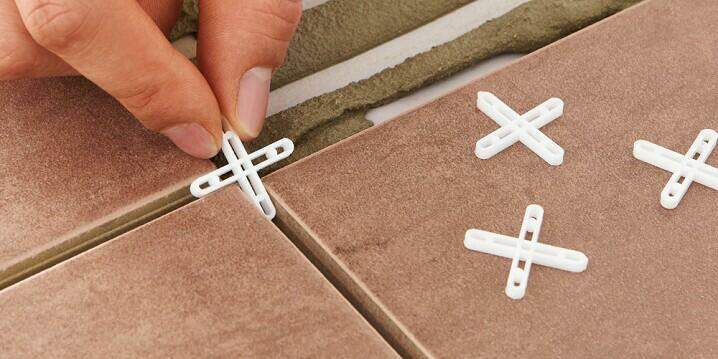
Spacing Tiles
As you place the tiles down, use tile spacers to ensure they have an even layout and align with one another. Figuring out how to lay tile fast without making mistakes takes some practice, so do not worry if you start slow.
Remember to adjust the size of the spacers you use to match the amount of grout you will want between the tiles. It is very hard to alter this once the tiles are down, so try it in a smaller area before moving on.
Shaping Tiles
Not every tile for pool decking will be the correct size or shape for your needs. This becomes even more apparent if you have curves or non-90° angles anywhere in the pool.
Use the aforementioned tile cutter or wet saw to cut tiles to shape and size as you need them. Make sure to clean up any dust you create after, though, and consider wearing a face mask to avoid breathing it in.
Before cutting any tiles, remember the adage “Measure twice, cut once“. Following this will ensure you make as few mistakes as possible and result in both less wastage as well as a more beautiful finish.
Grout and Sealant
When the tiles are all in place, remove the tile spacers and start using the grout float to apply the material. Press it into the space between the tiles, and wait for it to harden.
As you work, wipe off any excess grout with a wet sponge to prevent it from setting against the tiles. If you do not, it will remain in place as an ugly shape of rubbery material that will be uncomfortable underfoot.
Once all the grout is in place, use a sealant to protect it from water and stains.
Safety Precautions
As you work, remember to use the safety gear that was mentioned above. This will ensure you have the lowest chance of discomfort or accidents during the tile-laying process. Also, make sure no children are around who might get hurt by power tools or the materials you will use.
Finishing Touches
When everything is done, check over the area. Clean the tiles carefully to remove any remaining grout or other materials, and rinse off the tiles. You might want to apply trim to the finished surface, but it is not mandatory.
You may need to apply a little caulk to ensure the installation is waterproof or in case of imperfections. If you find any areas that need a little extra work, follow the above advice to ensure everything remains consistent.
Tile Pool Deck Maintenance
Over time, you will need to ensure the pool decking remains both clean and well cared for. This will prevent the materials from receiving damage or wearing away over time.
If you need to clean the tiles, use a diluted mild detergent solution and either mop or sponge the area. Try not to use abrasive cleaners or tools that might damage the tiles, as you want them to remain pristine for as long as possible.
Repairing and Replacing Tiles
If you notice cracks over time, you have the choice of either repairing or replacing them. For small cracks, you can use a dedicated tile repair kit, or an epoxy filler, to ensure the crack does not get worse and protect it. If you cannot salvage it, remove it carefully and follow the above steps to secure a new tile in its place instead.
Building the Perfect Tile Pool Deck
By taking the above steps, your tile pool deck will be the envy of your neighborhood. Still, you will need to ensure you have everything you need before you start, and the tools are not always simple to find.
We provide tips, tricks, tools, and tiling ideas to make your job a lot easier. So, check out our advice pages and download the 2023 RUBI catalog to grab all the items you need to make the pool deck of your dreams.

Post a comment