
Imagine that you’ve just moved into a new house, and nearly everything about it is perfect. It has the ideal number of rooms, a modern kitchen, and maybe it even has additional amenities like a swimming pool or a patio in the backyard. However, there is one problem: replacing ceramic tile with a new tile installation is an absolute necessity. Fixing tiles with ceramic tile epoxy just won’t cut it.
Whether you’ve just moved into a new house or you need to update the one you’ve been living in for years, it can be stressful not knowing how to remove your tiles properly. That’s why we’ve put together this article with all the steps you need to take when replacing ceramic tile.

1. Prepare Properly
Before you start the process of removing the original tiles and replacing them with new ones, you have to prepare. Make sure you have the right protection, such as safety goggles, earplugs, heavy-duty gloves, and a dust mask.
You’ll also have to prepare the space itself so that you don’t damage other parts of the room while you’re working.
To get started, use a hammer and pry bar with a flat edge to remove any doors, door frames, trim, and moldings. This way, they won’t get covered in dust or damaged while you’re replacing the tiles.
You’ll also want to use plastic sheets. Any open doorways should be covered with them so dust won’t spread into other areas of your home.
Additionally, protect any objects you can’t move in the room, such as shower trays, the sink, or the bath. This will keep them from being damaged if any pieces of tile fly and hit them when you’re working. You can use cardboard to cover these areas.
2. Remove the Tiles
The next step is actually removing the tiles.
Depending on what type of tiles and floor you have, you might need to use a tile removal tool or ceramic tile removal machine. If you’re able to, you can pry each tile by using a chisel, placing it at an angle under the tile edge.
Then, as you remove the tiles, you can simply throw them away into a wastebasket. While doing this, be careful, as you could accidentally cut yourself on the tile.
It can be difficult to remove the very first tile, so it’s a good idea to look for one that’s loose. It will be easier to remove, and once you’ve removed that one, you can remove the ones around it.
If you aren’t able to find a loose tile, you’re going to have to smash the tile. You can do this with a hammer or sledgehammer.
When you’re using your hammer or sledgehammer, do so with care. When it comes to how to remove ceramic tile from concrete or another surface, the last thing you want to do is damage the area below. Structural damage to the floor, especially, can create problems with the subfloor.
Once you’ve carefully used the hammer or sledgehammer with just the right amount of force to break a few tiles, see if you can pry up the rest of them. This way, you’re less likely to do a large amount of damage.
3. Use Your Floor Scraper
Once you’ve removed a certain number of tiles, the rest will be easier to remove. As a result, you won’t have to use a chisel or the back of your hammer to pull out the tiles. All you do is pry out the tiles, and at this point, they should come out more easily.
If using a floor scraper, keep in mind that these work both face down or face up. Using it the right way will make it much easier for you to complete your task.

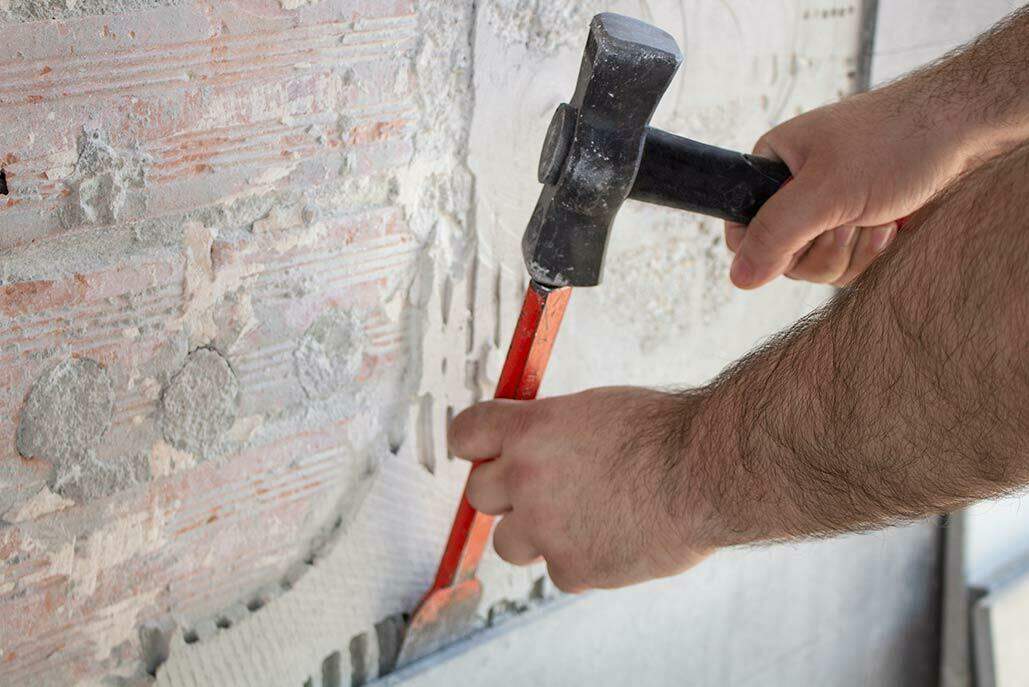
4. Remove the Grout and Adhesive
After you’ve taken the tiles off and put them to the side so you won’t be in danger of hurting yourself while working in the space, you should use a masonry chisel or hammer to remove the grout and adhesive that’s still attached to the sub-floor.
If you’re lucky, the grout and adhesive will be easy to remove, and you’ll be able to pull it off by hand with ease. However, it might be hardened, and feel almost like concrete. In this, case, the tools you have will come in handy.
This is an important step you need to take when replacing ceramic tile. It’s also important if you’re planning to re-tile the area or put down another type of flooring.
5. Make the Floor Smooth Before Replacing the Ceramic Tile
Now that you’ve removed the ceramic tiles, you need to prepare the floor for the installation of new ones. First, you need to make the floor smooth. This will make laying the new tiles much easier.
First, use your hammer to remove any adhesive residue that has hardened. To do this properly, smash up areas that are around 2 or 3 square feet.
This will make it possible to completely remove any of the leftover adhesive. Then use a shovel or scraper to get these pieces out of the way. Can’t remove the adhesive? Then it’s best to get a new sub-floor.
Additional Steps for Making the Floor Smooth
Depending on the underlayment’s condition and the requirements for setting the new tiles, you might need to remove the underlayment. Keep in mind that you should definitely do this if the current underlayment is seriously damaged.
If it’s made from plywood, you should replace it. This is because plywood is no longer considered to be a suitable sub-floor when installing tiles.
To get rid of the sub-floor, cut the underlayment with a circular saw into manageable sections. Note that the thickness of the circular saw blade should be set at the same thickness as the pieces of underlayment you’re cutting.
Finally, remove all the debris and dust. Once you’ve done this, you can install a new subfloor if needed. If not needed, simply use a stripper to smooth down the floor, after which it should be ready for tile installation.
6. Prepare the Floor for the New Tiles
Now that you’ve removed the old tiles, you should measure your floor to figure out how many new tiles you’re going to install. Do this by measuring your floor’s length and width. Then, divide that amount by the square footage each tile covers.
Depending on which tiles you’re considering, this number can vary. Generally speaking, you should get 10% more tiles than you need. This can be helpful if any of the tiles are broken or break while you are working.
Once you’ve bought your tiles, dry lay them to get an idea of what the floor might look like. Now you’re ready to install the new tiles.
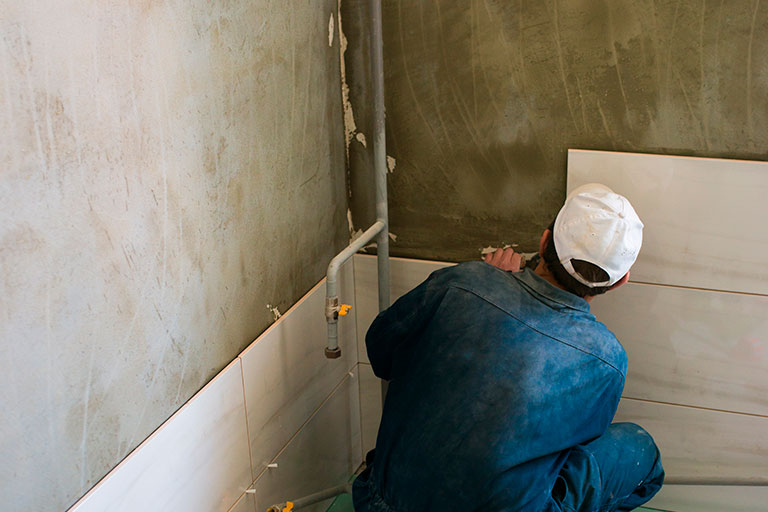
7. Install the New Tiles
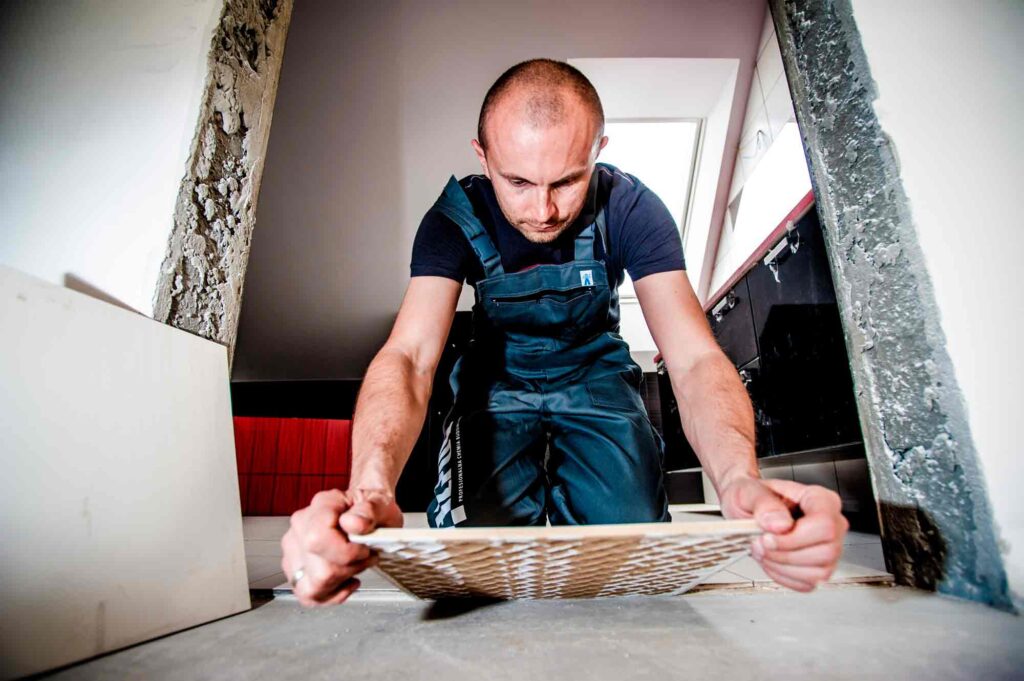
To install the new tiles, take your thin-set and place it on the floor, using a trowel to do this correctly. You want to avoid having any air pockets. Once you’ve done this, you can start placing the new tiles on the thin set.
To do this properly, place each tile down carefully, first by holding it above and then dropping it gently where you want it to go. Then move it slightly, wiggling it, so that it will stick. A wooden hammer can help set it at the very end.
Do this with each tile until you’ve set them all. If there are any issues, remove the tile immediately and fix its placement, as the thin-set dries quickly.
Once you’ve finished laying the tile, place some grout in the joints between each tile.
Common Mistakes to Avoid When Replacing Ceramic Tile
One of the most frequent errors is neglecting proper surface preparation. Failing to remove all remnants of old adhesive or grout can create an uneven surface, making it harder for the new tiles to adhere properly. Take the time to thoroughly clean and smooth the floor before starting.
Another common misstep is using the wrong adhesive for your project. Not all adhesives are suitable for all tile types or surfaces. For example, certain adhesives may not hold up well in high-moisture areas like bathrooms. Always consult the manufacturer’s recommendations or a professional if you’re unsure about which adhesive to use.
Improper grouting techniques can also lead to disappointing results. Applying too much grout can result in a messy finish, while applying too little may cause gaps and weak joints. Be sure to follow the recommended guidelines for grout application and clean off excess before it dries.
Finally, rushing the curing process can undermine all your hard work. New tiles need sufficient time to set before they’re ready for foot traffic. Cutting corners here could lead to loose or cracked tiles. Always allow the adhesive and grout to cure fully as specified in the product instructions for a lasting and professional-looking finish.
By steering clear of these common mistakes, you can replace your ceramic tiles with confidence and ensure a beautiful, durable outcome.
Need More Information on Replacing Ceramic Tile?
Now that you know the steps to replace ceramic tiles, you might be wondering how to smooth a specific type of subfloor or choose the perfect ceramic tiles for your project. Whatever guidance you’re looking for, we’ve got you covered! At RUBI, we’re the experts in all things tile installation and are here to help make your project a success.
We can offer tips and tricks on how to install tiles. To learn more, check out our blog.

Post a comment