Tiling a bathroom floor may seem like a simple and easy task. However, achieving a professional and visually appealing finish requires time, knowledge, and proper planning. In this guide, we explain where to start tiling a bathroom floor so you can achieve a perfect result.
Why the starting point matters in bathroom tile installation
How the starting point affects layout and alignment
If you’re wondering where to start when tiling a bathroom floor, one of the first steps is to study the space and determine the starting point from which the tiles will be laid out. This first step is crucial for keeping the grout lines straight and for ensuring that the final visual pattern is coherent and aesthetic. We especially recommend paying close attention to this step in bathrooms with more irregular shapes.
Avoiding uneven cuts and layout inconsistencies
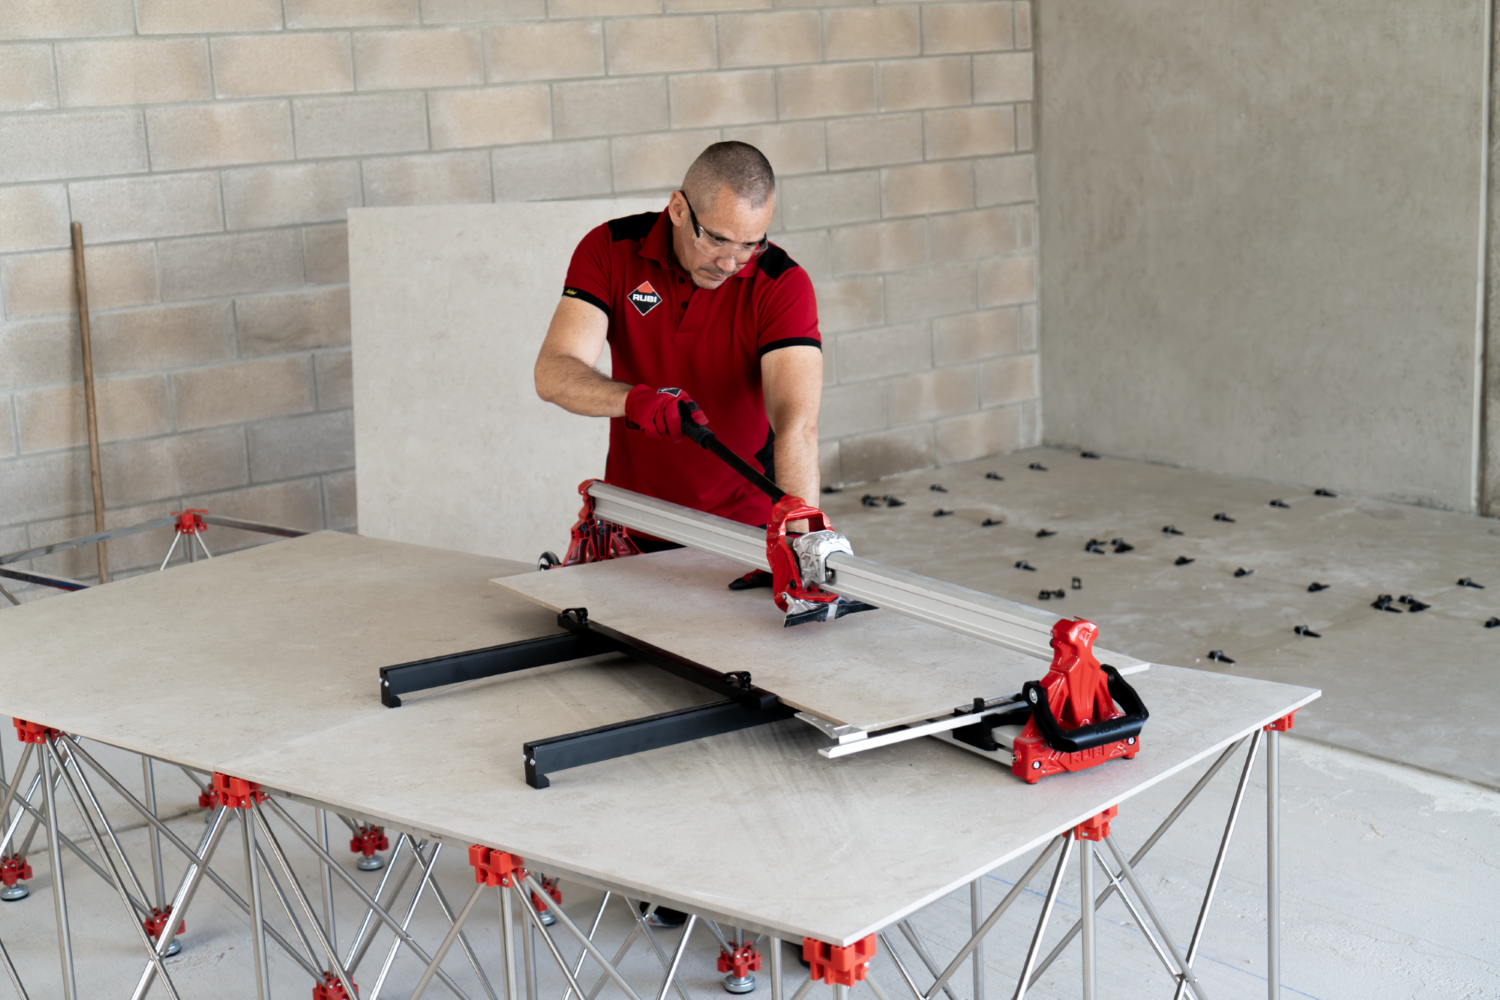
Choosing the starting point for laying the tiles can help maintain consistency and avoid uneven or unattractive cuts around the edges of the bathroom. This allows for stable alignment and helps minimize errors that may become noticeable on walls, corners, or at the end of the installation. Using tile cutters for precise bathroom floor cuts becomes especially useful when trying to avoid mistakes at the borders or around obstacles.

Considering drains, walls, and high-visibility areas
It’s important to take into account the elements that make up the bathroom and that may influence the design. The position of corners, the shower, the toilet, or even certain walls can all be determining factors when defining the starting point and tile layout. It’s usually best to place full tiles in the most visible areas and leave the cuts for lower-visibility corners. If there is a floor drain, the alignment must adapt to it without compromising the overall look.
How to determine the best place to start tiling a bathroom floor
Finding the visual focal point
To identify the best starting point, consider the area that stands out the most when you enter the bathroom, whether it’s a specific spot, a doorway, or a wall. If you place full tiles in the area that draws the eye first, the result will look cleaner, more aesthetic, and more professional.
Measuring and marking center lines
One of the most common techniques for planning a balanced tile layout is drawing both horizontal and vertical center lines on the floor. This makes it much easier to see whether it’s better to start from the center or from a wall, depending on where the layout distributes more evenly.
Adjusting layout for obstacles and fixtures
Once you’ve determined the center, it’s necessary to adjust the design around elements that may affect the final result, such as the toilet, shower, or pillars. These small adjustments can make a big difference in the final finish. If you’re planning decorative edges or transitions, this may also be the moment to read our step-by-step guide on installing a tile border.

Preparing the bathroom floor before tiling
Ensuring the subfloor is clean, level, and dry
Before laying the tiles, the next step is to ensure that the subfloor is clean and free from grease or moisture that could affect the tile level. A level, debris-free surface will help prevent adhesion issues or instability. This ensures that the tiles remain firm and well-placed.
Checking slopes and plumbing areas
In areas with a drain, there is usually a slight slope for proper drainage. In these cases, make sure the incline is even and does not affect visual perception or interfere with plumbing installations.
Using tile leveling systems for flatter installations
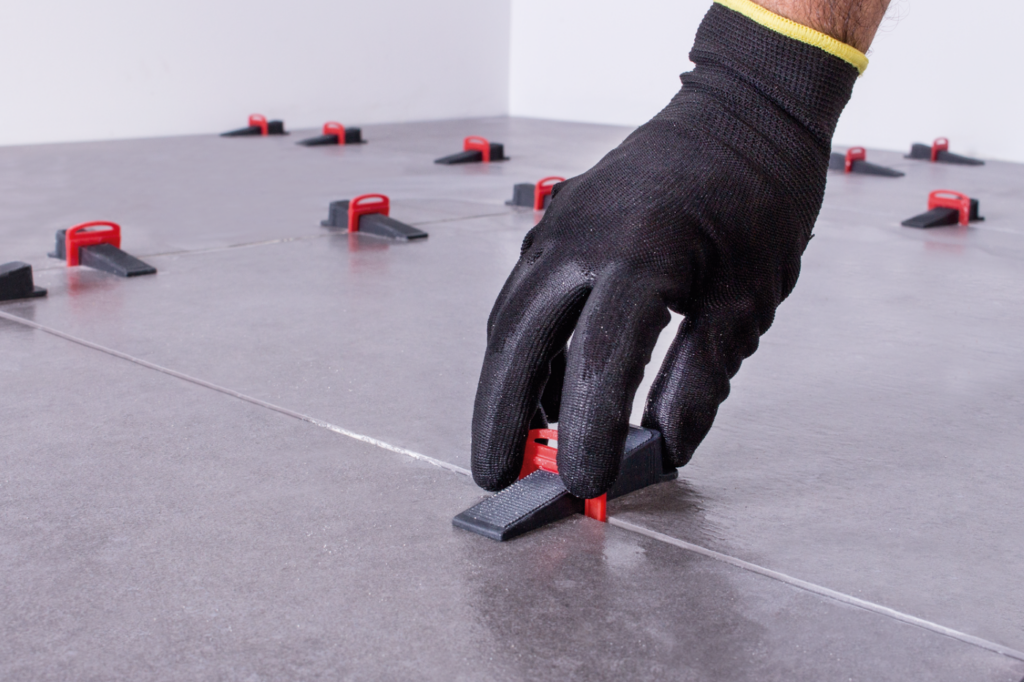
If you want to ensure correct leveling and alignment, we recommend using leveling systems to ensure a flat bathroom floor, which help prevent height differences between tiles and ensure a smooth and professional finish.
Step-by-step guide to starting your bathroom floor tiling
Dry-layout testing before applying adhesive
Before you begin placing the tiles with adhesive, it’s recommended to do an initial dry layout without fixing them in place. This makes it easier to see whether the distribution is correct or if you need to adjust alignments or cuts. Once everything looks right, you can proceed with the adhesive.
Applying adhesive and setting the first rows
When you start installing the tiles with adhesive, keep in mind that the first row will determine the rest of the work, so it’s important to place it as precisely as possible. Apply the adhesive with a notched trowel and carefully check that it follows the guidelines you’ve marked.
Maintaining straight lines and consistent spacing
As you continue tiling the bathroom floor, make sure the joints remain uniform and that the tiles stay aligned with the guide lines. Tile spacers can help prevent deviations and keep a regular, even pattern.
Tips for achieving a professional finish
When to adjust tile placement during installation
While installing, a tile may end up slightly out of place or misaligned. In these cases, it’s best to reposition and correct it while the adhesive is still fresh. If you wait too long, it can affect the final design and force you to redo an entire row. A small mistake can multiply in the following rows.
Using spacers and leveling systems for accuracy
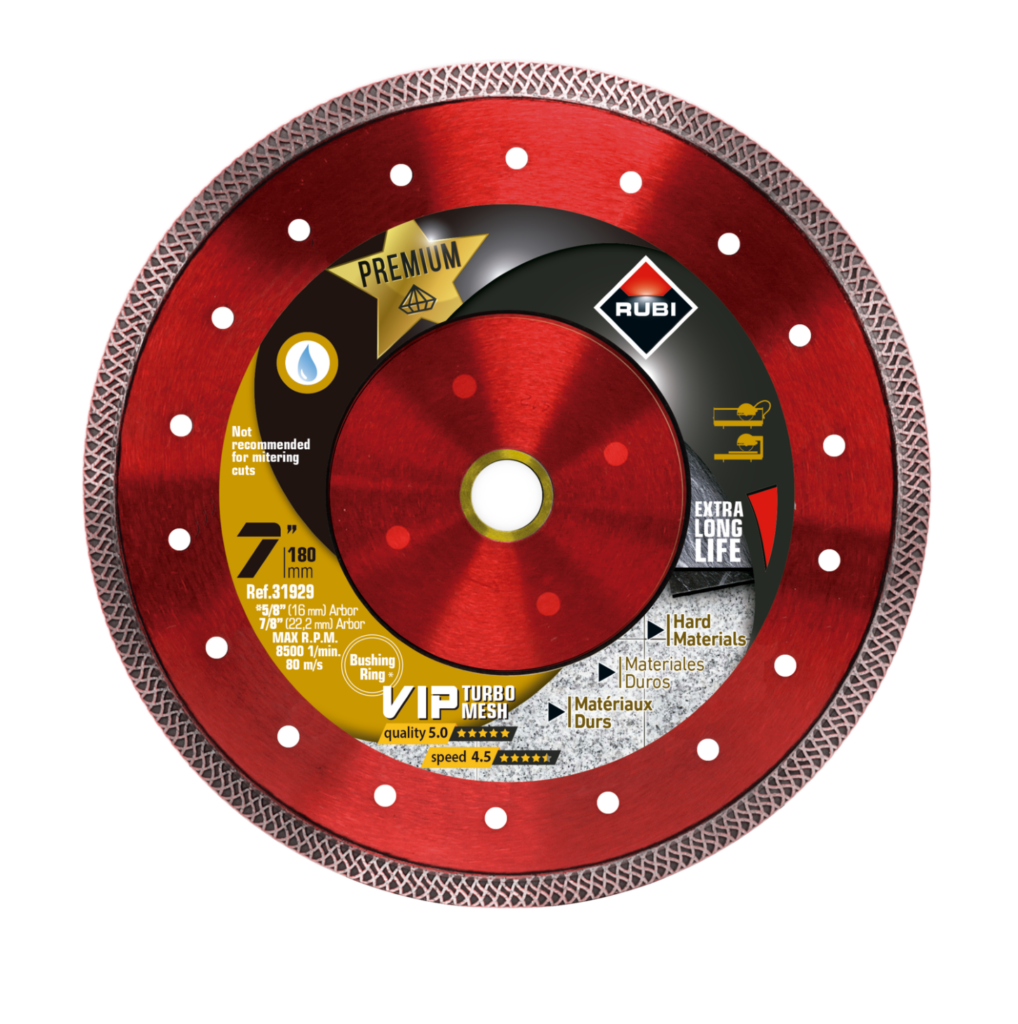
As mentioned earlier, spacers help maintain uniform joints, while leveling systems are very useful for preventing height differences between tiles. When you need cleaner and more precise cuts during these adjustments, using diamond blades for clean and accurate tile cuts can make the process much easier.
Ensuring cuts and edges look clean and balanced
With good planning, cuts and edges should end up in the least visible areas. Even so, it’s important to ensure clean finishes and symmetrical cuts so they don’t negatively affect the bathroom’s appearance or symmetry.
Trust RUBI tools for perfect bathroom floor tiling
Now that you know the key steps to tile a bathroom professionally, it’s time to choose tools that truly make a difference in your work.
Tools that improve speed and precision
At RUBI, we offer cutters, trowels, and drill bits designed to deliver clean cuts, apply adhesives, and finish the job with a professional look. These tools help avoid common mistakes and achieve more professional results.
Accessories that help maintain alignment and flatness
RUBI accessories such as spacers and leveling systems make tile placement and alignment easier, reducing errors and significantly improving final results.
If you’re looking for performance, reliability, and specialized technical support, trust RUBI. Discover our full range of tools and accessories for tile installation and take your work to the next level.

Post a comment