If you’re working in the landscaping sector, then knowing how to tile and lay porcelain paving slabs is hugely important.

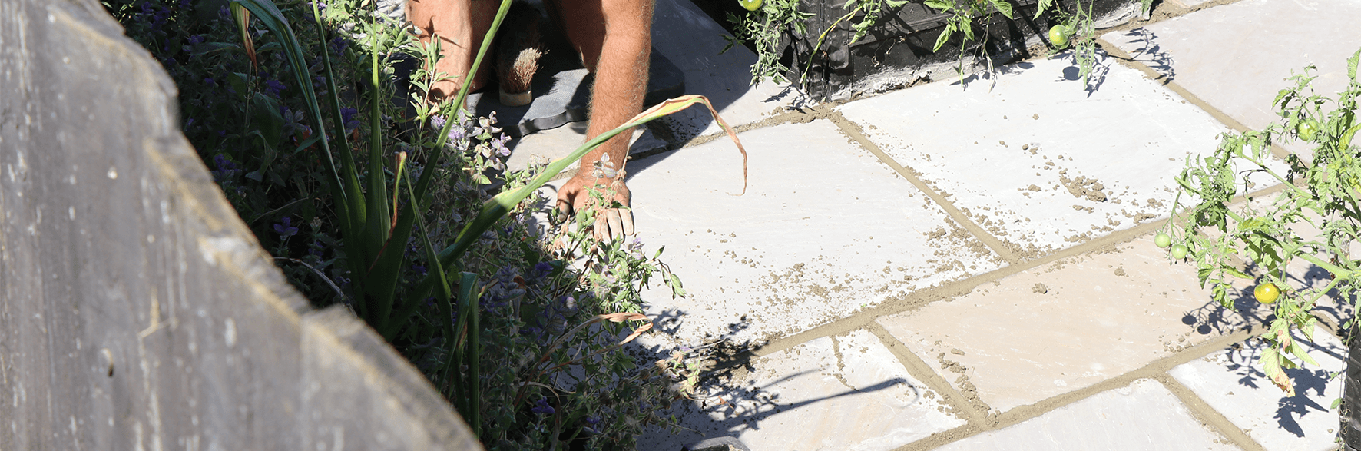
Having an outdoor entertaining area is vital for those long summer nights with family and friends. Having a patio makes a garden much more versatile, and one of the most popular materials to use for these areas is porcelain paving.
Hard wearing, and resistant to stains, frost and moss, this material is the ideal choice. However, there are a few key points you should take into account before setting out laying porcelain slabs.
What You Need to Know About Laying Porcelain Slabs
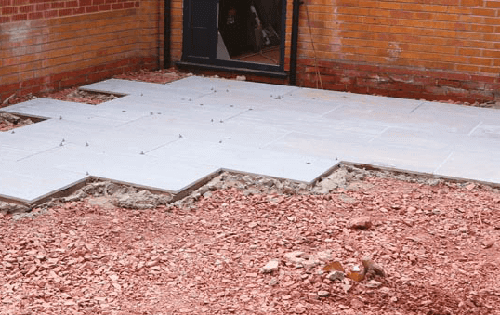
The first thing to consider is the groundwork as this ensures that your porcelain paving slabs will be set securely for years of enjoyment. The process is similar to other paving preparations. The main difference is the mortar mix.
Firstly, porcelain paving slabs require more cement than other paving slabs. They need a stronger bond between the paving and the earth. To do this, you will need to use a specialised bedding mortar mix, such as BAL bedding mortar.
Secondly, you will need to take into account drainage so make sure to to install your paving slabs at a 1:80 run.
Because porcelain is non-porous, you’ll need to take some extra steps before you can lay your slabs, even if the groundwork is done. This means adding a slurry primer to the back of your slabs to create a strong bond that maintains the structural integrity of your patio for years to come. We recommend using Pavestone priming slurry for porcelain and granite.

PRO TIP: Be careful not to get any primer/cement mix on the face of your porcelain slabs. Once it dries, the primer/cement mix cannot be removed, leaving you with permanent, unsightly marks on your paving.

To make sure you get the best result first time, we’ve made a list of the tools you’ll need and a step-by-step guide.
What You’ll Need
- Mortar mix / bedding mortar
- Measuring tape
- Spirit level
- Mallet
- Stiff bristled brush
- Porcelain pavers
- Wet tile cutter
- Vacuum pump suction cup
Step-By-Step Guide
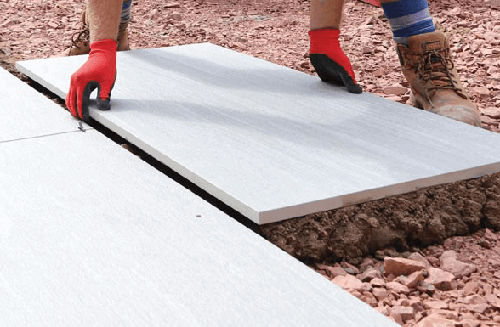
- Start by laying the porcelain paving onto a fresh bed of mortar. We recommend that you lay the slab into position, one corner at a time as this ensures an accurate placement.
PRO TIP: Rather than laying a bed of mortar for all your pavers at once, work with one paving slab at a time. That way, the mortar won’t dry before you actually get the chance to install your pavers. - Next, secure your paver placement by gently tapping the slab with a mallet. Porcelain pavers are strong and durable but it’s best to play things safe than to crack the slabs. For the best results, 100% of the paver should be in contact with the mortar bed. This ensures a stronger bond, which leads to a longer lifespan.
- Move quickly to make adjustments once the paver is in place. Once the mortar is dry, it’s near impossible to make any changes to the placement. Use your spirit level to check that the paver is flat before moving onto the next slab.
PRO TIP: Our vacuum pump suction cups can aid you in the transportation and laying of these large and heavy tiles. - Regardless of the paving pattern you desire, when you lay your next set of slabs, ensure there is approximately 5mm between each paver. If you need to cut any porcelain pavers down to size, check out our blog on cutting porcelain tiles.
- Fill the 5mm gaps with the jointing compound. Then, once all the paving recesses have been filled, brush away any excess.
- Leave to dry for at least 24 hours (cover with a sheet or tarpaulin if wet weather is expected) and you’re done!
Now you know how to lay porcelain paving slabs. Make sure you share this blog with your colleagues and sign up to our mailing list so you never miss out on our tips and tricks!

Post a comment