
When planning a new tile installation, remember the devil is in the details. Grout lines, proper application of your adhesive and grout and a smooth transition around each corner and edge are necessary for the project to look great. Particularly when planning to tile rooms such as bathrooms with shower niches, there are many different external corners and points to consider. For these, we’re here to give you the best advice & information on how to tile and consider mitred cuts.

WHAT IS MILTRED TILING?
Mitred tiling is a technique used to tackle external corners or points with a cut at a 45-degree angle along the edge of the tile. This essentially removes the ‘biscuit’ or underside of the tile, two tiles can then me pushed against each other to form a neat and professional finish at the corner so only the face of each tile is visible. Mitred tiling is a very useful skill, if you have the necessary tools can be very easy!
Mitred tiling is considered by professionals to be the best finish for laying external tile corners. It leaves the corners of the room with the most professional and aesthetically the best-looking finish. In reality, it’s the only way to achieve a natural looking finish without detracting the view from the rest of the room. However, many tilers avoid this type of cut as they think it can be too complicated and increase risk of chipping the tile.
WHAT IS THE BEST TOOL FOR MITRE CUTTING?
Mitring tile does require some experience; it’s an important skill to master the material you’re using and the technique itself to make the cut correctly. It’s important to note, this cut cannot be made with just any machine.
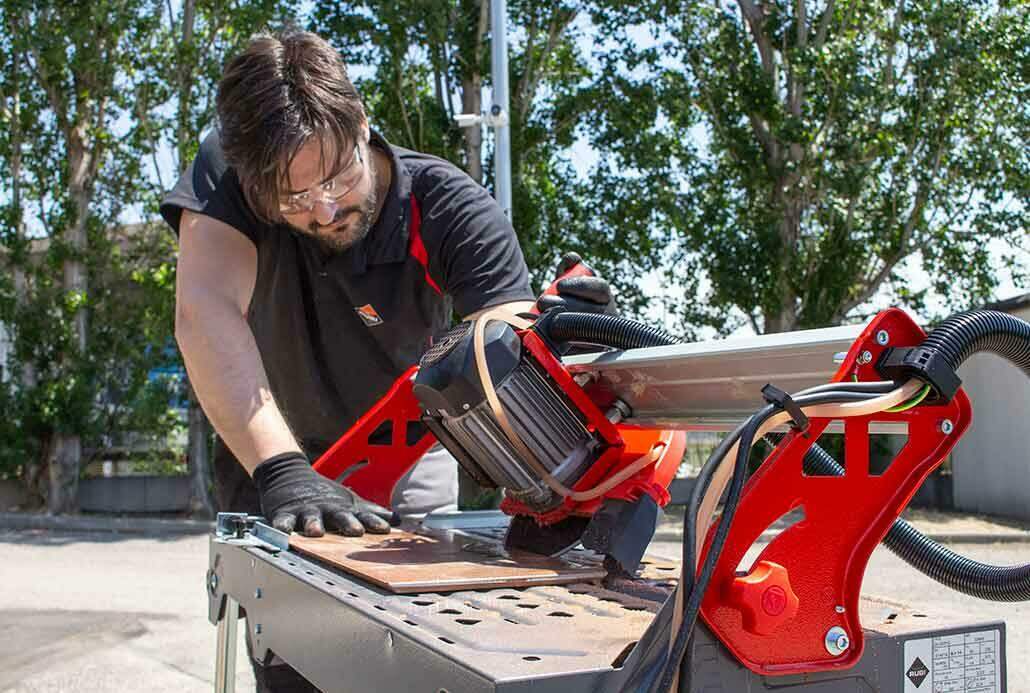
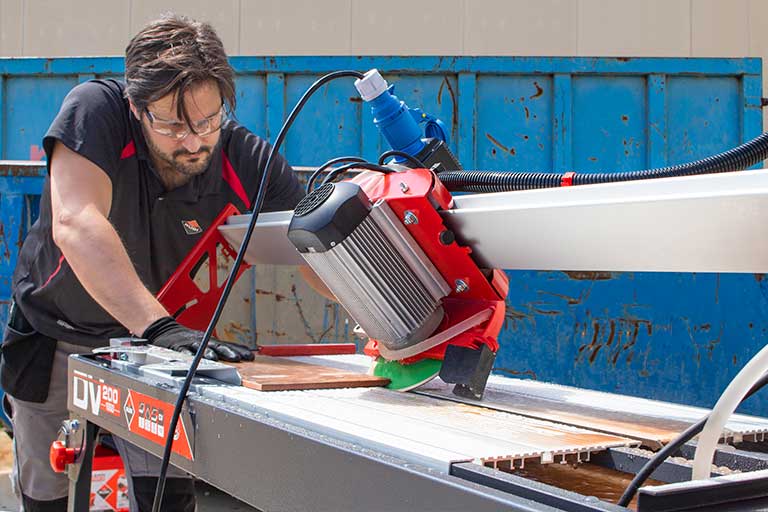
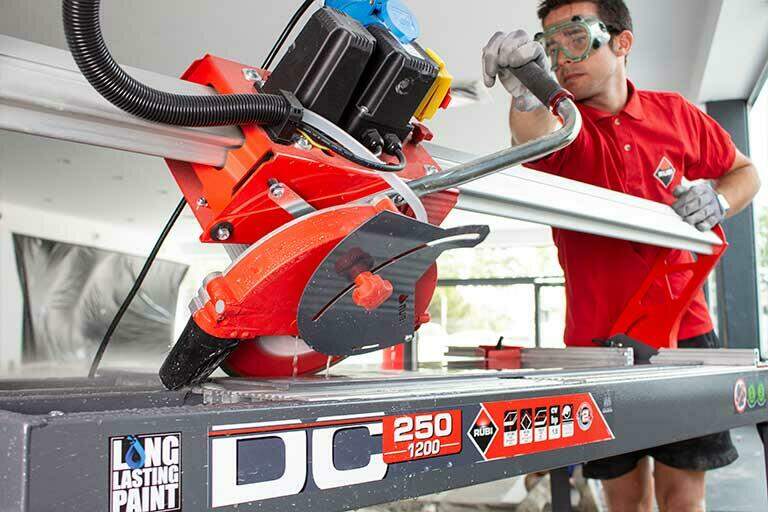
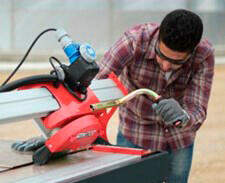
For this, we recommend using any of our professional bridge saws like the DCX-250 electric cutter as they offer greater precision compared to free hand grinding, which will help you obtain a perfect result.
It is also important to have the necessary accessories such as fixings and stops for your electric cutter to avoid movements during cutting. These accessories will allow you a lot more precision, helping you to achieve the perfect mitred cut.
Below we’ve added a video, to demonstrate how to achieve your mitred cut…
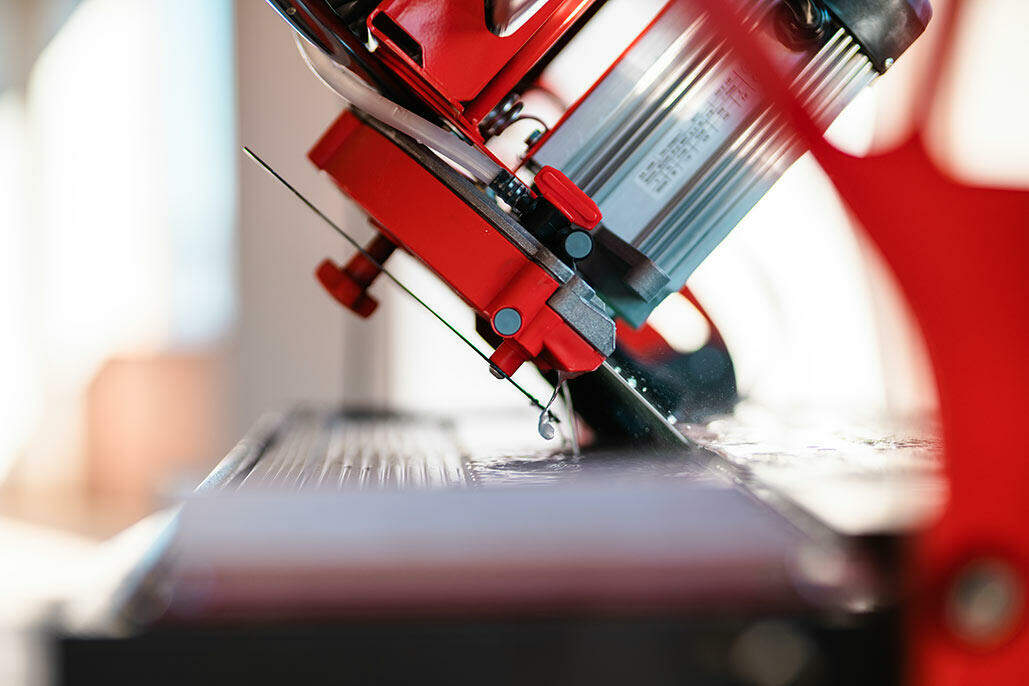
You can’t mitre with just any blade, you will need a special mitre blade such as the TPI which will provide more stability and cutting speed.
Using alternative discs that aren’t made for this particular cut and the type of material you’re using, it may get damaged, so it’s important to choose the right disc for the particular material you’re cutting.

5 BASIC GUIDELINES TO ACHIEVE A SUCCESSFUL MITRE CUT
To make this job as simple and enjoyable as possible, we have put together a list of 5 important steps that you should take into account if you are looking at mitred tiling. It may take a couple of tries to learn it, but it will leave you with great results!
1. Check the tile
Check to make sure that the surface of the chosen piece of tile is as flat as possible. You should try to make a cut on the edge of the tile before mitring, as mitring straight onto the tile may leave you with a poor finish.
2. The cut must be below the enamel or line of the glaze
This will achieve thedesired effect without any risk of chipping the top of the tile.
3. Place the tile down
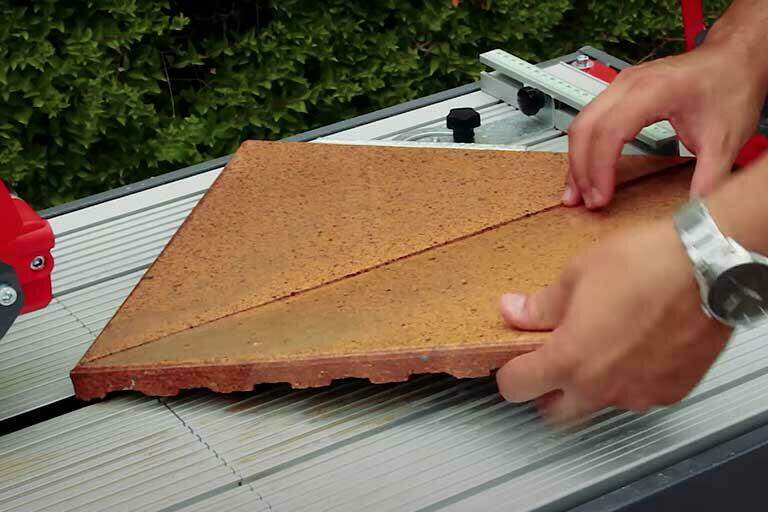
With the visible side facing up to see where the disc passes. We must rule out the use of cutters that force us to place the tile upside down, such as grinders. There is also an added risk as you wont be able to set yourself up for a consistent 45-degree angle, which you can do on an electric cutter.
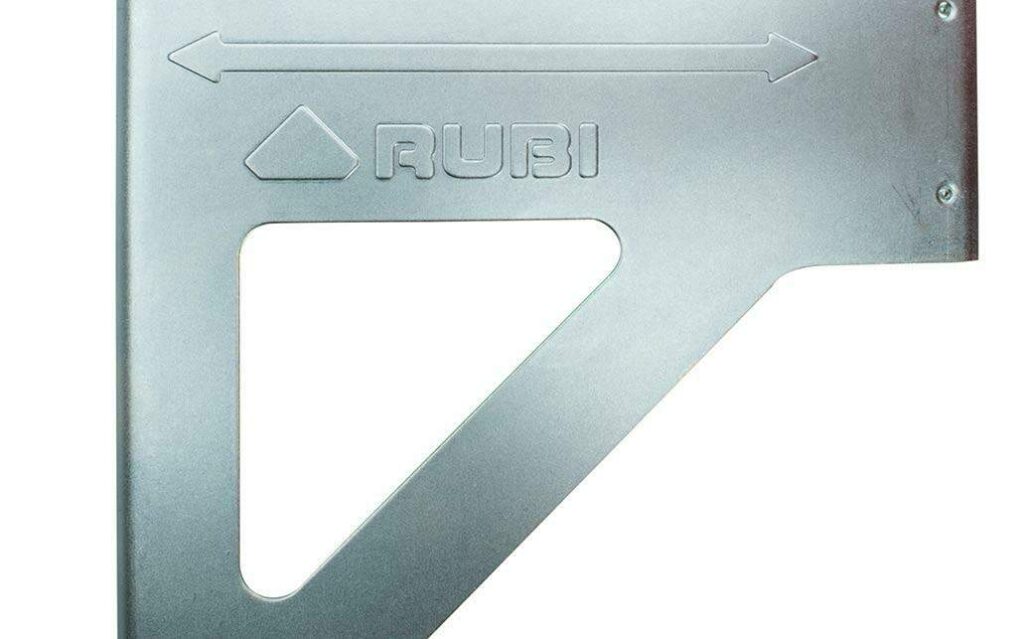
4. Using the slide stops
It’s important to use a fitted rail or side stop as well as clamps to clamp down the tile. When you are mitring the tile, there is a lot of lateral pressure, and these fittings will help you avoid any type of movement in the tile during your cut to ensure you get an accurate, straight cut.
5. Make sure to maintain a constant speed when cutting
You want to make your cut with a smooth and regular movement, withoutany sudden increase in speed.
Finally, the last thing to check before you start is to make sure the side of the tile you are cutting matches the placement pattern of your work. You want to make sure that when it comes to placing the tiles, they keep the same installation pattern as the rest of your installation.
Check out the RUBI catalogue for our different options of electric cutters. They are specifically designed with an adjustable lateral stop (from 0° to 45°) to make mitre cuts. They are a great tool to use if you want to perform this technique correctly, guaranteeing great precision and a professional finish.
For an alternative machine that will allow you to make mitred and bevelled cuts with a more portable solution, try the new Pro-Edger bevelling and mitring accessory. Specifically designed for dry bevelling and mitring of large format tiles.

Post a comment