
Today we will talk about the most common mistakes in the placement of ceramic tiles.
I am convinced that many of you will say that I have missed some … and I am sure you are right, but I have focused with those who, in my opinion, are unfortunately more recurrent.
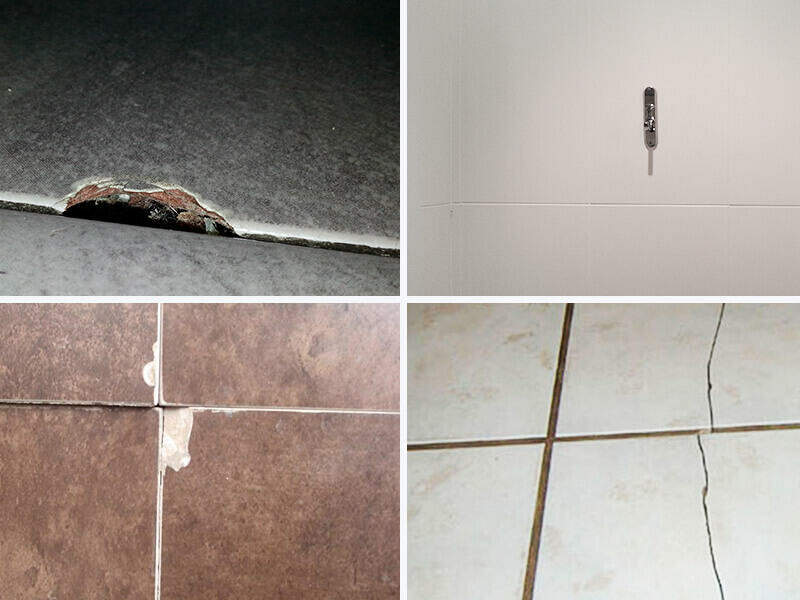
The first of these mistakes is the placement of ceramic tiles without placement joints, more commonly referred to as ‘grout line’. The placement joint must always exist and must be at least 1 mm., and in my opinion is better if it is 2 mm. Even I know that many of you will not agree with me, if rectified tiles are being laid.
The placement joint is not a mere aesthetic caprice, it has important technical functions such as: minimizing dimensional differences between tiles, absorbing surface tensions or even allowing condensation to disperse and helping the mortar to set. But there is a detail that many overlook, and that is because of the existence of the placement joint, the replacement of broken tiles is much simpler and we save possible “touch-ups” in the new piece, without mentioning, of course, the quality of the final finishing of these “retouches”.

The second of these mistakes is the selection of the most suitable adhesive or bond type for each ceramic material.
Traditional mortar won’t stick everything.
If both the substrate and the ceramic material have high porosities, we will need a mechanical adhesion (traditional mortar), if on the contrary the porosity of these elements, or at least one of them is medium-low, we should incorporate the chemical component (polymer enhancement) to the adhesive.
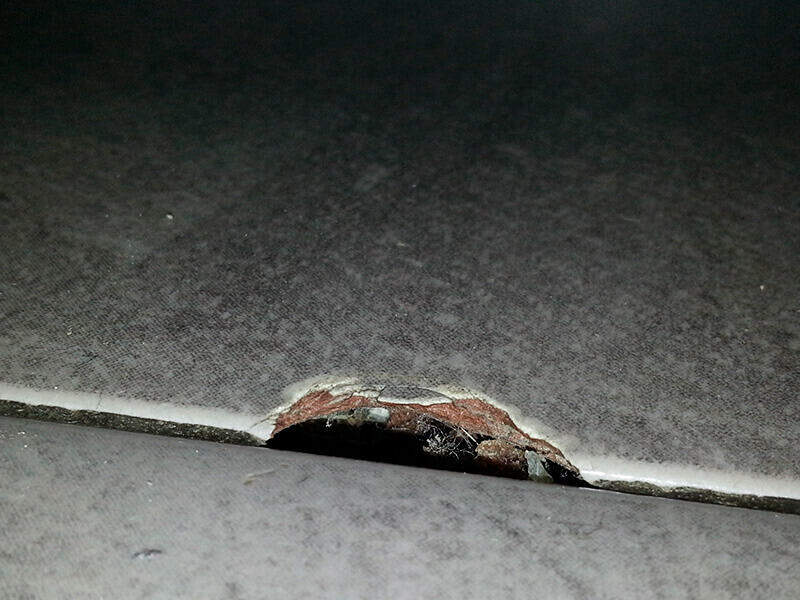
And from this, we move to the third mistake: the insistence of placing the tiles on dots of adhesive, more commonly referred to as dot and dab. – It’s faster! They level better! Or This is how we have always done it! These are some of the comments we can when asking about this “fabulous” placement technique. But what about the minimum 80% coverage we must achieve to ensure proper adhesion of the tiles? and the bubbles, well … more than bubbles, air bags that are generated, and that are the first cause of breakage when trying to drill or when our beautiful new tiles receive an impact of the typical dish or glass that we drop in the kitchen. A correct placement does not have many secrets. If we install medium-high porosity tiles with traditional mortar, thick layer, but covering the entire surface of the piece. And if we use polymer enhanced adhesive, thin layer, where the use of the notched trowel, or comb, is mandatory.

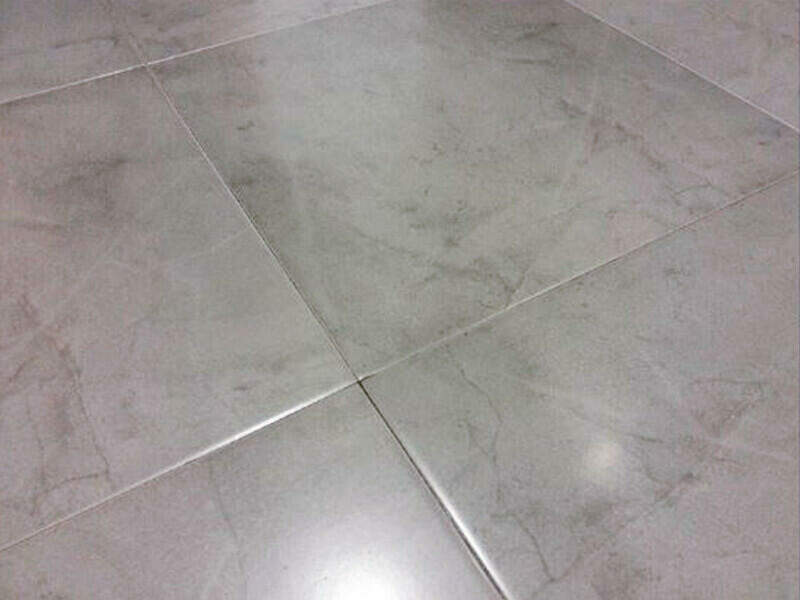
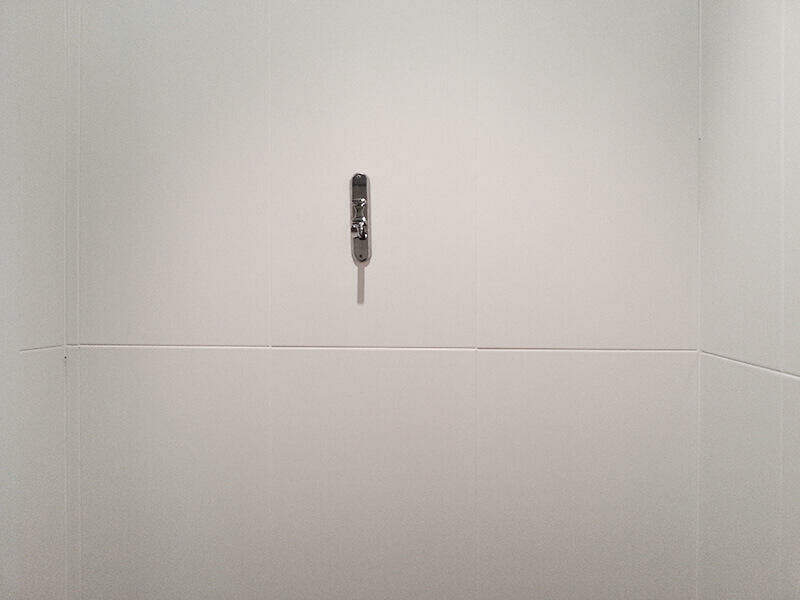
And the fourth, as it could not be otherwise, is directly related to the third. I refer, to the insistence of many, to continue working under the simple gluing method (adhesive just spread on substrate) in the installation of large format tiles. Large formats must always be installed with the double-bonding method (back buttering), regardless of whether they are floor or wall tiles, interior or exterior. All ceramic tiles with a format larger than 30 × 30 cm. require double-bonding. To finish, my favourite: cutting narrow strips in wall-wall and floor-wall meetings. The “forced” placement of narrow strips in plane changes is the clearest consequence of the lack of setting out.
Removing those cases in which we choose a completely lost placement, the uncomfortable narrow strips are very easy to avoid. It is only necessary to evaluate during the setting out the installation from a centred tile. The simplest way: we add to the length of the tile the width of the narrow strip and we divide it by two. The result will give us the size of the first and the last piece of the tile, and the result will always be that of two pieces with widths greater than half of a whole tile.
Yes, it is true that we will make one more cut, in many cases, but I assure you that the result deserves it.
As I said at the beginning, it is very likely that many people will think that I have left some points out, or even that I am exaggerating, or that you do not share my point of view … in short, this is what it is about.
Here I leave my point of view, now it’s your turn.
Post a comment