
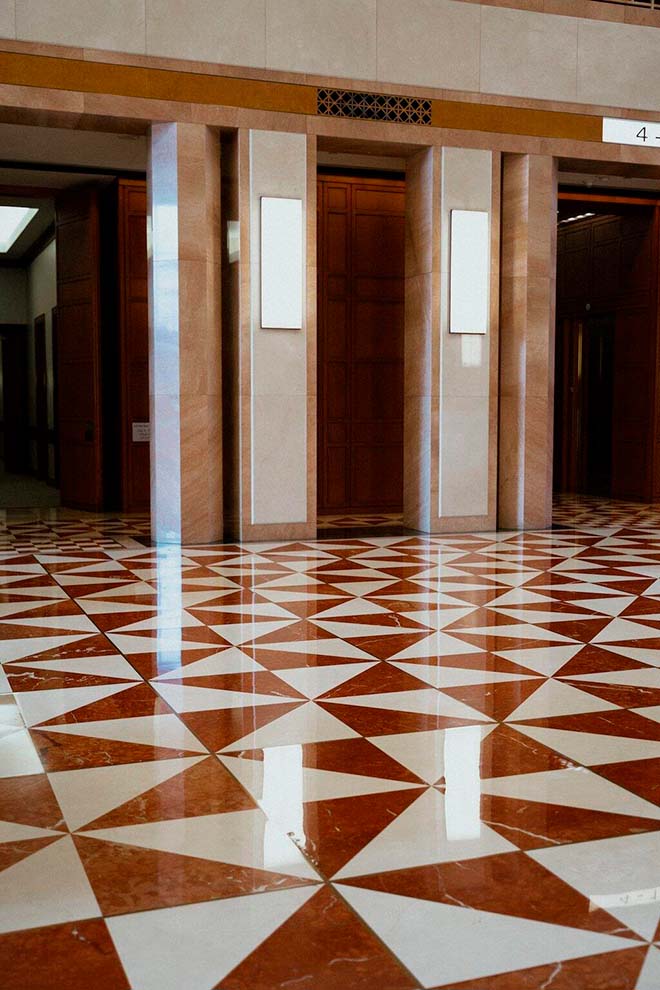
You’ve just finished laying down some beautiful glazed tiles. They’re shiny and colorful, and you are proud of the tile installation.
But then, as time passes, things start to go south. Some tiles pop up, others crack, and the once-smooth grout lines are now catching dirt.
It’s clear something did not go right the first time. Now, you’re looking at tearing it all up and starting over, spending more money and time than you ever planned.
If you treat glazed tiles just like any tile, you might end up with a mess. They show every little mistake because of their glossy finish.
This guide is here to help you dodge those problems. Continue reading and make sure your hard work pays off.

The Foundation of Perfection: Preparing Floor for Tile
Before laying down your glazed tiles, preparing a solid foundation is key. This means ensuring your surface is clean, dry, and level. These are all crucial steps that determine the longevity and appearance of your tile work.
Cleaning
Start by removing all dust, dirt, and debris. A deep clean can prevent issues with adhesion. For stubborn grease or old adhesives, use a strong cleaner to achieve a spotless surface.
Moisture Check
Tiles need a dry environment to adhere properly. Use a moisture meter to ensure the area is completely dry, especially in damp spaces like bathrooms.
Leveling
An even surface prevents tiles from cracking or looking uneven. Use a long level to identify and correct any dips or bumps. Sand down high spots, and for larger inconsistencies, apply a self-leveling compound.
Priming (if necessary)
Apply primer to porous surfaces like concrete to improve adhesive bonding. A suitable primer ensures the adhesive sticks effectively.
Tools and Materials
Equip yourself with basic tools like:
- Sturdy brush
- Degreaser
- Level
- Sandpaper
- Grinding tool
- The appropriate primer
Proper preparation with these tools makes sure your glazed tiles will have a durable and visually appealing finish.
Choosing the Right Adhesive: A Bond That Lasts
For your glazed tile project to stand the test of time, the choice of adhesive is essential. Adhesive for tiles acts as the invisible hand keeping your tiles perfectly in place. But not all adhesives are created equal, and the right one depends on where and how you are planning to use your tiles.
Types of Adhesive
Thin-set mortar is the go-to for a wide range of indoor tiling projects, thanks to its reliable strength and compatibility with various surfaces. For areas that won’t see a lot of moisture, like kitchen backsplashes, mastic is an easy-to-use option.
However, it is not suitable for places prone to water exposure. In environments where moisture is a constant, such as showers, epoxy mortar is your best bet. Its waterproof qualities and strong bond make it ideal for such challenging settings.
Application Tips
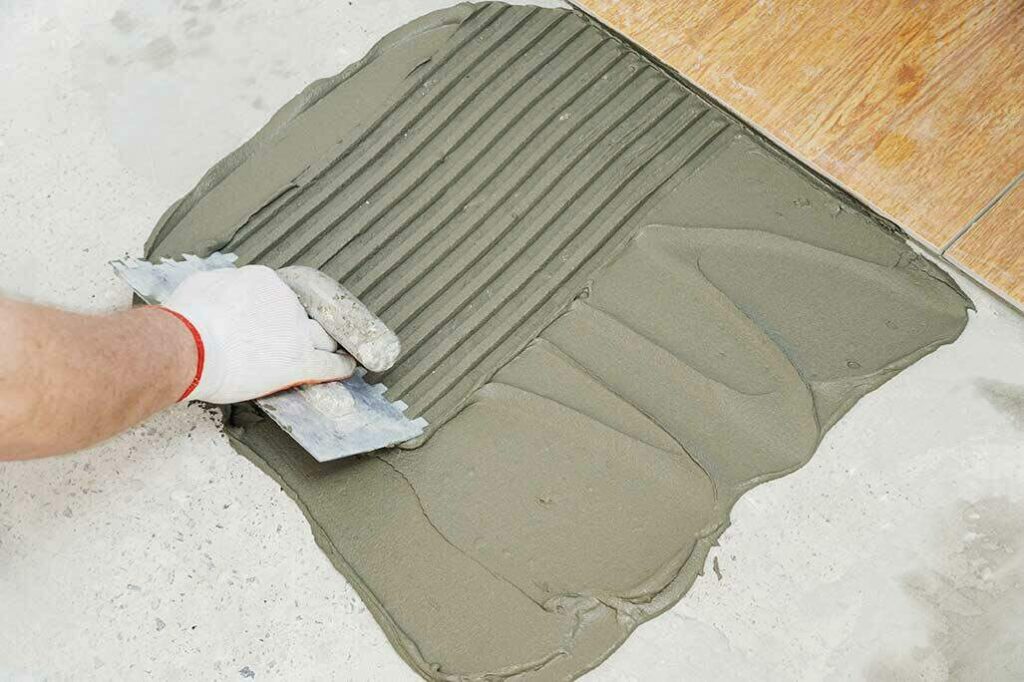
Applying your adhesive for tiles correctly is just as crucial as choosing the right type. Uneven tiles application can lead to tiles that sit awkwardly, or worse, begin to slip after installation.
Using a notched trowel helps spread the adhesive evenly, creating ridges that ensure a uniform thickness under each tile. This method prevents the tiles from sinking or rising, keeping your surface smooth and level.
Be mindful of the amount of adhesive you use. Too much and your tiles may slide out of place or ooze adhesive; too little, and they won’t adhere firmly.
Laying Out Your Vision: Tile Spacing and Alignment
Planning your layout should bring your vision to life while also cutting down on waste and extra work. The first step is to take a good look at your space and decide on the pattern and direction of the tiles.
To ensure every tile sits perfectly next to its neighbor, spacers are your best friends. They help maintain uniform gaps between tiles. This part is crucial for both looks and the grouting process.
And remember: measure twice, cut once. Before you mix any adhesive, dry lay your tiles starting from the center of the room and work your way towards the edges. This approach gives you a clear picture of how everything will look and lets you adjust your plan without the pressure of drying adhesive.
How to Cut Tiles: Tools and Techniques for Glazed Tiles
Cutting glazed tiles without chipping or breaking them is an art. Thankfully, the right tools make all the difference.
For straight cuts, a tile cutter is a reliable choice. It is perfect for most projects and is easier to manage than some might think.
For more complex shapes, a wet saw or an angle grinder with a diamond blade is the way to go. These tools can handle the delicate glaze of your tiles, ensuring a smooth cut every time.
Here is a step-by-step for using a wet saw:
- Mark your tile where you need to cut
- Fill the saw’s reservoir with water
- This keeps the blade cool and reduces dust
- Adjust the guide to ensure your cut is straight
- Gently push the tile through the blade
- Let the saw do the work
- Do not force it
For those looking to add a professional touch, techniques like bull nosing or bevelling the edges of your tiles can elevate your project. These finishes can be achieved with the right grinding tools and a steady hand, softening the look of your space or giving it a refined edge.

Choosing and Applying Grout for Tiles
Once your glazed tiles are perfectly laid out and cut to fit, it is time to fill in the gaps. Grout frames your tiles and enhances their appearance. The right grout can accentuate the beauty of your tiles, while the wrong one can detract from it.
Selecting Grout
The choice of grout color, texture, and type is pivotal. For a seamless look, choose a grout color that closely matches your tiles.
If you want the tile pattern to stand out, go for a contrasting color. There are also sanded and unsanded grouts; the former is best for larger gaps, while the latter is suited for narrower spaces.
Consider durability too, especially in high-traffic or wet areas. You can opt for epoxy grouts if longevity and ease of maintenance are priorities.
Applying Grout
Mixing grout to the right consistency is similar to making pancake batter. The grout should be smooth and spreadable, not too runny or stiff.
Use a rubber float to press the grout into the spaces between tiles, working in small sections to ensure even coverage. Wipe away excess grout with a damp sponge, rinsing it frequently. Once dry, polish the haze off the tiles with a soft cloth.
Overcoming Challenges
Grouting can be messy and might seem daunting. The key is to maintain a steady pace and clean as you go. If you notice any cracks or shrinkage as the grout dries, it is often due to improper mixing or drying too quickly. In such cases, applying more grout to the affected areas can correct these issues.
Sealing the Deal: Protecting Your Tiles and Grout
Your glazed tiles and freshly applied grout look fantastic, but there is one last step: sealing. Sealing is crucial for guarding against:
- Stains
- Water damage
- Discoloration
A seal makes sure your work remains as stunning as the day you finished it.
Why Seal?
Glazed tiles themselves are resistant to moisture and stains, but grout is more vulnerable. A quality sealant provides an invisible barrier, protecting the grout from:
- Spills
- Stains
- Mildew
In wet areas, sealing is doubly important to prevent water from seeping beneath the tiles, which could lead to damage over time.
Choosing a Sealant
There are various sealants available, from penetrating to membrane-forming types. Penetrating sealers soak into the grout, preserving its natural look, while membrane-forming sealers provide a protective coating on the surface.
Your choice will depend on the location of your tiles (indoor or outdoor) and the level of moisture they will encounter.
Application Techniques
Apply the sealant according to the manufacturer’s instructions, usually after the grout has fully cured.
Use a foam brush or a spray applicator for an even coat, taking care not to get sealant on the tile surface. If you do, wipe it off quickly to avoid any residue.
Depending on the product and the area’s wear, you might need to reapply the sealant every year or two to maintain its protective qualities.
Achieving Professional Results with Glazed Tiles
Crafting a stunning space with glazed tiles is an art that reflects commitment, precision, and passion. From selecting the perfect tiles and adhesive to laying them with care and sealing the deal, each step is pivotal in achieving a flawless finish.
Excellence, respect, and passion are the standards by which we operate, mirroring the dedication we bring to innovation and customer relationships. At Rubi, we provide the tools and expertise to transform your vision into reality, ensuring your tile installation embodies these principles.
Let us help you make your next project extraordinary. Discover Rubi’s innovative solutions and become part of a community that values passion in every tile laid. Take a look at our product selection now.

Post a comment