
Are you looking to do a floor tile installation in your home? If so, there are some important steps you need to consider before the project begins. Surface level isn’t just a requirement for new tiles. It’s important for existing ones too. Over time, tile floors can shift. Creating a noticeable ripple in the tile’s surface. If left unaddressed, this could create a tripping hazard for your guests down the road. So, what exactly do you need to know about how to level a floor for tile? In this blog, we’ve provided everything you need to plan for the job ahead. Be sure to follow these steps to ensure the best results.

The Importance of Level Flooring
A level floor keeps your tiles stable and secure for the long run. Uneven surfaces create stress points. Causing tiles to crack or become knocked loose over time.
A level base guarantees a secure and durable placement. Prolonging the lifespan of your tiled floor.
Beyond durability, a level floor contributes significantly to the aesthetic appeal and safety of your space. Eliminating bumps and gaps between tiles not only improves the visual flow of the room, it also reduces tripping hazards. Ensuring a seamless and safer flooring surface.
Certain flooring types naturally lend themselves well to tile installations. Such as concrete or properly prepared plywood subfloors. However, other surfaces might necessitate additional groundwork to render them suitable for tiling.
Materials Needed for Leveling a Floor for Tile
When preparing to level a floor for tile installation, having the right tools and materials at your disposal is key. Here’s a rundown of essential items:
Cleaning Supplies
Use brooms, vacuums, or mops to clean the floor thoroughly before leveling. Any leftover debris or impurities will affect how well the leveling compounds or fillers work.
Protective Gear
Wear gloves, goggles, and a mask to protect yourself from potential hazards while handling leveling compounds or fillers.
Before starting your tile project, do a thorough assessment of the existing floor. This will help you make sure your floor is ready before you lay down any tile. The last thing you want is to restart your project halfway through just because your tile is starting to look uneven.
Measuring Tools
Use measuring tapes or rulers to ensure accurate leveling material application. Using these measuring tools helps keep the floor leveling accurate and precise. This leads to a perfectly prepared surface for flawless tile installation.
Straight Edge or Level
This tool is essential for checking the evenness of the floor surface before installation starts. Using a straight edge or level throughout the leveling process guarantees precision and accuracy.
Trowel or Spreader
A trowel (typically made of metal or plastic) features a flat, smooth surface with a handle. You can use this to spread and smooth out self-leveling compounds or patching materials onto the floor.
Similar to a trowel (but often wider), a spread easily spreads leveling compounds or fillers over bigger surfaces. Its design allows for a more rapid application. Especially when covering extensive floor spaces.
Self-Leveling Compound
Ideal for concrete floors, this compound helps create a smooth and level surface. Follow manufacturer guidelines for mixing and application to ensure proper leveling.
Self-leveling compounds are particularly effective for correcting minor imperfections and irregularities. It should be chosen based on the specific requirements of your project and the manufacturer’s guidelines.
Fillers or Patching Compounds
Repair cracks, holes, or uneven spots on the floor. Apply fillers or patching compounds to create a uniform and stable base for tile installation.
Keep in mind that patching compounds are ideal for larger imperfections. They’re also formulated to bond well with various surfaces.
Plywood Sheets
Wooden subfloors often possess imperfections or unevenness that can compromise the integrity of the tile installation. Plywood acts like a middle layer, making sure the tiles have a smooth and even surface to sit on.
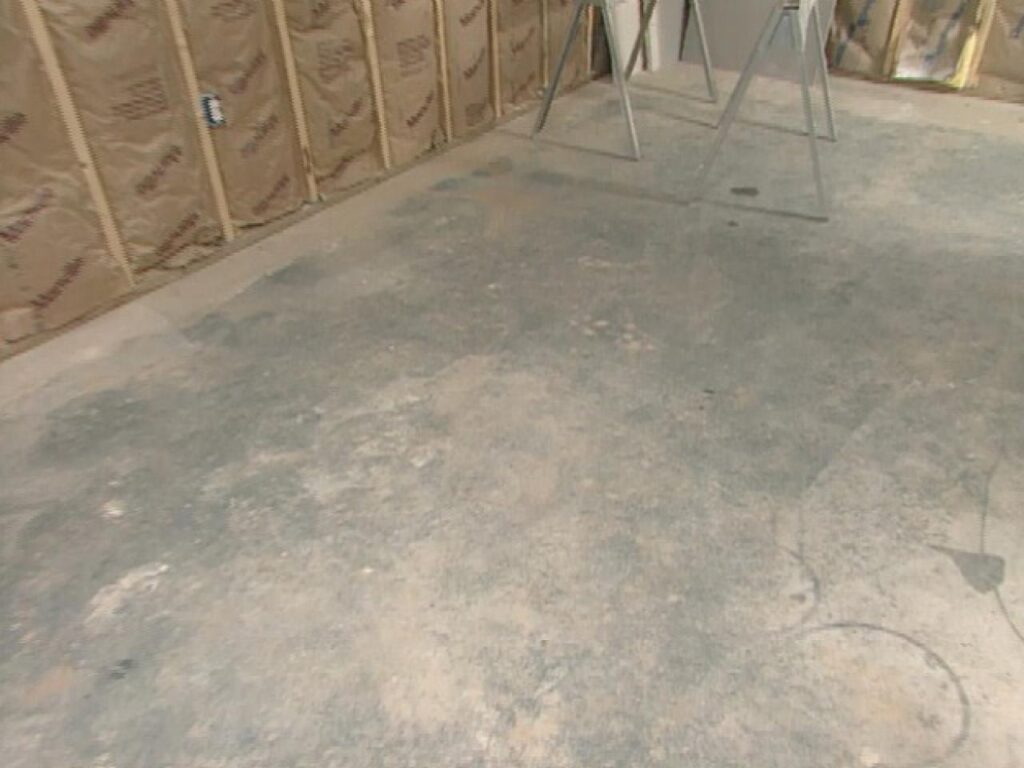
Assessing the Floor
Before leveling begins, make sure the floor is clean and free of debris. Remove any existing flooring materials and thoroughly clean the surface. Repair cracks or holes using appropriate fillers. This will help you start with a uniform and solid base.
The next steps depend on the type of floor you’re looking to lay your tile on. Here’s a quick overview of leveling techniques for different types of floors:
Concrete Floors
Pour and spread a self-leveling compound over the floor. Follow manufacturer instructions for the correct application thickness. This compound settles into a smooth, level surface as it dries.
Wooden Subfloors
If dealing with wooden subfloors, apply a layer of plywood to create a flat surface. Secure the plywood sheets properly to prevent shifting or movement.
Other Types of Flooring
Unique flooring types might require tailored approaches. Consult professionals or specific guides to determine the best leveling method for these surfaces.
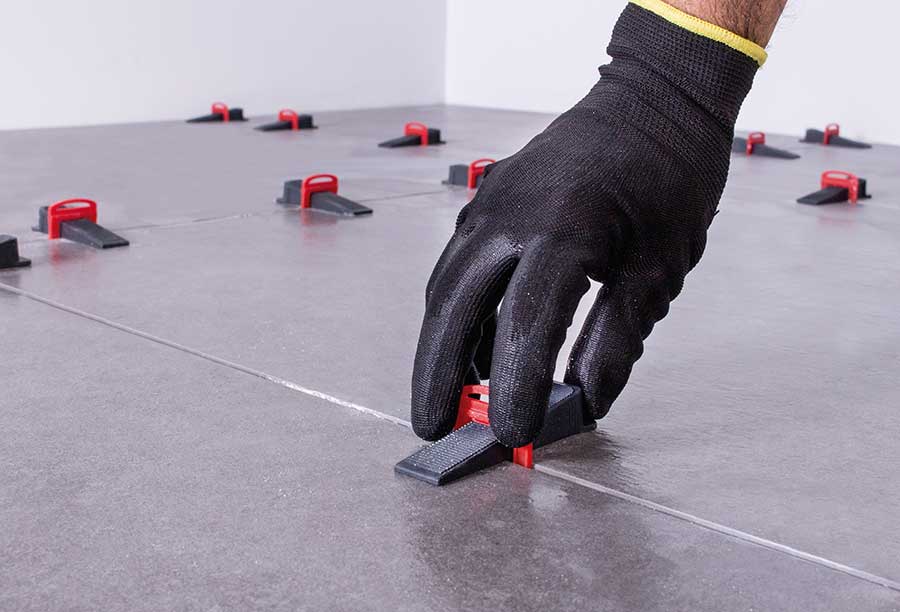
Regardless of your starting surface, make sure to use a long, straight edge or a level to verify the evenness of the floor. Place it in different directions across the surface to ensure uniformity. Adjust and fine-tune any areas that require further leveling until you achieve a uniformly flat base.

Steps to Level a Floor for Tile
Leveling a floor for tile installation involves several steps to ensure a smooth and even surface. Below is a general guide that can be used as a checklist while completing your project.
1. Prepare the Surface
Clear the floor of any debris, dust, or loose particles. Sweep and vacuum thoroughly.
2. Identify and Fill in Low Spots
Use a straight edge or level to identify low areas where the floor needs leveling. Mark these spots for attention. For wooden floors, use a self-leveling compound or a floor patching product compatible with wood to fill in low areas.
Follow the manufacturer’s instructions for mixing and application. If you have concrete floors, make sure to use a concrete patching compound.
3. Mix the Self-Leveling Compound
Read the manufacturer’s instructions carefully and mix the self-leveling compound in a bucket using a drill and mixing attachment. It’s really important to follow the correct water-to-compound ratio.
Incorrect mixing ratios or incomplete mixing is a common mistake that can weaken the compound. This can result in a floor that’s prone to cracking, chipping, or breaking under pressure.
4. Apply Primer (if needed)
Some self-leveling compounds require a primer. Apply the primer according to the manufacturer’s instructions and let it dry completely before applying the compound.
5. Pour and Spread the Compound
Start pouring the self-leveling compound onto the floor, starting from the furthest point in the room and working your way toward the exit. Pour in small sections to ensure you can spread it before it sets.
Use a trowel or leveling tool to spread the compound evenly across the floor surface. Work quickly but carefully to ensure an even layer.
6. Level the Compound and Let it Set
Use a straight edge or a leveling tool to ensure that the compound is even and level across the floor. Check for any low or high spots and adjust as needed.
Allow the self-leveling compound to dry and cure according to the manufacturer’s instructions. This typically takes several hours to a day or more, depending on the product and conditions.
7. Check for Imperfections
Once dry, inspect the leveled floor for any imperfections or uneven areas. Sand down any rough spots if necessary.
8. Clean Up the Area
Clean your tools and the workspace according to the product instructions. Make sure you dispose of any unused compound properly.
Tips On How To Level a Floor For Tile
Similar to other construction projects, getting things ready beforehand is super important. Make sure the surface is totally clean from any old stuff like adhesives or dirt.
Also, check that the base you’re putting the tiles on. Things like OSB or K3 particle board aren’t good bases and could be hiding under carpet.
Keep in mind that buildings have a limit to how much weight they can hold. If you’re adding heavy tiles to a floor, the floor needs to be strong enough to support that weight.
Pay attention to how far apart your wooden supports are, what the floorboards are made of, and how thick they are. If the floor isn’t strong enough, you might need to reinforce it before laying down tiles so they don’t cause any issues.
Paying attention to these details is important. It helps prevent problems like air gaps under the tiles or tiles that aren’t sitting level. Watch videos that show how to do it and pay attention to the amount of adhesive (thin-set) you’re using. Don’t put too much at once because it can dry out too quickly and not stick properly.
You might need some tools like an angle grinder or a wet saw to cut the tiles into the right shapes. There are scoring cutters for straight cuts, too. Plan out where you’re putting the tiles before you start to make sure it all fits together nicely.
How Rubi Tools Makes Installing Flooring a Breeze
Here at Rubi Tools, we produce high-quality tile cutters, tile saws, diamond blades, and other tools used for cutting, shaping, and installing tiles.
Our tools are known for their precision, durability, and innovation in the field of tile installation and cutting. Discover more project tips on how to level a floor for tile by visiting the Rubi Tools blog.

Post a comment