
Are you noticing severe wear and tear, deep cracks, or sunken spots on your property’s exterior? You might need to do some concrete driveway repair.
Concrete driveways are a great choice for many homeowners due to their durability and low maintenance requirements. But over time, constant exposure to freeze-thaw cycles, heavy vehicles, and de-icing salts can cause the surface to crack, spall, and deteriorate. Just like a meticulous tile installation, concrete requires a solid foundation and occasional upkeep to maintain its structural integrity.
You don’t want the condition of your driveway to get any worse, so you must take action now before a simple patching job turns into a full driveway replacement. Read on for everything you need to know about concrete driveway repair, costs, and the step-by-step DIY process!
Discover all of RUBI’s tools in this year’s Catalog >> Click here to download it for FREE

When to Repair vs. Replace Your Concrete Driveway
Before buying materials, evaluate the damage.
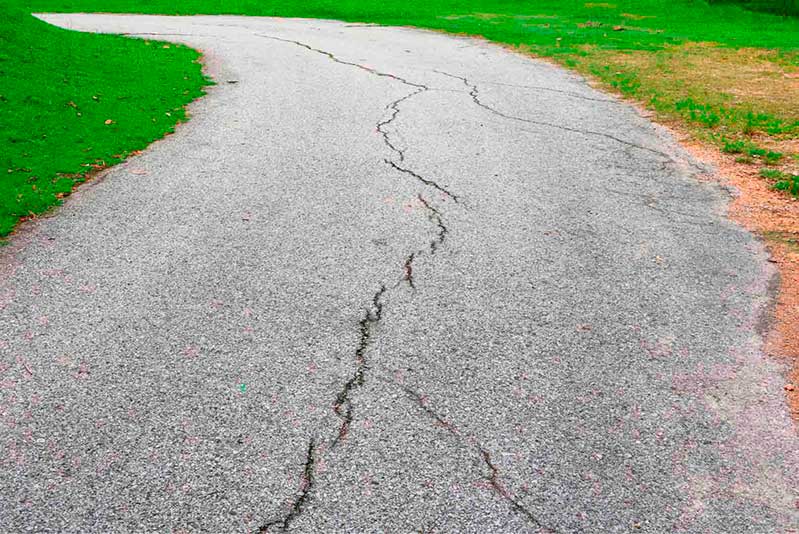
- When to repair: Hairline cracks (less than 1/4 inch wide), minor surface flaking (spalling), and small sunken areas can be easily repaired with DIY patching, resurfacing, or professional concrete leveling.
- When to replace: If your driveway is covered in deep, interconnected cracks (alligator cracking), the slabs have shifted drastically, or the concrete is crumbling down to the sub-base, a full replacement is your only option.
Concrete vs. Asphalt Driveways
When comparing asphalt and concrete, asphalt is generally more cost-effective upfront and easier to patch, but concrete wins in longevity. A well-poured concrete driveway can last 50 years or more. Repairing your concrete rather than tearing it out preserves this incredible lifespan and adds long-term value to your home.
How Much Does Concrete Driveway Repair Cost?
Cost is usually the biggest concern for homeowners. The price depends heavily on the severity of the damage and whether you take the DIY route or hire a professional.
DIY vs. Professional Repair Costs
- DIY Patching & Sealing: Fixing minor cracks and surface damage yourself is highly budget-friendly, typically costing between $15 and $100 for patching compound, bonding adhesive, and a concrete sealer.
- Professional Resurfacing: If the surface is heavily pitted and you hire a pro to resurface the entire driveway, expect to pay between $2,000 and $5,000.
- Professional Concrete Leveling: To lift a sunken slab (mudjacking or polyurethane foam injection), professionals generally charge between $500 and $1,500, which is still significantly cheaper than pouring a new slab.
Essential Materials and Tools for the Job
If you decide to tackle a DIY concrete driveway repair, using the right equipment will ensure your repairs last through the next winter.
- Demolition and Prep: A chisel, sledgehammer, and a stiff wire brush to remove loose debris. For cleaner repairs on large cracks, an angle grinder fitted with a diamond blade is ideal to cut away the damaged edges.
- Adhesion: Concrete bonding adhesive (Liquid bonding agent). Wet concrete does not adhere well to cured concrete without it!
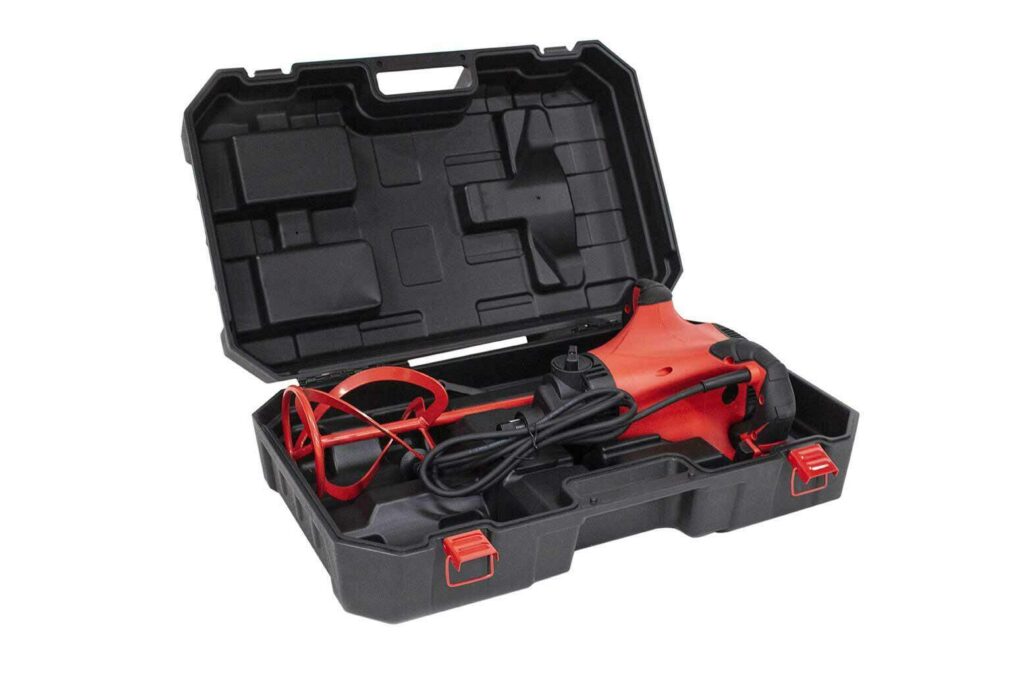
- Mixing: An electric paddle mixer. Achieving the perfect consistency in your mortar mix is critical for structural integrity.
- Application: A trowel, putty knife, and a stiff-bristled broom for texturing.
- Safety: Gloves, safety glasses, and a dust mask. Don’t skimp out on quality when protecting yourself on the job!
Step-by-Step Guide on How to Repair Your Concrete Driveway
1. Inspect, Cut, and Prep the Damaged Area
The first step is completely removing any loose, crumbling concrete. Use a chisel and hammer to knock away debris. If you are dealing with a large broken corner or edge, use a diamond-blade saw to cut a clean, straight line around the damaged area. Once the loose material is gone, use a pressure washer to thoroughly clean the surface and let it dry.
2. How to Patch Small Cracks and Holes
For hairline cracks and small holes, use a liquid concrete crack filler or a ready-mixed concrete patch.
- Use a wire brush to clean inside the crack.
- Squeeze the filler into the crack, slightly overfilling it.
- Use a putty knife to scrape the excess flush with the driveway surface.
3. How to Fix Large Cracks and Spalling (Resurfacing)
For larger cracks or surface spalling, you will need a high-strength concrete repair mix or a concrete resurfacer.
- Apply a bonding agent: Paint a liquid bonding adhesive inside the crack and let it become tacky.
- Mix and apply: Mix your rapid-set concrete. Force the mixture deep into the void using a trowel, pressing down firmly to remove air pockets.
- Texture: Once the patch is level, run a damp broom across the surface so the texture matches the rest of your non-slip driveway.
4. How to Address Sunken Sections (Leveling)
If an entire slab has sunk, patching over it will only add unnecessary weight. Sunken sections require “slabjacking” or “poly leveling”, a process where a professional drills small holes into the concrete and pumps a high-density foam underneath to lift the slab back into place.
5. Apply a Protective Concrete Sealer
Once your repairs have fully cured (usually after a few weeks), apply a sealer to the entire driveway. A penetrating silane-siloxane sealer protects the concrete from water infiltration, oil stains, and salt damage.

Common Mistakes to Avoid During Concrete Driveway Repair
1. Neglecting Proper Preparation and Bonding
The most common reason concrete patches fail is poor prep work. Pouring new concrete directly into a dusty, dirty crack without using a liquid bonding adhesive guarantees the patch will pop out during the next freeze.
2. Using Incorrect Repair Materials
Standard concrete mix contains large gravel, making it impossible to use for shallow surface repairs. Always use a sand-based concrete resurfacer for surface flaking, and a flexible crack sealant for expansion joints.
3. Ignoring Weather Conditions and Curing Times
Avoid undertaking repairs during periods of heavy rain, extreme heat, or freezing temperatures. Heat causes the water in the mix to evaporate too quickly, resulting in a weak, brittle patch. Always follow the manufacturer’s specified curing times before driving over the repaired section.
Tips for Preventing Damage in the Future
- Inspect Your Driveway Regularly: Catching hairline cracks early prevents water from seeping in and expanding the damage over winter.
- Seal Your Driveway Every Few Years: Resealing your driveway every 2 to 3 years is the most effective preventative maintenance you can perform.
- Use De-Icer Sparingly: Rock salt (sodium chloride) causes severe surface damage (spalling) to concrete. Use calcium chloride or magnesium chloride sparingly, or opt for sand for traction.
Frequently Asked Questions (FAQs)
Can I pour new concrete over old cracked concrete?
You can pour a thin layer of concrete resurfacer over old concrete to fix surface imperfections, but you cannot pour a new structural slab directly over a badly cracked, shifting driveway. The cracks from the old concrete will inevitably “telegraph” or mirror through to the new layer, ruining your investment.
What is the strongest concrete crack filler?
For structural repairs, an epoxy concrete crack filler or polyurethane injection is the strongest option. Epoxy actually cures harder than the concrete itself and physically “welds” the crack together, making it ideal for large, dormant cracks.
From patching small cracks to preparing surfaces for resurfacing, concrete driveway repairs require patience, the right materials, and heavy-duty equipment. If you are a professional or a dedicated DIYer looking for high-quality mixers, diamond blades, and cutting tools that make working with hard materials easier than ever, look no further than RUBI. Shop today!

Post a comment