

You’d think your floor tile would have your back, but it goes rogue on you; loose tiles can be a nightmare! Loose tiles are not just cosmetic nuisances, they’re trip hazards. And let’s not even get started on the water damage risks they pose. So, what’s the solution? You could call a professional and spend a small fortune, or you could roll up your sleeves and tackle the issue yourself. You don’t have to be a DIY maestro to fix this problem. With the right tools, a few handy tips, and a can-do attitude, you can restore your tile installation to its former glory. Welcome to your comprehensive, easy-to-follow guide on how to fix loose tile. Dive in, and let’s turn that flooring fiasco into a thing of beauty!

Starting Strong: Spotting Loose Tiles
Do you know what they say about loose tiles? They never travel alone! Discovering one usually means there are a few more lurking around.
But hey, it’s not a sign of an apocalypse. Loose tiles are a common occurrence in many homes. Over time, the adhesive can degrade, and tiles may start to wiggle and wobble, disrupting your otherwise perfect floor.
But don’t fret! You’re not alone in this, and most importantly, it’s a fixable issue. Plus, you’ve already conquered the first step in the tile repair journey: finding the offending tile.
Give yourself a pat on the back. However, don’t rest on your laurels; it’s worth taking a walk around your home, applying a little pressure to your tiles. Feeling more movement? That’s your next target.
Tooling Up: What You Need for Tile Repair
Before you dive into your tile repair adventure, it’s crucial to get equipped with the right tools. After all, a warrior doesn’t go into battle unprepared. Let’s go over the armory for your upcoming battle against loose tiles.
Here’s what you need:
- A chisel or putty knife
- A hammer
- Adhesive (specifically for floor tiles)
- Grout
- Grout sealer
- A sponge and some warm water
Remember, the right tools will simplify your tile repair mission and increase your chances of success. Once you’re equipped, you’re ready for the next stage of your DIY journey.
Bringing It Down: Removing the Loose Tile
The tile has been flagged, and it’s time for eviction. Just as a sculptor wields a chisel, you too must master this tool.
Don’t be fooled; this is not a demonstration of brute strength. Instead, think of it as a delicate operation, a dance of finesse between you, the chisel, and the tile.
Hold your chisel or putty knife at a low angle and gently slide it under the edge of the loose tile. The trick here is to go slow.
You’re not trying to pry it off in one mighty heave. Ease it underneath the tile and apply gentle pressure, slowly lifting the tile from its place.
If the tile is being particularly stubborn, that’s where your hammer comes into play. But this isn’t the time for hammering in the traditional sense.
Instead, you’re going to use the hammer to gently tap the handle of your chisel or putty knife. Just a little encouragement to help your tool do its job. Remember, this is surgery, not a demolition derby.
Keep the pressure even, working around the tile. Eventually, the tile will surrender to your skillful maneuvering, lifting free from its bed. If you’ve done this with care and patience, the tile will come away intact, ready for reinstallation later.

Cleaning Up: Preparing the Space
With the loose tile now out of the way, you’re left with a gap that needs attention. You can’t just slap a fresh bed of adhesive and call it good. The area needs to be cleaned to create a good surface for your tile to adhere to when it returns home.
Again, arm yourself with your trusty chisel or putty knife. Use it to scrape away the old adhesive from the tile bed. Go easy though; you’re not trying to dig a hole to the other side of the planet.
Be mindful not to damage the subfloor or the edges of the surrounding tiles. Your mission is to remove any old adhesive or grout residue and create a clean, flat surface for your tile to bond to.
Once you’ve scraped off as much as you can, it’s time for a sponge bath. Soak your sponge in warm water and wring it out so it’s damp, not dripping. Wipe the area clean, removing any remaining debris. This isn’t just for cleanliness; it also helps to prep the surface for the new adhesive.
Give the area some time to dry out completely. Applying adhesive onto a damp surface is a recipe for another loose tile in the future.
So, give it time. Grab a cup of tea, catch up on a TV show, or just enjoy the satisfaction of a job well done so far. Once it’s thoroughly dry, you’re ready to move on to the exciting part: reinstallation.
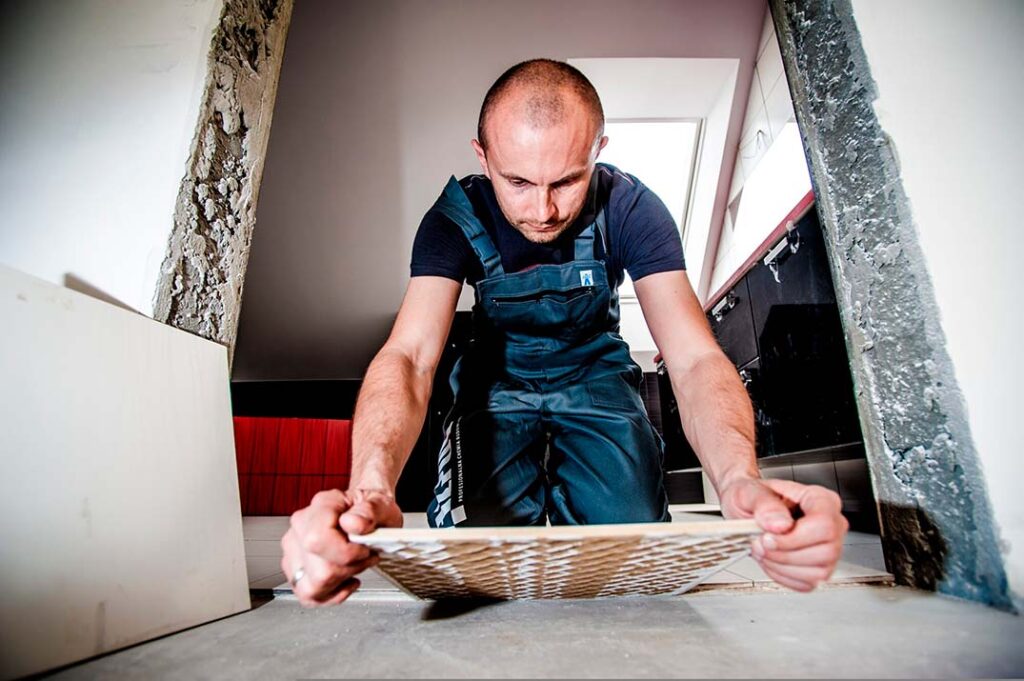
Lock It In: Installing the Tile
With the stage set, it’s time for the main act. This is the moment when your tile gets a second lease on life. But don’t rush this process; it’s an art that requires precision and care.
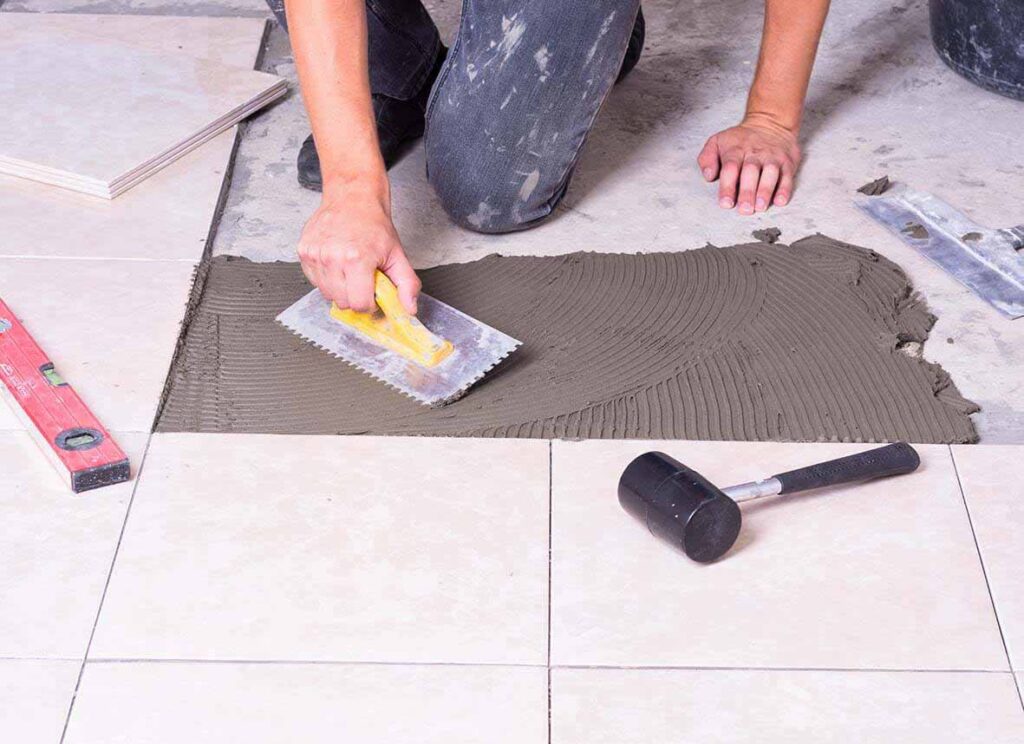
The adhesive is the star of this act. Apply a decent amount on the back of your tile. Not too thick, but not too thin either. Think about spreading peanut butter on a slice of bread; you want an even, generous layer that will give the tile a solid base to stick to.
Once your tile is adequately smeared with adhesive, it’s time to place it back into its rightful place. Don’t just drop it in; remember, we’re all about finesse here.
Position it carefully, ensuring it aligns with the surrounding tiles, then press down firmly and evenly. This ensures the adhesive spreads out under the tile, reducing the chance of air pockets that could cause trouble down the line.
After the tile is snug in its bed, you wait. No shortcuts here. You need the adhesive to dry completely. THis is not a step you want to rush. While waiting, resist the urge to poke, prod, or slide the tile around.
Patience is the key; the adhesive needs time to do its job and create a strong bond with the tile. This is your insurance policy against having to repeat this process in the near future.
Finishing Touches: Grouting and Sealing
You’re nearly there. The tile is secure, and it’s time to blend it back into the floor. This is where grout comes into play.
Grout does more than just fill in the gaps and make your tiles look pretty. It’s the seal that keeps water and dirt from getting under your tiles.
Take your grout and, using a grout float, apply it over the tile and into the joints around it. Press it firmly to fill all voids and ensure a good bond. This may feel a little like icing a cake; spread the grout smoothly and evenly into the gaps.
Once you’ve filled the gaps, you’ll notice there’s grout on the tile surface. Don’t let it dry there; use a sponge soaked in warm water to clean off the excess.
Remember, the sponge should be damp, not dripping wet. Too much water can wash out the fresh grout.
Let the grout dry. This is another waiting game, but remember, patience pays off. Once the grout has hardened, it’s time for the final touch – sealing.
The grout sealer acts as a barrier, protecting the grout from staining and water absorption. Apply the sealer according to the instructions on the bottle.
There you have it, a perfectly reinstalled tile. Give yourself a moment to appreciate your work. You have taken a loose, potentially hazardous tile and given it a new lease on life.
It’s no small feat! But now you’re now a bona fide DIY tile repairer!
Master the Art of How to Fix Loose Tile
Congratulations, DIY enthusiast! You’ve turned a precarious loose tile scenario into a triumphant home repair victory.
You’ve learned how to spot and remove as well as how to fix loose tile, effectively preventing potential water damage.
You’re no longer at the mercy of those annoying loose tiles. Instead, you’re ready to tackle them head-on, armed with the knowledge and tools to keep your floor in top condition. Bravo!
If you want more expert DIY tips, check out our blog for more helpful articles.

Post a comment