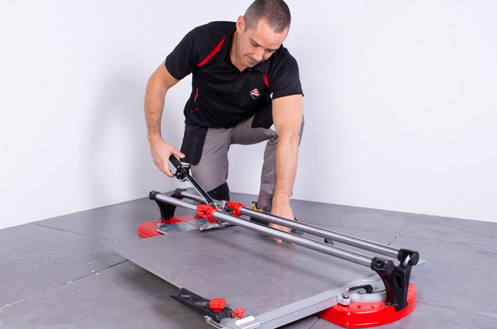

Summer is a great time for getting home improvement projects like tile installations. Maybe you’ve been itching to update your kitchen. Perhaps one of your bathrooms could use a facelift. If one of these is the case, then you definitely want to be looking at installing some new tile. This can give your home a more modern look and increase its property value in the process. Plus it can be fun to give your bathroom or kitchen a new tile design. But then you have to decide how to hide the cut edge of the tile. After all, cutting tile is going to be necessary to make your design fit in your space. But you don’t want those cut edges showing!
Fortunately, there are a lot of great ways to hide these cut edges. That’s why this guide is here to teach you how to finish the cut edge of tiles. It will walk you through all of the beautiful and creative ways to hide your tile’s cut edge.

How to Hide the Cut Edge of the Tile
There are a few ways that you can hide the cut edges of your tile. Most of these involve adding edge pieces to the sides of your design.

Metal Stripping
Metal stripping is a simple flat run of metal that borders your tiles. These come in many colors, widths, and metals. This means that you can find metal stripping to match any kitchen or bathroom design.
These are best used to border tiles with flat edges because of the flatness of the metal. However, if you want to hide flat edges, then there’s no reason why you can’t use these to border tiles that have been cut either.
Metal stripping is usually used to create the border between tile and drywall. However, it can also be used in corners or as a border between tiles.
This makes them ideal for hiding cut edges. The flat edges of the metal strips will always be smooth and clean, creating a sleek alternative to any rough edges caused by cutting the tile.
This creates a beautiful, modern look for your kitchen or bathroom project, and they are just as easy to install as your tile.
Rail Moldings
Rail moldings are thin transitionary tiles that usually stick out further from the wall than standard tile. These create an elegant and sophisticated look to bathroom or kitchen designs. The elevation of the rail moldings also adds nice texture work to any design.
You can generally find these in matching or similar styles to the tiles you’re working with already. This makes it easy to coordinate a flawless design for your kitchen or bathroom with rail moldings. You can also mix it with a different color tile completely for a mix-and-match type of style.
No matter the color or style of your project, rail moldings are a great way to create a transition in your tile. These are used most often to transition between two tiles. It can also be used to create a border between the tile and drywall.
The straight edges of the rail molding also serve to cover up the rough edges of the cut end tiles of your project. This adds visual appeal to your space, and it also can increase the value of your home when you go to sell it.
Bullnose Edges
Bullnose edge pieces are the smaller pieces of tile that line the sides of the design. Most of the time, bullnose edges can be bought for the same tile that you’ve already selected for your design. If your tile doesn’t already have matching bullnose edges for sale it’s not difficult to make them.
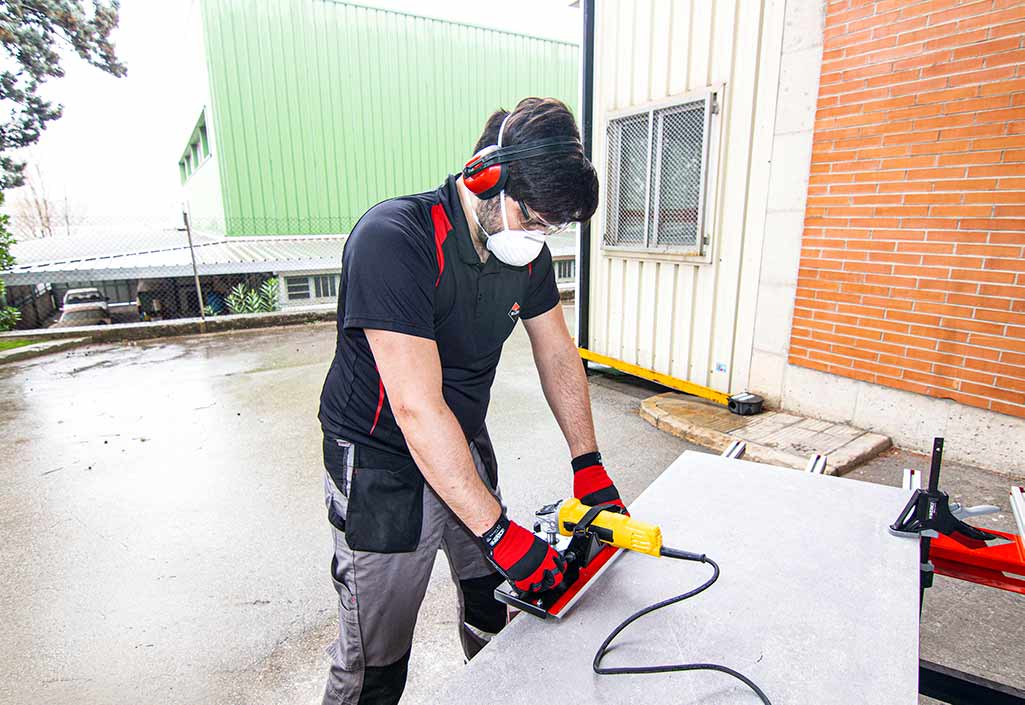
This requires careful attention to the material of the tile you’re using. If it’s porcelain or natural stone, then you should be fine. If not, then you may want to consider other methods of hiding your tile’s cut edges. One such alternative would be using the RUBI PRO-EDGER, which allows you to round out the edges of tiles using diamond grinding wheels.
Whatever method you choose, if you’re making your own bullnose edge pieces, then practice makes perfect. You want to make sure you’re able to create a nice straight edge before you sand and caulk it. This ensures you know how to smooth the rough edges of cut tile properly. You may be wondering: does the cut edge of the tile go in or out? This is really up to you. As long as your design is consistent, there are no wrong answers to this question.
Bullnose edges are mostly used to transition between tile and drywall. It creates the final look on the ends of a design. It can also be the easiest solution for edging any tile design.
Mitered Edges
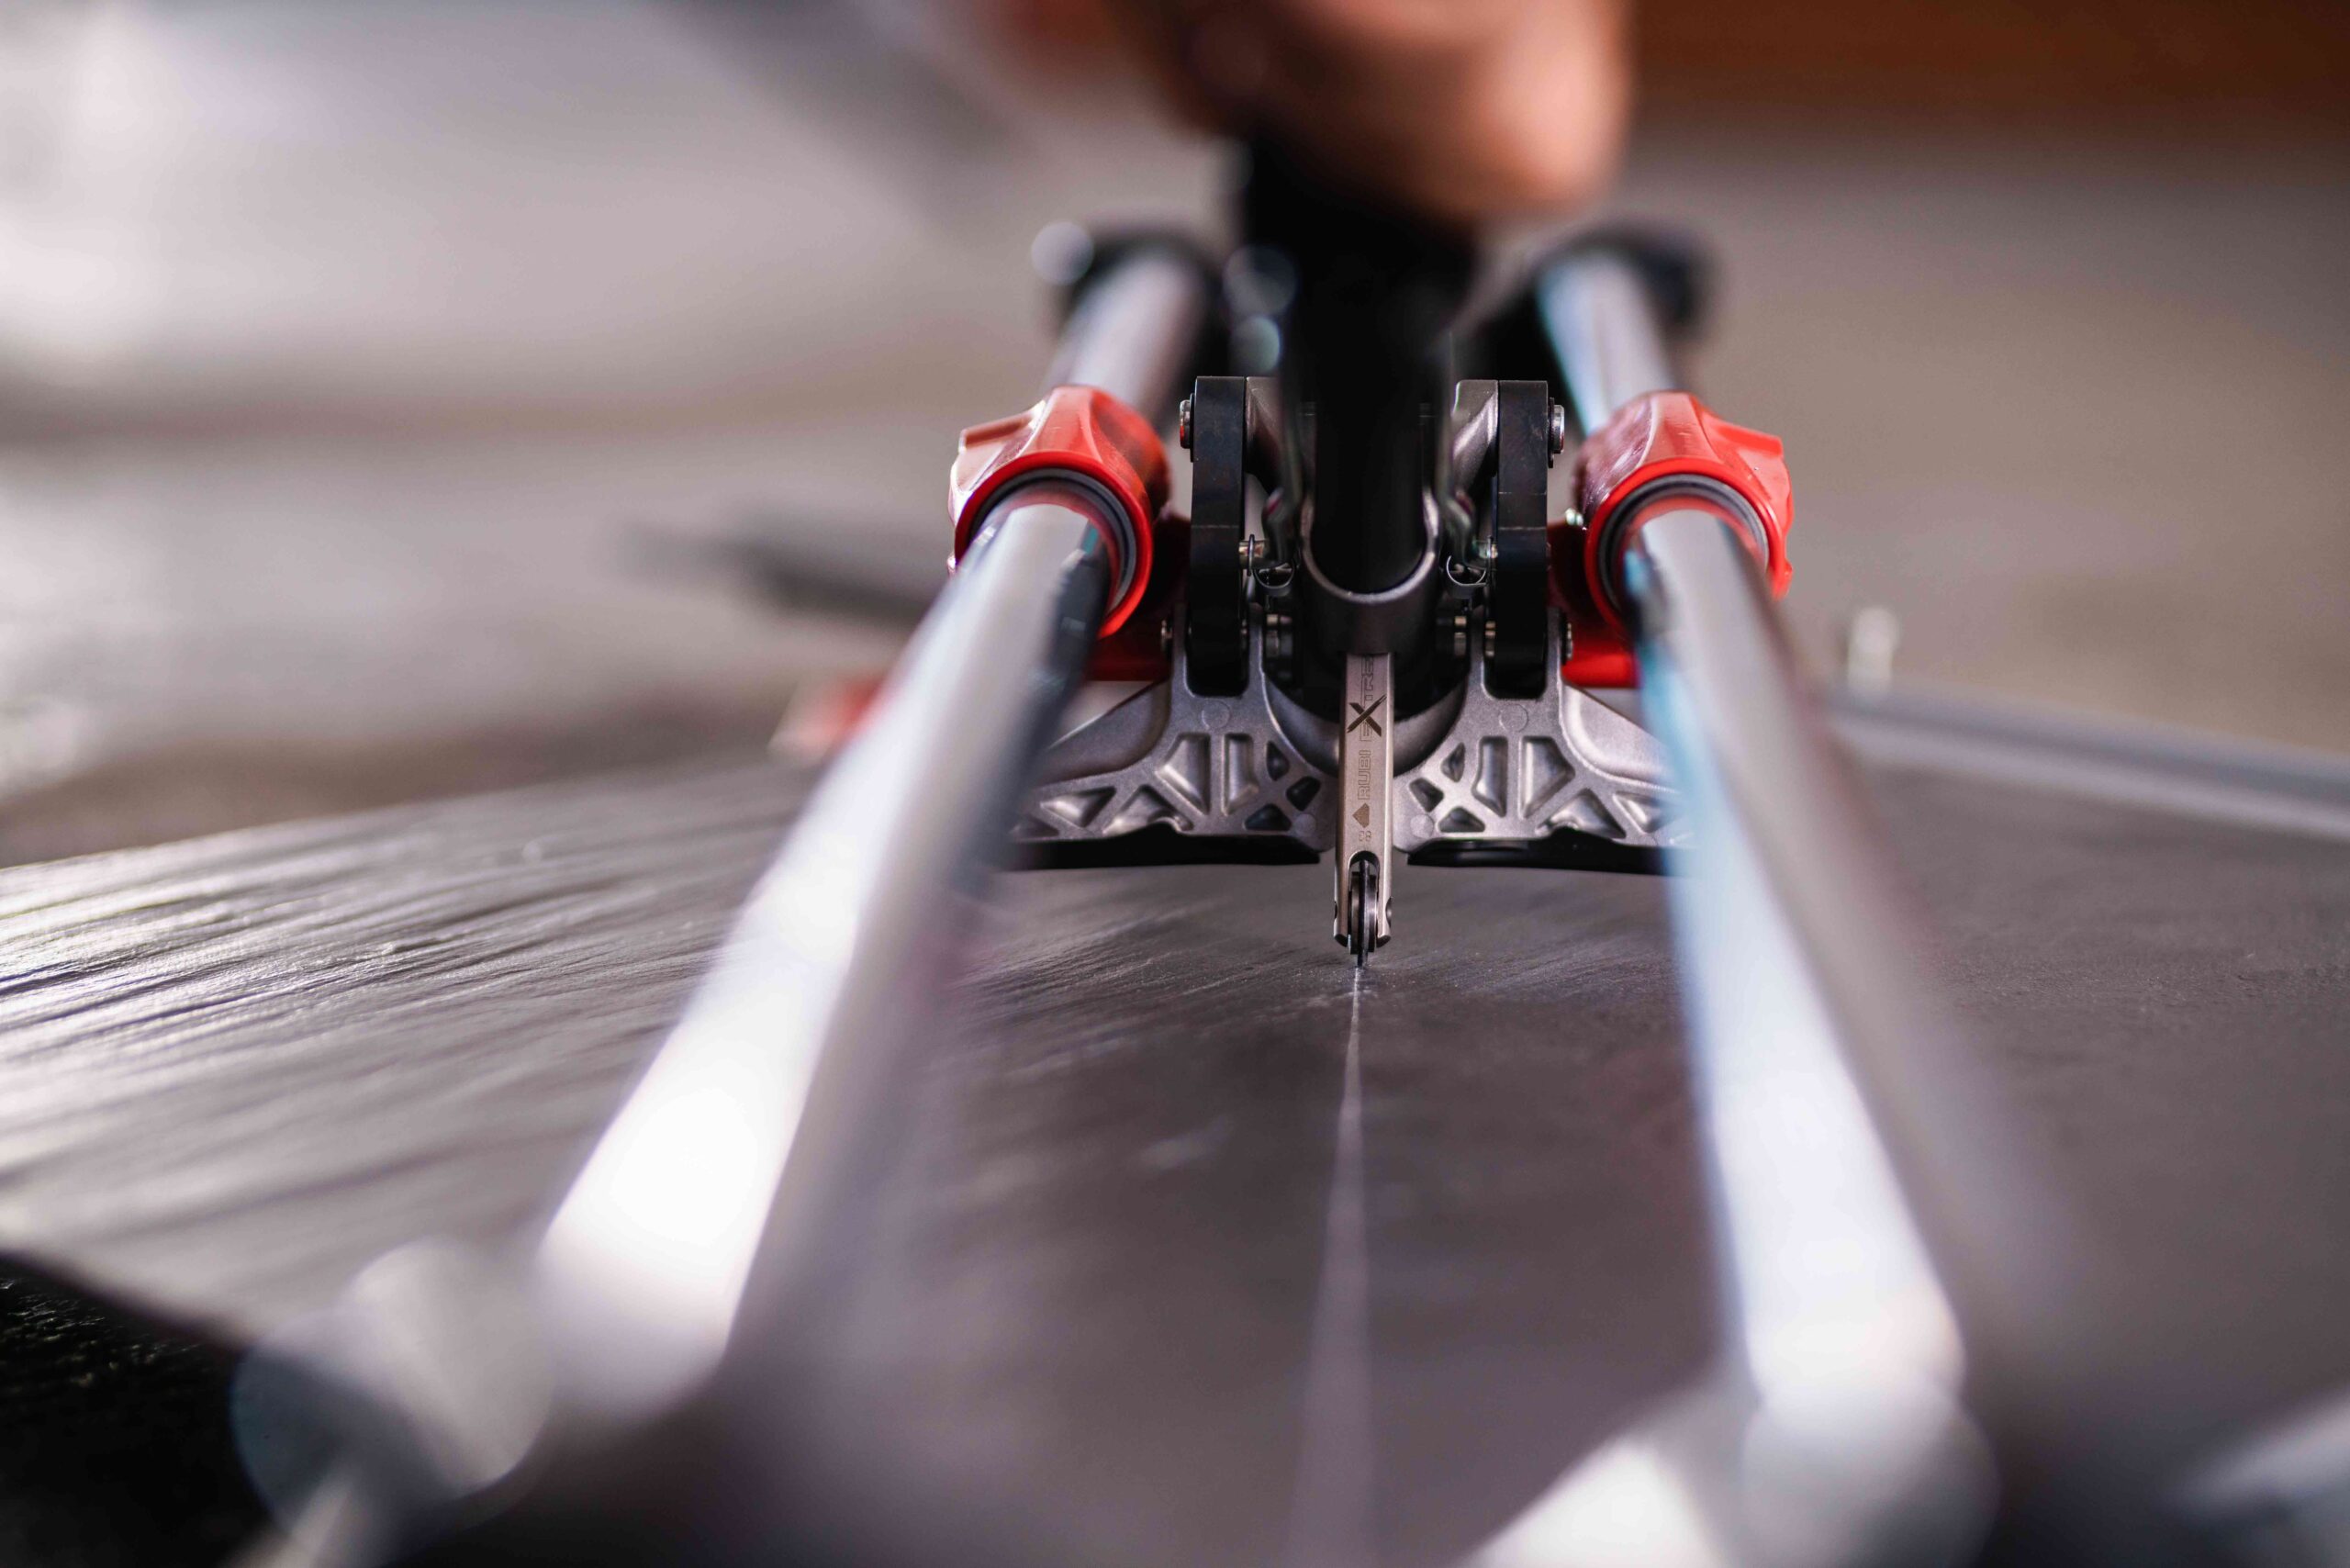
Mitered edges take the most skill to complete. This involves cutting the edges of the tiles to forty-five-degree angles so that they can be settled against each other to make a right angle for a corner. When done properly, this creates a seamless look to your tile. Such cuts require the use of an electric tile saw or a RUBI PRO-EDGER.
This is also how a “waterfall” effect is created for countertops. This is extremely popular in modern homes.
It takes a special tool to make mitered corners. When the tiles are set up against each other, it effectively hides the cut sides of the tiles completely. This is why this design style requires so much skill and patience.
Choose How to Hide Your Tile’s Cut Edges Today
You have a lot of great options to choose from for how to hide the cut edge of the tile. So if you’re ready to get started on your tile project, you can cut with confidence.
And when you’re ready to start cutting your tile for your project you’ll need the expert tools in the RUBI catalog. These tools will make your tile job easy to complete. We have the highest quality tools in the industry at the best prices. So if you’re serious about your tile project, then check out our catalog and get your tile cutting tools today.

Post a comment