
Would you want a tile surface with worn out or ugly-looking grout? You wouldn’t.
When choosing building materials or decor, getting it right is key to have a perfect finish. Color combinations ought to blend well and give you an appealing and aesthetic look. Nothing beats the excitement of shopping for home products.
If you want to revamp your bathroom, kitchen or any other space in your home, you may get a lot of great ideas as soon as you hit the shops. There is a lot of variety in the market. Do not get stuck in this stage.
When you are armed with the right information and already have a tiling idea, you can then make the right decision when choosing grout for tile. Every professional need to know which grout is best for the job, since the wrong grout can have costly results. Therefore, you need the right tips to choose the right grout for tile every time.
Why Choosing Grout for Tile Is Important
The selection that you make will determine the overall look of your space. When you walk into a room, the view will be determined by the grout color, pattern, and material you shall use.
These factors are important because the effect created may be a well-blended visual appearance of your room or a faded effect. The choice of your grout will also be mainly determined by the tile being used.
Types of Grout
The main classifications of grout are sanded or unsanded. These can be used indoors or outdoors. Grout is usually sold in a premixed and ready-to-use form.
Therefore, you should also be well-prepared for tile installation and have enough products. When shopping, get enough grout and mortar to ensure that the workflows seamlessly.
Grout Application
The following are the ways in which you may use the different types of grout:
- Sanded grout:Applied on grout joints of the following measurement, 1/8 inch to 5/8 inch. It is best applied to stone tiles.
- Un-sanded/cementitious Grout:Used only with tiles made of polished marble, metal or glass and for grout joint which measures up to 1/8 inch. By using this type of grout, you avoid causing scratches on the delicate tiles.
- Acrylic Grout:Mildew-resistant and is a good option for tiles laid on wet areas. It also retains its color well.
- Epoxy Grout:A hard type of grout and requires more effort if you are to do the application by yourself. It is commonly used on countertops. It does not have to be sealed after application.
The following are the combinations which you may consider when grouting for tiles and stones and their respective effect: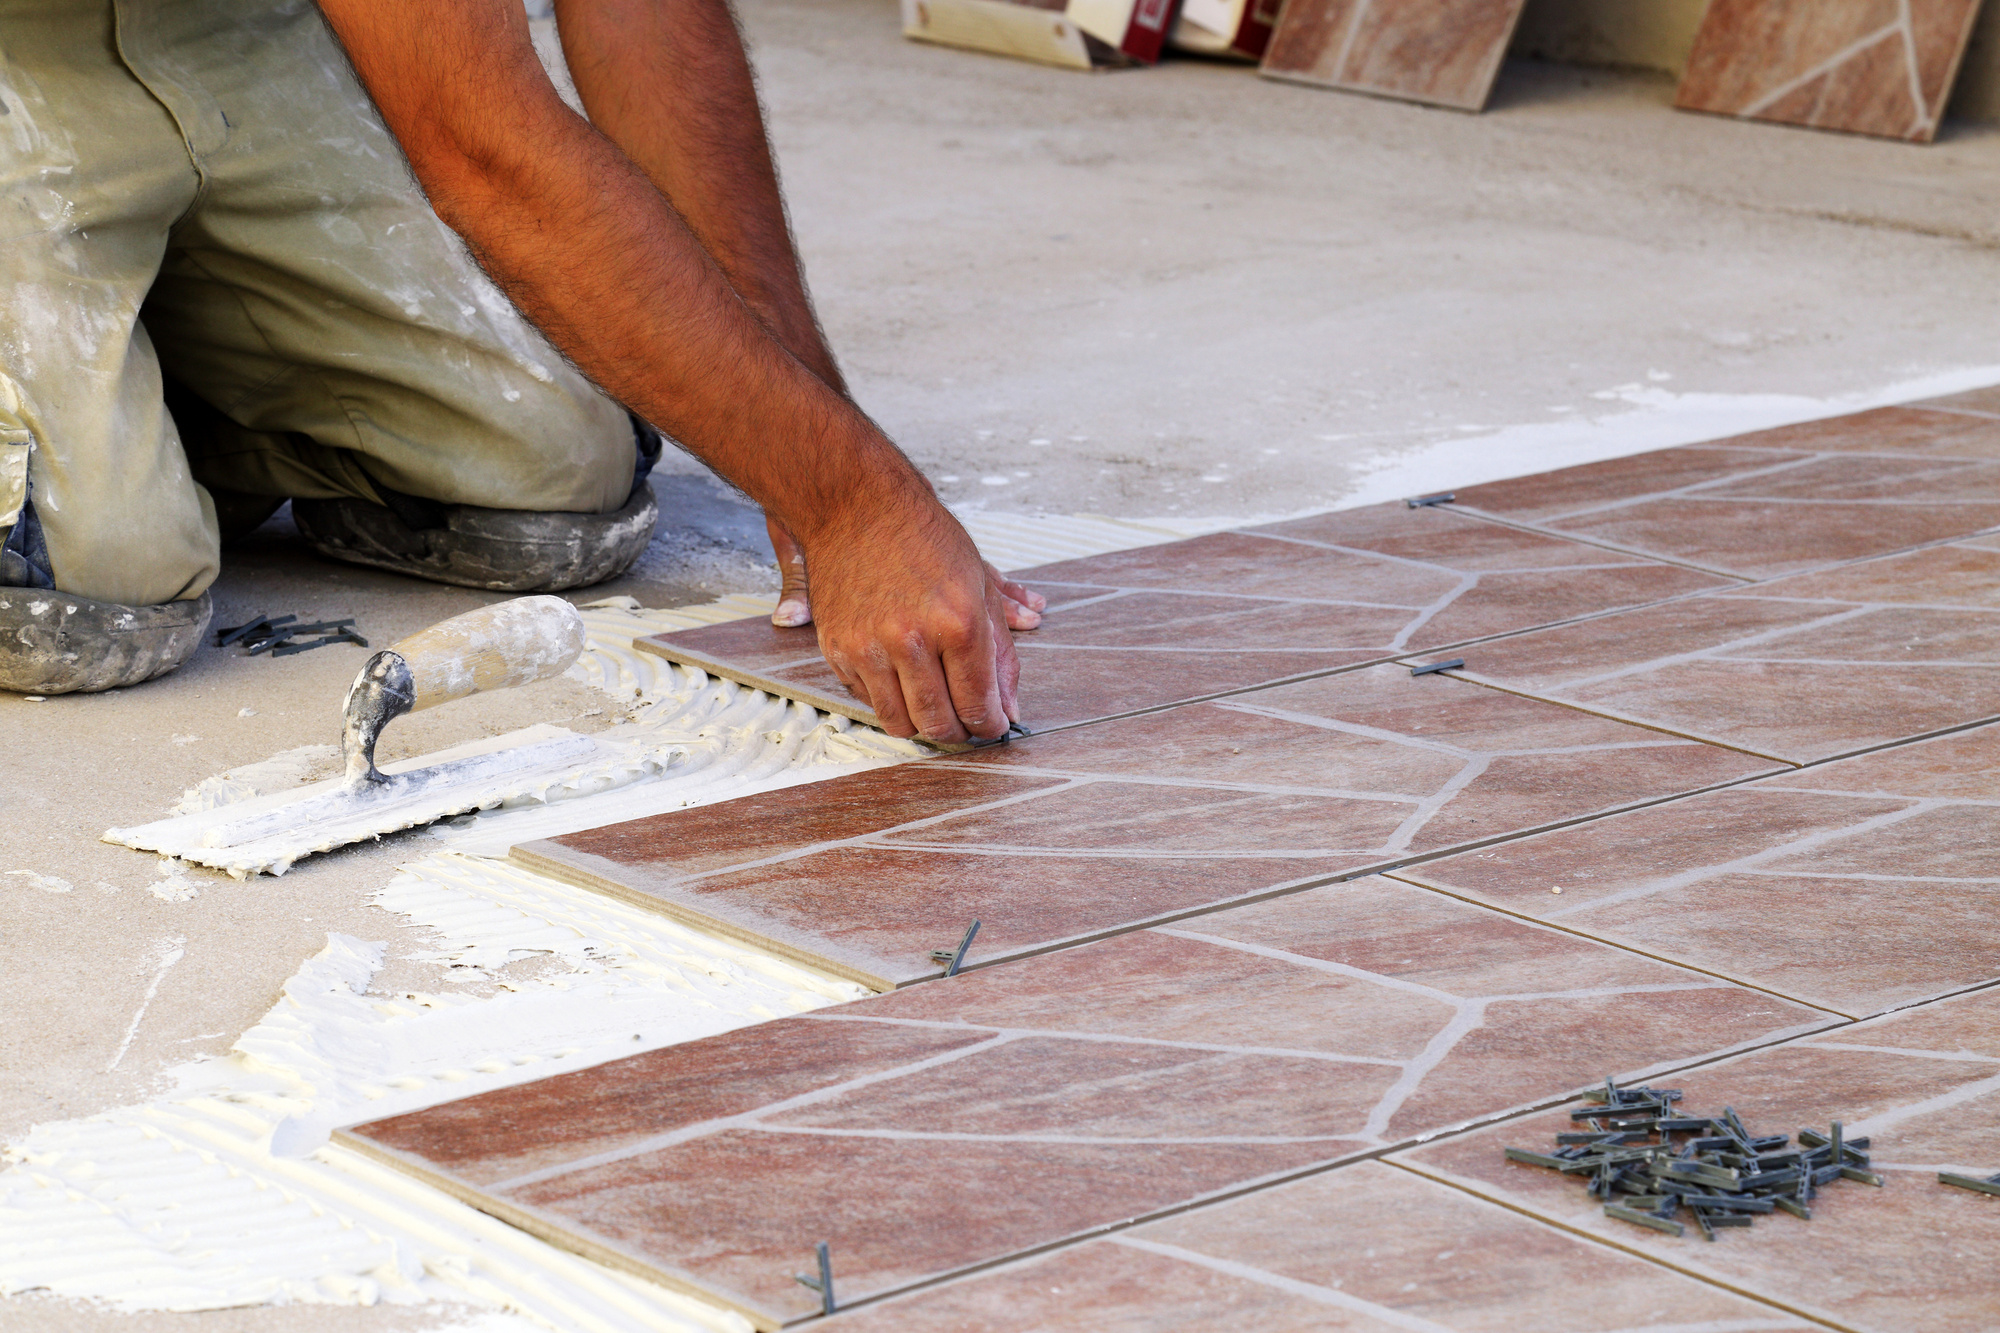 White/Light Grout and White Tile
Matching white grout and white tile creates a sublet appearance and makes the tile to be less featured. This is perfect for spaces which already have a dramatic look.
Therefore, you will make the lines between the tiles less pronounced and the other items in the room will be noticed first. This look is perfect if you would like to make a room bigger and feel breezy.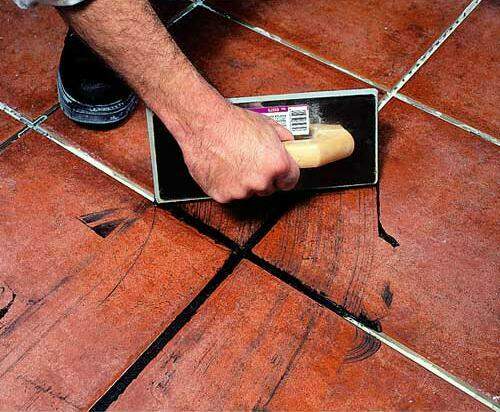 White Tile and Grey Grout
To have the shape of the tiles to be more revealed, you can do this combination which creates a good contrast. The darker shade of the grout you select, the more that the contrasting effect.
The opposite does apply since a less contrasting (blended) look appears when a lighter shade of grout is applied on white tiles. This combination is good for tiles in which the shape is the main feature and in spaces where you would like to create a timeless look.

White Tile and Black Grout
Darker shades of grout create patterns and make the visual focus to be on the tiles.
Black or dark grout and white tiles are used in spaces in which the black and white combination works well so as to make the space to look less crowded. A good example of a space which this combination does well is industrial kitchens.
Black Tile and White Grout
The rule of contrast applies here again. Applying white grout on black tiles makes the shape of the tiles more visual.
The black tiles will get less pronounced when used with black grout and this will result in a softer look. If you prefer to soften the look, you can select a charcoal shade of tiles.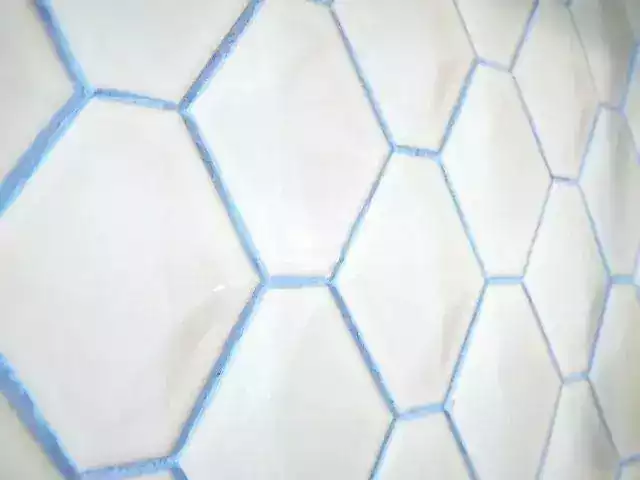 Colorful Grout
Harmonious spaces can have some dash of color, even on the tiles and grout. Colorful grout also makes the room to appear bigger and brighter. Although this is a fun pick, ensure that you are willing to stick with it for a long period of time.
Tile Edges
Ceramic tiles which have rectified (crisp edges) bring about a limit on how thin the grout lines should be. The non-rectified (natural edged) tiles bring about a sketchy look when the grout is applied.
Grout Size
The color and thickness of the grout are two important factors to consider when laying tiles. This is because the effect created may be one that makes the grout stand out or disappear completely. When a large slab of tile is used with a thin grout which matches its color, the grout shall be less pronounced and less visible.
Tile Finish
Bright or glossy wall tiles appear brighter when they are placed on the wall surface. Therefore, you can select a lighter colored grout to go with such.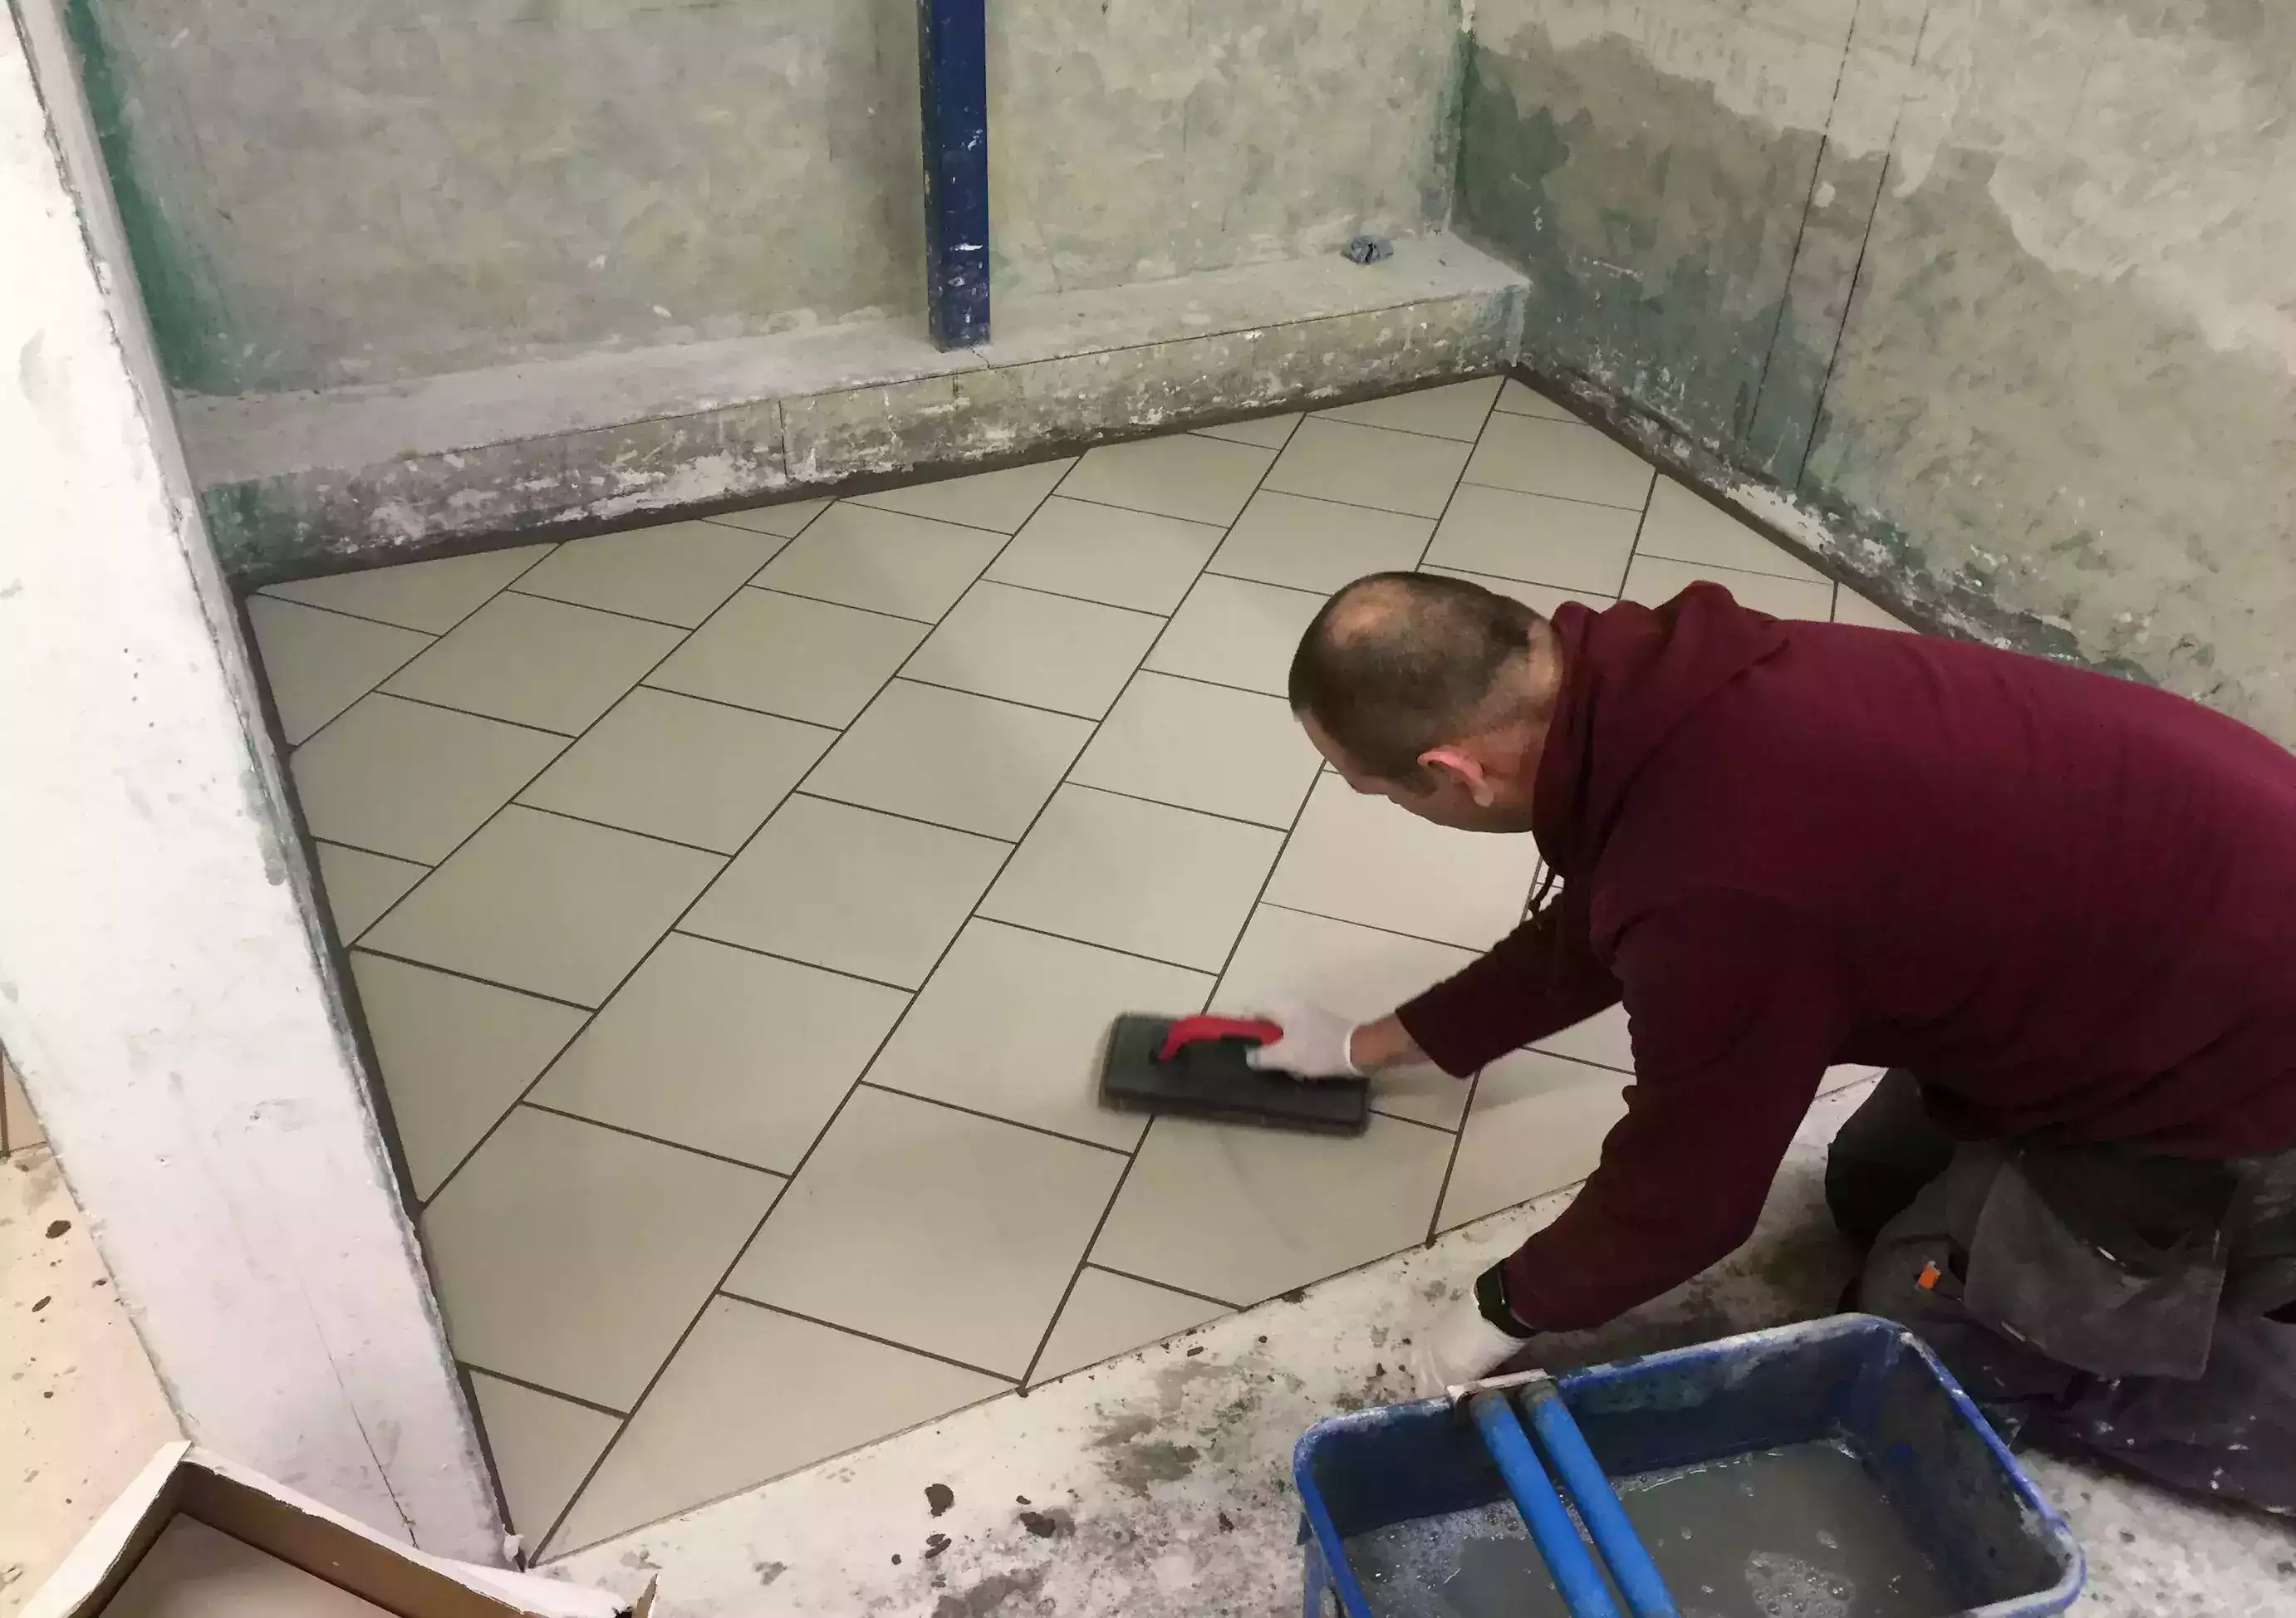 Grouting Tile Floors
This is a finishing step when floor tiling work is being done. To start off, remove the tile spacers. Thereafter, you should do the mixing of the grout, following the instructions set by the manufacturer.
To achieve the consistency required (paste-like), do the mixing in the indicated ratio. Use clean water. Application of the grout follows the mixing and this should be done into the joints and then across the grouts diagonally.
Using a rubber grout float makes the removal of excess grout easier. Thereafter, leave the grout to dry. The duration needed for drying is usually indicated by the manufacturer.
Once you are done, it is best that you use grout cleaning products. To set the grout below the level of the tiles, use a wet sponge to wipe the grout lines. Do this in a circular motion.
A grout haze remover is then used to clean the tile. Thereafter, the results of your work shall be clearly displayed. It is advisable that the traffic on such completed spaces have minimal traffic on the tiles for up to 3 days.
Curing of the grout may take up to 3 weeks and after this, you may seal the grout. For a good finish, you may then install trim work and transition strips, as required. To maintain the look, you may then keep the tile and grout clean.
Extra Tip
Tiles may appear less bright at the shop, so you may need extra help in choosing the right grout to go with them. You can make good use of a color chat so as to make your selection. If you would like to make a contrasting look or reveal a pattern, it is best that you also check how well the color of the grout shall contrast with that of the tiles.
Build with Us
If you would like guidance on how to tile a floor, we are happy to help. We also sell a variety of tile products that you may need. Rubi is dynamic, innovative and a brand that means service guaranteed.
We also value professional training and we are a favorite choice for many in the building industry, contractors and construction workers included. Feel free to contact us if you need more information on our building tools and accessories.

Post a comment