
Tile is one of the oldest architectural products on the market today; tile installations have been used in home construction for tens of thousands of years! Today, tiling is used in interior design to elevate the look of your home, adding a sense of luxury as well as durability to floors and walls. While porcelain and ceramic can be cost-effective product options, the benefits of using natural stone tiles truly can’t be beaten.
However, the installation costs can get quite pricey, with averages on tile installation running at around $2,000 per project. An enterprising homeowner might look at the estimated bill and think, “Can I lay these natural stone tiles myself?”
The answer: probably! As long as you have the right materials, some DIY knowledge, and enough time on your hands, this is definitely an achievable project for the average homeowner.
Keep reading to learn everything you need to know to lay tile on your own.

Gather Tools and Materials
You’ll already have enough work on your hands without needing to run to the hardware store halfway through tiling. Before beginning your project, take time to collect all the tools and materials you’ll need to complete the work.
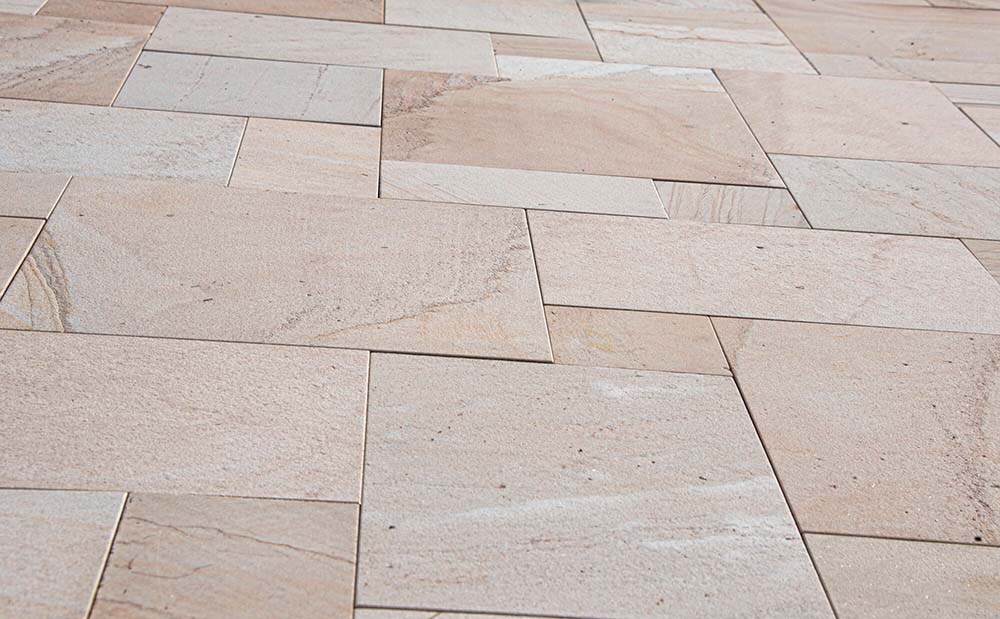
Choose Your Natural Stone Tiles
Whether you’re laying flooring, tiling a patio, or creating a wall accent in your bath or kitchen, you have several different tile materials to choose from:
- Limestone
- Sandstone
- Granite
- Marble
- Slate
Each of these stones varies in texture, color, and hardness, so the right choice for you depends on your aesthetic sensibilities. Also keep in mind that denser or rarer materials will likely be more expensive than some of the other options on this list, so budget considerations may also help you make your decision.
Many homeowners use multiple sizes and shapes of tiles to create designs. From random patterns to evenly spaced tiles, you’re only limited by your own creativity! Take advantage of manufacturers’ showrooms and hardware store samples to get a sense of how alternating colors and shapes look before you commit to a specific design choice.
Grout and Mortar
In addition to the kind of tiles you want to use, you need to decide the color and style of grout you need for your project. Think about which color will go best with the stone(s) you’ve chosen as well as the best grout material to pair with the tile material.
Don’t forget the mortar, which you’ll use to mount the tiles to their backing.
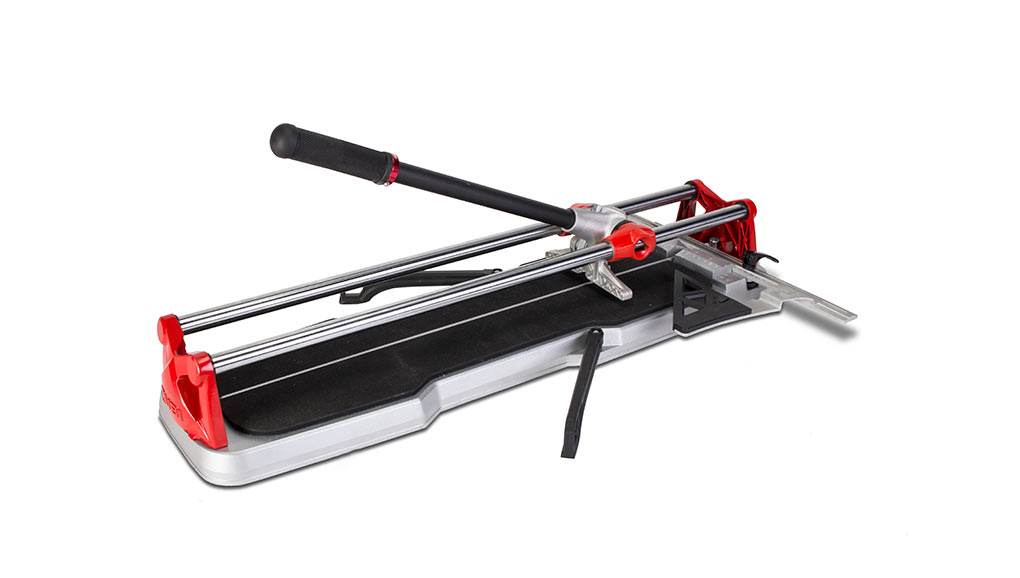
Tile Cutter
Based on the tile material you’re using, make sure you have either a wet saw or a manual cutter. Depending on which you choose, you’ll need a diamond blade or scoring wheel respectively to cut your tile effectively.
Finishing Material
Save time later by deciding whether you want to paint or glaze your tiles now. Painting tile is the most budget-friendly choice, but other finishing products have their own benefits. The choice is completely up to you!
Other Accessories
A grout sponge, notched trowel, tile spacers, utility knife, and sandpaper are all great additional tools to have on hand. While none of them on their own will make or break your tiling project, they will make it a lot easier to complete the task and achieve a professional-grade finish on your work.

The Process
While the process of laying tile involves several steps, each of them is achievable enough on its own. Make sure you complete everything in the right order and have all your tools in place before you begin.
Prepare the Space
Protect anything that might be damaged during your project.
Lay down dropcloths on counters, floors, and tubs. Tape around the edges of the area to be tiled to protect existing paint and trim. Thoroughly clean the area that is to be tiled, and wait until it’s dry before proceeding.
Install the Tile Backer or Sheathing
While you can lay tiles directly over a wall or floor, many professionals recommend that you put a layer between the two surfaces.
Measure the entire tiled area and cut the tile backer or sheathing to the appropriate size. Use glue, screws, or mortar to attach the backing to the sublayer. Allow the adhesive to cure before moving on to the next step.
If you want, this is also the time to add a membrane. This is especially useful if you’re tiling a floor, as it will absorb stress and impact and protect the tile from cracking if the subfloor settles and shifts over time. A membrane layer can also absorb sound and prevent moisture in the sublayer from damaging the tile.
Plan the Tile Layout
Based on your desired tile design, figure out how many tiles you’ll need to cover the area. Rather than work from one side of the wall or surface to the other, center your design on the surface. That way, all cut tiles will end up on the edges of the surface, and your design will look as symmetrical as possible.
If you’re planning out a walkable surface, you can lay the tiles directly on the ground (without mortar!) to get a sense of how the final result will look. If you’re tiling a wall or other vertical surface, sketch out the design on a piece of paper and hold it up against the surface.
When figuring out how to cut your tiles, remember to account for your grout lines as well as the tiles themselves.
Cut Your Tiles
Unless you’re incredibly lucky, you’ll likely end up with a surface that’s slightly longer or shorter than the pattern you’ve planned. Cut tiles to the appropriate size for use at the edges of your design.
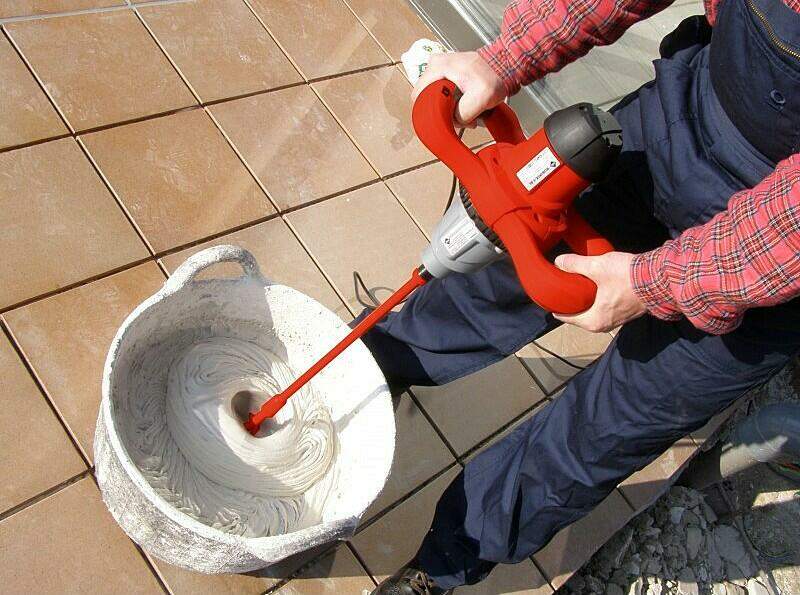
Mix and Lay the Mortar
Follow the package instructions to mix the mortar. If you have an electric mixer, it’s wise to use it; mixing mortar by hand can be quite the workout! Plus, using a machine helps you ensure that you’ve thoroughly mixed the mortar.
Only do this when you’re sure you’re ready to begin laying the tile, as the mortar will set quickly once it’s prepared. Have some water and a sponge handy to clean up spills or excess product.
Spread some of the mortar over a small section of the wall or surface you’re working with. Again, only do a little at a time, as the mortar will set and become unusable if it sits too long before you add the tile.
When spreading the mortar, hold the trowel at a 45-degree angle to the wall to help the notches in the trowel make the deepest ridges possible. This will aid in getting the tile to stick to the mortar.
Place the Tiles
Once the mortar has been spread to an even thickness, begin to place the tiles according to the pattern you’ve laid out. Use tile spacers to leave room for the grout. If you don’t use tile spacers, you run the risk of having uneven grout lines, crooked tiles, and tiles that slide out of place while they’re setting.
Continue alternating spreading the mortar and laying the tiles until you’ve completed the entire surface. Plan to leave the tiles and spacers to set for at least 24 hours.
Seal Your Tiles
After everything has dried, apply your sealing product to the tiles. This will protect the tile surface from long-term wear and tear.
Some would suggest that you should add your sealant at the very end of the tiling process, but we recommend that you do it before adding any grout. That way, the sealant can prevent the grout from staining the tiles during the next step.
Add Grout
Once the tiles have completely set, remove the spacers. Following the instructions on the package, mix a small amount of grout. Apply it to the spaces between the tiles, filling the space as much as you can.
After the grout has rested for a few minutes, go back and clean up your grout lines with a damp sponge (a grout sponge works best for this task). Be careful to remove only the excess grout without actually digging into the grout lines themselves.
Once you’ve finished laying the grout, let it dry for a while. Finally, come back and wipe down the entire area with a dry cloth.
Add Caulk
This next step may or may not apply to you, depending on the nature of the area where you’re adding tile. If you’re tiling near a tub, sink, or any other area that gets wet on a regular basis, it’s worth taking the extra time to add caulk around the edges of the tiled area.
Your local hardware store will be able to recommend a tile-friendly caulk that matches the color of your grout. As with all the other products used during this project, apply it according to the instructions on the label, and make sure you give it ample time to dry.
Get Started Today
As you can see, the process of laying tile is lengthy but not too complicated. As long as you have the appropriate tools on hand, understand how to work with the natural stone tiles you’ve chosen, and leave lots of time for drying and curing between steps, you should be more than capable of completing your tiling project on your own.
Here at Rubi, we want to build the future together. We have all the tools you need for cutting, polishing, and mixing during your tiling project. Whether you’re creating a tile floor, upgrading your bathroom, or building the patio of your dreams, you can rely on us to have the tools you need for a successful renovation!
Curious to learn more? Check out our product offerings today!

Post a comment