


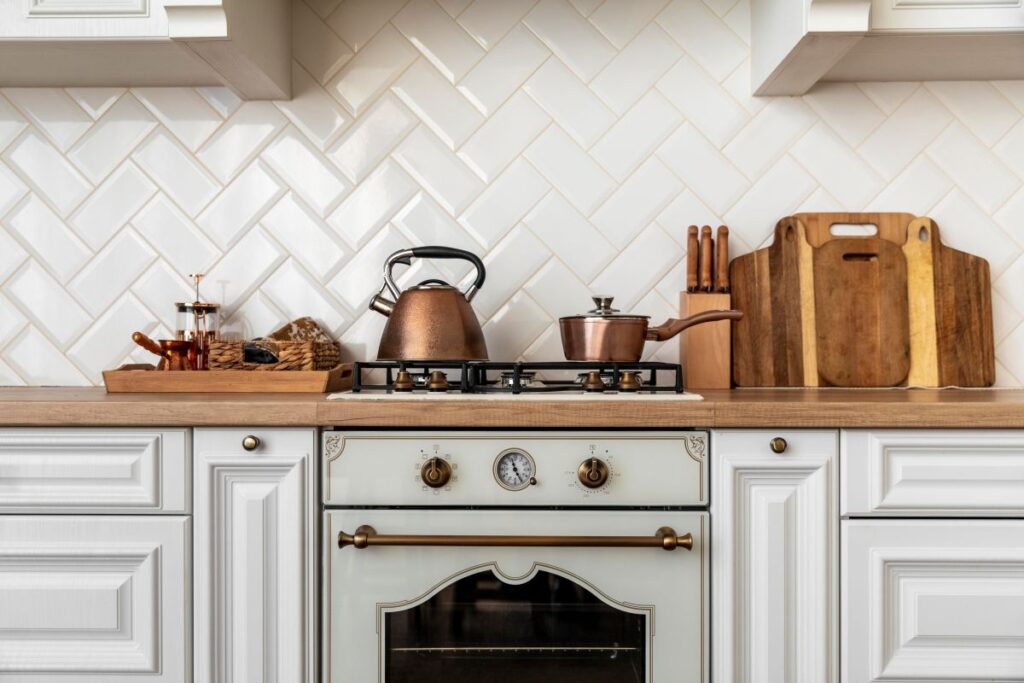
Kitchen backsplash tile can expose small layout errors quickly, especially where countertops slope slightly, cabinets are not perfectly level, and outlet boxes interrupt the field. Grease on painted drywall and inconsistent thin-set coverage can also weaken the installation or leave rows looking uneven. With RUBI tools and a deliberate tiling kitchen backsplash workflow, a capable DIYer can complete a clean, contractor-minded weekend installation with accurate cuts, consistent joints, and durable finishing details.
Plan the layout and get the right setup before you start
A backsplash rewards careful preparation because every row sits in a highly visible part of the kitchen. Start by confirming the wall is sound, the countertop is protected, and the tile pattern is balanced before mixing thin-set. A few minutes spent on reference lines, dry layout, and cut planning prevents the small edge pieces and drifting joints that make a finished wall look improvised.
Cleaning the wall and marking level reference lines
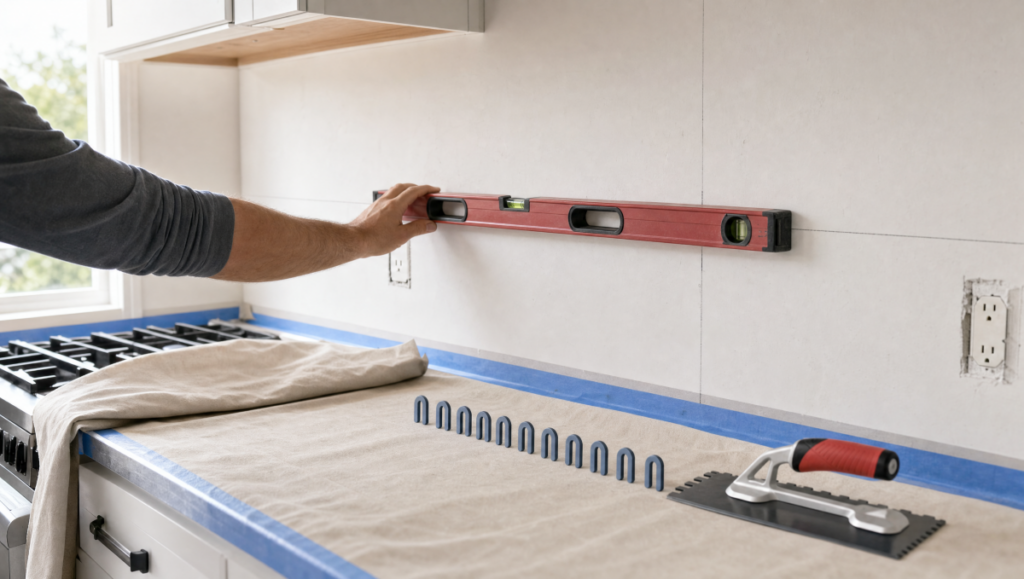
Remove outlet covers after switching off power at the breaker, then protect countertops, cabinets, and appliances from thin-set and grout. Above a range, clean painted drywall thoroughly to remove cooking grease, dust, and any loose paint; tile needs a clean, stable bonding surface. Use a level to mark a horizontal starting line and a vertical centerline in the most visible section, often at the range or a centered focal point.
Choosing the right cutter, trowel, and tile spacers for the job
Select tools around the tile material, format, and cuts the layout requires instead of treating every backsplash as the same job. Explore tile cutters for straight cuts and consider an electric cutting solution when the tile and cut detail call for a cleaner wet-cut workflow. Use notched trowels for tile installation to produce consistent thin-set ridges, then maintain even joints with tile spacers and leveling systems.
- Level or laser level for horizontal and vertical references.
- Notched trowel sized for the tile and thin-set manufacturer’s instructions.
- Tile cutter for repeatable straight cuts at edges and cabinets.
- Grout float, sponge, clean water, and lint-free cloths for cleanup.
Planning cuts around outlets, cabinets, and edge terminations
Dry-lay a row with spacers before setting tile so you can see where the pattern lands at each end. Shift the layout when needed to avoid narrow sliver cuts beside a cabinet or exposed edge, while keeping cut tiles visually balanced. Measure outlet openings from fixed reference lines, not from an adjacent tile alone, and decide whether an exposed end will receive trim, a finished tile edge, or a transition described in how to install a tile border on a wall.
Step-by-step workflow for tiling a kitchen backsplash
A controlled sequence keeps the project manageable over a weekend and minimizes cleanup before material hardens. Work in small sections, check alignment continuously, and make cuts as the layout reaches each obstruction. The goal is not simply to attach tile; it is to maintain full support, consistent joint width, and clean transitions from the first tile through final caulk.
Setting the first row and keeping the layout balanced
Set the first tile from the centerline or another deliberate visual starting point, then work outward so the layout remains balanced. Where the countertop is not a reliable level reference, fasten a straight temporary ledger below the starting row and verify it is level before proceeding. Check the first several tiles for horizontal alignment and vertical plumb; correcting the start is far easier than correcting a whole field later.
Spreading thin-set and placing tile with consistent alignment
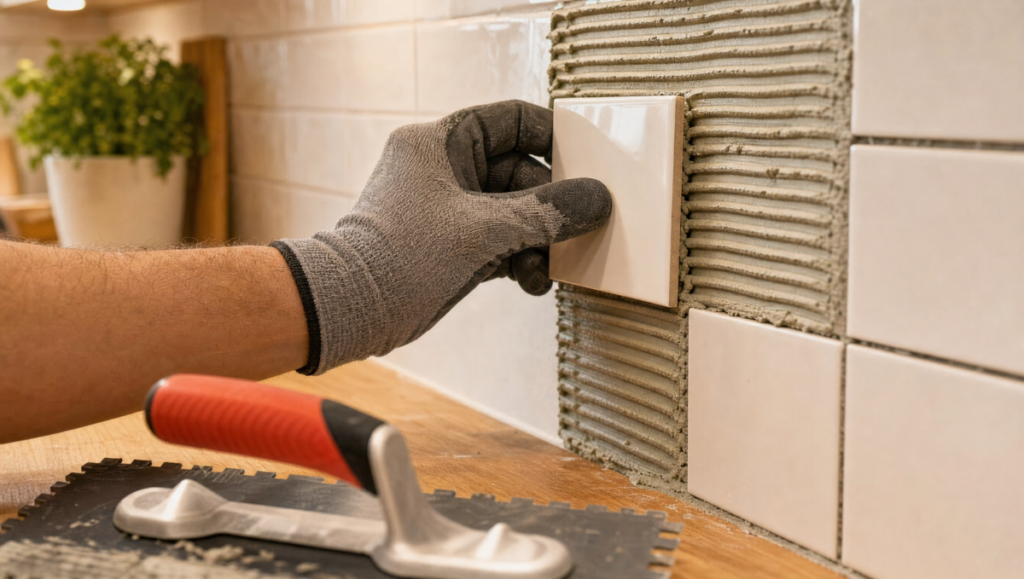
Mix and use thin-set according to its manufacturer’s instructions, then spread only the amount you can cover before it begins to skin over. Comb uniform ridges in one direction with the notched trowel, press each tile into place, and move it slightly across the ridges to promote thin-set contact. Lift an occasional freshly set tile to verify coverage rather than assuming the wall is fully supported.
- Spread a manageable section of thin-set and comb consistent ridges.
- Set tile to the reference lines with spacers installed at every joint.
- Check each row before thin-set firms up and remove squeeze-out immediately.
- Stop at outlets, corners, and edges to measure cuts from fixed references.
Cutting and fitting tile around outlets, corners, and edges
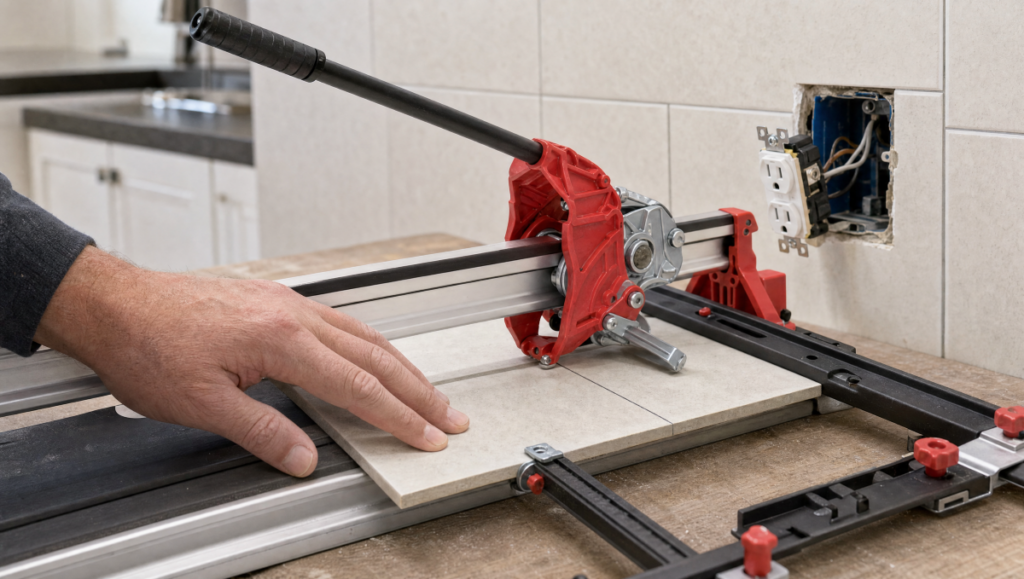
Mark every cut from the actual opening after confirming the tile orientation and joint spacing. Straight perimeter cuts can be made efficiently with Manual cutters for ceramic tiles, while detailed cutouts may require an electric cutter or drilling solution appropriate for the tile. Keep cuts inside the cover plate area where possible, leave space for movement at changes of plane, and avoid forcing a tight tile fit against cabinets or countertops.
Grouting, caulking, and finishing the backsplash cleanly
Allow the setting material to cure as directed by its manufacturer before removing spacers and grouting. Pack grout firmly with a grout float, moving diagonally across the joints so they fill completely without pulling material back out. Clean progressively with a well-rinsed, lightly damp sponge to control grout residue, then use flexible caulk—not grout—at the countertop joint and other changes of plane.
Common mistakes to avoid on the jobsite
Backsplash errors are usually visible because cabinet lines, countertops, and outlet covers provide immediate visual references. Most can be avoided by slowing down before thin-set is spread and by checking every small section while adjustments are still possible. Focus on layout discipline, fresh thin-set, and precise cuts rather than trying to correct problems during grouting.
Starting with a layout that creates small edge cuts
Beginning at one end without a dry layout often leaves a thin strip at the opposite end, where it is especially noticeable next to a cabinet. Measure the full run, include spacer joints, and test a centered or shifted starting point before committing. A layout with balanced end cuts usually looks more intentional than one with a full tile at one side and a narrow filler piece at the other.
Letting adhesive skin over before the tile is set
Thin-set that has skinned over can no longer transfer effectively to the back of the tile, reducing support even when the tile appears to be in place. Keep the working area small and avoid adding water to rework material that has started to set. If ridges no longer look fresh or transfer to the tile, remove the material and apply fresh thin-set with uniform ridges.
Rushing cuts and joint alignment around outlets
Outlet openings concentrate several visible details: cut edges, grout joints, cover plates, and the tile pattern all meet in one small area. Confirm power is off, remove the cover, and make a template or mark the tile carefully before cutting. Maintain the same joint spacing around the opening and ensure the device will be brought forward correctly with an approved outlet box extender when tile thickness requires it.
- Do not tile over grease, loose paint, or an uneven wall surface.
- Do not spread more thin-set than can be tiled while it remains workable.
- Do not grout countertop-to-tile joints or inside corners.
- Do not rely on cabinet bottoms or countertops without checking level.
How to keep the backsplash looking clean after installation
Final cleanup affects both the appearance of the tile and the long-term maintenance of the splash zone. Remove residue in stages rather than aggressively scrubbing after it hardens, and wait for each product to cure as directed. A clean finish depends on controlled grout cleanup, sound caulk lines, and regular non-abrasive care once the backsplash is in service.
Removing grout haze without damaging the tile surface
During grouting, use clean water and a lightly damp sponge to remove excess without washing grout out of the joints. After the grout has cured according to its manufacturer’s instructions, buff remaining haze with a clean, dry lint-free cloth before escalating to a cleaner suitable for the specific tile and grout. Avoid abrasive pads that can dull a polished surface or damage a decorative finish.
Protecting grout joints and caulk lines in splash zones
Clean the backsplash routinely with products compatible with the tile and grout, especially behind the range and around the sink where grease and splashes collect. Inspect the flexible joint at the countertop and at inside corners periodically; replace caulk when it loses adhesion, cracks, or separates. Keeping caulk joints intact and cleaning spills promptly protects the finished installation without turning a weekend upgrade into a repair project.
Post a comment