Laying a concrete base in the UK follows a standard process that involves preparing the site, creating formwork/shuttering, mixing, and pouring the concrete, and finishing the surface. It’s key to know how to tile and install a concrete base, and in this blog, we will outline a step-by-step guide to ensure success when you install your concrete base.


Concrete Base Equipment and Materials
- Shovel or excavator for digging (if needed)
- Wheelbarrow for transporting materials
- Spirit level
- Wooden stakes and string
- Plywood or timber for formwork/shuttering
- Rebar or wire mesh (optional, for reinforcement)
- Concrete mix (ready-mix or mix it yourself)
- Water source (hose or buckets)
Site Preparation for Concrete Base
Ensure you have the necessary planning permission and check for any underground utilities before starting the project. Clear the area of any vegetation, debris, or obstacles. If there is an existing base, demolish and remove it if required.
Excavate the area to the required depth. The depth will depend on the intended use of the base and the type of structure you’re planning to build on it. Typically, a depth of 100-150mm is sufficient for a simple garden shed base, while more substantial structures might require deeper excavation.
Creating Formwork/Shuttering (if required)
- Measure and mark the area’s dimensions using stakes and string lines.
- Create a wooden frame around the marked area to act as the formwork shuttering.
- The formwork will hold the concrete in place as it sets and give the base it’s shape.
- Ensure that the formwork is level and square. Use a spirit level to check for accuracy.
- Reinforcement (Optional) For larger bases or where extra strength is required, consider adding reinforcement. This can be done using rebar (steel bars) or wire mesh. Place the reinforcement within the formwork, leaving a gap between it and the bottom of the excavation.
Mixing Concrete
When it comes to mixing the concrete, follow the instructions on the concrete mix bags if you’re using a ready-mix option.

However, if you’re mixing the concrete yourself, use a concrete mixer or follow the instructions for manual mixing. The general ratio is about 1 part cement, 2 parts sand, and 3 parts aggregate (stone or gravel). Add water gradually and mix until you achieve consistent, workable concrete.
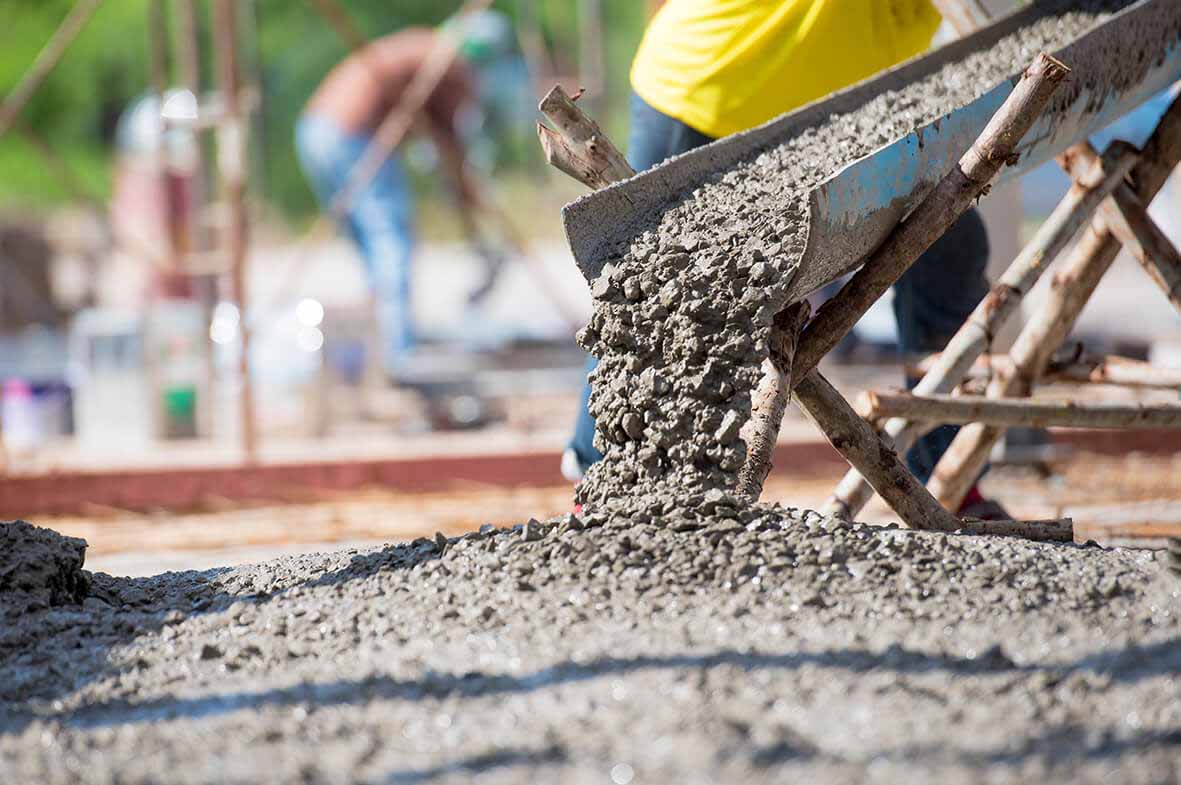
Pouring Concrete
Start pouring the concrete into the formwork. Distribute it evenly and avoid pouring it too quickly to prevent air pockets from forming.
Use a shovel or rake to spread the concrete to the edges and corners of the formwork, this leaves a consistent pour across the area. If using reinforcement, make sure it remains centred within the concrete as you pour.

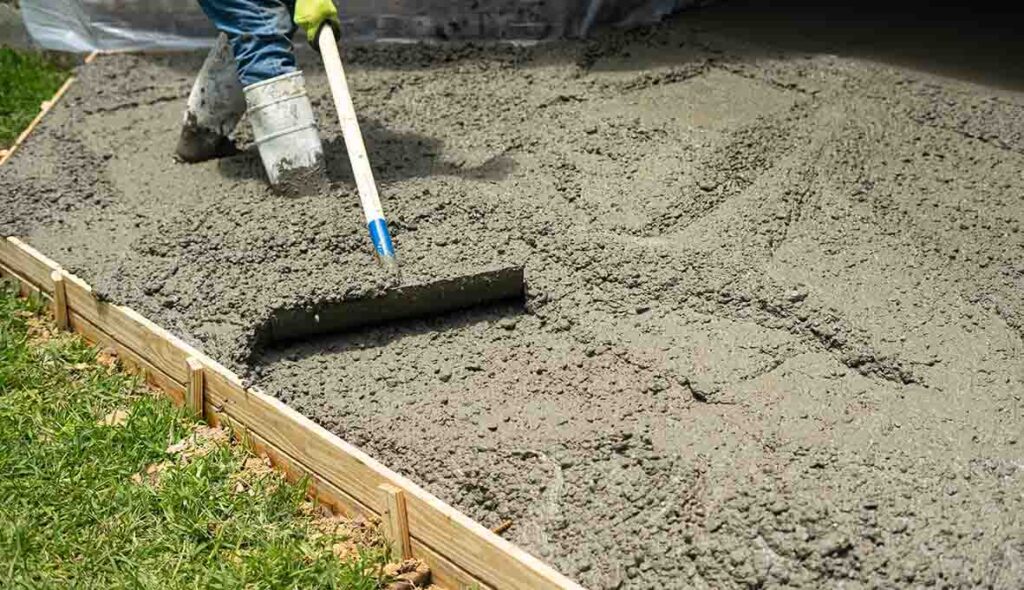
Finishing
Smooth the surface of the concrete with a trowel to achieve a level and even finish. Using a float or broom you can add texture to the surface for better grip if the base is intended for foot traffic. This is ideal in playgrounds, schools, or general commercial purposes.
Allow the concrete to set according to the manufacturer’s instructions. It typically takes a few days before it reaches full strength.
Concrete Base Curing and Protection
To ensure the concrete cures properly and doesn’t crack, keep it moist during the curing process. Cover the concrete with damp hessian, plastic sheeting, or use a curing compound.
Avoid walking or placing heavy loads on the base until it has fully cured. Always remember to wear appropriate personal protective equipment (PPE) while working with concrete.
Safety First
Always remember to wear the appropriate personal protective equipment (PPE) while working, machinery and any products you may use, for example, goggles, gloves, ear defenders and dust masks, these should always be used when handling tools and materials to protect yourself.
Remember, it is essential to follow the manufacturer’s instructions for the tools and materials you are using, as different products may have specific requirements. If you are unsure about any aspect of the installation, it is advisable to consult with a professional or experienced installer.
Written in collaboration with John Roberts of Greentop Landscapes & Design.
Post a comment