If you want to build a retaining wall in the UK, especially if it’s a larger and more complex project, it’s generally best left to professionals. However, if you have experience in construction and want to attempt it yourself, it’s essential learn how to tile it and to follow proper guidelines to ensure safety and longevity.
Knowing how to build a retaining wall involves several steps, which may include planning, design, site preparation, and construction. In this blog we will go over a general outline of the process.


Retaining Wall Regulations
Before starting any construction, check with your local authorities regarding planning permissions and building regulations. Retaining walls may have specific requirements, and it’s essential to comply with these rules.
Site Assessment
Firstly, assess the site where you plan to build the retaining wall. Consider factors such as the height and length of the wall, soil conditions, drainage, and the slope of the land. All of these will influence the design and construction of the retaining wall.
Retaining Wall Design
If you’re not experienced with structural engineering, it’s best to consult a professional engineer who can design the retaining wall to suit your specific site conditions. The retaining wall needs to be designed to handle the pressures from the soil it holds back and should be stable and safe.
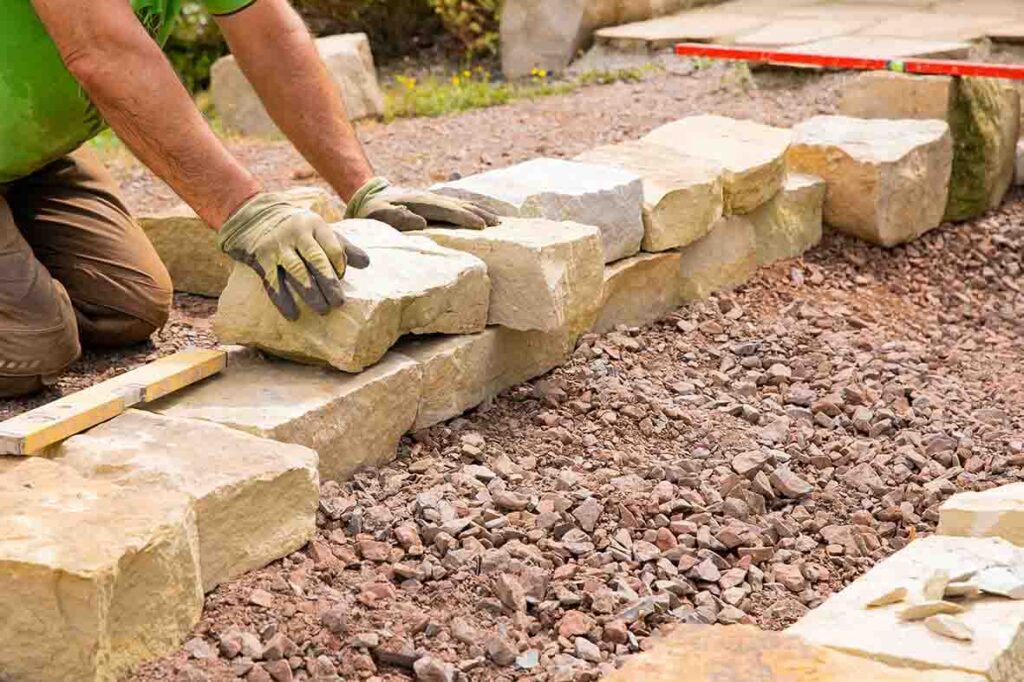
Materials
Once you’ve completed your assessment and found a design you like, the next step is to choose appropriate materials for your retaining wall. Common options include concrete blocks, poured concrete, treated timber, natural stone, or brick. Ensure the materials you select are suitable for the height and purpose of your retaining wall.
How to Build a Retaining Wall – Foundation
Building the foundations for a retaining wall in the UK follows standard construction practices. The foundation type and depth depend on the wall’s purpose, size, and the soil conditions at the site. Below we’ve outlined a general guide on how to build foundations for a wall in the UK:
Assessment and Planning
Begin by assessing the site where you intend to build the wall. Consider factors such as the wall’s height, load-bearing requirements, soil type, and local building regulations. Also remember to check for any underground utilities before starting the project.
Marking the Area
After making your assessment and planning, use stakes and string to mark the outline of the wall on the ground. This will help you visualise the wall’s position and ensure it aligns correctly.
Retaining Wall Excavation
Dig a trench along the marked outline for the wall’s foundation. The trench depth will depend on the wall’s height and local building regulations, but a common rule of thumb is to dig to a depth of at least 1 meter (3 feet).
Ensure the trench is wide enough to accommodate the width of the wall’s foundation with some additional space for working.
Levelling and Compaction
To ensure the bottom of the trench is level, compact the soil by using a compactor or by tamping it down. This will provide a stable base for the foundation.
Adding Gravel Base
Adding a layer of gravel at the bottom of the trench will provide added stability and improve drainage. This will help prevent water accumulation and potential damage to the foundation.
Retaining Wall Formwork
If the wall requires a concrete foundation, construct formwork along the trench. Formwork provides a mold for the concrete, shaping it to the desired dimensions.
Reinforcement (if needed)
Depending on the wall’s height and design, you may need to add reinforcement to the foundation. This is commonly done using steel rebar.
Pouring Concrete
Once the formwork is in place and any required reinforcement is added, pour concrete into the trench. Use a concrete mix suitable for foundations and ensure it reaches the necessary strength according to building regulations.
Retaining Wall Levelling and Curing
Ensure the poured concrete is level and allow it to cure properly. Curing time varies depending on the concrete mix used, so follow the manufacturer’s recommendations.
Removing Formwork
Once you have poured the concrete and it has cured sufficiently, carefully remove the formwork.
Backfilling
Backfill the trench around the foundation, compacting the soil in layers to prevent settling.
Finish Grade
Once the backfilled soil has settled, ensure the area is graded and sloped away from the foundation to prevent water from pooling around it.
Retaining Wall Drainage
A crucial element for the retaining wall’s longevity is ensuring there is adequate drainage. Install drainage pipes or gravel behind the wall to prevent water build-up that can lead to pressure on the wall and potential failure.

Construction of Retaining Wall
Follow the design plan to lay the first course of blocks or start pouring the concrete. Make sure each row is level and use appropriate adhesives or connectors as needed for the chosen materials.
Laying the First Course
Start laying the bricks or blocks at one end of the trench. You can use a spirit level and string line to ensure the first course is level and straight.
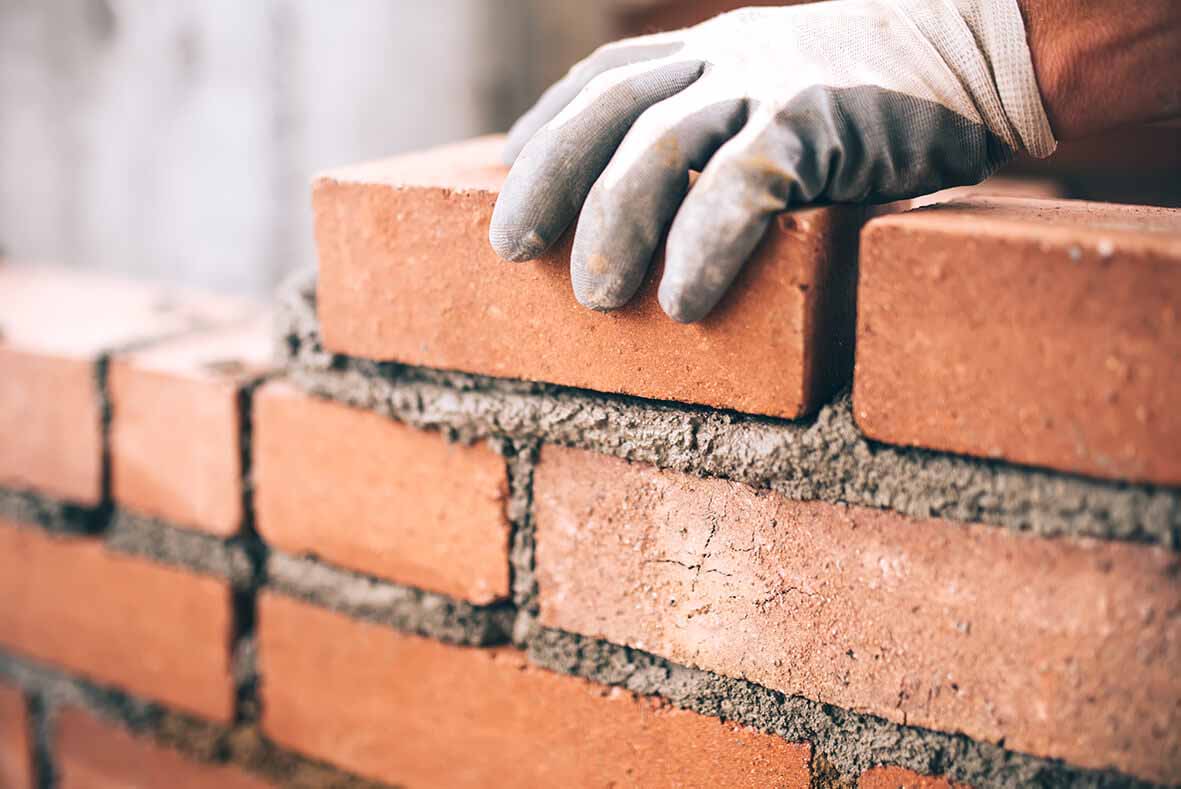
Adding Mortar
Apply a layer of mortar on the foundation where the first course will be laid. Use the appropriate mortar mix for the type of wall you are building. A standard General Purpose (GP) mortar mix for building walls in the UK would be 5:1 For example, if you are using 1 bag of cement (typically 25 kg) and 5 bags of sand (typically 25kg each), the mix would be:
Cement – 1 bag (25 kg)
Sand – 5 bags (125 kg)
Water – gradually add the water until the desired consistency is achieved (usually about 20-25% of the total volume of cement and sand combined).
Mixing Instructions
Start by dry-mixing the cement and sand together thoroughly in a cement mixer or large container. Gradually add water while mixing the dry ingredients with a shovel or a mixing tool until you achieve a workable, cohesive consistency. The mix should be stiff enough to hold its shape but still spreadable.
Avoid making the mix too wet, because excessively wet mortar can lead to weaker bonds and reduced strength. Remember that the strength of the mortar can be influenced by the type of sand used, the proportions of the mix, and the curing time.
Moreover, if you have specific structural requirements or are working on a large project, it’s advisable to consult with a professional or structural engineer to ensure you’re using the appropriate mortar mix for your specific needs.
Additionally, for certain applications or special requirements, such as for bricklaying or rendering, there are different mortar mixes with specific properties. Always check the manufacturer’s instructions and local building codes to ensure compliance with regulations and best practices.
Laying Bricks/Blocks – Place the bricks or blocks on the mortar bed, ensuring they are level and properly aligned with each other. Use a mallet and a spirit level to adjust the position as needed.
Continuing Courses
Add more courses of bricks or blocks on top of the first course, applying mortar between each layer. You can stagger the joints between courses for better structural integrity. Wall Ties (if needed) – If you are constructing a cavity wall (common in many modern homes), insert wall ties at regular intervals to connect the inner and outer layers off the wall.
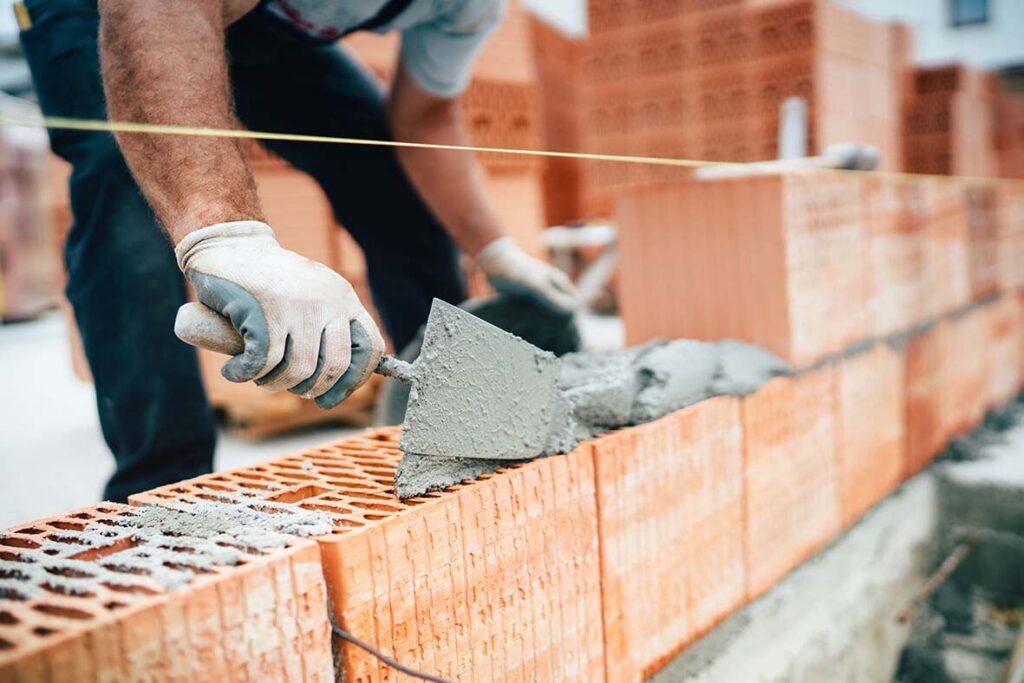
Retaining Wall Finishing
Once the wall reaches the desired height, use a trowel to smooth out any excess mortar. Check for level and plumbness throughout the construction process.
Curing and Cleaning
Allow the wall to cure for the recommended time before subjecting it to heavy loads. Clean off any excess mortar and tidy up the construction site when you’re done.
Backfilling
As you build up the wall, backfill the space behind it with gravel or suitable fill material. Compact the backfill at regular intervals to maintain stability. For concrete block walls, it’s recommended to install weep holes every few feet to allow water to escape and relieve hydrostatic pressure.
Finishing
Once the wall is complete, add any finishing touches according to your design, such as coping stones or caps. It’s important to note that constructing a wall can be a complex task, especially for load-bearing walls or larger projects.
If you are unsure about any aspect of the construction process, it’s best to seek advice from a professional builder or consult with a structural engineer to ensure the wall is built safely and meets all necessary regulations.
Remember, building a retaining wall can be challenging, and improper construction could lead to wall failure, property damage, or injury. If you are unsure or lack experience however, it’s best to hire a professional contractor with expertise in building retaining walls to ensure the project is completed safely and correctly. Keep in mind that the information provided here is a general guideline.
Depending on the specific requirements of your wall and the local building regulations, you may need to adapt the process accordingly. If you are unsure or lack experience, it’s best to consult a professional engineer or contractor to ensure the foundation is built correctly and meets all safety standards.
How to build a retaining wall – Tools
Knowing how to build a retaining wall requires specific tools to ensure efficient and accurate construction. The tools needed will depend on the type of retaining wall you are building, the materials used, and the complexity of the project. Here is a list of common tools you may need for building a retaining wall:
- PPE – Gloves, safety glasses, and ear protection.
- Concrete Mixer – mixing mortar
- Shovel – For digging the foundation trench and moving soil.
- Wheelbarrow – To transport materials like gravel, sand, and concrete.
- Level – To ensure the wall is plumb and level during construction.
- Tape Measure – For accurate measurements of the wall dimensions.
- String Line and Stakes – To mark the wall’s alignment and position on the ground.
- Masonry/Brick Trowel – For applying mortar when using bricks or concrete blocks.
- Rubber Mallet – To tap bricks or blocks into place.
- Spirit Level – To check horizontal and vertical alignment.
- Carpenter’s Square – To ensure corners and angles are square.
- Hammer – For driving nails or wall ties.
- Power Saw – If cutting bricks, blocks, or timbers is required.
- Plate Compactor or Hand Tamper – For compacting the soil and base materials.
- Masonry Saw – (for brick or block walls): To cut bricks or blocks to size if necessary.
- Drill and Masonry Bits – For drilling holes in bricks or blocks if needed.
The specific tools you need may vary depending on the design and materials of your retaining wall.
If you are unsure about any aspect of the construction process always seek advice from a professional or experienced contractor.
Always remember to wear the appropriate personal protective equipment (PPE) while working, machinery and any products you may use, for example, goggles, gloves, ear defenders and dust masks, these should always be used when handling tools and materials to protect yourself.
Build a Retaining Wall
Remember, it is essential to follow the manufacturer’s instructions for the tools and materials you are using, as different products may have specific requirements.
If you are unsure about any aspect of the installation, it is advisable to consult with a professional or experienced installer.
Written in collaboration with John Roberts of Greentop Landscapes & Design.
In my experience, a retaining wall’s durability is greatly influenced by the materials that are used.
I really appreciate the detailed tips provided.
This blog post offers valuable tips for constructing retaining walls, especially the emphasis on proper drainage behind the wall to prevent pressure buildup. While the focus here is on professional construction, some homeowners might consider tackling smaller retaining wall projects themselves.
The article mentions the importance of weep holes in concrete block walls for drainage. Are there alternative methods for drainage in retaining walls built with other materials, like stone or wood? Knowing some additional techniques would be helpful for DIYers who aren’t using concrete blocks.
Hello, i read your article How to Build a Retaining Wall. it is very informative article. it is very helpful for me.. you provide complete details on How to Build a Retaining Wall in this article….
Very detailed and practical guide. This article breaks down the retaining wall process clearly, from planning and regulations to materials, drainage, and tools. A valuable resource for professionals and experienced DIYers, with strong emphasis on safety, proper design, and knowing when to consult experts.