
Do you know how to lay patio slabs? For many this is a very ambiguous topic. For others, it’s like water off a duck’s back. Whether you’re just learning how to tile for outdoor projects or you’re a seasoned professional, let’s remind ourselves of some important tasks to do so you avoid potential problems.
When it comes to knowing how to lay patio slabs, there are several things to consider for a successful installation.

Before we begin….
Believe me when I say that good design and planning will save you time and money, making a smooth process. When you complete your patio, you will be glad that you took the extra time and made the initial effort to get the preparation right.
Choosing the correct paving stone for your patio is crucial for several reasons. The material can greatly impact the aesthetics, functionality, and longevity of your outdoor space. The UK experiences a wide range of weather conditions, including rain, frost, and occasional heatwaves. Choosing the right paving stone ensures that it can withstand these elements without deteriorating or becoming slippery when wet.
Aesthetics and Style
Paving stones come in various colours, textures, and shapes. Selecting the right one can enhance the overall look of your patio, complement your landscaping, and create the desired ambiance for your outdoor space.
Durability and Longevity
Different types of paving stones have varying levels of durability. Choosing a high-quality, durable stone can save you money in the long run. In general it will require less maintenance and replacement over the years.
How to lay patio slabs – Maintenance
Some paving stones are easier to clean and maintain than others. Consider your willingness and ability to maintain the patio, as well as the time and effort required for upkeep.
Budget
Paving stones vary in cost, and your budget is an important factor to consider. While more expensive stones may offer better quality and durability, there are also some affordable options that can meet your needs.
Personal Preferences
Your personal preferences and the intended use of your patio are significant factors. Do you want a formal, elegant look, or are you going for a more rustic and natural appearance? Consider your lifestyle and how you plan to use the space.
Planning and Preparation
This stage is vitally important, and one which is often overlooked until it is too late. This can prove costly as I know only too well.
How To Lay Patio Slabs – Check for Utilities
- It is vitally important that prior to any excavation you contact your local utility companies to check for underground utility lines (e.g., gas, water, electricity) in the area. It’s crucial to avoid damaging these lines during excavation.
- The utility companies will send an engineer to site to mark the underground utility lines. These markings are usually made using colour-coded flags or paint. Each colour represents a different type of utility (e.g., yellow for gas, blue for water, red for electricity).
- If your excavation work gets close to the marked utility lines, it’s advisable to hand dig carefully to expose and identify the exact location of the utility. Use a shovel or spade to carefully remove soil in small increments until you can see the utility.

Contact in Case of Damage
If you accidentally damage a utility line while digging, stop work immediately and contact the utility company and emergency services (if necessary). Do not attempt to repair or tamper with the damaged utility yourself, as this can be dangerous.
Proceed with Caution
After the utility lines have been marked and any necessary precautions have been taken, you can proceed with your excavation project while being mindful of the marked locations. In the UK this is know as Dial before you Dig.
Design Your Patio
Begin by deciding on the location and size of your patio. Take into account the purpose of the patio, whether it’s for cooking, dining, entertaining, lounging, or all of the above. Sketch a rough design to help visualise the final result or employee a designer to do this for you.
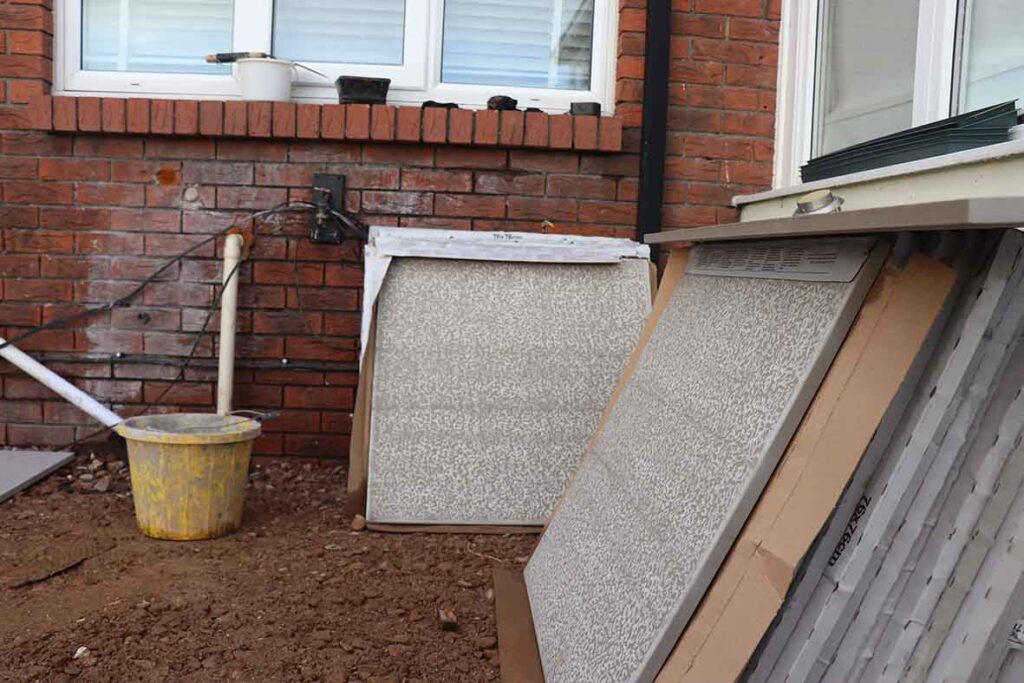
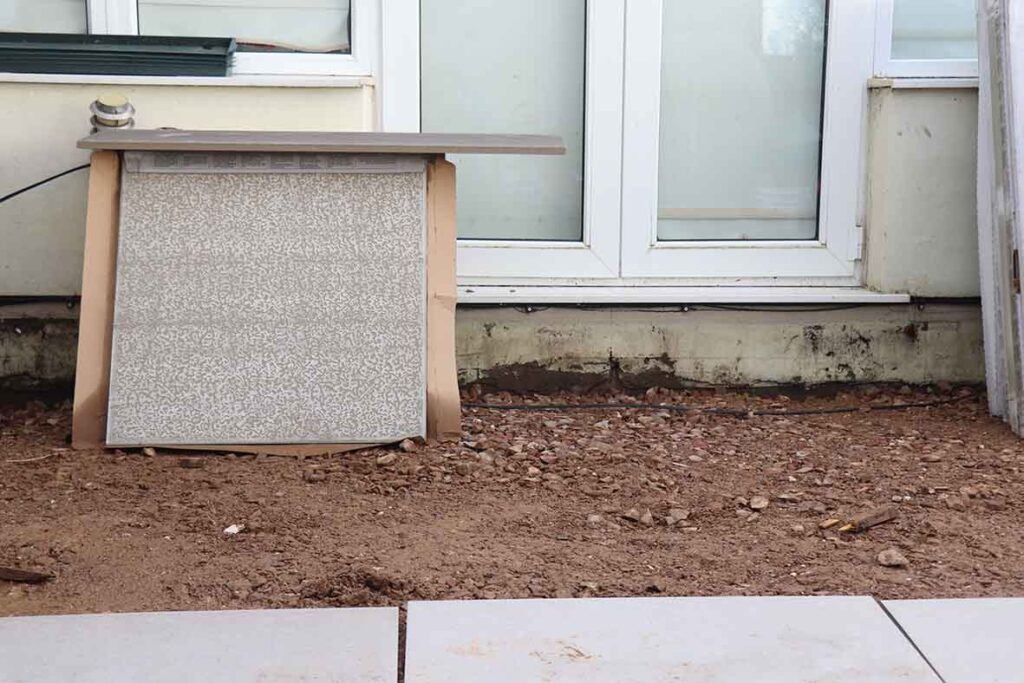
Choosing your Paving
With so many different paving products on the market today it is imperative you choose the correct and most suitable paving product for you. Points to consider are the purpose of your paved area and the source where your product comes from.
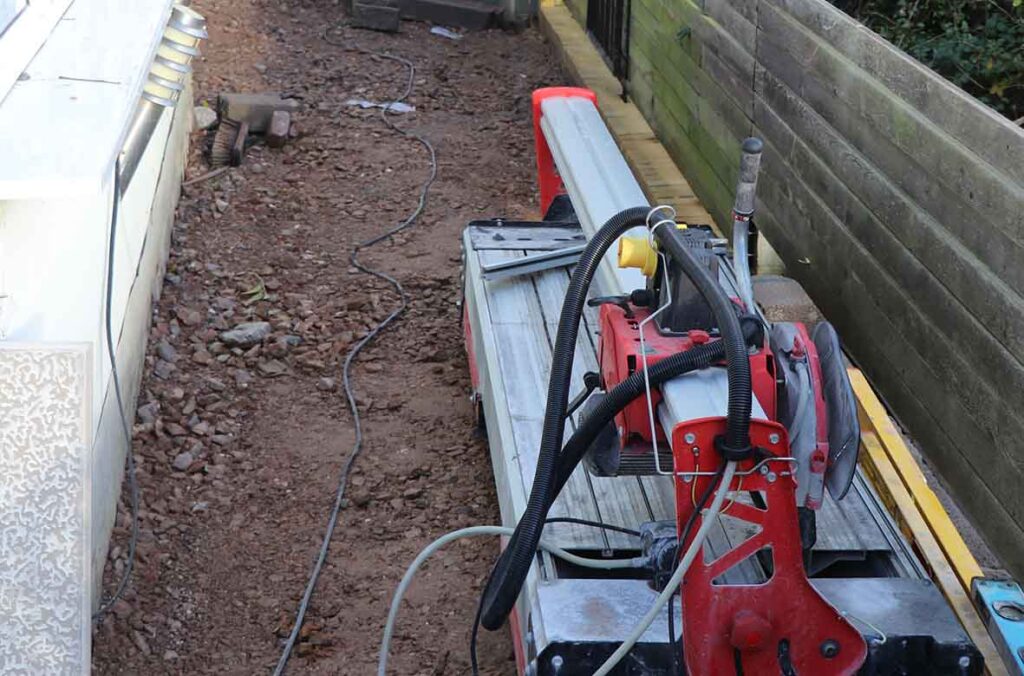
Materials
You will need patio slabs, sand, cement, hardcore (Type 1/MOT), a spirit level, a shovel, a rake, a wheelbarrow, a rubber mallet, pins, string lines, and a mortar mixing board.
Check for Planning
Before starting, and depending on different variables, you may need planning permission for your patio. Checking with your local authority is always a good idea.
Excavation and Site Preparation
- Mark the Area – Using pins and string lines to mark the exact area where your patio will be.
- Excavate the Area – Dig a trench to a depth of approximately 150-200mm (6-8 inches), minimum, ensuring it’s level throughout. However, if the ground is soft this may require further excavation. This will allow space for the hardcore and bedding layer.
- If there is copious amounts of clay, an MOT sub-base may not be enough. A reinforced concreted base may be required, if this is the case seek professional advice.
- Create a Firm Base – spread a layer of hardcore evenly over the excavated area. Compact it using a compactor plate. This will provide a stable foundation for your patio. At this stage, it is important to remember to compact your sub base in layers, each layer being no more than 3” at a time. This ensure maximum compaction and improve the longevity of the patio.
How To Lay Patio Slabs
- Prepare the Mortar – Mix cement and sharp sand in a ratio of 1:4 to create a mortar mix. Add water gradually until you achieve a consistency similar to thick porridge. A common problem that I often see is too much water being added at this stage. A good test for consistency is to form a firm semi dry cricket size ball between your hands. This should hold together its shape and not come apart.
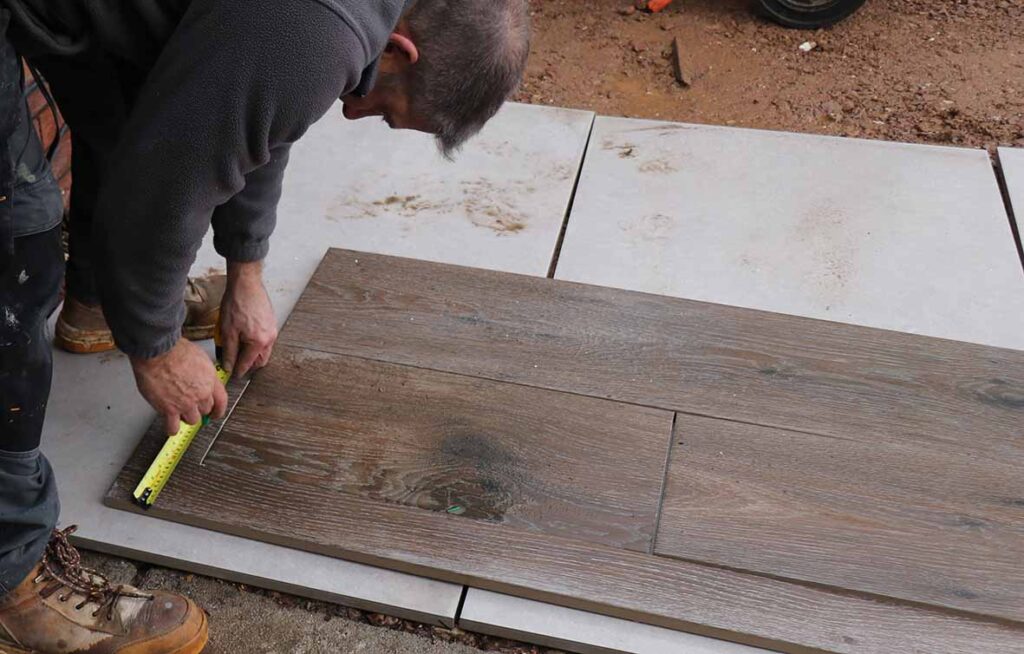
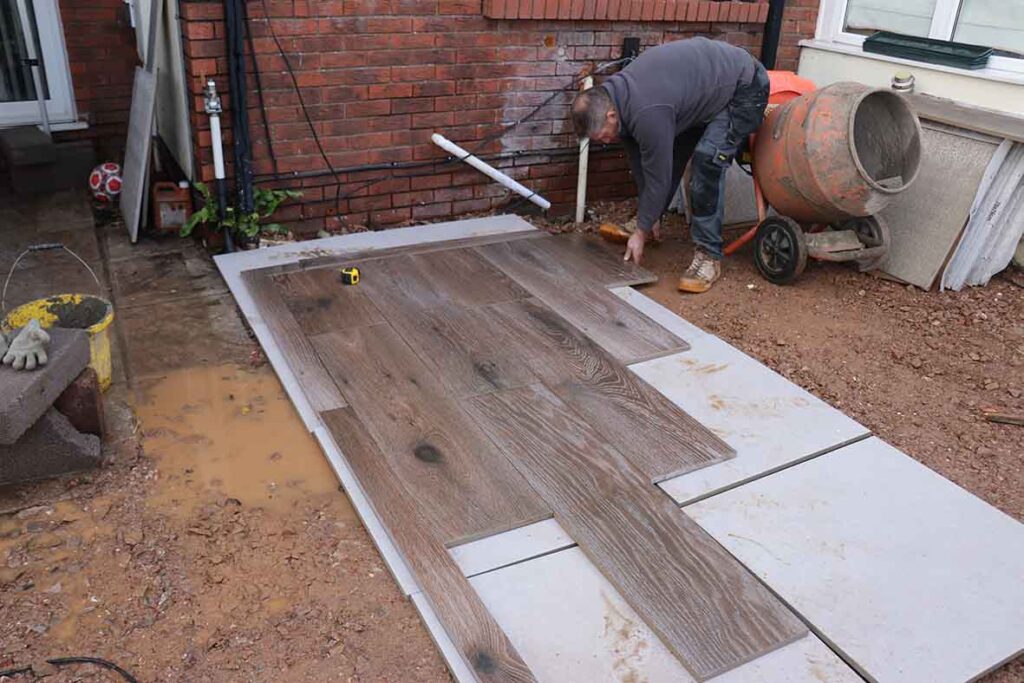
- Start at a Corner – Begin laying your patio slabs from one corner, using your mortar mix to create a 25-30mm (1-inch) thick bed for each slab. Use the spirit level to ensure each slab is level and even.
- Leave Gaps – Leave a 10-15mm (0.4-0.6 inches) max, between each slab for jointing.
- Tap Them In – Gently tap each slab into place using a rubber mallet. This will help settle them into the mortar bed.
- Check for Consistency – Continuously check for levelness and alignment as you lay each slab. Adjust as needed.
Jointing and Finishing
- Grouts – After all the slabs are in place and the mortar has set slightly, fill the joints with a jointing compound. Choosing the correct grout is essential for a durable and long-lasting patio installation.
- Brush and Clean – Use a stiff brush to sweep off excess jointing compound and clean the surface of your patio. You can visit our separate blog and the differences between jointing compounds for more details.
Final Touches
- Edging – Install patio edging to secure the perimeter and add a finishing touch to your patio.
- Sealing (Optional) – Consider applying a patio sealant to protect your slabs from stains and weather damage.
- Furniture – Add your outdoor furniture, plants, and decorations to complete your new patio space.
How To Lay Patio Slabs
Knowing how to lay patio slabs in the UK can be a rewarding project that enhances your outdoor living experience. By carefully planning, preparing the site, and following the steps outlined in this guide, you can create a beautiful and functional patio that will be enjoyed for years to come.
Remember to take your time and pay attention to detail for the best results, and enjoy the fruits of your labour as you relax on your new patio.
Remember, it is essential to follow the manufacturer’s instructions for the tools and materials you are using, as different products may have specific requirements. Additionally, proper safety equipment, such as goggles, gloves, ear defenders and dust masks, should be used when handling tools and materials to protect yourself. If you are unsure about any aspect of the installation, it is advisable to consult with a professional or experienced installer.
Don’t forget to follow and subscribe for more valuable insights on Landscaping from John Roberts of Greentop Landscapes & Design.

Post a comment