When you start renovating in a customer’s home, you need to make sure that the subfloor is prepped and adequate for tile installation. This is something you learn early on when you learn how to tile. A correctly installed subfloor will ensure that your tile installation will remain durable, and won’t crack, loosen or fail. In this blog we will teach you how to prepare your subfloor for tile installation.


HOW TO PREPARE YOUR SUBFLOOR FOR TILE INSTALLATION
1. PREPARING A CONCRETE SUBFLOOR
Concrete is made up of water, an aggregate such as rock, sand or gravel, and Portland cement.
A subfloor is the bottom-most structural level of your floor. A good subfloor needs to be durable, level, at least 3cm thick, and free from residue. If it is not, it won’t support tile well.
Even the smallest cracks or depressions in a concrete floor could cause your tile to break early. If it is uneven, breakage will be much more likely, so it is important to create a surface that is fully supportive.
A good concrete subfloor should be able to accept water penetration. To find out if your subfloor is sufficient, sprinkle some water in assorted places on the floor. If the water penetrates and leaves a water spot, chances are that it can form a strong bond with tile.
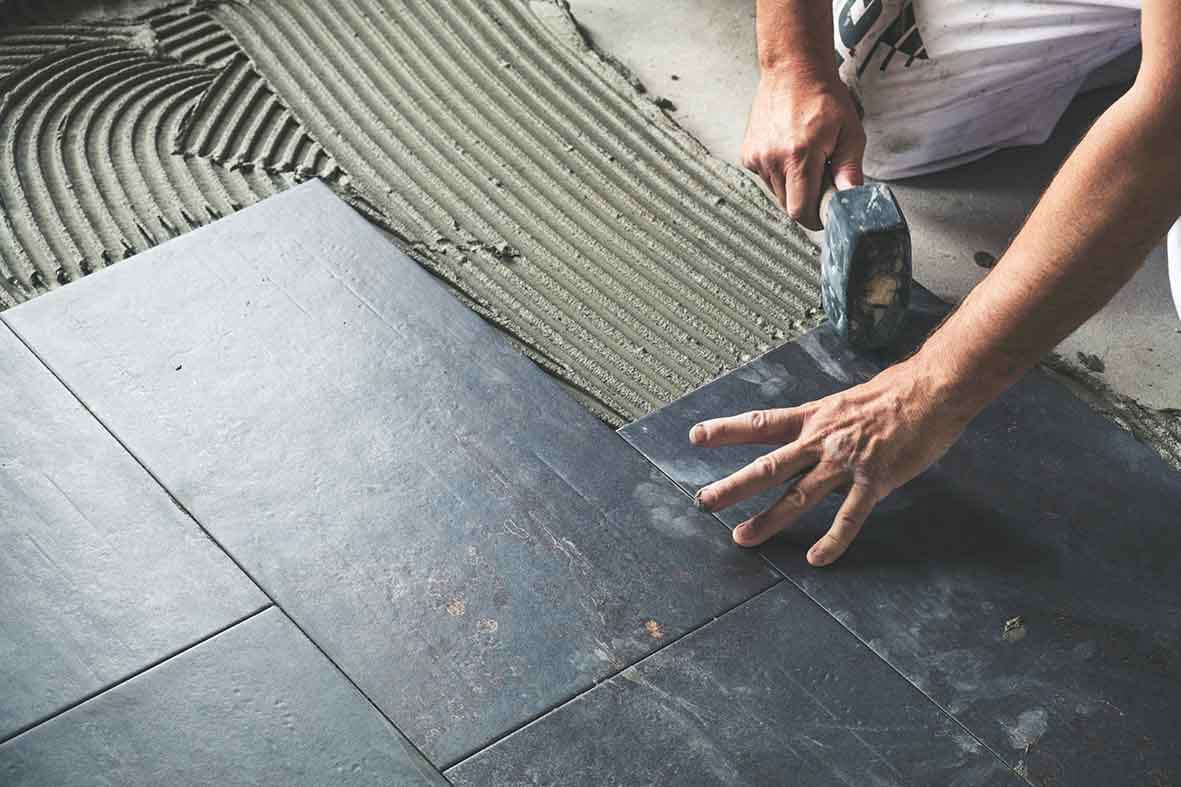
Concrete floor should have a coarse finish to bond with the thinnest for tile.
What about cracks in my subfloor?
You should repair any cracks or uneven patches in your concrete floor, especially if you plan on bonding your tile directly to the subfloor. If a section has cracks, it should be removed and replaced with a more solid piece of floor. If part of your subfloor needs to be replaced, it should be left to cure at least 28 days before tile installation.
Medium-sized cracks can be repaired with a concrete filler that can be found at your local hardware store. Use a trowel to smooth it down.
A dirty floor can cause unevenness that will cause tile breakage in a short amount of time.
To clean your cement floor, wet a mop with plain water. Use warm water mixed with degreasing cleaner to scrub concrete thoroughly with a scrub brush. Then rinse completely.
An immaculate surface will ensure that your tile has a better bond with the subfloor. The floor should be blotted dry, and you should let it sit overnight before applying a sealer.
A concrete sealer creates a bond between the cement and mortar that keeps mould away. It should be applied in dry conditions in two thin coats to ensure a smooth, even finish. The second coat should be applied perpendicular to the first coat.
A sealer should take about three days to dry.
2. PREPARING A PLYWOOD SUBFLOOR FOR TILE
Plywood is an engineered sheet of wood that is made up of fine layers of wood veneers attached together, placing the grains at right angles to each other.
A plywood subfloor should be structurally sound enough to support tile installation. If the plywood bends under the load of the tiles, they could dislodge or crack easily.
Some plywood subfloors, such as interior-grade plywood or particleboard, will not work as foundations for tile installation.
Before tiling, check your plywood floor from the ground below it to look for cracks around plumbing fixtures. Broken plumbing should be repaired, and stained areas should be replaced. Walk on your floor and listen for any squeaky or spongy areas. Mark them with a pencil or chalk.
Once you have identified weak areas, shims, also known as spacers, can be hammered in. Tap them in just enough so that the gap is filled.

Once you have inserted the shims, one-by-four floor floorboards can be set underneath the squeaky sections. Use a four-by-four held underneath the one-by-four to hammer it into the joist, and then remove the four-by-four. Repeat this process underneath all of the squeaky areas.
How can I tackle low spots in my subfloor?
If your floor has low spots, you can use a wood filler, which can be purchased at a hardwood store and mixed with water to create a thick paste. Use a self-leveller and smooth it with a sander.
A cement backer board can also be used to strengthen your hardwood floor. The joints in the backer should not line up with the joints in the subfloor. Use mortar to position the sheets.
Position the rest of the sheets so that the four corners won’t meet. There should be a 1cm between the board and the wall, and 0.5cm between the backer board sheets.
Drive screws in every 15 – 20cm and around the perimeter. Apply mortar so that it extends 3cm on each side of the joints. Push fiberglass tape into the mortar and scrape off any excess.
Finally, spread the mortar and feather the edges. The transition from board to board so that it is smooth.
Your plywood will need to be flat, so you can sand it down if necessary. Vacuum your subfloor when you are done to remove any remaining particles.
3. PREPARING A TILE SUBFLOOR FOR TILE
Floor tile can be manufactured from a variety of materials, including stone, porcelain, ceramic, and more. Recently, porcelain tile is increasing in popularity because of its beauty and durability. The granite trend is giving way to the stylish, open look of a lightly coloured surface.
You have two options if you are preparing a tile subfloor for tile.
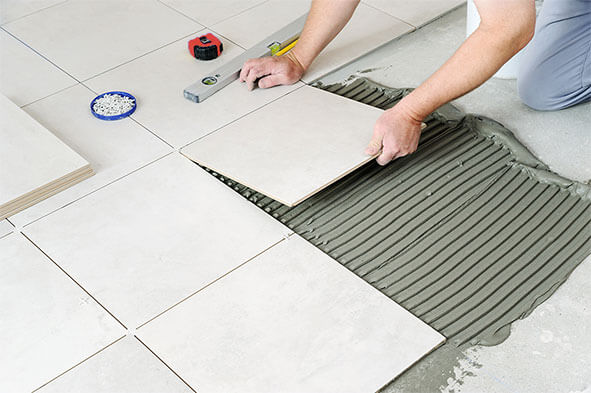
You can either leave it, and apply thinset directly over it, or you can remove the tile with a hammer and chisel. What you do will depend on the height of your floor relative to doors, toilets, and other elements.
- If you are removing your tile, you will need to start by removing the base trim. If it is a bathroom floor, the toilet and vanity should be removed. Be sure to open your windows and use a fan to blow the dust outside. Once you have pulled up a tile or two with your hammer and chisel, it will be easier to start removing other tiles. Once the tile has been removed, use a scraper to get rid of any old thinset.
If your tile is sitting directly on an old mortar bed, it may be difficult to remove the tile without taking out the mortar bed.
- If you are installing directly over the old tile, be sure to check the new height of the floor to ensure doors will still be able to close.
Rough up your old tile with sandpaper before tiling over it. Clean it with a degreaser dissolved in warm water. Lastly, test a small area for bonding before beginning installation.
SUBFLOOR FOR TILE INSTALLATION NO-GO’S
Certain types of subfloor are not acceptable as a foundation for tile. Cushioned vinyl, for example, is not structurally strong enough to support ceramic or porcelain, and you will need to remove the floor before installing tile.
When you remove the vinyl, you may have trouble removing the adhesive. If that is the case, use a backer board and the thinset recommended by the manufacturer.
Other materials, such as sheet metal and chipboard will not work as subfloors for your tile. They should be removed and replaced with something more substantial.
GET TILING
Once you have prepared your concrete, plywood, or tile subfloor for tile installation, you will be ready to install the tile for the renovation.

Post a comment