

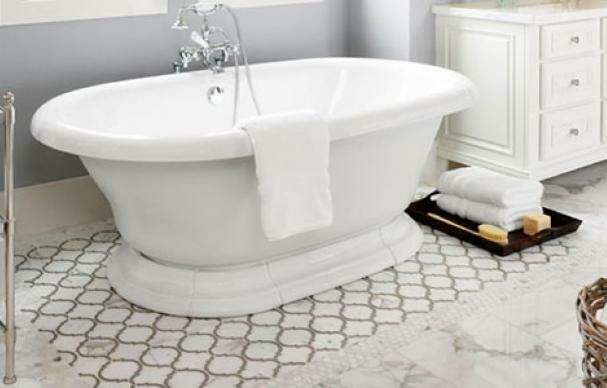
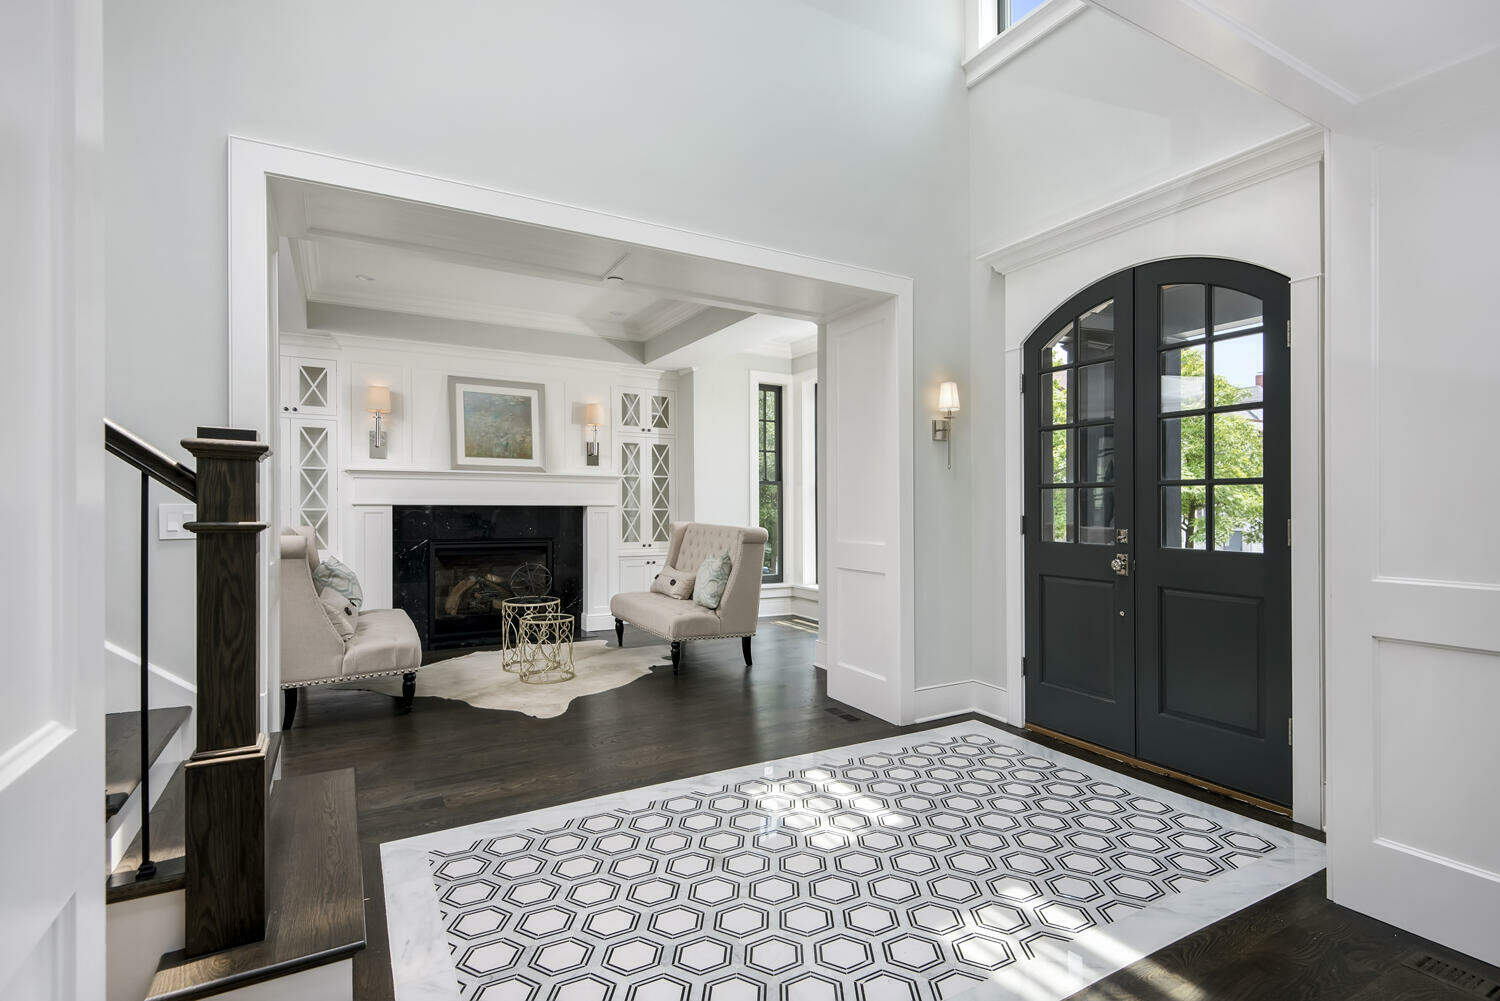
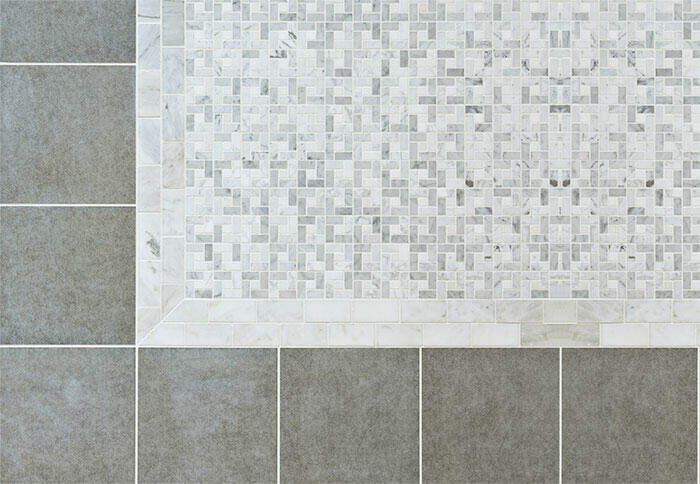
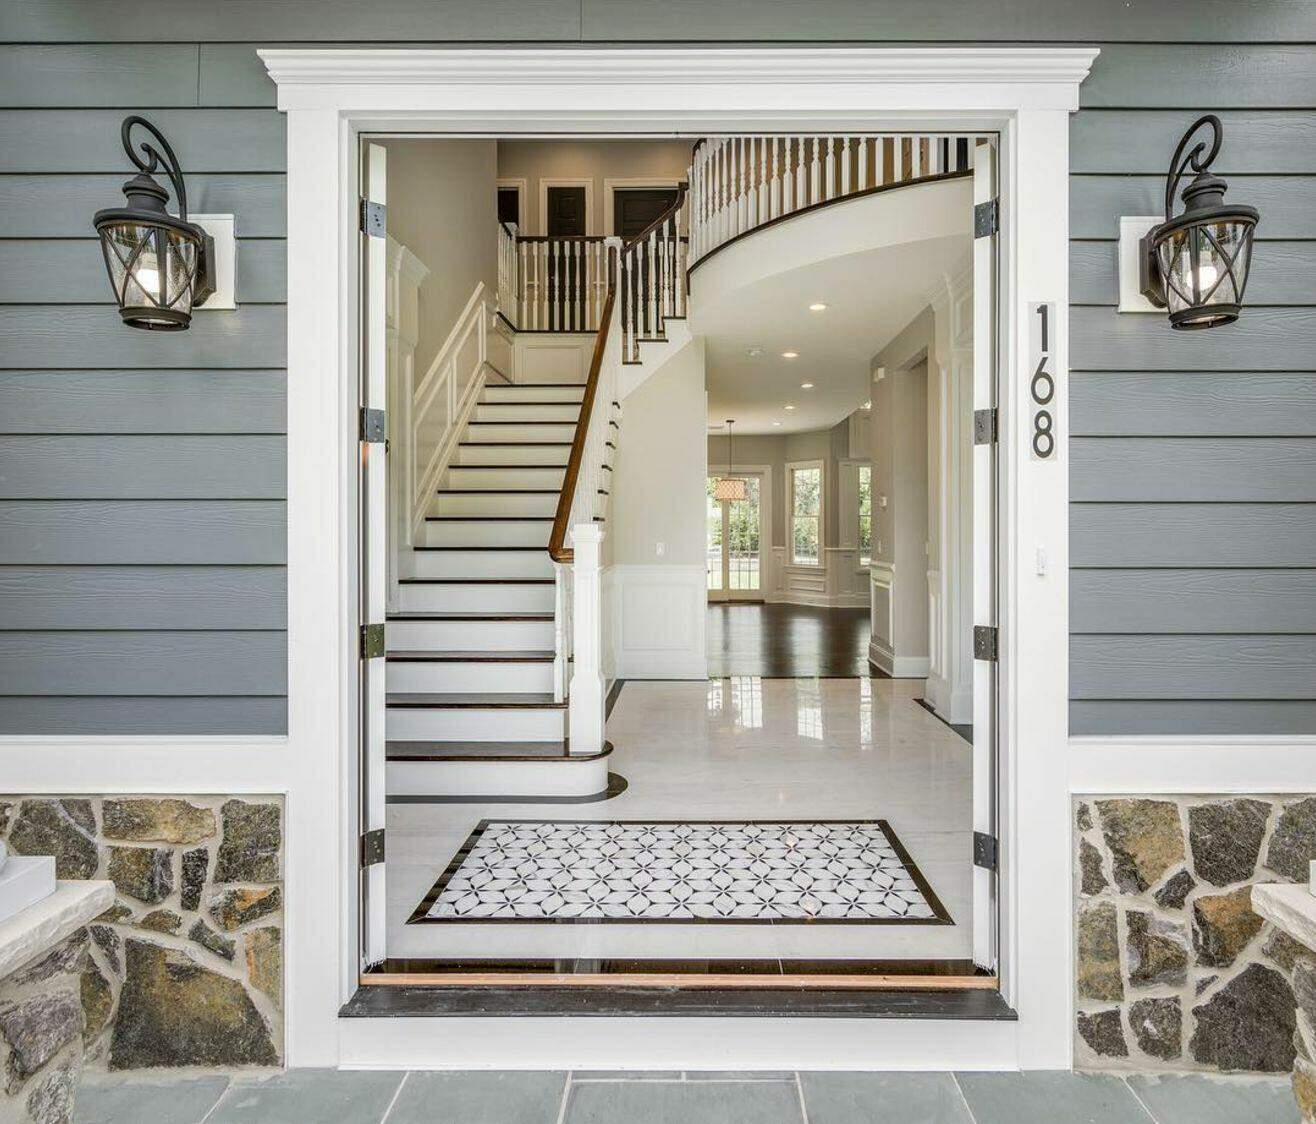
Tile “rugs” are beautiful accent pieces, built out of high-quality tile in order to add a bit of extra flair to a tile installation. By using contrasting tile colors and creating your own ceramic tile “mosaic”, you can add a lot of visual interest to your floor.
Thinking about trying to create our own DIY inlaid tile rug, but not sure where to start? In this guide, we’ll take you through the basic steps of building and installing your very own tile rug! Curious? Read on, and get started now!

Step 1: Collect Your Tools And Materials
Before you can start building your own tile rug, you’ll need to collect a few basic tools and materials. Here’s what you’ll need:
TOOLS
- Level
- Bucket
- Rubi tile spacers
- Notched trowel
- Rubi tile saw (or Rubi tile cutter)
- Grout float
- Rubi Level Quick
- Chalk line
MATERIALS
- Thin-set mortar
- Ceramic tiles in contrasting styles
- Grout
- Backer board
- Sponges
Once you’ve collected all of these materials, it’s time to get started with your ceramic tile rug.
 Step 2: Design Your Rug
We recommend having a basic idea of the tile pattern that you’re looking to create before you lay out your tiles. If this is your first time creating a tile rug, you will likely want to keep things simple.
Choose just a few different colors of tile for the main design of the rug, preferably all of the same shape and size. This will make it much easier to work with the tile.
You will also want to choose a “perimeter” tile. Perimeter tiles are usually small, and used to create the perimeter of the rug, so they should be in a contrasting color.
 However, the sky really is the limit here. That’s what’s fun about tile rugs. You can make them in any style and shape that you want. However, you must realize that the more types of tile you use, the more complex your project will be. We really do recommend using a simple pattern for your first tile rug, unless you are already experienced in laying tiles.
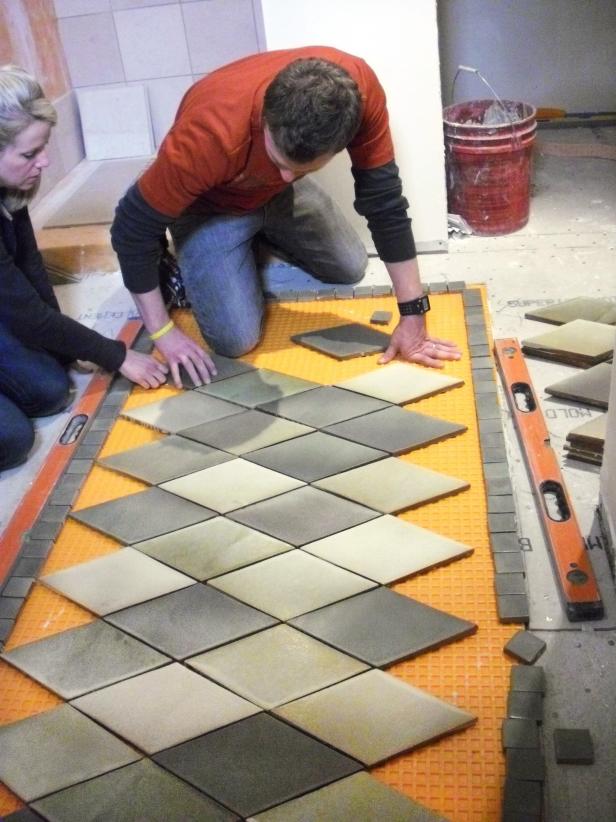
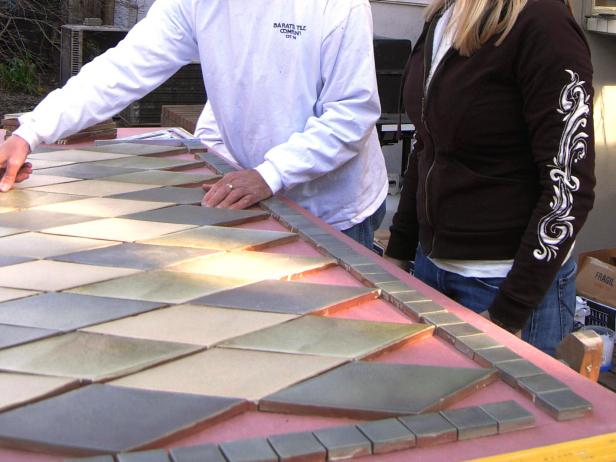
Step 3: Lay Out Your Tile Rug
 Before you even think about tile installation, you need to lay out your tile on a large work surface. Laying out your tile helps you eyeball the total amount of tile that you have on-hand. It also can help give you some inspiration when you’re thinking about how to set up your tile rug.
It also ensures that you have enough tiles for your selected tile rug. Once you’ve laid out your tiles, and they’re in the proper order and you’re satisfied with the design, you’ll want to label and mark them.
You also must make sure that you are keeping enough of a gap between your tiles to account for grout. Usually, this will be about 1/8th of an inch, but you may want a larger or thinner gap depending on the tiles you’re using.
After the entire rug has been laid out, measure it and write down the measurements for length and width. This will help you place it in the proper position when it’s time to install your tile floor.
 Using your chalk line or a grease pencil, you will want to label and mark every single tile that will be used in the installation. This is important because it will help you transfer the design to the floor when you install the tile rug.
If you neglect this step, you may run into difficulties when it’s time to actually install your rug. You could end up putting your tiles down in the wrong order, forcing you to start over. Nobody wants that
Step 4: Cut Those Tiles To Size!
 If you are using square tiles for your project, and you’re laying them out diagonally, you’ll probably need to cut some “half-tiles” for your tile rug, so that you can fill in the entire space.
The old adage “measure twice, cut once” applies here. You don’t want to waste tile with sloppy cutting and measurements. Make sure you understand exactly which tiles you’ll have to cut.
 Using a Rubi tile saw or a Rubi tile cutter, it’s easy to cut your tiles. Measure your tile, and load it into the cutter. Use the scoring wheel to make the initial score and cut, and the built-in breaker makes it easy to snap the tiles. Check out this video for more tile cutting tips!
Got all of your tiles ready? It’s time to begin preparation for installation!

Step 5: Install The Proper Subfloor
 Because most tile floors are in kitchens, laundry rooms, and bathrooms, you’ll want to make sure that you install the right subfloor before you begin your project. You should use either cement subfloor or some type of waterproof membrane. The right choice depends on your particular situation.
If you’re using cement subfloor, the installation process is quite easy. Mix up a batch of thinset mortar, and spread it evenly onto the subfloor using your notched trowel. Begin with the corner of the longest wall in the room. Spread just enough mortar to apply a single cement board.
Install the cement board with the rough side facing up, and make sure you leave a 1/4 inch gap between the board and the adjacent walls. Then, fasten the panel to the subfloor using cement board screws.
Repeat the process until the subfloor has been finished, leaving a gap of 1/4 inch between each individual cement board. After the entire floor is finished, use self-adhesive cement board joint tape to cover the joints between each board. Need more tips? This video will help!
Finally, cover the tape with a layer of mortar, smoothing it so that is completely flush with the surrounding services. Let it fully cure – before you begin installing tile!
Step 6: Tile Rug Installation
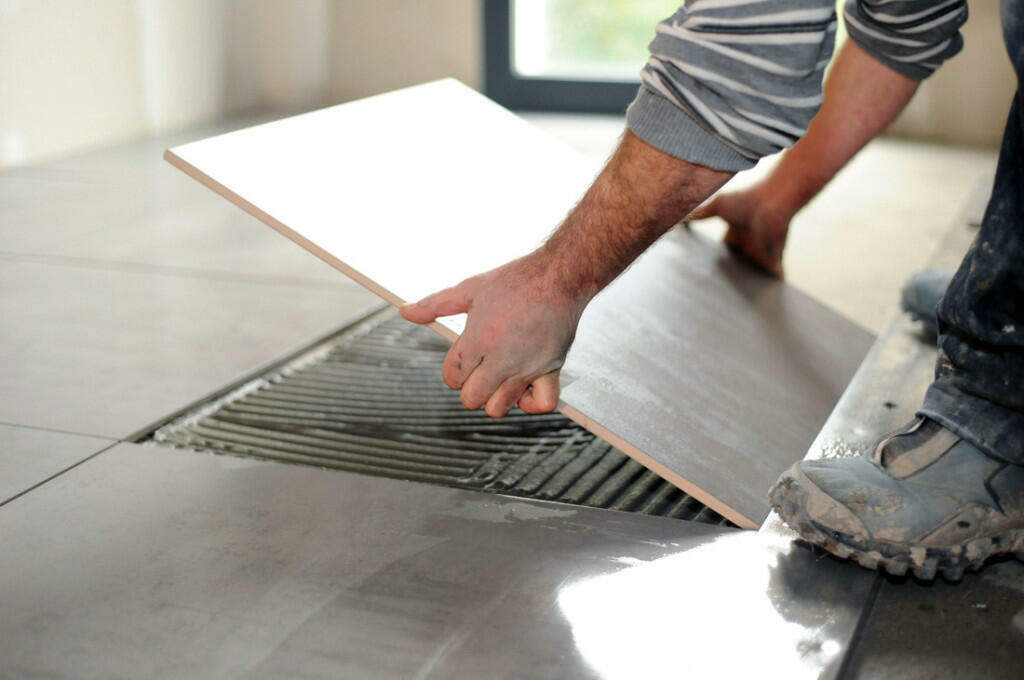 You’ve made it this far, so it’s time to begin your tile rug installation! Naturally, you will want to install your tile rug before you install the surrounding tile. This makes it much easier to create your design.
Using the measurements gathered in step 3, measure the area where you plan on placing your rug. Make sure that it’s in the right position, and that you’re happy with its location. Once you start installing it, there’s no going back!
You will want to begin by working in small sections, starting with your perimeter tiles. Apply a layer of thinset mortar to the floor using your notched trowel, and start laying all of your perimeter tiles in place. If you marked each tile properly during step 3, this process should be very simple.
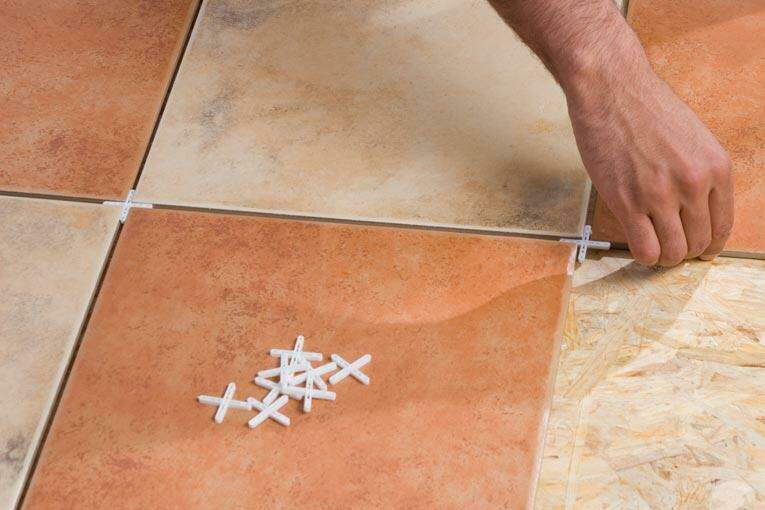 Use Rubi tile spacers to make sure that your gaps and spacing remain consistent, and do a single row of tiles at a time, from top to bottom. If desired, you can use a tool like a rubber mallet or wood block to gently tap each one into position. This will ensure that they are properly spaced and have full contact with the mortar.
You should also use a level to make sure that the tiles are completely aligned, and level across the surface.
After you finish the perimeter tiles, let them set for 24 hours. If you don’t let your perimeter tiles set, they will move around when you begin applying the tiles on the inside of their rug. Don’t skip this step.
Next, you will begin installing the interior tiles. Apply a thin layer of thin-set mortar to the interior of the rug, and begin placing your tiles, following your design in step 3. Again, make sure to keep the tiles level, and to maintain proper spacing between each tile. Work one section at a time, from top to bottom.
Again, let the tiles set for 24 hours. Then, it’s time for grouting.
Step 7: Grouting And Finishing
 Ideally, you should use a sealed tile for this project, as it makes things much easier. However, if you’ve chosen a porous or unsealed tile, you will want to apply a sealer to your tile before you start to grout. This will prevent grout from staining and sticking.
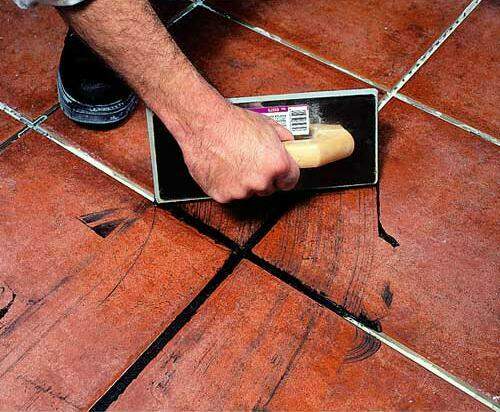
Use premixed grout, and mix it to the proper consistency. Remove all of your tile spacers, and begin by applying grout to your tiles. Start from the corner that’s farthest from the door. This will help you avoid walking on wet grout.
Work in sections, and use your rubber grout float to apply grout liberally. Clean excess grout off of the face of the tiles using a slightly damp sponge, or a rough cloth. Make sure not to get the grout wet. Wipe in a diagonal motion across the joints to avoid pulling out fresh grout.
Let the grout dry for at least 24 hours. When the grout is dry, use a grout release agent to clean up any grout from the face of the tiles. Then, apply a grout sealer, according to the manufacturer’s instructions.
Enjoy Your New Tile Rug!
 That’s it! You’re done! The process of creating a tile rug isn’t exactly simple, but with a little bit of tiling knowledge and the right tools from Rubi, it’s easier than ever to create a beautiful, decorative tile accent rug.

Post a comment