

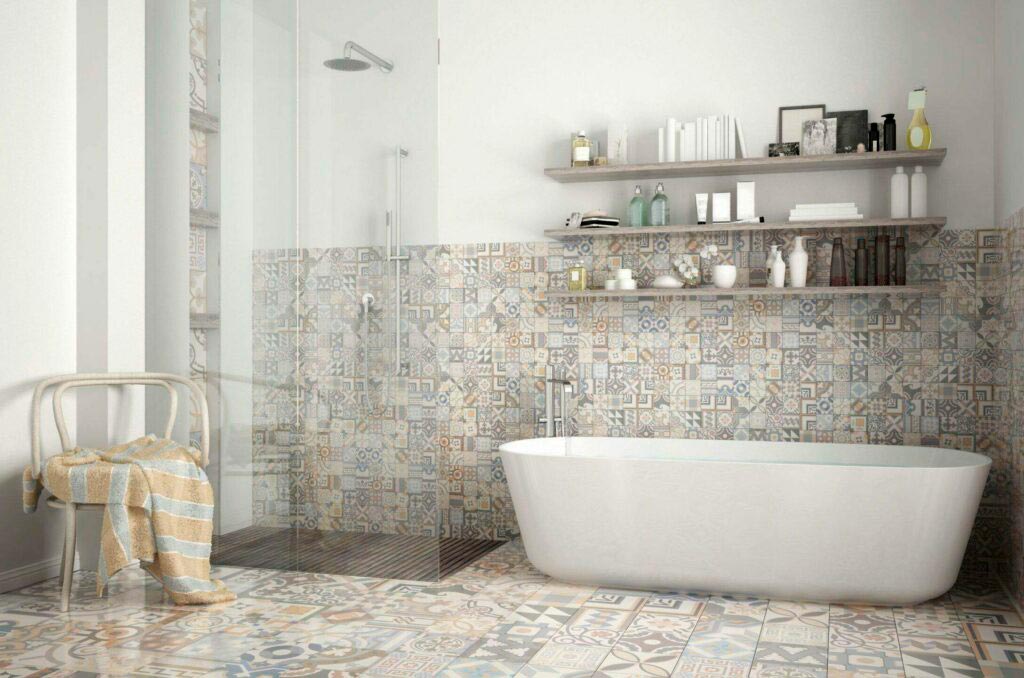
Whether you’re replacing an old, shabby bathroom floor or installing a brand-new space from scratch, you can’t beat a ceramic or porcelain tile installation when it comes to longevity, waterproofing, and appearance. Learning how to lay tile in a bathroom can be an incredibly rewarding experience, and taking the DIY route is often cheaper than you might think!
But with that decision comes the responsibility of getting it right. Bathrooms are high-moisture environments, meaning improper installation can lead to cracked tiles, peeling grout, and costly water damage. Don’t worry, we’re here to guide you on how to tile a bathroom floor professionally.
Discover all of RUBI’s tools in this year’s Catalog >> Click here to download it for FREE

1. Gather Your Essential Tiling Materials and Tools
The tools you’ll need will depend on the scale of your project. However, having the right tiling materials and tools for floor installation is non-negotiable for achieving a flawless finish.
Here is an essential checklist:
- Your chosen floor tiles
- A RUBI saw (manual cutter or wet saw)
- Modified or unmodified thin-set mortar
- Grout and 100% silicone caulk
- Measuring tape and a framing square
- Tile spacers and a tile leveling system
- Cement backer board or uncoupling membrane (e.g., Schluter-Ditra)
- Paddle mixer and buckets
- Notched trowels (size depends on your tile dimensions)
- Grout float and a high-quality tiling sponge
- Safety goggles, knee pads, and gloves
Working with tiles is a game of patience, but investing in good equipment ensures your results are well worth the effort.
2. Prepare and Waterproof Your Bathroom Subfloor
A successful tile job is 80% preparation and 20% installation. You cannot lay tile directly onto an uneven or flexible wooden subfloor, as the movement will cause the tiles and grout to crack.
Removing Existing Flooring
Start by completely stripping your bathroom of any existing tiles, linoleum, toilet, and vanity to work from a clean base. If there’s a loose tile, remove it by prying it out with a chisel and hammer, then scrape away all old mortar. Make sure the subfloor is completely flat. Sand down any raised seams and vacuum the room thoroughly.
Assessing the Floor and Adding Underlayment
To calculate the square footage of tile needed, multiply the length and width of your bathroom floor, then add an extra 10-15% for cuts and mistakes.
Next, you must install your underlayment. We highly recommend using an uncoupling waterproofing membrane over a traditional cement board. These membranes are lightweight, waterproof, and allow the subfloor to expand and contract without transferring that stress (and cracking) to the tiles above. Install the membrane using the appropriate thin-set mortar and waterproof the seams with special banding tape.
3. Plan Your Bathroom Tile Layout
Never start tiling directly from a wall or the doorway. Rooms are rarely perfectly square, and starting at a crooked wall will result in a misaligned floor.
Where to Start Tiling a Bathroom Floor
To find out exactly where to start tiling a bathroom floor, you need to find the center of the room. Measure the length and width of the room to find the exact midpoint, then snap two intersecting chalk lines across the floor to create a crosshair.
Dry Fitting and Using Spacers
Working on your layout before mixing any cement is crucial. Dry-lay a row of tiles along your chalk lines (including spacers) to see where the cuts will fall at the edges of the room.
- The Golden Rule: You want to avoid ending up with tiny slivers of tile (less than half a tile wide) against the walls or bathtub. If your dry run results in a tiny sliver, shift your center chalk line slightly to balance the cut tiles on both sides of the room.
4. How to Install Bathroom Tile: Setting the Floor
Once your layout is perfected and the floor is clean, it is time to mix your thin-set.
Mixing and Spreading the Thin-Set Mortar
Use a paddle mixer to mix your thin-set with water until it reaches a thick, “peanut butter” consistency. Let it slake (sit) for 10 minutes, then mix it once more.
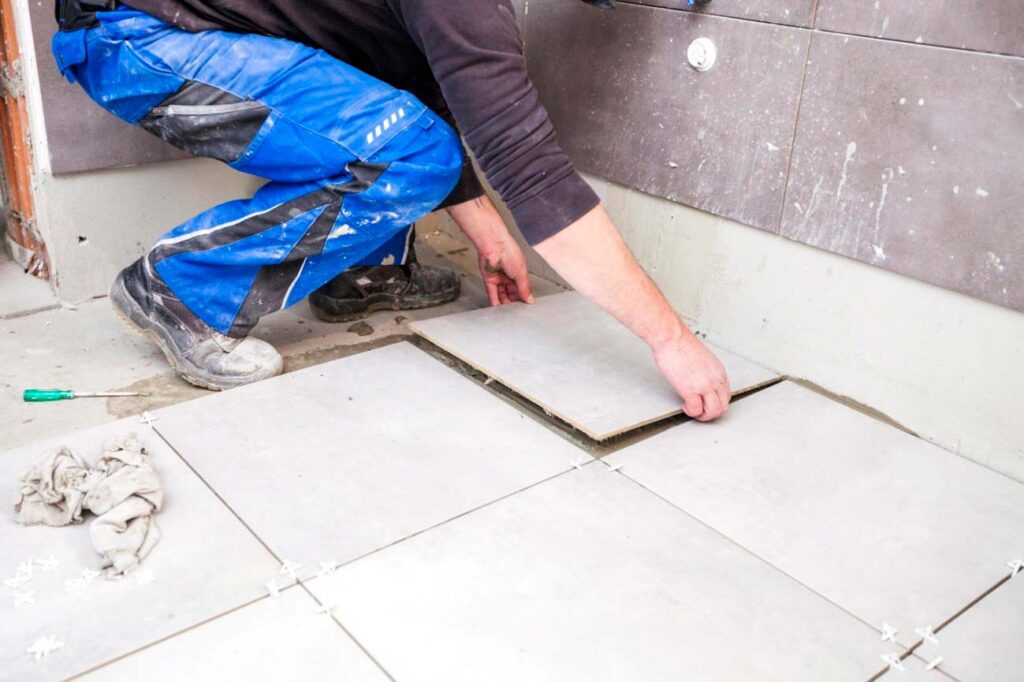
Using your notched trowel, spread the mortar across a small section of the floor (only what you can tile in 10-15 minutes). Comb the mortar in a single, straight direction—do not swirl it. Straight ridges allow the air to escape easily when you press the tile down, guaranteeing maximum adhesion.
Back-Buttering and Preventing Lippage
If you are installing large format tiles (anything over 15 inches), you must “back-butter” them. This means using the flat side of your trowel to apply a thin, even coat of mortar to the back of the tile before laying it on the floor.
Place the tile into the mortar and wiggle it perpendicular to your trowel lines to collapse the ridges. To prevent “lippage” (where one tile sits higher than the one next to it), use a tile leveling system. Insert the clips under the edges, place the next tile, and use wedges to pull them perfectly flush.
Cutting Tiles for a Perfect Fit Around Fixtures
When installing bathroom tile, you will inevitably hit the walls, the tub, and the toilet flange. This is where cutting tile accurately is essential.
- Leave a 1/4-inch expansion gap between the tile and the walls (this will be hidden by your baseboards later).
- Use a manual tile cutter for quick, clean, straight cuts along the walls.
- Use an angle grinder with a diamond blade for curved cuts around the toilet flange.

5. Grouting and Caulking Your Bathroom Tiles
Allow your thin-set to cure for at least 24 hours before walking on it. Kick off your leveling clips, vacuum the floor, and prepare your grout.
- Mix the grout to a thick “mashed potato” consistency.
- Using a rubber grout float, press the grout deeply into the joints at a 45-degree angle.
- Scrape off the excess grout with the edge of the float.
- Wait 15–20 minutes, then wipe the tiles with a damp (not dripping wet) sponge in a light, circular motion to remove the grout haze. Rinse your sponge frequently!
Crucial Step: Never put grout in the corners where the floor meets the bathtub or where the floor meets the wall. Changes of plane experience movement. Hard grout will crack here. Instead, fill these gaps with a 100% silicone color-matched caulk.
6. Applying Tile and Grout Sealant
If you installed natural stone tiles (like marble or slate), they are porous and must be sealed to prevent water and stain damage. Glazed porcelain or ceramic tiles do not need to be sealed, but their cement-based grout lines do.
Wait 48 to 72 hours for the grout to fully cure. Ensure the floor is completely clean and dry, then apply a high-quality penetrating sealer to the grout lines using a brush or applicator bottle. Wipe off any excess sealant from the tile surface within 5 minutes.
Frequently Asked Questions (FAQs)
Can you lay tile over existing tile?
Yes, you can lay tile over tile as long as the existing floor is completely flat, firmly attached to the subfloor (no loose or hollow tiles), and does not create an awkward height difference that blocks the bathroom door from closing. You will need to scuff the old tiles with a sander and apply a specialized bonding primer before spreading your thin-set.
What are the most common tiling mistakes to avoid?
One of the biggest floor tiling installation mistakes to avoid is inadequate mortar coverage. Failing to back-butter large tiles or using a swirling motion with your trowel traps air pockets beneath the floor, which will inevitably lead to cracked tiles when walked upon. Additionally, failing to waterproof the subfloor in a wet environment like a bathroom is a critical error.
Ready for More Projects?
Good tiling requires excellent tools, even with the most skilled hands. Learning how to lay bathroom tile is one thing, but trying to execute it without the proper tools at your disposal is a recipe for frustration. Invest in your projects and your skills with RUBI. Check out our range of tiling tools suited to your needs and elevate your next home improvement project.

Post a comment