
Every year, homeowners spend billions of dollars at home renovation stores across the US. And if you’re looking to breathe new life into an outdated kitchen, a brand new backsplash is the way to go. However, you need to know how to remove tile backsplash before delving into your next tile installation project. If you remove it the wrong way, you run the risk of injuring yourself and damaging your walls or the surrounding areas.
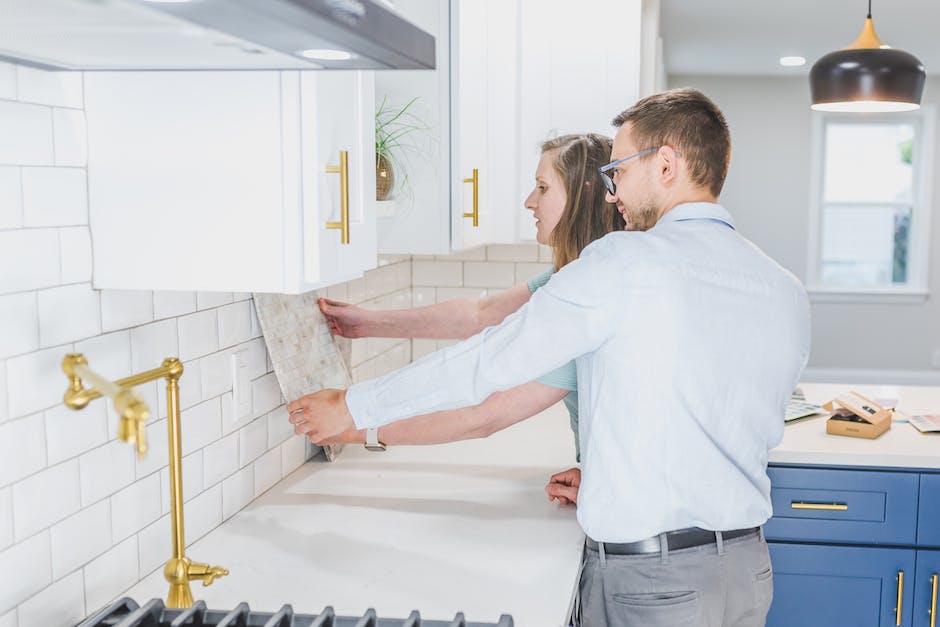
While it’s best to defer to the pros for any type of kitchen renovation, you can follow the tips and tricks in this helpful DIY backsplash removal guide.

Why Should You Replace Your Tile Backsplash?
If you’re looking to modernize your kitchen, replacing your tile backsplash is an excellent idea. However, there are other reasons why you should replace your tile backsplash.
For starters, if you have cracked or chipped tile, you might be prone to moisture and mold, especially if the chipped backsplash is near your kitchen sink. The backsplash you install acts as a sealant and protects the drywall behind it.
Kitchen backsplashes also increase the value of your home. In fact, it’s estimated that you may recoup as much as 81% if you remodel your kitchen, making a new backsplash an excellent investment while adding a pop of color ad protecting your walls.
Although the new tile backsplash you choose should last you for years to come, it’s not too difficult to remove and replace if it chips or you decide you want a new look. You can contact a trusted tile installer or tackle the project yourself!
Tile backsplash also allows you to enhance your kitchen decor, something that’s paramount if you’re looking to sell your home. Upgraded kitchens are appealing to prospective buyers and are a key selling point for prospective homeowners.
Another great reason to replace your old tile backsplash and install a new one is that you can choose something that is environmentally friendly and easy to clean. This is especially useful if you love to cook and don’t want to run the risk of acidic sauces staining your walls.
Safety Precautions
Now that you understand the importance of installing a new tile backsplash, there are some important safety precautions to take into consideration, especially if this is your first time tackling a kitchen DIY project.
Before you begin removing tiles from your walls, you’ll need to gather the following items:
- Safety glasses
- Thick gloves
- Long-sleeve shirt
- Long pants
- Boots or other heavy-duty shoes
- Heavy-duty trash bag
Pro Tip: As you begin to remove tiles, always pick them up and discard them immediately. This helps to prevent accidental falls, especially since tile becomes slick when wet.
Once you have your safety items in order, you’ll need to gather your tools and equipment. Make sure to have the following:
- Caulk removal tool
- Hammer
- Screwdriver
- Multi-tool that’s electric oscillating multi-tool
- Shop vacuum (with filter)
- Pry bar
- Multi-tool with grout removal blade
- 4-inch drywall knife
- Putty knife
- Optional grout removal tool (optional)
- Premixed all-purpose drywall joint compound
- Canvas drop cloth, tarp, or plastic covering
- Painter tape
- Cardboard
After you gather all your safety items and tools/equipment ready to go, you can begin your home renewal! If you’re planning on replacing your tile backsplash the same day, you’ll want to have those materials ready to go as well.
Turn Off Electricity
The first—and most important—step when removing a tile backsplash is to turn off all electricity. Every year, roughly 400 people are electrocuted at home. Half of these accidents result in death.
There are many cables running behind your wall, so you need to turn off the electricity that runs to the area by your backsplash. You can do this by shutting the electricity off at your electric service panel’s circuit breaker.
Protect the Area
Next, you’ll need to protect the area. Using a canvas drop cloth, tarp, or plastic sheet, cover your counters and sink, taping everything in place. You’ll need to ensure no debris goes down your sink, so insert a stopper or place some other device over the drain to prevent a clog.
Place cardboard on your floor to protect it from falling debris as you remove your tile backsplash.
Eliminate Obstructions
Using your pry bar or screwdriver, remove any obstructions from your work area, including light switch or outlet covers, trim (wood or PVC), and any other obstructions.
If your tile backsplash goes all the way to the base of your cabinets, you might want to consider removing them to make your job easier, and to protect them from damage.

Get Rid of Caulk
Use your caulk removal tool to remove any caulk between the tile backsplash and your countertop. You can use a putty knife or a utility knife for this step, but be sure to wear thick gloves to avoid cutting yourself.
Detach Grout
If you have a multitool, you can use its grout removal tool. Once you have the device ready to go, all you have to do is turn it on and run the blade along each individual grout line between the tile backsplash.
You’re aiming to break the bond between each tile instead of removing all the grout, as that would be too time-consuming. If you have a shop vac handy, you can hold it underneath the multitool blade to help keep the mess to a minimum.
When possible, try not to break up the grout. This helps to minimize the amount of damage to the wall behind your tile backsplash.
Remove Any Borders
There might be several borders surrounding your tile backsplash. This includes ropes, quarter rounds, listellos, pencil liners, and others.
During this step, you’ll need to force your drywall or putty knife blade behind each piece of the border, breaking the bond it has with the wall behind the tile backsplash.
Remove the First Tile From Your Backsplash
Now you’re ready to begin removing the tile. You’ll need to start at the top and work your way down. Use your putty knife or drywall knife and hold it against the time, at the point where the drywall meets the tile.
Make sure the tool is bent toward the wall and use your rubber mallet or hammer to tap the tool’s handle. The blade should be forced between the tile and the wall. You may only need a few taps to break the tile free, although it may need to be removed in pieces.
Moving downward, continue to remove the remaining tiles. Once all the tiles are removed, you’ll need to use your drywall or putty knife to scrape away raised sections of the remaining thinset. Always hold your knife at a low angle when using it to scrape your walls.
Repair Any Drywall Damage
You may notice damage to your exposed drywall. This includes holes, grooves, and other divots. Use a drywall joint compound to cover any damage, applying it with your putty knife.
If you notice any small holes in your drywall, you should only need a small amount of drywall compound. It takes about an hour to set.
You may notice a shallow depression where the drywall compound was applied. If this is the case, apply another small amount of material and check on it again in another hour.
For large holes, you may need to do a bit more work. First, square the large hole using a drywall jab saw. Next, you’ll need to cut a piece of drywall to fit into the large hole.
The edges of the hole need to be backed with strips of plywood measuring 3 inches. The patch material needs to be screwed into each strip of plywood. Once you complete this step, you can use drywall tape and joint compounds to complete the process.
How to Remove Tile Backsplash Like a Pro
Follow the steps in this helpful tile backsplash removal guide and you’ll learn how to remove tile backsplash like a professional. Always follow all safety measures when completing any type of home DIY project, especially one that involves dangerous tools. When in doubt, consult a professional for your next home renovation project.
It’s also essential that you use the proper tools for any kind of home remodel. Luckily, Rubi has you covered.
Check out our full catalog, available for download. You’ll be prepared for your next DIY project, no matter what part of your home you’re tackling.

Post a comment