
It goes without saying that we all have floors, right? They are an essential part of our lives and support us in every step we take. Did you know that sealing your tile installation it from stains and wear and enhances its color and appearance? By applying a high-quality sealer, you can bring out the natural beauty of your tiles, making them more vibrant and visually appealing. Tile floors have been a standard in bathrooms and kitchens for a long time. However, today, tile flooring has become popular throughout the house. It is great for busy homes because it is easy to clean and doesn’t get damaged by water. It’s essential to learn how to seal a tile floor properly if you have tile flooring in your home. This protects it from stains, moisture, and general wear and tear. Sealing your tile floor enhances its appearance and extends its lifespan.
Let’s step into the step-by-step process of how to seal a tile floor, providing valuable tips.


Step 1: Collect the Necessary Tools and Materials
Before sealing, ensure you have all the necessary tools and materials. Here’s a list of what you’ll typically require:
Tile Sealer
When it comes to sealing your tile floor, selecting the suitable tile sealer is crucial. It’s like choosing the perfect partner for your specific tile type.
With many options available, opting for a high-quality sealer that suits your tiles’ specific needs is essential. There isn´t a sealer designed to work its magic on any tile floor. For example, any of the following:
- Ceramic tile
- Porcelain tile
- Natural stone
So, make sure you choose the appropriate tile sealer that will enhance the beauty and longevity of your beloved tile floor.
Cleaning Solution
When it’s time to prepare your tile floor for sealing, it’s essential to use a gentle touch. Opt for a mild or pH-neutral tile cleaner to ensure a thorough and safe cleaning process.
Harsh chemicals may seem like a quick fix, but they can actually do more harm than good. They can potentially damage both the tile itself and the protective sealer you’re about to apply.
Avoid harsh chemicals and use a cleaner that protects your tile while removing dirt and grime. It’s all about finding the perfect balance between cleanliness and care.
Soft-Bristle Brush or Mop
Equipped with a soft-bristle brush or mop, you’re armed with the perfect tools to clean your tile floor. These gentle yet efficient tools work harmoniously to ensure that no dirt or debris stands a chance on the surface.
With each sweep or stroke, you’ll see how the soft bristles or mop fibers gently lift away the traces of everyday life. From loose dirt to pesky particles, your trusty brush or mop will leave your tile floor looking fresh and pristine.
Your floor is now ready to receive its protective seal.
Clean Towels or Rags
Armed with clean towels or soft rags, you can wipe any excess sealer that may arise during the application process. These rags or towels are more than just handy; they are essential for a flawless finish.
You can ensure an even and impeccable coating with a keen eye and gentle touch. You will leave behind nothing but the radiance of a professionally sealed tile floor.
Paint Roller or Brush
When it comes to the art of applying sealer to your tile surface, a trusty paint roller or brush is your best friend. These versatile tools are the secret to achieving flawless and even sealer distribution.
Paint Tray
To ensure a seamless and effortless application process, don’t forget to enlist the help of a trusty paint tray. This simple yet indispensable tool holds your sealer. It provides you with easy access and control during the application.
You can dip your roller or brush effortlessly with the sealer poured into the paint tray. This ensures a consistent and uninterrupted flow of sealant.
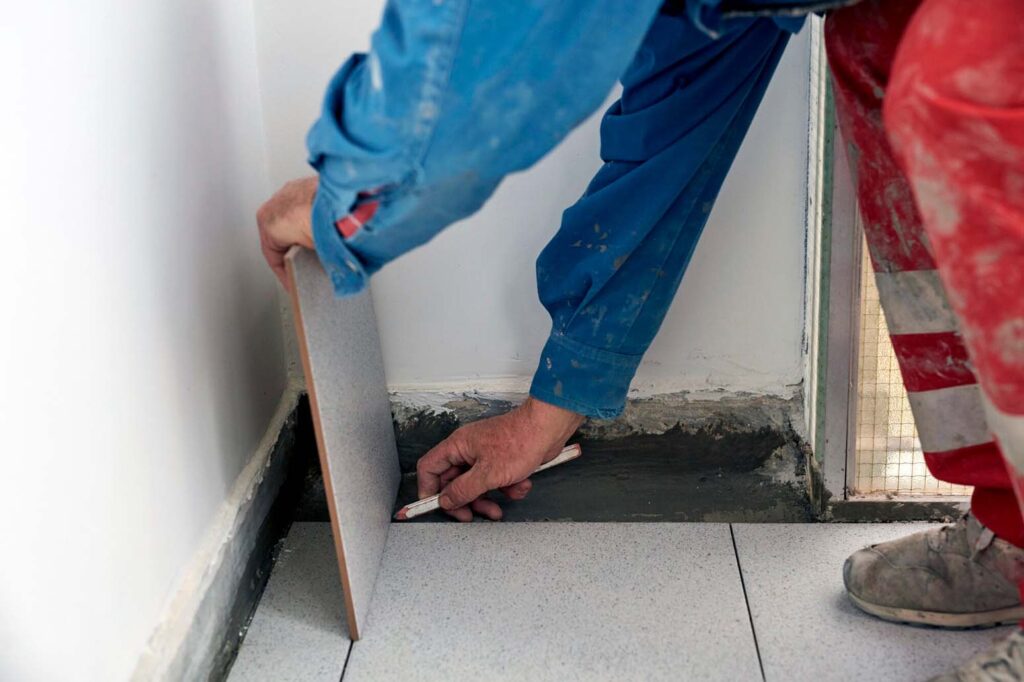
Step 2: Prepare the Tile Floor
Start by cleaning the tile floor to ensure no dirt, dust, or stains. Sweep or vacuum the surface thoroughly to remove loose debris.
Next, use a mild cleaning solution and a soft-bristle brush or mop to clean the floor. Make sure to follow the manufacturer’s instructions for the cleaning solution.
Use clean water to rinse the floor well to remove any residue. Let the floor dry completely before taking the next step.

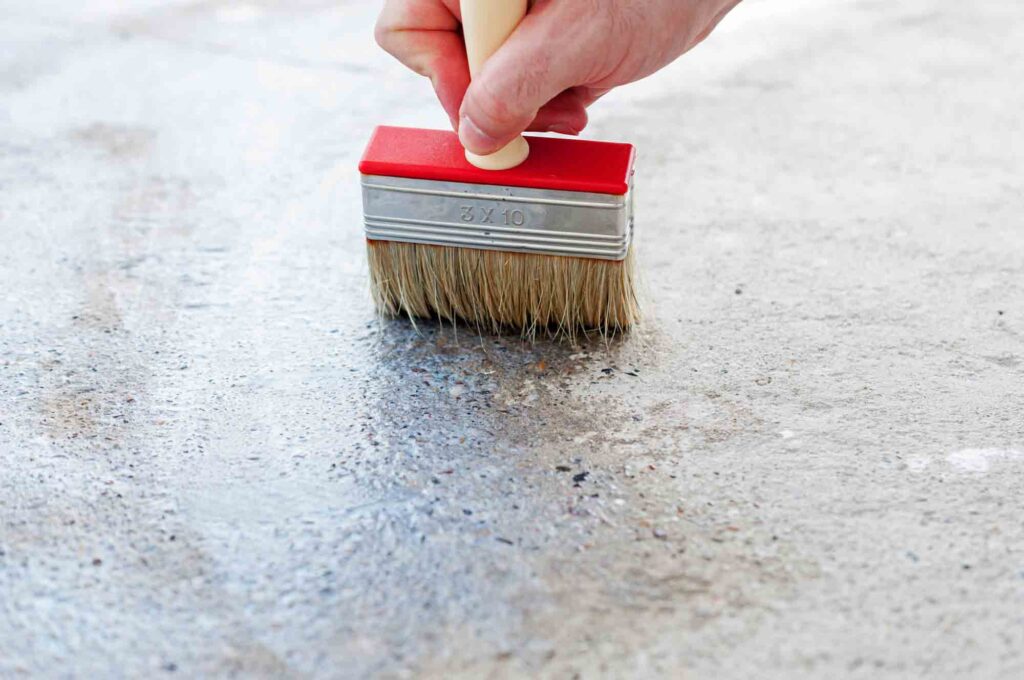
Step 3: Apply the Tile Sealer
Now it’s time to apply the tile sealer. Pour sufficient sealer into a paint tray. Use a paint roller or brush to distribute it onto the tile surface evenly.
Work in small sections to ensure complete coverage. Avoid applying an excess sealer, leading to a sticky or uneven surface. If you accidentally apply too much sealer, use clean towels or rags to wipe off the excess.
Step 4: Let the Sealer Dry
After diligently applying the sealer, it’s time to let it work its magic. Follow the manufacturer’s instructions carefully and allow the sealer to dry properly.
While it typically takes a few hours for the sealer to dry, exercising patience and giving it a full night to cure is highly recommended. This extended drying time ensures that the sealer fully bonds with the tile surface, guaranteeing maximum effectiveness and longevity.
As you wait for the sealer to dry, ensure the area is well-ventilated. Opening windows or using fans will help facilitate airflow. Using these tips will ensure the drying process is quicker.
Proper ventilation creates an optimal environment for the sealer to dry evenly and thoroughly. This will leave you with a flawlessly sealed tile floor ready to withstand daily life’s challenges.
Remember that patience pays off when it comes to sealing your tile floor. So, please resist the temptation to rush and allow the sealer the time it needs to cure completely. The result will be a beautifully sealed tile floor that looks stunning and enjoys long-lasting protection.
Step 5: Apply Additional Coats (Optional)
Depending on the type of tile and sealer you’re using, you may need to apply many coats for better protection.
Check the manufacturer’s instructions to determine if additional coats are necessary. If so, repeat the application process. Allow each coat to dry completely. Then apply the next one.
Applying multiple coats will provide an extra layer of protection and enhance the durability of your tile floor.
Tips on How to Seal a Tile Floor
When it comes to sealing your tile floor, a few tips can make all the difference in achieving a flawless and long-lasting finish. Here are some valuable tips to keep in mind as you start the journey of sealing your tile floor.
Test the Sealer
Before applying the sealer to the entire floor, test it on a small, hidden area or a spare tile. This ensures it sticks well and doesn’t cause any discoloration or damage.
Always Follow the Instructions
When using a tile sealer, it’s essential to be exact by carefully reading and following the instructions from the manufacturer. Remember that each product has its own way of being used and how it needs to dry.
By learning about these details, you can ensure the sealer works well, protects, and lasts as long as possible for your beloved tile floor.
Apply in Thin and Even Coats
To get the best results when applying the sealer, it’s vital to adopt a technique of finesse: apply it in thin and even coats. This meticulous approach guarantees proper coverage. This is because the sealer can effectively penetrate and protect the tile surface.
You achieve a more visually appealing finish by avoiding the temptation to apply thick layers. Doing this will prevent the accumulation of excess sealer, which can lead to an uneven or sticky surface.
Protect Adjacent Surfaces
It is best to use painter’s tape or plastic sheets when sealing a tile floor in a bathroom or another room with nearby walls or countertops. This will keep them safe from any sealer drips or splatters that happen by chance while the sealer is being applied.
Regular Maintenance
While sealing your tile floor provides an added layer of protection, it’s essential to maintain it properly. Clean spills promptly, use mild cleaners, and avoid abrasive scrubbing to prevent damage to the sealer.
Sealing Tile Floors for Long-Lasting Beauty and Protection!
Sealing a tile floor is essential to preserve its beauty and longevity. Follow the steps above on how to seal a tile floor. Taking these measures and following the provided tips, you’ll enjoy a well-sealed and stunning tile floor for years to come.
Ready to take your tile floor to the next level of beauty and protection? Don’t wait any longer. Contact us and embark on your journey toward a stunning and long-lasting tile flooring solution!
With our expertise and high-quality products, you’ll have the tools and knowledge to achieve a flawlessly sealed tile floor that will stand the test of time.

Post a comment