
Use mixed media tiles to create unique floor designs and wall accents to add a creative touch to your or a client’s home or business. Learn how to install mixed media tiles with RUBI and get started on your next tile and wood floor project.
Get Started with RUBI Tools USA
If you’re looking to learn with RUBI, virtual training is available during this difficult times of COVID-19. We are holding webinars to meet the need of our followers who are pursuing DIY or professorial projects.
Our webinar with the National Tile Contractors Association from Oct. 29th is available now on demand. You can watch how we covered many of the skills you need to use a mixed media approach when dealing with slabs of different tile types.
Did you know RUBI provides service and training on how to use our cutters virtually? Online, from the comfort of your favorite wifi spot, you can stay part of our community and learn from experts – even when we can’t be together. Now let’s dig in…
What Is Mixed Media?
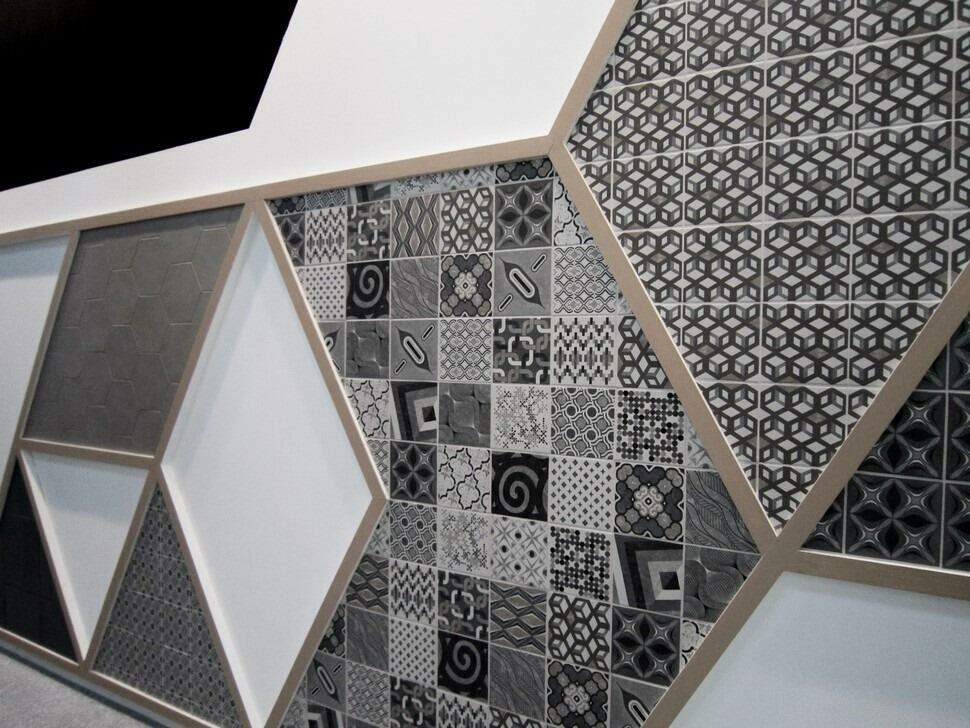
Mixed media is the technique of using multiple materials to produce visual or textural effects in interior design. This can be subtle or bold and has functional as well as aesthetic purposes.
Just think about how often do you look at your floor? Maybe once or twice a day, when you have dropped something. Have you ever thought your floor or wall could be a focal point of your room? It comes down to a great vision for combinations that become a bespoke space with the use of mixed media when selecting tile finishes and shapes to be combined.
Common mixed media used in interior design for floors and walls nowadays include ceramic tiles, glass tiles, stone, wood, and wood inlays.
What You Can Do with Mixed Media Designs
From creating an interesting center point on a floor, to serving practical functions of tiled backsplashes, mixed media offers many options for those who are ready to take on a new, creative tiling project.
Functional Accents
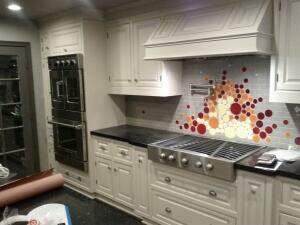
Mixed media tile wall accents are popular for kitchen and bathroom backsplashes. Often coming in stone or glass in varying colors, these mixed media tiles add texture, color, and depth to underutilized space.
This functionally protects spaces from water as well. Using these creative looks to waterproof splash-zone areas is one way to incorporate dynamic style into useful parts of your decor.
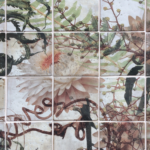
Consider mixed media tile work in showers as well. Mosaic ceramic tiling is a creative way to add art to a wholly practical area, whether on the floor,wall murals, or upper edge.
Likewise, mixed media glass tiling on the walls of a shower lets light in while creating a privacy shield when used with frosted glass. Adding more light to showers gives the illusion of space in a cramped area of the home.
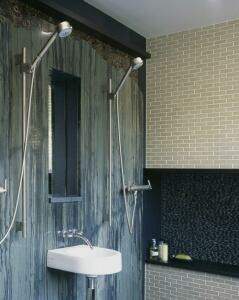
Incorporate a touch of nature into your shower by including pebble tiles amongst the floor tiles. Not only is this a beautiful look, but it also provides a different feeling surface. Morning showers will no doubt begin to feel like bathing in a fresh brook with your pebble walls/floor.
Creating Intentional Spaces
Creating intentional spaces is very popular in current interior design. Each place in the home should have a use and purpose. Denoting the areas by design features is an essential part of the process.
Mixed media types of floor tiles can be an excellent way to do so. So many homes suffer from an open concept design that has no clear delineation to apply to various uses.
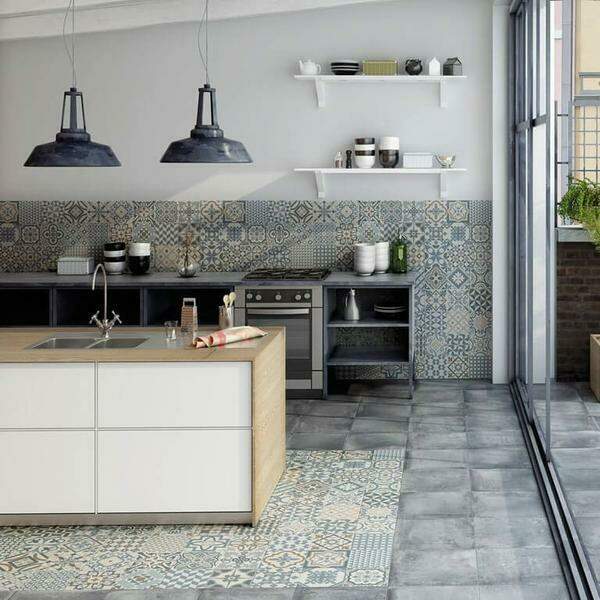
Using flooring to separate the kitchen, living space, dining area, and even the kid’s play area in a large open concept first floor can help with interior decor and organization. The flooring, such as a tiled space that a kitchen island table should be placed on, provides finite limits that force creativity.
These segmentations may also be practical. Placing an easy to clean, spill-proof flooring under high traffic or common gathering areas, is always a smart move. Save the white carpet for your formal living room. When planning to use mixed media, beautiful transition spaces can be developed.
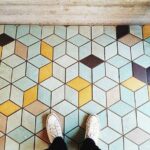
Blur the lines between intentional spaces. Perhaps hexagonal kitchen tiles integrate partially with custom-cut floorboards at the doorway between the kitchen and living room to avoid a harsh line or need for a threshold.
Follow the Yellow Brick Road
Hospitals and schools often used color-coded floor tiles to mark out pathways for visitors to find their way around. This practical use could get a chic update by using mix-media floor tiles to denote directional guides.
Think of it as a “Follow the Yellow Brick Road” sort of project when working in your or your client’s business.
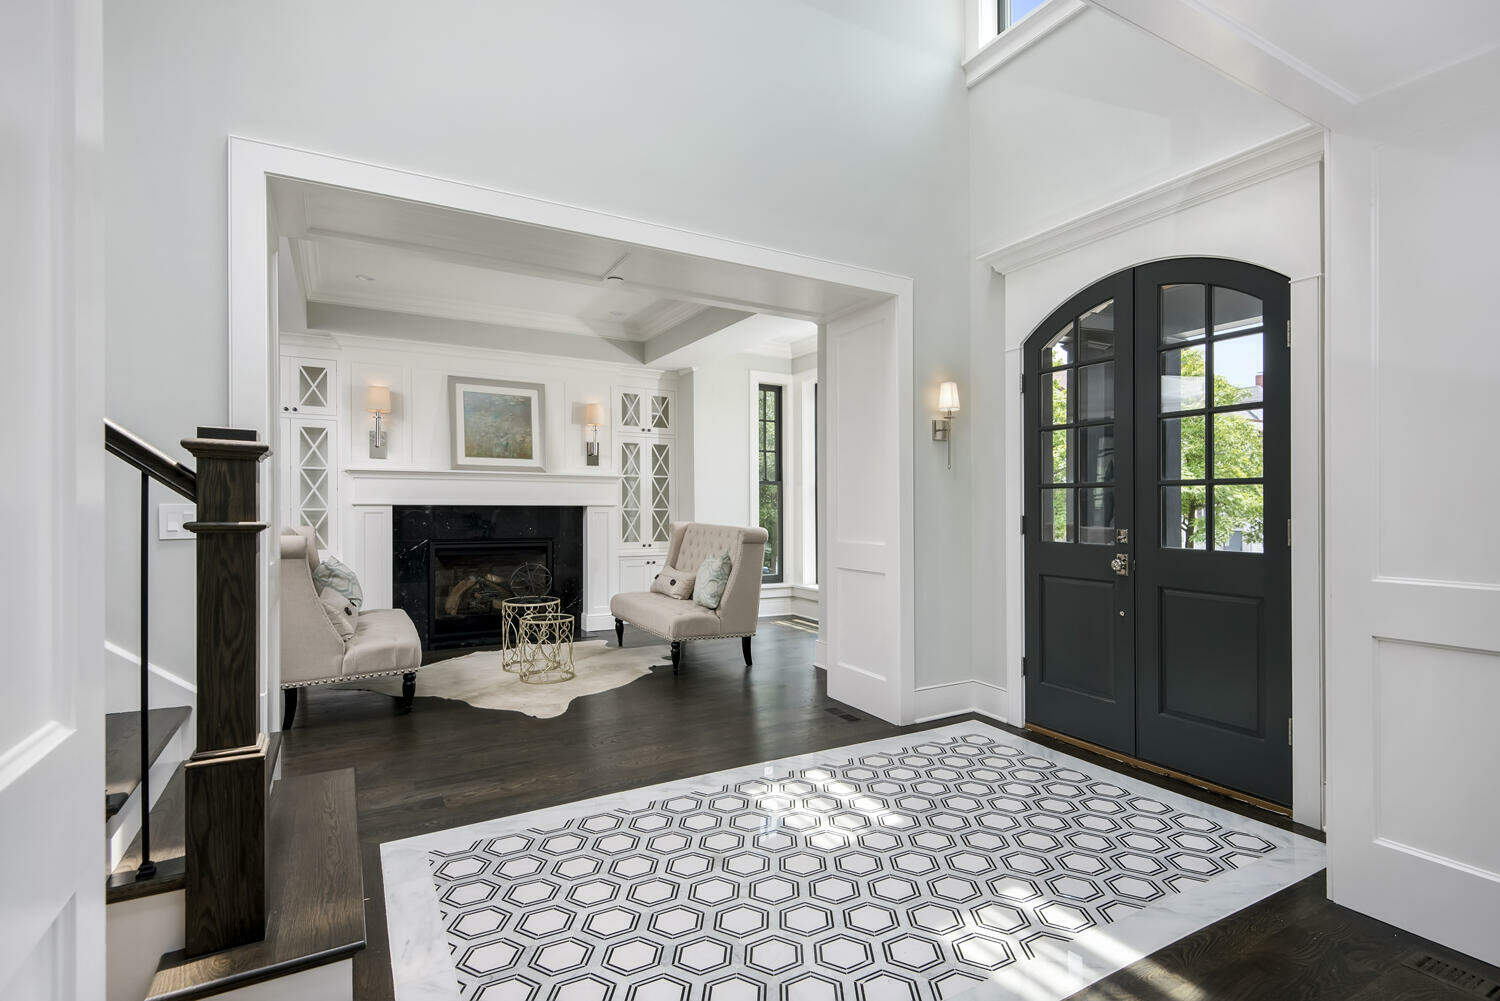
Install the tile patterns in a public area where you need to direct the public to particular destinations.

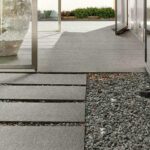
Or install subtle pathways in your home’s foyer to draw guests inward. No matter what you install, you are signaling a welcoming and helpful direction to those who are coming in. Consider mixing tile, stone, or wood look porcelain tiles and different types of tile patterns to create inviting designs.
How to Install Mixed Media Flooring and Walls
To install mixed media projects, for interior decor, can be as easy as a DIY project, or complicated enough to bring the contractors and professionals to take care of it. Let you concentrate on the design and the details for optimal end results.
These are DIY steps that you can quickly get the hang of – or have already used professionally – but be sure to take your time with the delicate execution of mixed media tiling.
Useful items you will need for install
- Thin-set Mortar: the material you set tile in to permanently bond it to the subfloor. Use of electric RUBIMIX E-10 ENERGY recommended.
- Manual Tile Cutters: make angular cuts to fit tile around existing architectural features
- Professional Wedges for leveling tile: align your tiles during install with wedges that will level evenly your tile
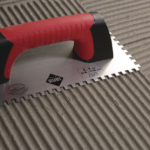
- Notched Trowel: spread and furrow your mortar with a notched trowel
The Installation Process
When mixing finishes before beginning your project, make sure the materials and shapes involved will combined in the space desired. Always prep your space in advance so the tiling process becomes as detailed as the design desired.
Tiling your space
Once decided on the type of tiles and having your supplies ready; begin with laying thin-set mortar on a clean floor/subfloor with your trowel. Spread it thinly over a large, square area. Comb the mortar with the edge of the trowel until furrowed lines appear.

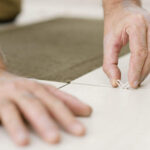
Begin laying tile, leaving 1/4″ space around the edges in case of expansion. Use guide lines and RUBI tile spacers to keep your work evenly spaced.
Depending on design and mix media, finishing your installation after proper time for letting it dry with grout. Make sure to choose the proper grout for your tiling project since there are many options nowadays. You can find out more in our blog on What is epoxy tile grout.
Always pay attention in all the details for final touches. Most importantly, get inspired to pursue mixed media designs in your own home or business.

RUBI Tools USA is committed to providing quality educational content throughout the COVID-19 pandemic to stay in touch with customers like you. Get personalized attention in round-table workshops where you can speak directly to RUBI Tools experts. Or sign up for a tutorial to watch demonstrations from a single presenter that shows you how to get the job done. Either way, contact us and request your free RUBI consultation to any of our sales reps across the United States. Don’t forget, our multimedia catalogue is available on our app too. Discover the power of RUBI in your hands.
During next month of December 2020, you will be able to redeem your RUBI points for $. So if you have bought any new RUBI product lately, make sure to register it in the app and collect the points now, so you can redeem next month!

Post a comment