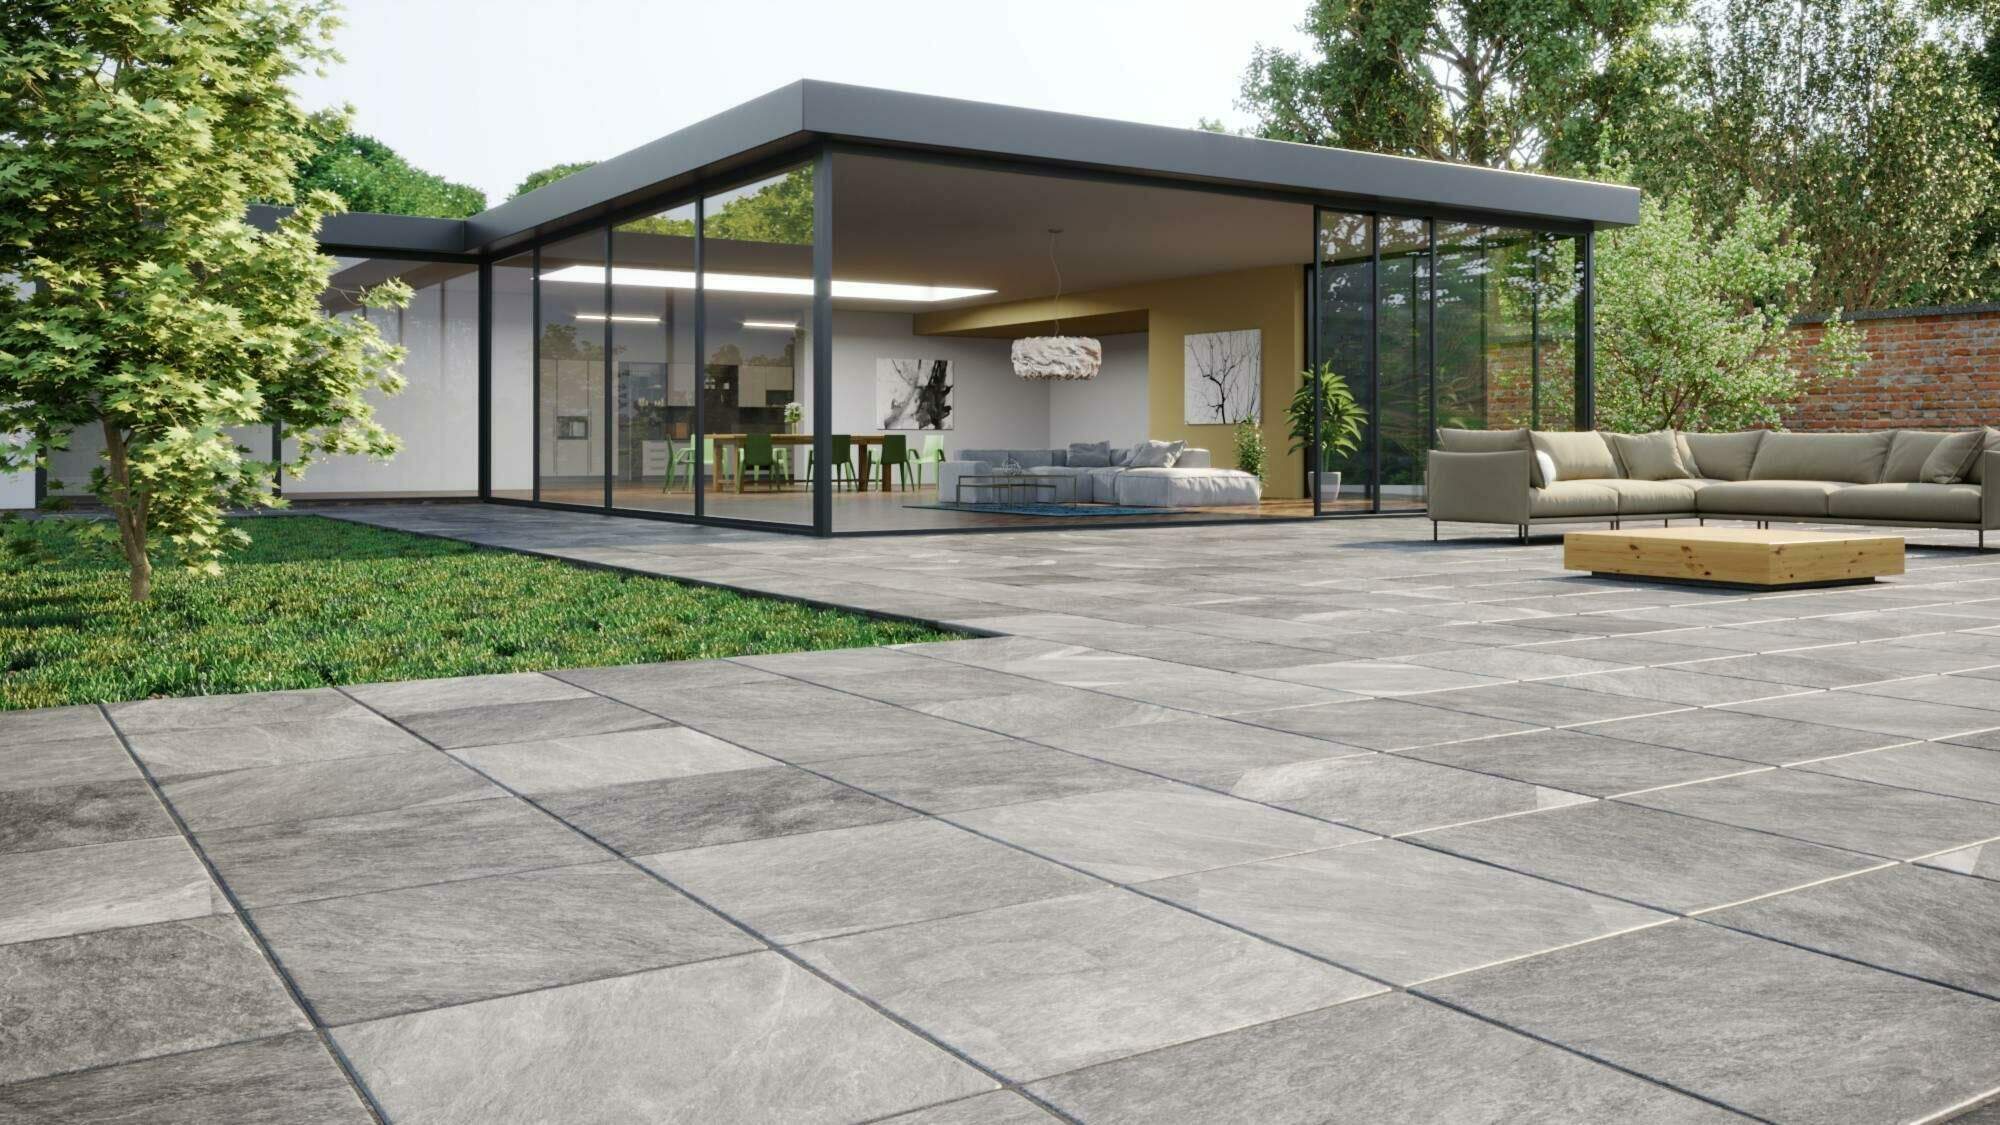

Tile installation isn’t something that can be done by just anyone. Well, anyone can lay the tiles down, but we’re talking about getting the job done the right way. A proper tile job means even lines, leveled flooring, and so much more.
Tile installation is a big task to complete and before you begin laying them down on the floor, you’ll first need to know how to measure floor for tile. This is one of the most important steps of the job. Once you have this aspect grasped, no one can stop you from doing some amazing tile work!
As a contractor, construction worker, or tiling expert, it’s important that you maximize your tiling resources. That is where this guide comes in handy. Everything you need to know about measuring floor for tile installation done the right way is right here in this guide.
Ready to polish your skills? Continue reading below to find out more!


Taking Down Measurements
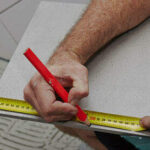
Take the area that you want to tile and measure it in inches both in length and width. Be sure to measure each wall separately and take any irregularly-shaped floors and break them down into smaller sections for measurements. This will give you a more accurate result.
Take the width and the length measurements and multiply them together. This gives you the total number of square inches per each area. Take the number of square inches and divide it by 144 to get the number of square feet.
All separately measured areas should be then added together. Round up to the nearest square foot if needed. Measure the border in inches as well.
Add together border measurements taken from all sections for the total number of linear inches you need for border tile. Again, round this number up to the nearest foot.
You can measure in feet, just take one side and multiply by the other side running perpendicular and you will get your square footage (ie I have a 12ftx15ft room 12×15=180 square feet.
Translate Square Footage into Needed Tiles
Before you buy your tiles, you’ll need to know how many boxes you need. Because tile is sold in boxes, you’ll need to buy your tile in whole boxes. To find out how many boxes you need, you’ll need to take the number of the square footage of the room and divide it by the number of the square footage of file in a box.
Don’t make the mistake of only buying exactly what you need. You’re going to need extra tiles for mistakes, breaks, and cuts.

Draw Reference Line to Measure Area
It might seem awkward to think about at first but to get the best tile installation results, you’ll need to start from the center of the room. This remains proven for all tile types, even those with irregular edges or patterns. The best way to start this process is to create two perpendicular lines of chalk that meet directly in the center of the room.
You’ll then have four equal sections and you’ll begin laying the tile down in the center, working your way out in all directions.
Mark the Wall Centers
Measure the length of one wall and divide it in half. Use this measurement as the center of the wall. Make a mark on this point near the floor.
Turn to the wall opposite this one and repeat. Even if the walls measure different lengths, the center points of each wall should be the same. Now, at one end of the room, take a nail and place it here.
Snap First Chalk Line
Take a chalk line and place it on the nail. Have someone hold this in place while you extend the chalk line directly across to the other center point. Hold it down on the mark with one hand and with the other hand pull up on the line allowing it to snap back down, hitting the floor quickly, and creating a clear line of chalk.
Create Second Reference Line
Measure the length of your chalk line and then divide it in half. Now take this halfway point and mark it on your chalk line. Take a T-square and place it on the chalk line so that the shorter edge is aligned with the chalk line with the center point in the corner of the square.
Starting at the center mark, trace along the longer edge of the square. Be sure to press down on it tightly so that it doesn’t move while you’re tracing. Now use the T-square to bring this pencil line to the other side of the chalk line.
Now, take your chalk line and align it with the pencil line, extending it to opposite sides of the room. Be sure that it is aligned with your pencil line perfectly and use the snap action as you did before to create a new chalk line on the floor. This will create the two perpendicular lines and the four separate but equal sections.
A helpful trick that a lot of people and even the most experienced professionals don’t know is that once you snap your chalk lines, you can spray the line(s) with hair spray and you will assure yourself that the chalk line won’t wash away with water as you’re setting or kick up when you sweep.
Lay Tile Using Reference Lines
To lay the tile correctly, start in the center and work outwards. Place your first tile down against the intersection of your two chalk lines. Complete one whole section out of the four first. This will give you a good idea of how much materials you’ll need to finish the other sections. You might also find that some tiles will need to be cut to fit the design.
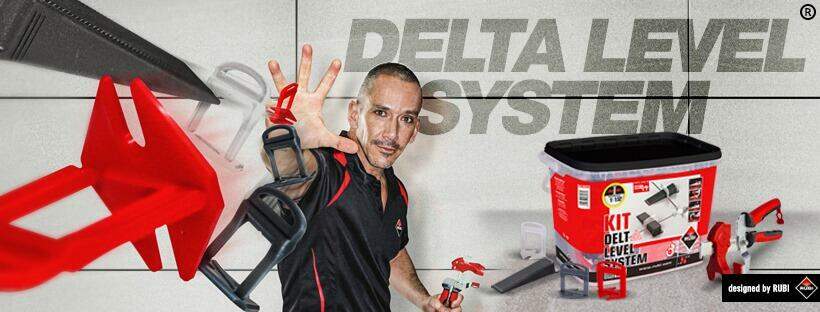
You’ll also need to be sure to use a level system, which ensures the tiles are leveled and evenly placed. At RUBI Tools USA we have developed 3 different systems: TILE LEVEL, TILE LEVEL QUICK and the ultimate DELTA LEVEL SYSTEM, now available nationwide.
The best to fill the rest of the sections is to always leave the section where the room’s door is for last. This way, you’re able to walk in and out of the room without ruining the adhesive under the tiles.
Determine Your Spacer/Gap Size
Even though all of the tiles in a box look the same with the naked eye, this isn’t the case. Not all tiles are exactly the same with cuts in them that line up perfectly and flawlessly. This is why tile is installed with spacing between them.

Before installing the tiles, determine your RUBI spacer or gap size. These gaps are what will eventually be filled with grout. Depending on the design, the size of the tiles, and the materials being used, the gap size may change.
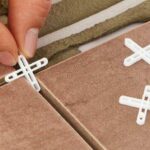
Using rectified tiles means that you’ll have the ability to place the tiles close together. If you’re not using these processed tiles, then it’s best to keep them a bit more spaced out. The following is how to determine your gap size:
Tiles with irregular edges should be 1/4 an inch apart. Tiles that have smoother edges can be placed closer together with gap sizes of 1/8 an inch or 1/16 an inch. Keep in mind that tiles placed on a wall call for less gap space than tiles placed on a floor.
Always Purchase More than Calculated
The most important thing to remember before beginning a tile installation is to always have more tiles than calculated. This cannot be stressed enough. Don’t wait until halfway through the installation job to decide that you need more tiles.
Although this might seem like an easy fix, to just go to the store and buy another box, it’s not always that simple. You might come to realize that the store no longer has that tile in stock or not enough for what you need to finish the job. If you plan to buy more than enough boxes ahead of time, then you know for a fact that there is enough of that tile for the job.
The best way to determine how many tiles you’ll need for a room including the extra ones is to take the room’s square footage and multiply it by 10%. Take this number and add it to the amount of the total square footage of the room. This gives you the number of the total square footage amount of tiles that you need to buy.
Did You Know How to Measure Floor for Tile?
If you’re not sure if you know how to measure floor for tile in the correct way, then it’s important that you keep this guide handy. Following the tips listed in this guide is a sure way to install tile properly. And while you’re completing tile installation jobs, remember that RUBI is here to help with many more products that you’ll need to get the job done. Download your RUBI catalogue today!
Head over to our products section to check out what tools and equipment we have to offer. RUBI products range from grout cleaning tools to tile saws to drill bits and so much more. Be sure you have everything necessary to do a great job before you begin your installation process!


Post a comment