
Tile floors are once again very popular due to the advantages that tile provides over other flooring materials. But, how many times have you seen issues with tile layouts? There are some common tile installation problems that you’ll see a lot when you start to learn how to tile. Even experienced tilers may run into issues when dealing with challenging installation projects.
Tile professionals are always looking for the best layout possible or for those little things that will make their installation perfect. So, in this article, we will cover the worst tile installation problems related to floor layout, proper use of materials, tools, and bonding.


ARE YOU USING TECH GADGETS TO LAYOUT THE FLOOR?
To understand how the shape affects the installation process, normally a tile setter completes a layout analysis before getting started. However, many tile installation problems come from inaccurate floor layout. Knowing your tile and room dimensions is the first step to completing a flawless project.
The best thing you can do is to start using tile layout software. It will help you measure and complete the layout, but be sure to use a laser measurement tool to get the right room dimensions.
THE MOST COMMON TILE INSTALLATION PROBLEMS
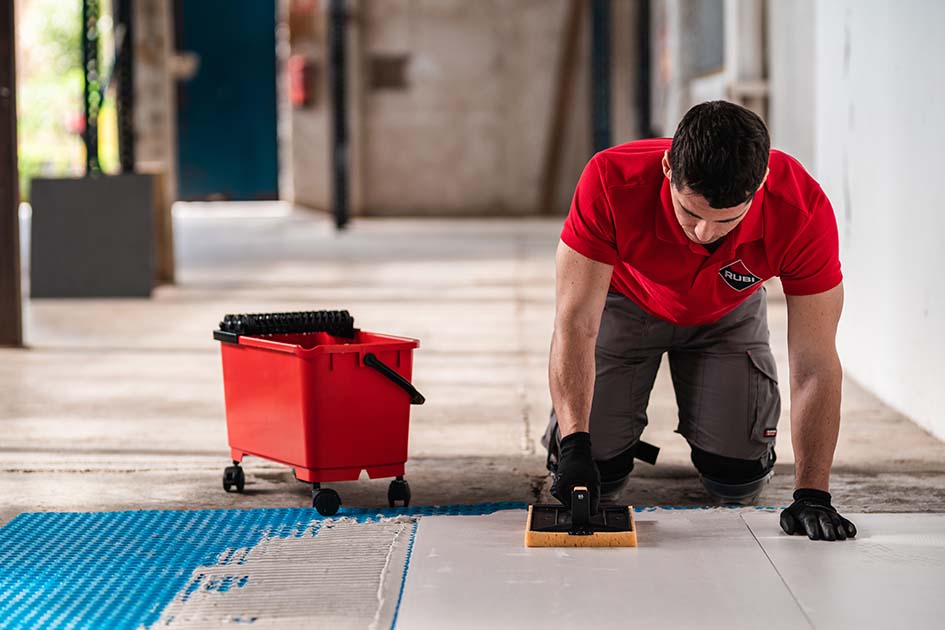
We all have heard that tile installation is relatively easy and can be completed without issues, unless something throws you off. This could be something simple like irregular shapes, subfloors, existing surfaces, or material issues. It is very common to see the same tile installation problems over and over again. Here is a list of the worst tile installation issues and how to avoid them.
1. LOOSE TILE

Sometimes the existing tiling is coming loose from the substrate and you will not notice it without some investigation. To determine whether the existing tile is in good condition and can accept another tile on top of it, use a tool to gently hit the tile. A hollow sound indicates that the tile is not adhered properly.
If this is the case, then the whole floor should sound hollow because of the uniformity of the substrate. Before starting the installation, check the floor and, if needed, remove the loose tiles.
2. CRACKED TILE
Sometimes tile will crack without you noticing. Professionals tend to think that the tile cracked because something fell on top of it, but this is not always the case. Cracked tiles may occur because the joists tend to move and tiles may be located mid-span between joists. Before starting the work, make sure that the floor is levelled and the subfloor is properly reinforced. The maximum deflection allowed needs to be in the range of 1/360th of the span length.
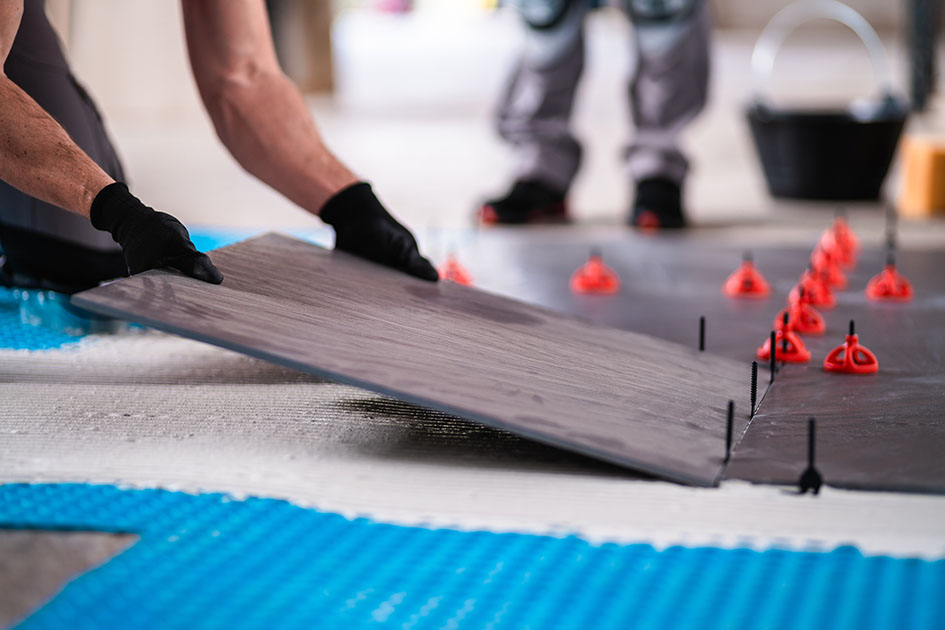
3. NOT ENOUGH EXPANSION AND CONTRACTION
Curing concrete and the chemical reaction process are two critical items affecting the expansion and contraction of tiles. The lack of proper joints, especially against adjacent surfaces or materials, can cause tiles to pop into the air. The tiles will expand and contract, so be sure to leave at least ½ inch in between the last line of tiles and the next surface or material (on the floor or wall) to allow for both materials to expand and contract accordingly. Remember, smaller joints are susceptible to fail if not done adequately.
4. LACK OF CLEANING AND POOR WORKMANSHIP
This is very clear, right? Well, sometimes tile setters will not take proper precautions cleaning the tiles and preparing the surface. Properly cleaning the back of tile will help obtain better bonding between the adhesive and the surface. Using the right joint and caulk is a best practice that will facilitate the installation work. It is important to highlight that proper inspections should take place at least 6 feet away from the tile, anything closer than that does not follow ANSI standards and might create additional issues.
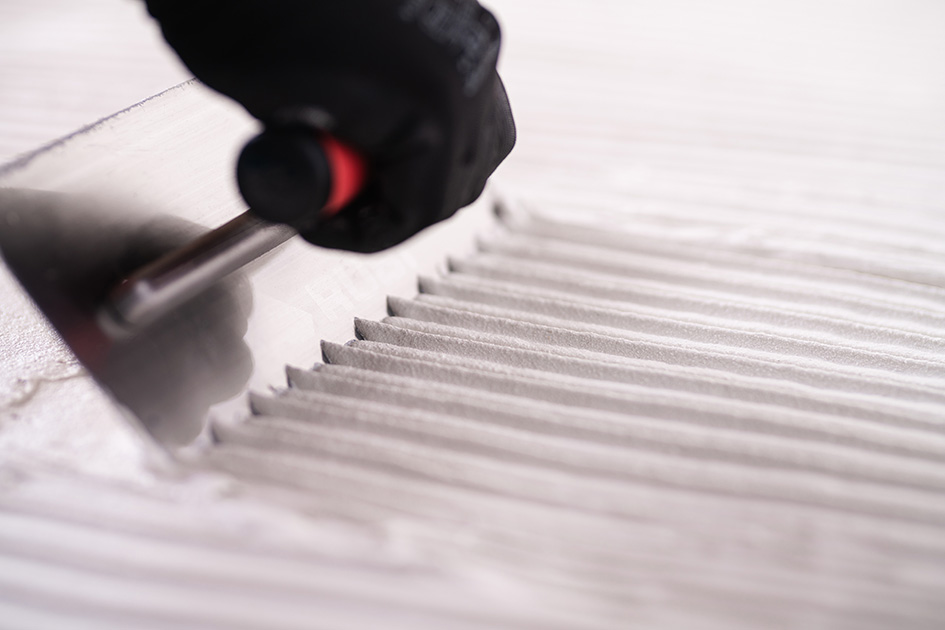
5. IMPROPER ADHESIVE
Sometimes, the amount of adhesive is not enough or there is adhesive only on the corners and the centre of the tile. The adhesive must be spread uniformly underneath the tile, creating an even layer. On residential installations, the tile must adhere at least on 80% of the contact surface, while commercial tile installations should have 95% of adhesive on the contact surface.
What happens when the adhesive is too strong? This might sound odd, but sometimes the adhesive creates a better bonding with the substrate than with the tile, causing a weak point at the tile adhesion. To avoid this, follow manufacturer’s recommendation and use the right adhesive for the type of substrate and tile you are working with. The performance and characteristics of the adhesive may change depending on the setter’s methods and materials.

6. USING THE WRONG UNDERLAYMENT
When it comes to installing tile, the rule of thumb is to have at least 1 1/4″ of subfloor sheathing underneath to provide the necessary strength. The underlayment should be placed over a mortar bed. This mortar bed is important but it is not a substitute for the tile adhesive, the main purpose of which is to fill gaps and provide a workable, level surface. Now that the underlayment is in place, the next step is attaching it to the subfloor.
7. APPLYING THE WRONG GROUT
Using the right amount of water when mixing grout will prevent it from being too dry and help you get the right consistency during the installation process. A good tile setter is aware of issues with grout colouring and buys the necessary amount of grout all at once, avoiding multiple orders of grout. Grout manufacturers can use different materials causing changes in the grout colour. We recommend using sanded grout as it offers more consistency and better results than the non-sanded grout. Two hours after finishing the grouting process, proceed to remove the excess of grout from the tile. Two hours is typically enough time for the grout to dry.
8. INSTALLING TILE OVER POORLY PREPARED SUBFLOOR
Many tile installation problems happen because the substrate or subflooring is not ready or lacks the proper preparation. If you have no other option than installing tile over another type of material, make sure you verify the following:
- Check the existing tile and make sure there are no loose or chipped tiles that can prevent proper adhesion.
- It is extremely important to level the surfaces. You can level the surface using a grinder, sander, or a tile level system.
- Create a rough surface to improve bonding. The existing surface needs to have some sort of roughness that will facilitate the bonding between the new adhesive and the old surface.
- Use a vacuum to remove all dust, clean with water, and remove all dust particles and debris from the surface.
- Use epoxy or another adhesive material recommended for this type of installation and surface. This can help you avoid common tile installation problems later.
Now that you have verified these issues, check the following points:
- Tile Over Wood Subfloor – Make sure there is no moisture or water affecting the wood and apply thin-set adhesive and install backer board. Use levelling compound to level the surface to minimize cracks in tiles over time.
- Tile Over Existing Tile Floor – Be sure to break or create a rough surface so the adhesive can properly bond both surfaces. If possible, remove the tiles or at least be sure to create a rough surface.
- Tile Over Hardwood Flooring – This is not the best option. It’s actually a mistake. If possible, don’t do it. If you don’t have another option, remove the polyurethane membrane of the hardwood flooring to create a better bonding surface. Before starting, verify the condition and spacing of the joists as it might change from older to newer constructions. Also use a modified thin-set type of mortar for better results
- Tile Over Vinyl Floor – In situations in which a vinyl floor has been installed over concrete, take extra time to make sure the vinyl is clean and ready to receive the thin set mortar.
Did we forget to mention other frequent tile installation problems? Let us know in the comments below!

Post a comment