


Minimalist shower niches look effortless when they are done well. In reality, they are one of the easiest details in a bathroom to get wrong. A niche can be perfectly waterproof and still look poor if the tile joints do not line through, the returns are unequal, or the internal corners are chipped and overworked.
That is why the best shower niches are planned as part of the wall layout, not added once the waterproofing is already complete. If you want a clean, built-in result, you need to think like a setter first: establish the grid, decide the visible opening from the tile module, and only then frame and cut around it. Most shower niches ideas fail on site for one simple reason: the design looked clean on paper, but the setting-out never matched the tile.

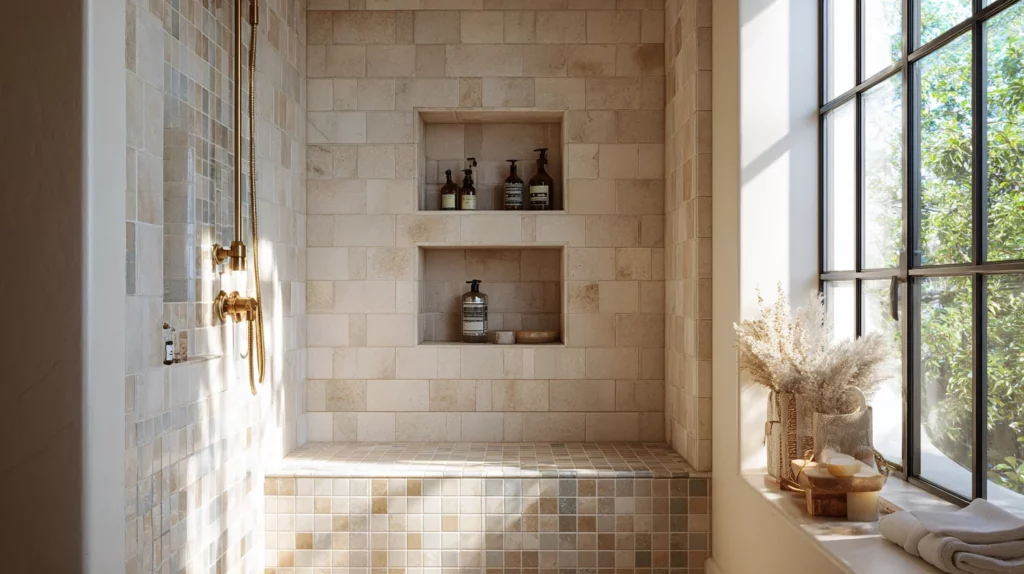
Planning a minimalist shower niche around the tile layout
A minimalist niche should feel like a deliberate part of the wall, not an opening added as an afterthought. The easiest way to undermine that effect is to pick a niche size first and then force the tile layout to work around it. In a high-spec bathroom, that approach almost always leads to narrow tile slivers, misaligned joints or uneven returns that immediately draw attention.
Instead, start by setting out the entire wall elevation. Establish the tile module, grout joints, datum line and key elements such as the shower tray, valve, shower head and screen line. Once you have defined the wall grid, size and position the niche to fit within it. This allows the recess to support the overall layout rather than disrupt it.
Balancing size, depth and position without breaking the grid
One of the most common questions is: how deep should a shower niche be? In reality, the wall construction largely determines the answer. Most minimalist niches perform well with a finished usable depth of around 80 to 100 mm. That typically provides enough space for standard bottles without making the recess feel oversized or difficult to clean.
More depth does not necessarily improve functionality. As niches become deeper, products sit further back, shadows increase and the recess begins to dominate the wall rather than blend into it.
You also need to assess depth against the wall structure. Internal stud walls often provide more flexibility, but valve walls, external walls and walls carrying services can limit your options. A niche depth that looks ideal on a drawing may prove impractical once construction requirements come into play.
Plan the recess around the wall build-up, not just the products it needs to hold. Account for backer boards, waterproofing, adhesive beds, tile thickness and the visual reduction created by mitred or dressed returns.
Positioning is equally important. A minimalist niche should sit within easy reach of the user without forcing them to step away from the spray area, but it should also work with the valve arrangement and screen line. Prioritise practical use, then refine the location to suit the tile grid. When shifting the niche by 20 or 30 mm creates cleaner alignment with grout joints, that adjustment usually delivers a better result than preserving a theoretically perfect height at the expense of awkward cuts.
Creating minimalist shower niche layouts with symmetrical joints
The most successful minimalist shower niche layouts follow a simple principle: tie the niche directly to the wall geometry. You can achieve this by centring the niche on a tile centreline, aligning the head and sill with horizontal joints, or sizing the opening so both returns finish evenly.
Symmetry is not about placing the niche in the exact centre of the wall. It is about making every alignment look intentional.
For example, a wall tiled in a stacked vertical format often benefits from a niche whose sides align precisely with grout joints and whose back panel sits centrally within the tile module. On walls with a horizontal format, the top and bottom of the niche should normally align with the joint pattern so the recess feels integrated into the design rather than imposed on it.
Many inspiration-led shower niche designs fail because they focus on appearance without resolving the setting-out first. Minimalist details still depend on rigorous planning. Avoid anything that looks almost aligned. A niche top that misses a grout line by 8 mm, or returns that finish at 42 mm on one side and 18 mm on the other, will always read as a mistake. In a minimalist bathroom, decorative elements do not distract from inconsistencies. Every small deviation becomes more noticeable, which makes precise setting-out essential.
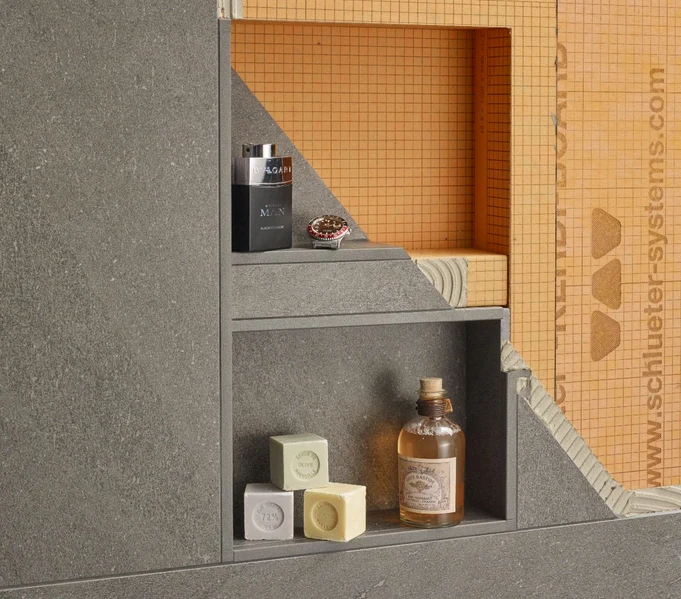
Choosing the right setup and executing clean niche cuts
Once the layout is locked in, the finish depends on tool choice and cut discipline. Niche work in porcelain is rarely a one-tool job. Long straight scores, small returns, internal corners and visible mitres all behave differently, so trying to do everything with the same setup usually produces either wasted material or weak-looking edges.
Choosing the right cutting method for porcelain niche details
For repeated straight scores on porcelain, manual tile cutters are still one of the fastest and cleanest options on site. RUBI’s own UK example content notes that heavy-duty manual cutters such as TZ, TK and TX-MAX are intended for intensive porcelain work, while also warning that some materials above 15 mm may still be difficult to cut manually because tile body, finish and internal tension vary from product to product. That is an important distinction. A rated capacity is not a guarantee that every dense porcelain tile will snap cleanly in the real world.
Where niche details are involved, a manual cutter usually handles only part of the job. Long controlled scores can often be done efficiently this way, but internal corners, stopped cuts and mitred returns need a different approach. That is where the correct diamond blades become critical. RUBI’s reference material distinguishes between blades suited to different jobs: TVR is suitable for hard materials including porcelain and can also be used for mitre work, while TGS is intended for straight and 45° dry cuts on porcelain and natural stone. In plain terms, blade selection is not a small detail. It directly affects edge quality, chipping risk and how much dressing is needed afterwards.
Finishing the Edges
For finishing visible edges, the role of Grinding & Polishing is just as important as the initial cut. RUBI’s catalogue also includes finishing accessories such as diamond flap discs and related grinding solutions for porcelain work, which are useful for refining edges, small surfaces, mitres and bevels in dry applications. That matters because a niche corner should be refined, not bullied into shape. If you try to get the final finish straight off a rushed grinder pass, the edge usually tells on you.
If the job includes repeated 45° work on large format material, dedicated bevelling support is often more consistent than freehand grinding. RUBI’s catalogue also lists the PRO-EDGER bevelling and mitring accessory, designed for dry 45° work on large format tiles and suitable for porcelain, ceramic and natural stone. It supports mitre cuts at 45° up to 20 mm and allows a more progressive, controlled approach across multiple pieces.
For broader technique guidance on irregular openings, How to Cut Irregular Shapes in Large Format Tiles is a useful reference point before you start marking the recess pieces.

Cutting sequence, 45° corners and dry-fitting before fixing
Even with the right tools, clean niche work comes down to sequence. A good cut can still fail if the order is wrong.
Start with the cutting sequence
Begin by marking from the finished face and confirming the orientation of each piece before making any cuts. Then work from the most stable operation to the least stable. In practice, that usually means making the longest controllable cut first, relieving the return or internal corner before the tile comes under too much stress, and leaving a small allowance for final dressing rather than trying to achieve a finished edge in a single aggressive pass.
RUBI’s guidance on niche and L-shape cuts follows the same principle: successful results come from careful cut planning and dry-fitting, not from forcing the tile through the cut.
Achieving clean 45° internal corners
This approach becomes even more important when working with 45° internal corners. A neat mitre is not simply a matter of hitting the correct angle. The goal is to create two matching edges that meet consistently along their entire length.
Support the tile properly, make progressive passes and avoid creating a feather edge that is so thin it becomes vulnerable to chipping during handling or installation. On visible internal corners, a lightly eased arris will often provide a more durable and reliable finish than an excessively sharp knife edge.
Dry-fit every piece before fixing
Dry-fitting is an essential part of the process, not an optional extra. Before applying any adhesive, place every return in position and check three key points:
- Joint width against the field tile
- Contact and alignment along the mitre
- Actual clearance within the recess
Check tolerances before installation
Even a minor tolerance issue can create problems during fixing. A piece that feels only slightly tight at the back of the recess may chip at the front edge when pushed into place. This type of fit issue is one of the most common causes of rework in shower niche installations, which is why checking dimensions and clearances during the dry-fit stage is critical.
The same logic applies to more complex recess pieces, which is why Cutting L-shapes, sockets and Niches in large format tiles: helpful tips for a clean finish is relevant even when the final detail looks visually simple. Minimalist does not mean easy. It means the mistakes are easier to see.
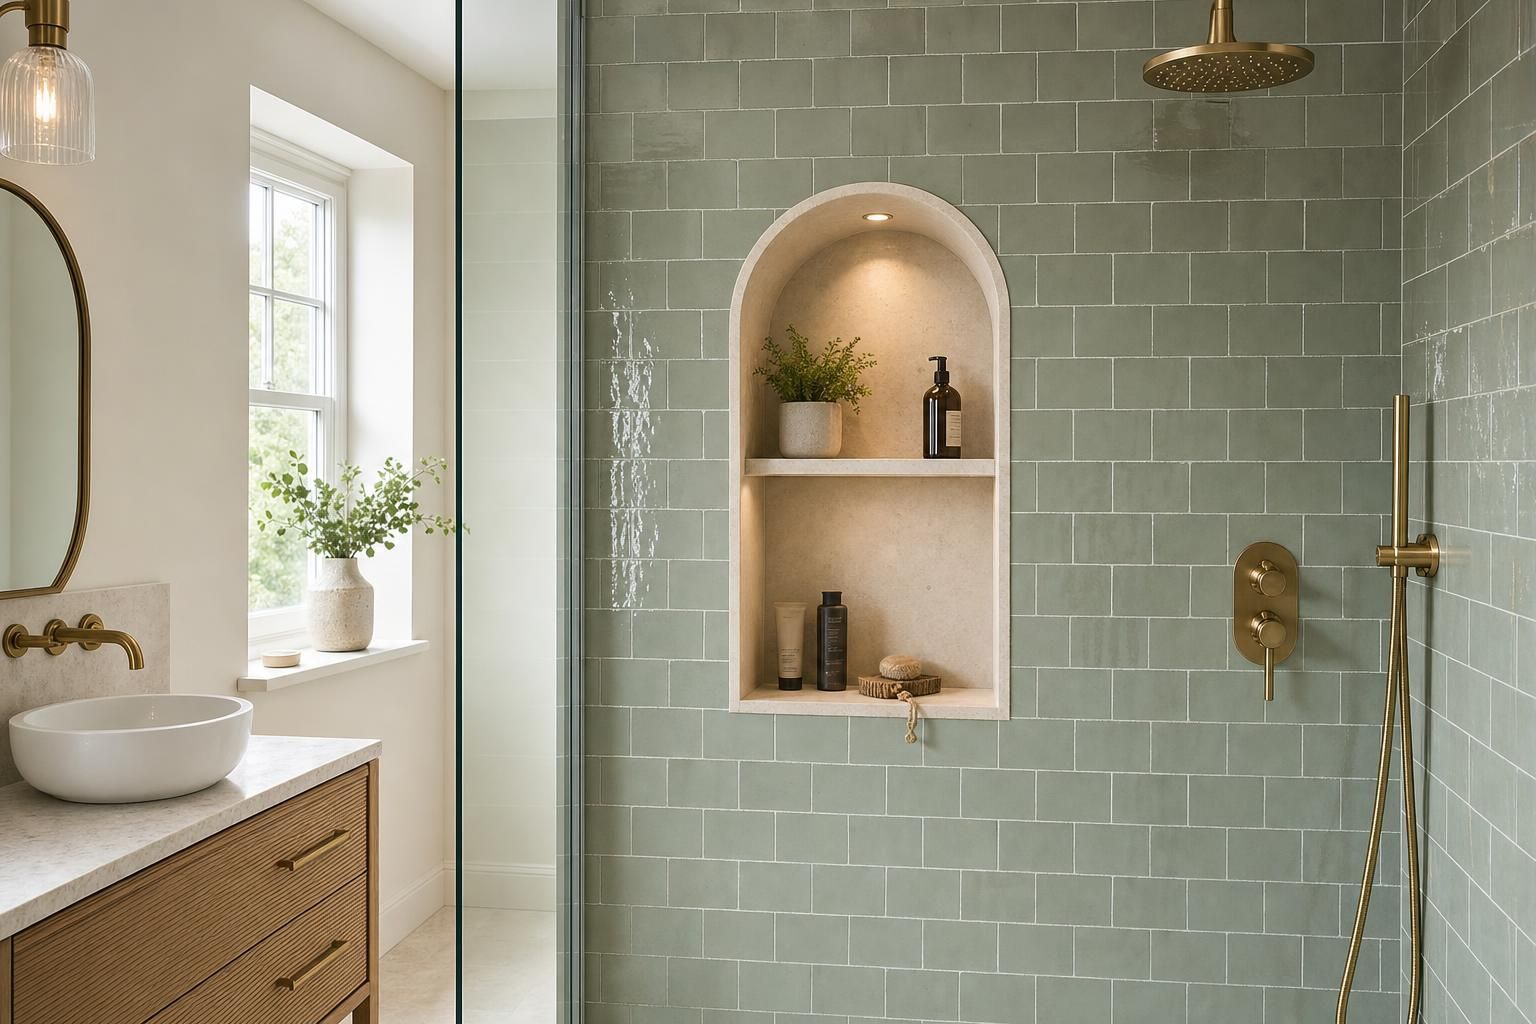
Common mistakes to avoid on site
The technical quality of a niche is decided long before the silicone goes in. Most failures are not dramatic. They are cumulative: a slightly poor set-out, a slightly rushed cut, a slightly unequal return. Each issue seems minor on its own, but together they turn a premium feature into a detail that always looks “off”.
Layout, tolerance and waterproofing mistakes that cause rework
The first mistake is treating the niche as a framing decision instead of a tiling decision. If the opening is built to suit the stud bay but not the tile module, the layout around it becomes a rescue job from day one. A minimalist niche should be designed from the finished face backwards.
The second mistake is ignoring build-up and tolerance. Backer board, membrane, adhesive and tile thickness all reduce the true opening. So do trims and mitres. If you cut to theoretical dimensions without allowing for real-world build-up, the fit will be tighter than you expect.
The third mistake is poor waterproofing logic. A niche is a recess inside a wet area, so all internal corners, seams and penetrations need to be treated with the same care as the main shower field. The sill should also have a slight outward fall so water does not sit in the recess. Good tiles and sharp cuts do not compensate for a badly waterproofed box.
Another common site error is fixing the face tiles before fully checking the niche set-out. Once those surrounding lines are locked, any mistake in the recess becomes more difficult to disguise and more expensive to correct. On a minimalist wall, the niche is a focal point. That means even a small discrepancy in level, plumb or joint alignment becomes highly visible.
Visible edge and corner mistakes that spoil the finish
The most obvious finish mistake is inconsistent edge treatment. One side polished, the other side chipped. One return cut tight, the opposite return opened up with grout. One mitre crisp at the top and washed out at the bottom. These are the details that make a niche feel site-made in the wrong way.
Another common issue is trying to remove too much material in one pass. That is where burning, vibration marks and chipped glaze tend to appear. If the visible edge matters, the cut should be made for control first and finish second. That is why the correct blade and post-cut refinement matter so much more than speed on this kind of work.
Also watch the corner philosophy. Decide early whether the niche will be framed with trim or finished in mitred porcelain returns. Mixing approaches halfway through usually creates awkward junctions. If you are using a trim, dry-fit it with the tile build-up before committing. If you are using 45° porcelain corners, commit to matching return depths and a consistent arris all the way through.
Finally, inspect the niche in the same light it will live in. Raking light from a bathroom downlight or window reveals uneven mitres and wandering lines that are less obvious under bench conditions. What looks acceptable on the cutting table can look poor once the shower is lit and the corner throws a shadow.
A minimalist niche is successful when it feels quiet. The joints line through, the edges are clean, the waterproofing is hidden, and nothing about the detail asks for an excuse. That is the real standard. Not just a recess in the wall, but a piece of tiling that holds up under close inspection.

Post a comment