


Adhesive coverage causes many tile failures, particularly when installing large-format porcelain tiles over uneven backs or in demanding site conditions. Voids left beneath the tile increase the risk of weak support, movement and premature cracking. With RUBI, back buttering tiles becomes part of a controlled installation method supported by the right tools from Tile Installation Tools, helping fixers improve contact, flatness and repeatable results.

What is back buttering in tile installation?
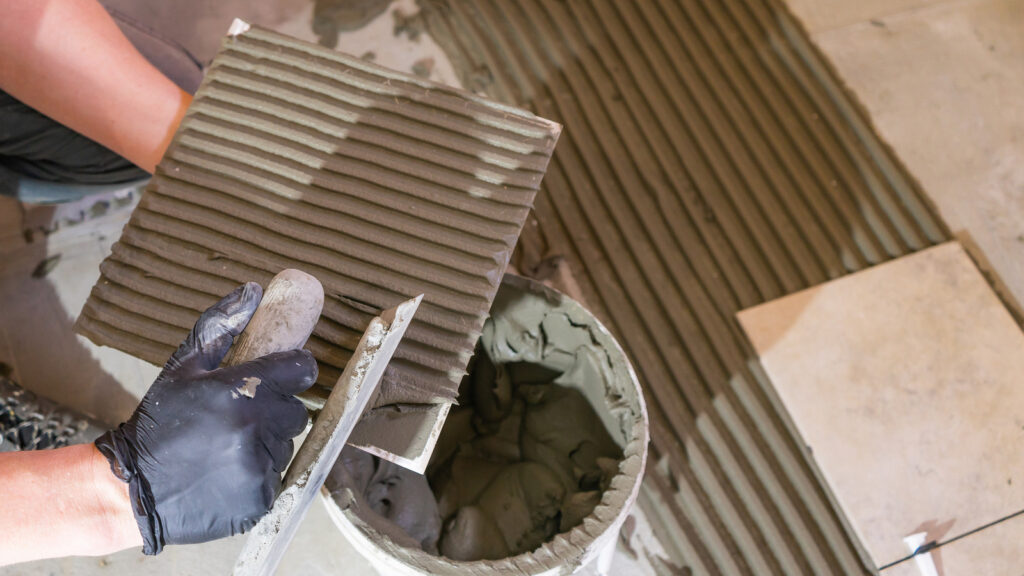
Back buttering is not an optional extra when the installation demands higher contact, better support and tighter control of the adhesive bed. On site, it is a practical technique used to improve how the tile meets the combed adhesive layer. For large-format tiles, rectified edges and irregular backs, it helps the fixer reduce voids and achieve a more reliable bond.
What does back buttering tile mean?
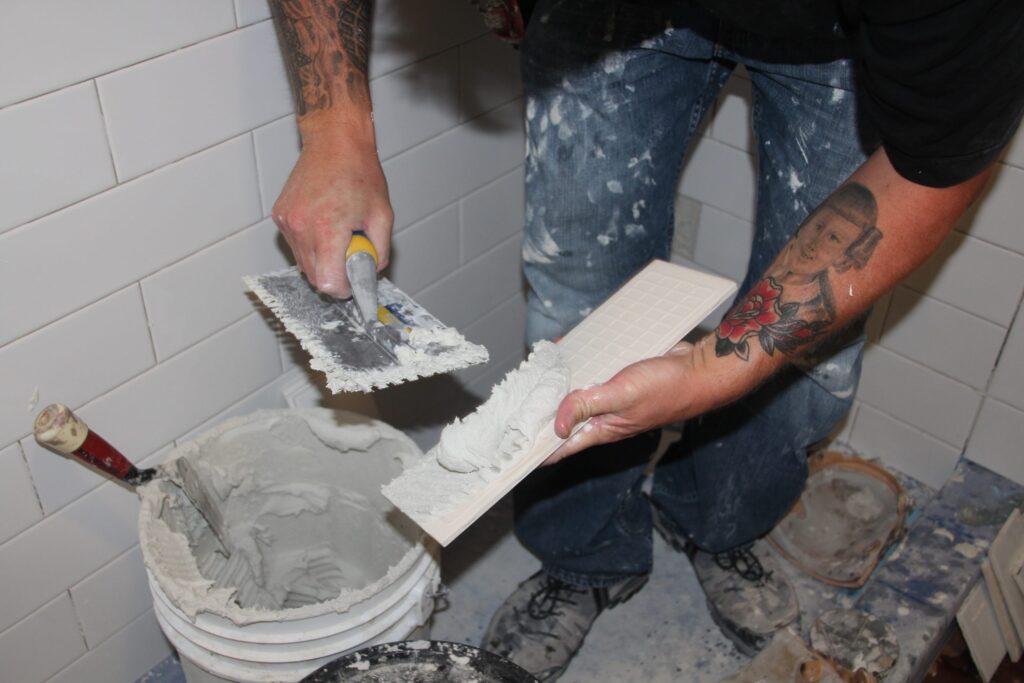
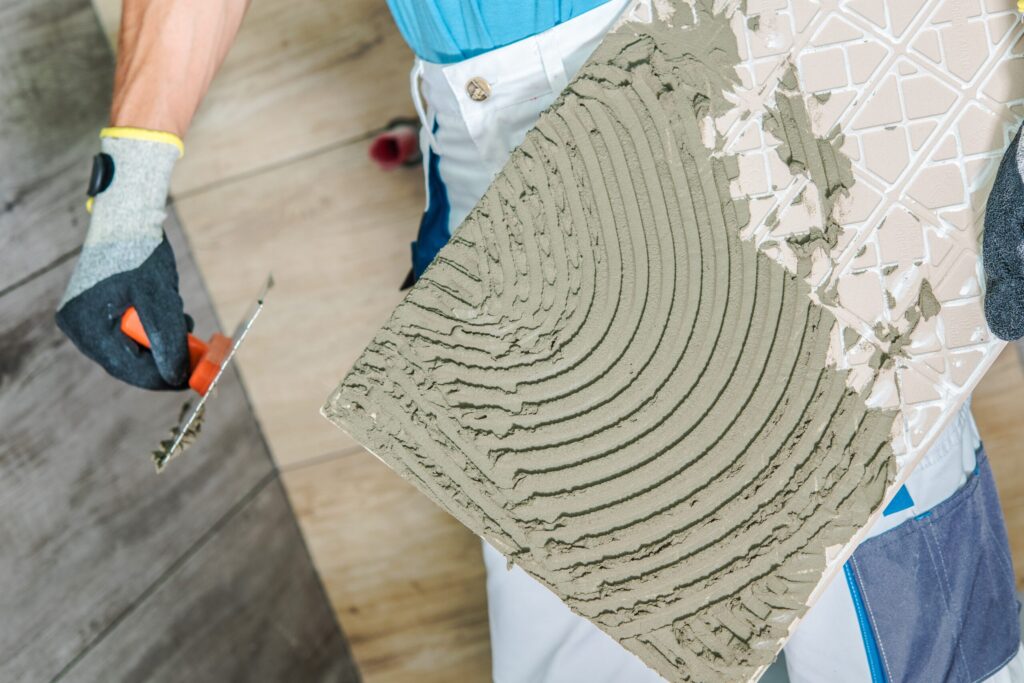
Back buttering involves applying a thin contact coat of adhesive to the back of each tile before pressing it into the combed adhesive bed on the substrate. Instead of adding unnecessary thickness, this coat improves surface contact, fills shallow recesses and keyed patterns on the tile back, and strengthens the bond between the tile and adhesive bed.
How back buttering improves tile adhesion
When adhesive is keyed into the back of the tile, the installer improves the chance of a more continuous bond across the fixing face. That matters most where the tile has a textured back profile, slight bowing or a format that magnifies small inconsistencies in the bed. In practical terms, back buttering helps reduce unsupported areas and gives the tile better load distribution after curing.
Difference between trowelling adhesive and back buttering
Trowelling adhesive onto the substrate creates the main ribbed adhesive bed, which controls depth and coverage across the installation area. Back buttering is a separate step that prepares the tile itself with a thin adhesive coat before bedding it into those ribs. The two techniques work together: one builds the adhesive field on the substrate, the other improves transfer and contact at the tile back.
When is back buttering tiles necessary?
Back buttering becomes necessary when the installation needs higher contact, improved support or tighter flatness control. The RUBI catalogue is clear that back buttering is mandatory when the required adhesive coverage is 95% or more for outdoors or damp areas, or when tiles are larger than 40 x 40 cm. It is also directly linked in the catalogue to levelling-system use on larger rectified formats.
Back buttering floor tiles and large-format tiles
For floor work, tile size changes the installation risk. As format increases, the adhesive bed has less tolerance for gaps, and even minor inconsistencies become visible or structural issues. The RUBI selection table states that back buttering is mandatory for pieces larger than 40 x 40 cm, and the DELTA Level System is recommended for formats from 30 x 30 cm and above, always with back buttering.
When installing tiles on uneven surfaces
Back buttering helps when the substrate is serviceable but not perfectly even, or where tile backs are not fully uniform. It is not a substitute for proper preparation, but it can improve contact across local irregularities and help the tile seat more consistently into the adhesive bed. Used correctly, it supports better transfer between the combed ribs and the back of the tile without turning the bed into an uncontrolled thick set.
Outdoor installations and high-traffic areas
Exterior and damp-area installations demand more from the bedding method because trapped voids leave the assembly more vulnerable to moisture and stress. The RUBI catalogue states that when the required coverage is 95% or higher, such as in outdoors or damp areas, back buttering is mandatory. In high-traffic areas, that extra contact also helps improve support beneath the tile where point loading is more severe.
Tile types that benefit most from back buttering
Tiles that benefit most are usually large-format porcelain, rectified tiles and products with more pronounced back profiles or slight bowing. These are the same kinds of formats where levelling systems become standard workflow tools because flatness and edge alignment are harder to control. When the back of the tile is not uniformly flat, a contact coat helps eliminate small gaps before the tile is pressed into the bed.
How to back butter tiles correctly (step-by-step)
Good back buttering is controlled, thin and consistent. It should support the trowelled bed, not replace it, and it should fit the tile size, the required coverage and the project conditions. The RUBI catalogue provides a useful framework here, with notched trowels ranging from 3 x 3 mm up to 20 x 20 mm, and with larger tooth sizes associated with larger formats and more demanding bedding requirements.
Tools and materials needed
The method is simple, but the result depends on matching the tool to the tile format and adhesive demand. For smaller work a lighter notch may be sufficient, while large formats need a more robust adhesive bed and stricter control of flatness. A practical setup includes:
- Notched trowels sized to the format, including 6 x 6 mm, 8 x 8 mm, 10 x 10 mm, 12 x 12 mm, 15 x 15 mm and 20 x 20 mm options in the RUBI range.
- Flat edge or smooth side of the trowel to key adhesive into the back of the tile as a thin contact coat.
- Levelling systems such as Leveling Systems, including Delta Leveling System and Cyclone Leveling System, when flatness control is critical.
- Manual cutters for clean format preparation where required, using Manual cutters for ceramic tiles as part of the overall fixing workflow.
Applying adhesive to the tile back
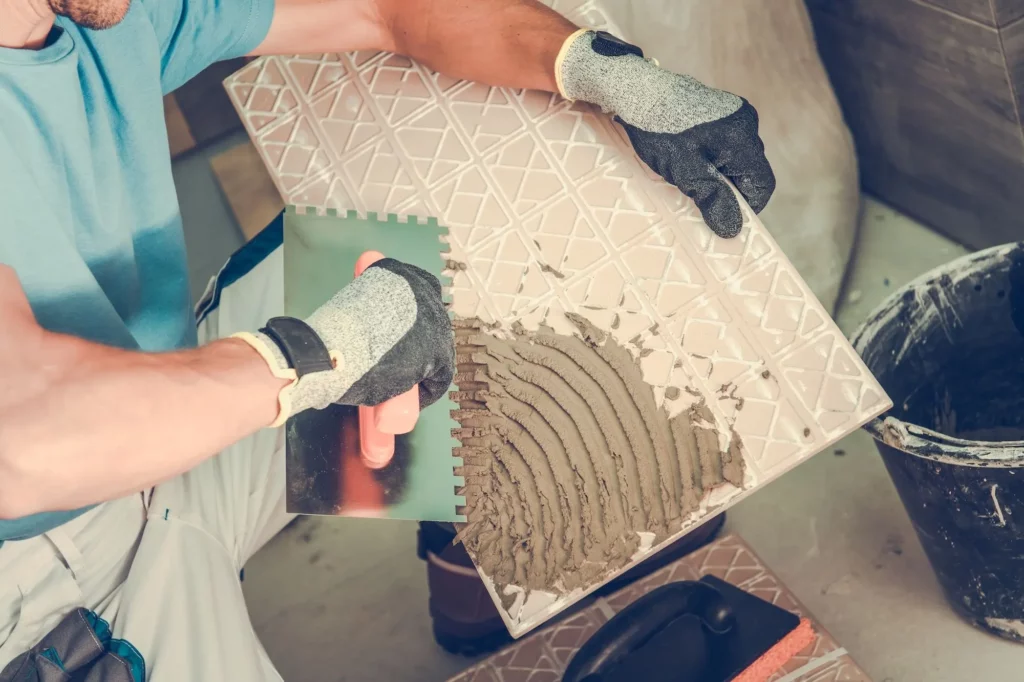
Apply a thin, continuous coat to the back using the flat side of the trowel, pressing the adhesive into the surface rather than leaving heavy ridges behind. The purpose is to improve contact and transfer, not to increase bed thickness unnecessarily. The tile back should look uniformly coated, with recessed profiles lightly filled and no random lumps that would interfere with the bedding plane.
Combining back buttering with proper trowelling
Back buttering works best when the installer also trowels the substrate correctly. Choose the notch size according to the tile format and coverage requirements, then comb the adhesive consistently to support proper placement and alignment without compromising bond strength. A sound sequence is:
- Spread adhesive onto the substrate and comb it with the selected notch size.
- Key a thin coat onto the tile back to improve contact and fill shallow recesses.
- Bed the tile firmly into the adhesive while maintaining the intended plane and joint width.
- Use a levelling system where needed on larger or rectified tiles to control lippage during curing.
Checking coverage to avoid voids
Coverage should be checked during installation, not assumed. Lift a freshly bedded tile periodically and inspect the transfer pattern across both the tile back and the adhesive bed. If contact is incomplete, the fix is usually to reassess notch size, substrate flatness, pressure during bedding or the consistency of the back-butter coat rather than simply adding excessive adhesive.

Common mistakes when back buttering tiles
Most failures with back buttering come from poor control rather than from the technique itself. Too much adhesive, poor trowel selection or inconsistent placement can create the same problems the installer was trying to avoid. The goal is always a solid, even bond with controlled bed thickness, not a heavier bed with more guesswork built into it.
Using too much or too little adhesive
Too little adhesive leaves poor contact and fails to fill the back profile effectively. Too much adhesive can create excessive bed thickness, uneven seating and additional cleaning work at the joints. The back-butter coat should be thin and deliberate, supporting the substrate bed rather than competing with it.
Skipping back buttering on large-format tiles
Skipping the step on large formats is one of the most common errors because the tile may appear flat during placement even when coverage is incomplete. The RUBI catalogue specifically states that back buttering is mandatory on pieces larger than 40 x 40 cm, and the DELTA system guidance repeats that it is used from 30 x 30 cm upwards, always with back buttering.
Incorrect adhesive distribution
Random patches on the back of the tile do not deliver the same result as a uniform contact coat. Equally, a poorly combed substrate bed makes it harder to collapse the adhesive evenly and increases the chance of voids under the tile. Consistency matters more than speed here, especially on polished porcelain or rectified material where lippage and weak support show up quickly.
Poor alignment between substrate and tile adhesive
If the substrate is out, the tile is forced, or the adhesive bed is inconsistent, back buttering alone will not rescue the installation. It helps improve contact, but it does not correct structural unevenness or poor preparation. The best results come when the substrate, notch size, bedding pressure and tile alignment are all treated as part of one system rather than separate decisions.
Why professionals use back buttering for better tile installations
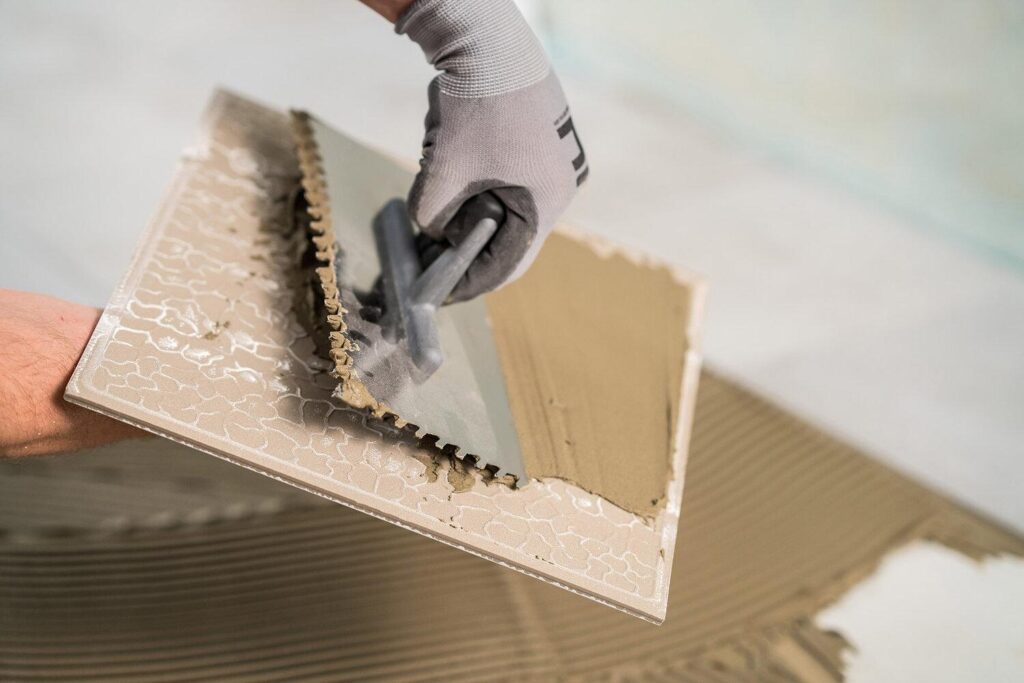
Professional fixers use back buttering because it improves control where the margin for error is small. The larger the tile and the tighter the finish requirement, the less tolerance there is for voids, uneven support or visible lippage. In that context, back buttering is not extra effort for its own sake; it is risk reduction built into the installation method.
Improved bonding strength and durability
A properly keyed coat helps the adhesive engage more consistently with the tile back, especially on dense porcelain or profiles with recessed patterning. That gives the assembly a more reliable bond interface and better long-term support. The practical result is fewer weak spots and a more stable finished surface under service conditions.
Reduced risk of tile cracking or debonding
Voids concentrate stress. On floors, that can contribute to cracked edges or localised failure under load; on walls, it can undermine support and consistency during curing. By improving adhesive contact and reducing unsupported pockets, back buttering lowers the risk of those defects becoming expensive call-backs later.
Achieving full adhesive coverage for long-lasting results
Durable installations depend on coverage, support and flatness working together. Back buttering helps the fixer move closer to that target by improving transfer at the tile back while the notched bed controls adhesive volume beneath it. For large formats, damp areas and more exacting finishes, it is one of the most reliable ways to improve the bedding result without compromising workflow.
Why professional tilers trust RUBI tools for precise installations
RUBI positions its UK content around specialist, practical instruction, and that suits back buttering perfectly because the method depends on execution rather than marketing claims. In the catalogue, RUBI supports the process with a full range of notched trowels, levelling systems and fixing accessories built around real installation needs. For the fixer, that means better consistency from adhesive application through to final alignment.
RUBI trowels and fixing tools for controlled adhesive application
The RUBI range covers notch formats from 3 x 3 mm up to 20 x 20 mm, giving installers practical options across small ceramics, standard porcelain and larger formats. That matters because back buttering only performs properly when paired with the right substrate bed. Within the broader Tile Installation Tools range, the trowel selection supports more accurate adhesive control across varied site conditions.
Delta and Cyclone systems for flatness and repeatable results
The Delta Leveling System is designed especially for rectified tiles, avoids lippage on floors and walls, and is recommended from 30 x 30 cm upward, always with back buttering. The Cyclone Leveling System is recommended for tiles from 3 to 20 mm thick, uses reusable caps and is designed to facilitate laying while improving finishing. Both sit within RUBI’s wider Leveling Systems offer for professionals who need flatter, more consistent installations.
Workflow efficiency beyond adhesive application
Professional installation quality depends on the full sequence, not just the adhesive stage. Accurate cutting, reliable bedding and controlled levelling all contribute to the final result, which is why fixers often combine back buttering with purpose-built tools across the whole job. For tile preparation and clean format adjustment, the RUBI range also includes Manual cutters for ceramic tiles, helping maintain accuracy before the tile ever reaches the adhesive bed.
Professional confidence on demanding tile formats
Larger porcelain tiles, rectified edges and tighter tolerances demand a repeatable process. RUBI builds its product range around this principle: choose the correct notch, use back buttering when coverage requirements call for it, and add mechanical lippage control when tile size and finish make it necessary. For professionals, that combination of controlled application and site-focused tool design is why the workflow remains efficient without sacrificing installation quality.
Post a comment