
If you’re looking for a way to add serious style to your kitchen or bathroom, you should consider a tile installation like a subway tile backsplash. This trendy industrial-chic tile is a great way to make a big impact without spending a lot of money. In this blog post, we will teach you how to install subway tile backsplash the right way. We’ll go over everything from choosing the right tiles to cutting and grouting them properly. So whether you’re a DIY novice or an experienced pro, you’ll be able to tackle this project with ease!

If you’re looking for a way to add serious style to your kitchen or bathroom, you should consider installing a subway tile backsplash. This trendy industrial-chic tile is a great way to make a big impact without spending a lot of money.
In this blog post, we will teach you how to install subway tile backsplash the right way. We’ll go over everything from choosing the right tiles to cutting and grouting them properly. So whether you’re a DIY novice or an experienced pro, you’ll be able to tackle this project with ease!
Subway Tile Trends
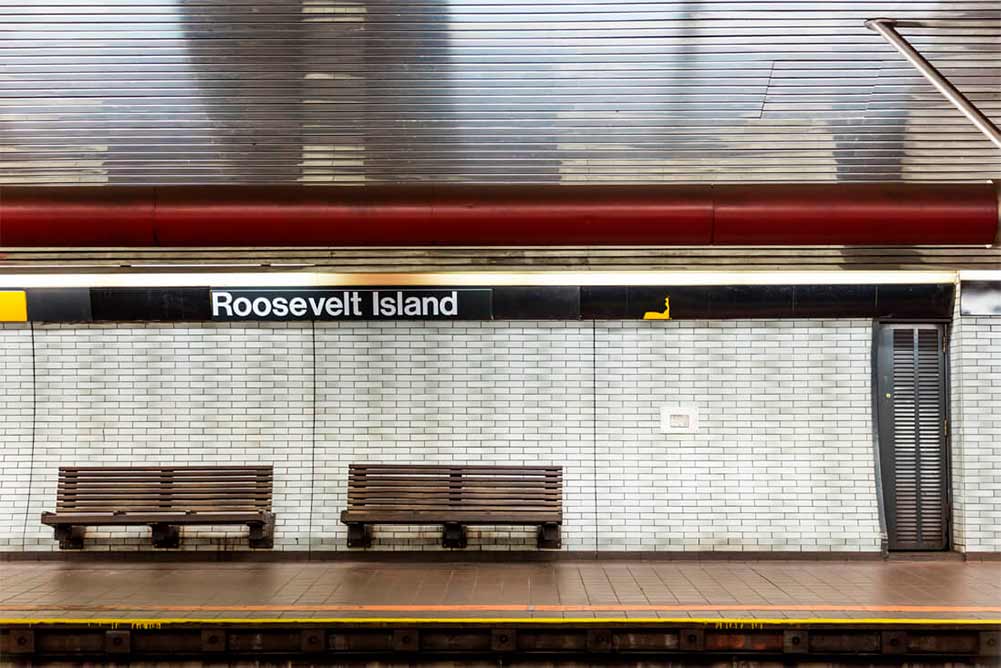
The world’s first subway station, erected in 1904, was designed by George C. Heins and Christopher Grant La Farge, who developed the basic 3 x 6″ ceramic tiles for it. Since then, subway tiles have been used in a variety of public spaces, including hospitals and schools.
In recent years, subway tile has become increasingly popular for use in residential settings as well. This is likely due to the tile’s clean and classic look, which can be incorporated into any design style. Subway tiles are also inexpensive and easy to install, making them a great option for DIYers.
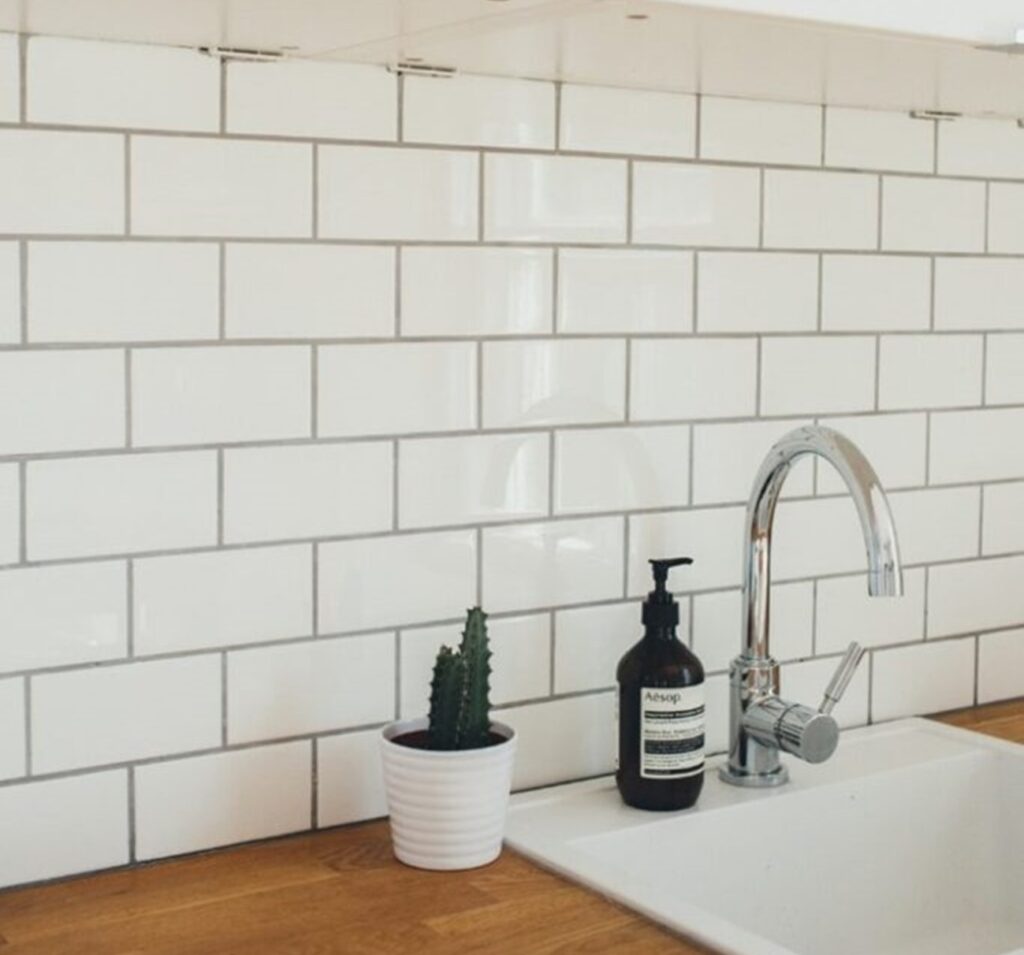
If you’re considering installing a subway tile backsplash in your home, you’re in good company! This popular design trend is here to stay. It also has a timeless, minimal aesthetic that many homeowners are drawn to.
Unlike other types of backsplash (like mosaic or glass), you don’t need any special tools or training to install subway tile.
Get Creative
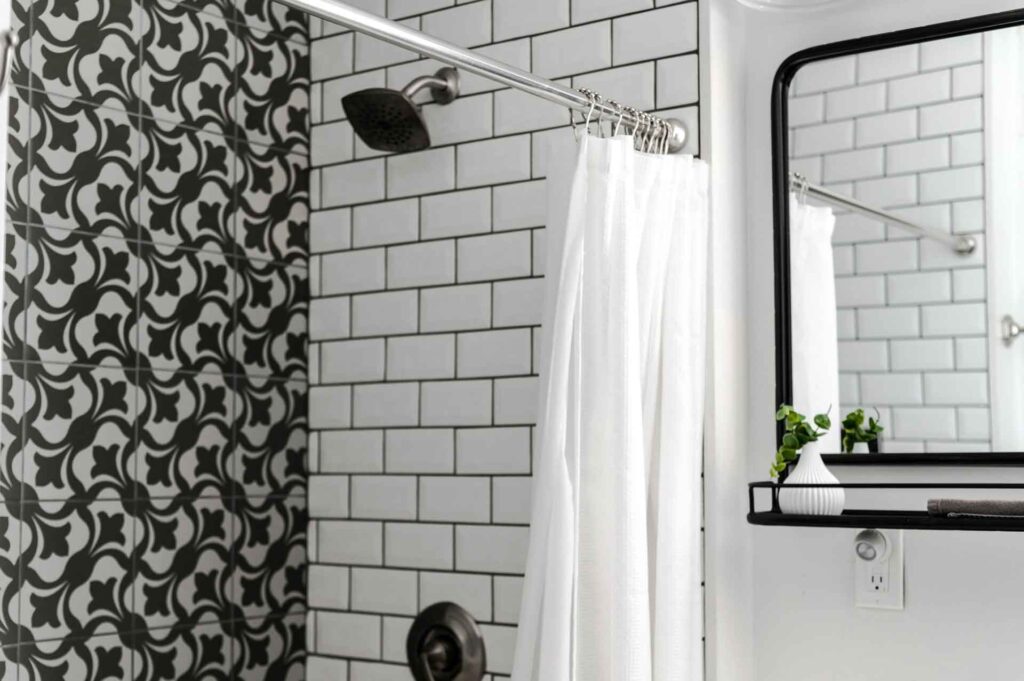
Traditional subway tile is installed in a straight, horizontal pattern. But there are also many creative ways to layout your tiles. You can create a herringbone pattern, for example, or use different-sized tiles to create interesting visual effects.
Once you have a general idea of what you want, it’s time to start shopping for tiles! There are many different types of subway tiles on the market, so take your time to find the perfect ones for your space. When you’re ready to install them, just follow the steps below.
How to Install Subway Tile Backsplash
If you want to install a tile backsplash yourself but don’t have much experience, you’ve come to the right place.
Here’s how to install a backsplash, a step-by-step guide:
1 – Measure Up
First, measure the area where you’ll be installing the backsplash. Then, calculate how many tiles you’ll need to purchase.
Keep in mind that you’ll also need to buy grout, thin-set mortar, and tile spacers.
If this is your first time installing a backsplash, we recommend purchasing extra tiles in case you make a mistake or need to replace one.
Once you have all of your materials, it’s time to…
2 – Prepare the Wall
Next, prep the area by removing any old backsplash or wallpaper. If you’re starting with a bare wall, that’s great. Just make sure to clean it thoroughly before proceeding.
Depending on the type of wall, you may want to sand it or vacuum it. If it’s a smooth surface, you may be able to skip this step.
If you have a backsplash that’s in good condition, you may be able to save time by leaving it in place and tiling over it. However, if the backsplash is old or damaged, it’s best to remove them and start from scratch.
3 – Apply Tile Adhesive
Once the area is prepped, it’s time to start applying tile adhesive. Begin in one corner and work your way out.
If you’re using thin-set mortar, apply it to the wall with a notched trowel using the notched side to comb grooves in the adhesive in the direction of the short side of the tile. This is the best way to apply the adhesive because it provides the air with the easiest rout possible to get out from under the tile, which improves the adhesion.
Now that the adhesive is applied…
4 – Lay the Tiles
Now it’s time to lay the tiles! Start in the same corner where you applied the adhesive and work your way out. Be sure to press each tile firmly into place as you go.
Remember that you’ll need to cut some tiles in order to lay them in a staggered pattern in the corners or your wall. You can do this with a manual cutter from RUBI.
Once all the tiles are in place, let the adhesive dry for at least 24 hours.
5 – Grout Between the Tiles
After the adhesive has had time to set, it’s time to grout the backsplash. Begin by mixing your grout with water according to the manufacturer’s instructions.
Then, using a rubber spatula or grout float, apply the grout to the joints between the tiles. Work in small sections and be sure to wipe away any excess grout. You can use a soft wet cloth to ensure all your tiles are clean and your grout is neat.
A common mistake people make is not wiping away the excess grout before it dries. If you don’t, it will be very difficult to remove later.
Once the grout is dry…

6 – Apply Tile Sealer
Allow the grout to dry for 24 hours before using the backsplash area. After that, it’s time to apply tile sealer (optional but recommended). Wait another 24 hours after applying the sealer before using your backsplash.
The benefit of applying tile sealer is that it will make your backsplash easier to clean and protect it from stains.
And that’s it! You’ve successfully installed a subway tile backsplash in your kitchen or bathroom. Now enjoy your handiwork and admire your beautiful new space.
Tile Backsplash Preservation Advice
We mentioned that tile sealer is optional but that we recommend using it. That’s because tile backsplashes are constantly exposed to water, grease, and other liquids that can cause staining.
Tile sealant will create an invisible barrier on your backsplash that will help protect it from everyday wear and tear. It’s an easy way to keep your backsplash looking brand new for years to come!
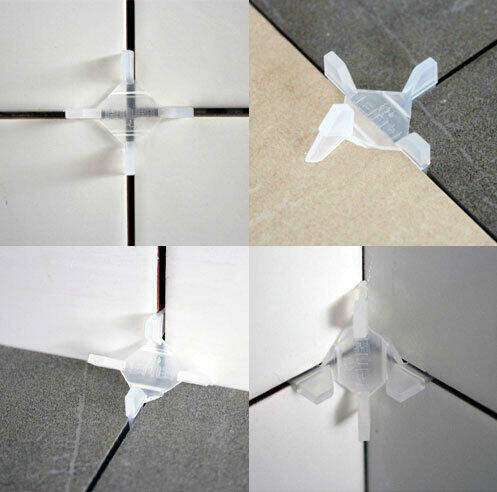
Tile Spacer Advice
When you’re laying the tiles in step 4, spacers will help you to create even, consistent joints. We recommend using tile spacers that are at least ¼” wide.
Factor in Drying Time
For each step of the process, remember to factor in drying time. If you try to rush ahead without giving the adhesive or grout enough time to dry, you’ll likely end up with a subpar backsplash.
We know that it can be tempting to move on to the next step as quickly as possible. But trust us, it’s worth it to take the time to do things right the first time around.
Caulking Is Important
One last factor to keep in mind is caulking. Caulking is a sealant that helps to fill in gaps and cracks. You’ll want to apply it around the perimeter of your backsplash, as well as any other areas where two different surfaces meet (such as where the backsplash meets the countertop).
Caulking will help create a watertight seal that will keep your backsplash looking great for years to come.
Thanks for Reading Our Guide
So, that’s how to install subway tile backsplash! It’s a great way to update your kitchen or bathroom. It’s a relatively simple project that most people can do themselves.
Be sure to follow the steps we outlined above and you’ll be enjoying your new backsplash in no time.
Keep exploring the RUBI blog for more tips and tricks. We recently wrote an article about how to clean grout perfectly. If you want to spruce up tiles somewhere else in your home, take a look!

Post a comment