
A tile installation is a beautiful and durable form of decoration that can last for years with the proper care. Are you trying to ensure your tiles stand the test of time? One way to protect your tiles and keep them looking their best is by using a tile sealer.
It’s a stage of the tiling process that some people skip, but we recommend you don’t!
In this blog post, we will discuss five tile sealer best practices that will help you preserve your tiles and keep them looking great for years to come.

How To Seal Tile
Once you’ve chosen the perfect tile design and installed it you will probably want to protect it.
Let’s start with a step-by-step guide. Sealing your tile is important because it creates a barrier that protects the tile from dirt, grime, and spills. It also makes the tile easier to clean. Overall, it can extend the life of your tile floor or wall.
To seal your tile, you will need:
- A bucket
- Warm water
- Mild dish soap
- A sponge or mop
- Tile sealer
- A clean cloth
Have you got all the above items? Good. Now that you have all of the supplies, you’re ready to seal your tile. Start by mixing warm water and mild dish soap in the bucket.
1 – Wash the Tiles
Then, dampen your sponge or mop in the soapy water and begin cleaning the tile. Once the tile is clean, rinse it with warm water and allow it to dry completely.
2 – Apply Sealer
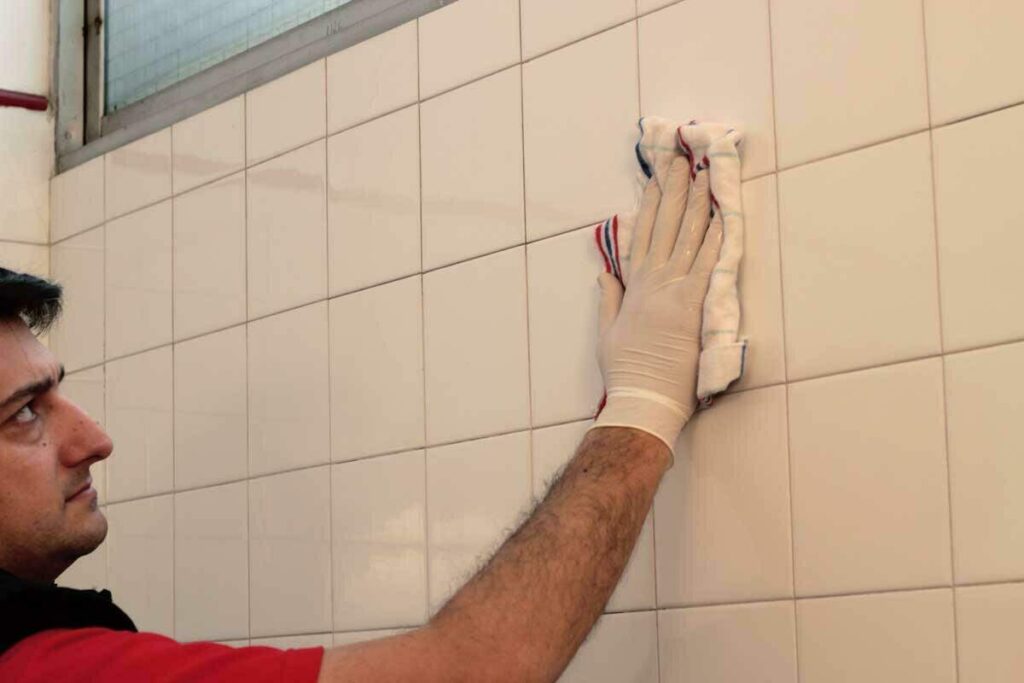
Now, it is time to apply the sealer. Start by reading the instructions on the sealer to determine how much you need to apply. Then, using a lint-free cloth, evenly spread the sealer over the tiles.
Tile sealer is usually made from silicone or polyurethane.
3 – Let it Dry 24 Hours
Once the sealer is applied, allow it to dry completely. Once it is dry, your tile will be protected. Typically, you can expect tile sealer to last for several years.
Here Are Our Five Best Practice Tips to Preserve Your Tiles
By following these tips when you apply tile sealant you can ensure your tiles last longer.
1 – Truly Clean Tiles Are Vital, Before Applying Sealant
Make sure the tiles are clean before applying the sealer. Any dirt or grime on the surface will be sealed in, so it’s important to start with a clean slate.
You can clean your tile with a mild soap and water solution. For tougher dirt and stains, you may need to use a stronger cleaner.
Just be sure to rinse the tile thoroughly afterward so that no residue is left behind.
If you’re sealing natural stone tile, it’s also important to remove any existing sealant before applying a new one. You can do this by using a sealant stripper or remover. Once the old sealant is gone, you’ll need to clean the tile as we mentioned above.
When your tile is clean, you’re ready to move on to the next step.
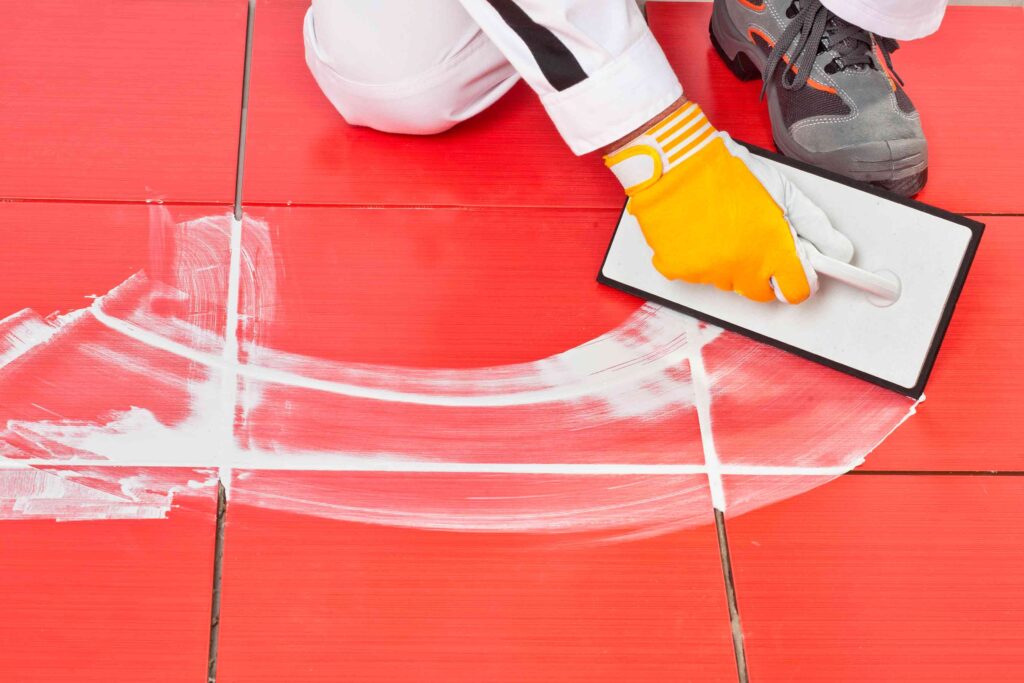
2 – Even and Light Application Works Best
Apply the sealer evenly and in a thin layer. You don’t want to glob on too much sealant, as this can lead to a cloudy finish. Sealing tile is all about finding the right balance.
It’s also important to apply the sealer in a well-ventilated area. The fumes from the sealer can be strong, so make sure you open up some windows and doors before you begin.
Once you’ve applied the sealer, give it time to dry according to the manufacturer’s instructions. After it’s dry, you may want to apply a second coat.
Once the sealer is dry, your tile is protected!
3 – Ensure At Least 24 Hours of Drying Time
Let the sealer dry completely before using the tile. This usually takes 24 hours. If you don’t let the sealer dry completely, it won’t be as effective.
You also shouldn’t walk on a tile floor that hasn’t been sealed yet. The weight of your body can cause the sealer to become uneven. If you have pets, make sure they stay off the tile until the sealer is dry as well. Nobody wants mysterious matt paw-prints pressed into the gloss finish.

4 – Deep Clean and Reapply Tile Sealant Every Two Years
Reapply the tile sealer every few years to keep your tiles protected. Floor tile sealing is especially important due to the amount of foot traffic.
You’ll know it’s time to reseal when water no longer beads up on the surface of the tile, or the colour has begun to fade. When you do reseal, make sure to clean the tile first as we discussed in step one.
5 – Avoid Harsh Chemicals That Damage Tile Sealer
Tile sealer is designed to protect tiles from stains, but it can’t stand up to harsh chemicals. So, avoid using harsh cleaning products on your tile floors and backsplashes.
Tiles are usually made from minerals like ceramic or natural stone. These are porous materials that can be easily damaged by harsh chemicals. However, there are materials that avoid this problem, such as porcelain, which has such a low porosity that it’s practically nonporous.
Harsh chemicals can also damage the sealant, leaving your tile floor or backsplash unprotected. So, stick to mild soap and water or gentle cleaners specifically designed for tile when cleaning.
Finishing The Edges
To ensure that no water can get behind your tiles and cause damage, it’s important to caulk the edges. Caulking is a sealant that is applied to the joints between two surfaces. It can be used on tile floors, backsplashes, and even showers.
Applying caulk is a simple process, but it’s one that should be done carefully. You will want to make sure that the caulk is evenly applied and that there are no gaps. If you’re not confident in your caulking skills, you can always hire a professional to do it for you. Another option to seal the edges of tile is to use grout.
Using Grout
We wrote a blog about the differences between epoxy grout and cement grout. There are certainly a lot of advantages to both.
Grout is a type of mortar that is often used in between tiles. It’s similar to caulk in that it prevents water from seeping behind the tile, but it’s also much more durable.
If you’re sealing natural stone or glass tile, you may want to consider using grout instead, or a tile designed to border the edges of natural stone or glass tile.
Using Bordering Tiles or Edging
In our blog How to Hide The Cut Edge of Tile, we explained metal stripping, rail moldings, bullnose edges and mitered edges all have different advantages.
Sealing the top surfaces of the tiles with tile sealer is vital, but also around the edges. This will stop the tiles from allowing dampness to seep under and form damage behind them.
About Pre-Sealing Floors
This article deals with tile sealer applied over finished tiles, but we know that sometimes people might find their way here looking for pre-sealing information. Suppose, for example, you are going to lay a tile floor on a new concrete base.
You may be wondering if you should pre-seal the floor before tiling or indeed, what is pre-sealing? Pre-sealing is the process of applying a sealer to a substrate before laying tiles on top. This can be either in the form of a liquid membrane that soaks into the substrate or a sheet membrane that is laid over the top.
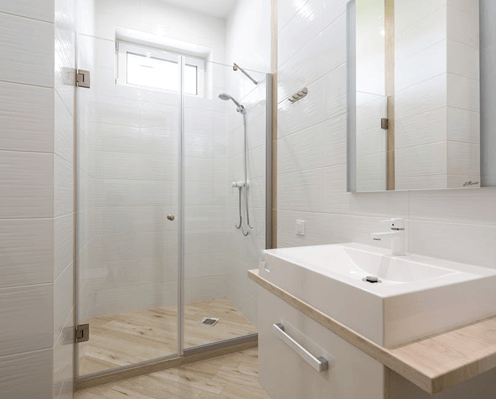
The main purpose of pre-sealing is to waterproof the substrate, and it’s especially important if you are going to be laying tiles in a wet area like a bathroom.
Pre-sealing is also beneficial if the substrate is particularly absorbent, as it will help to prevent the tiles from becoming stained.
There are a few things to keep in mind if you decide to pre-seal your floor before tiling:
- Make sure the substrate is clean and free of any dirt, dust, or debris.
- If you’re using a liquid membrane, make sure it’s fully dry before applying tile sealer or laying tiles.
- If you’re using a sheet membrane, make sure it’s properly adhered to the substrate before proceeding.
For truly waterproofing protection, you may need to apply two coats of sealer or use a waterproofing membrane.
Seal the edges of the substrate as well as the top surface. As always, make sure you read and follow the manufacturer’s instructions carefully. If in doubt, consult with an experienced professional.
Maintenance is Key
By following these simple tips, you can keep your tile floors and backsplashes looking their best for years to come. Just remember that sealing tile is only one part of the equation.
To truly preserve your tiles, you also need to practice regular maintenance. This includes sweeping and mopping regularly, as well as spot-cleaning when spills happen.
By taking good care of your tile floors and backsplashes, you can enjoy them for a lifetime or even longer. Some ancient tile floors have been around for centuries, after all. Keep reading the Rubi blog to learn more about tiles!
Post a comment