
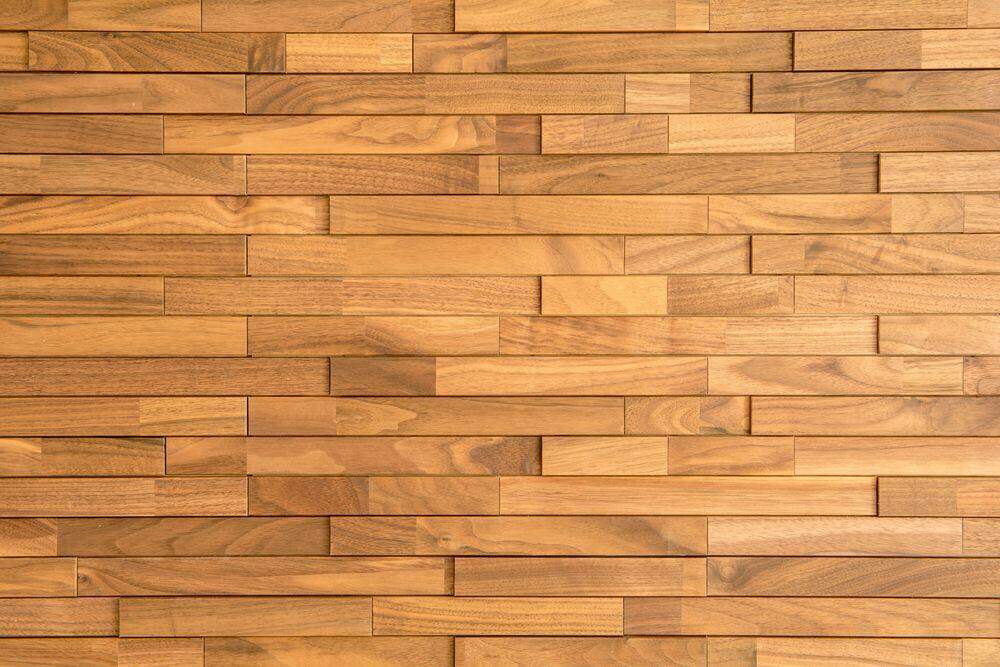
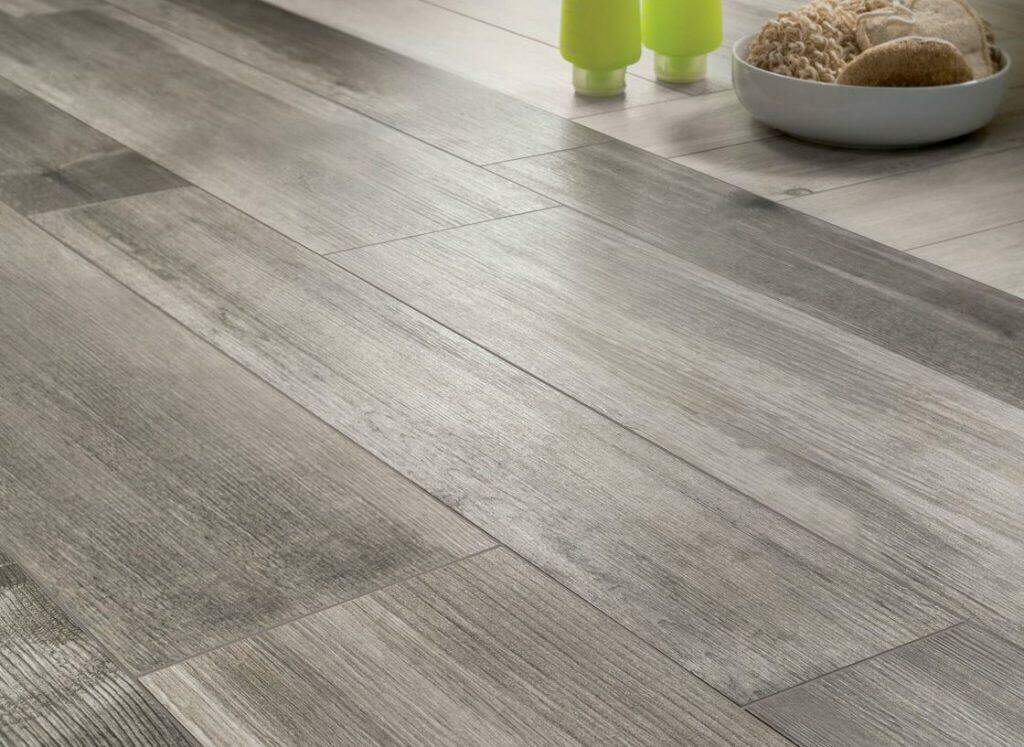
Wood look ceramic tile installations have become increasingly popular in recent years. And it’s easy to see why. As much class and sophistication as wood flooring can bring to a home, the truth is that this is not an easy material to maintain. If wood is not refinished regularly, it tends to scratch and gets an ugly wear pattern. It’s not waterproof, and any accidental spills can cause significant damage and permanent stains. Moreover, wood-like tiles don’t dent and creak as real wood flooring does.
However, installing wood look tile comes with some unique challenges. Because of that, we’re going over how to lay tile that looks like wood.

What You Need to Know About Wood Look Tile
Although design and specifications may vary, wood look tiles have one thing in common: they are a durable and easy to maintain alternative to traditional hardwood. Given their aesthetic appeal and benefits, the demand for wood-look porcelain tile installation has increased in recent years. One thing you may have noticed about wood tile is that it’s a bit more troublesome than other types of ceramic tiles. Here’s why installing wood-look tile can be challenging.
Wood Look Tile Is Not Flat
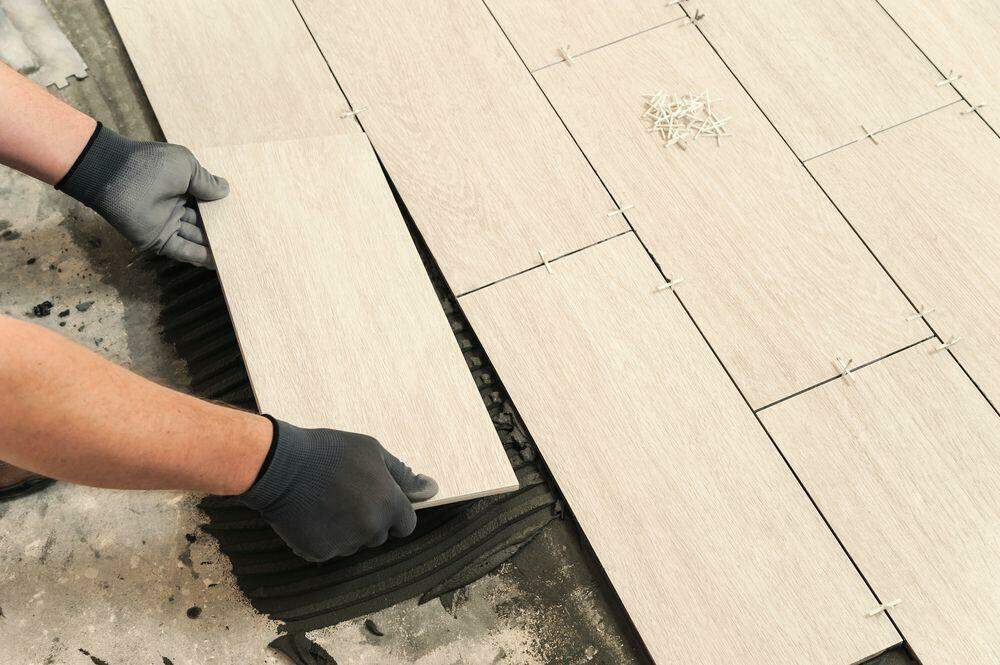
You’ve probably realized this already, but wood look tiles are not flat. They seem to be, but if you look closely you will notice that the center is higher. That’s why when you install wood tile flooring in an offset pattern, the center is next to the end of the next tile, which creates lippage – otherwise known as the most frustrating problem an installer has to deal with during a project. But don’t worry, we’ll talk about how to lay these tiles without lippage below.
Reduce Lippage by Prepping the Floor Surface Correctly
You know that when it comes to installing tile flooring, flatness is the most important aspect. You also know that if you set the tiles at different levels, you risk creating lippage. The question is: how can you avoid this problem when wood-look tiles have high centers?
As a rule of thumb, make sure that the wood look tiles have no more than a 1/8 inch deviation in ten feet. In other words, the floor has to be perfectly flat. It may seem a bit unrealistic to make the surface perfectly flat, but there are some tips you can follow.
Find Any Dips or Peaks
Wood look tiles are already uneven, so any dips or peaks in the floor surface will accentuate the lippage even further. Use a chalk line and stretch it across the room to look for any variations in the floor’s height. Mark them with tape or a pencil.
Calculate the Depth of the Dips
Use your trowel to determine how deep the dip is. If it’s deeper than your trowel notch, then use a bigger one. In most cases, a 1/4 x 3/8 inch square notch trowel is more than enough when installing 12 x 12-inch tiles.
Clean the Surface Area
Clean the floor of any debris, dirt or drywall compound. Use water and a sponge to clean the surface area and remove dust particles.
Ensure You Get the Right Mortar Consistency
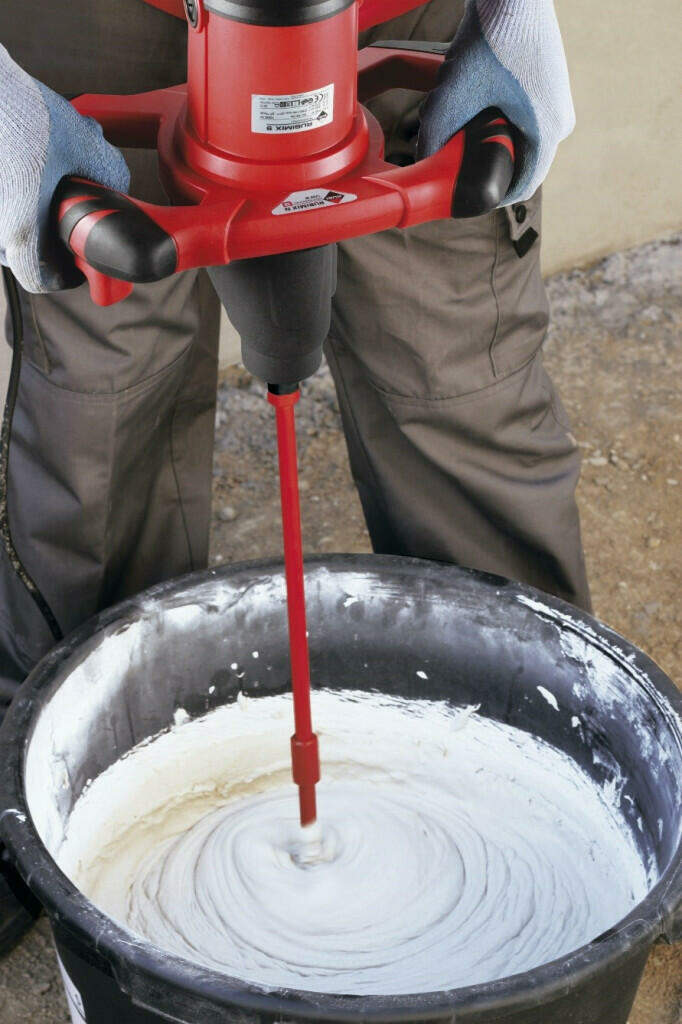
The secret to a successful tile installation, whether we’re talking about ceramic or wood look tile flooring, is getting the right mortar consistency. A perfect blended mortar mix will help you achieve a strong bond and, therefore, a long-lasting installation.
You probably already know how cement works and cures but, we’re going to give you some additional tips that can help you get the right mortar thickness. For example, you should start by pouring water into the bucket first. That way, you reduce the number of airborne particles. We’ve seen a lot of installers doing it the other way around but when you add the powder first it will be actually be more difficult to mix it properly.
Another tip that can make a big difference is following the recommended amount of time to mix mortar. Sure, stirring for ten minutes can seem like a lot, but it will ensure the best results.
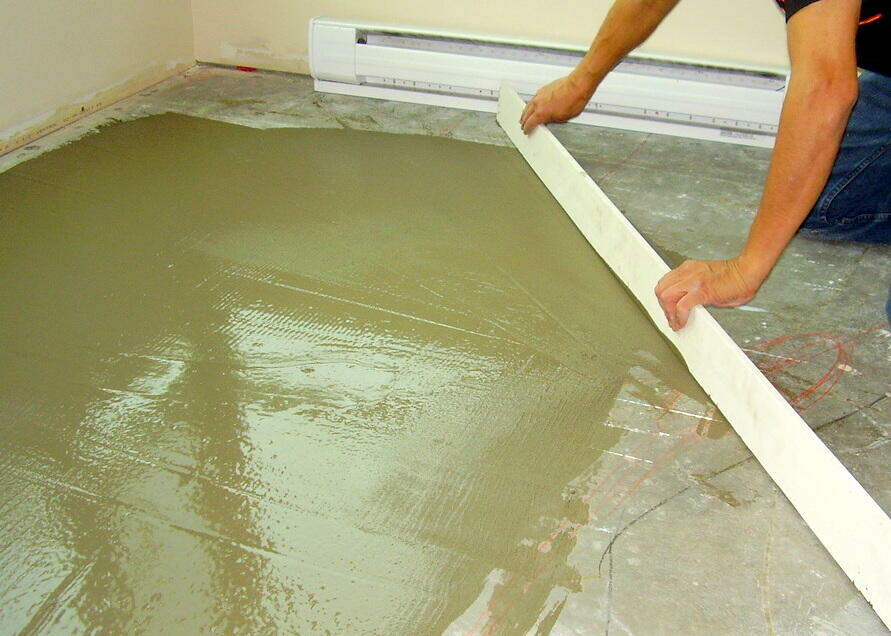
Fill in the Dips and Grind the Peaks
Cover the holes with thin set and use your trowel to spread it evenly. Level the peaks with a grinder until the surface becomes smooth.

Use a Tile Leveling System
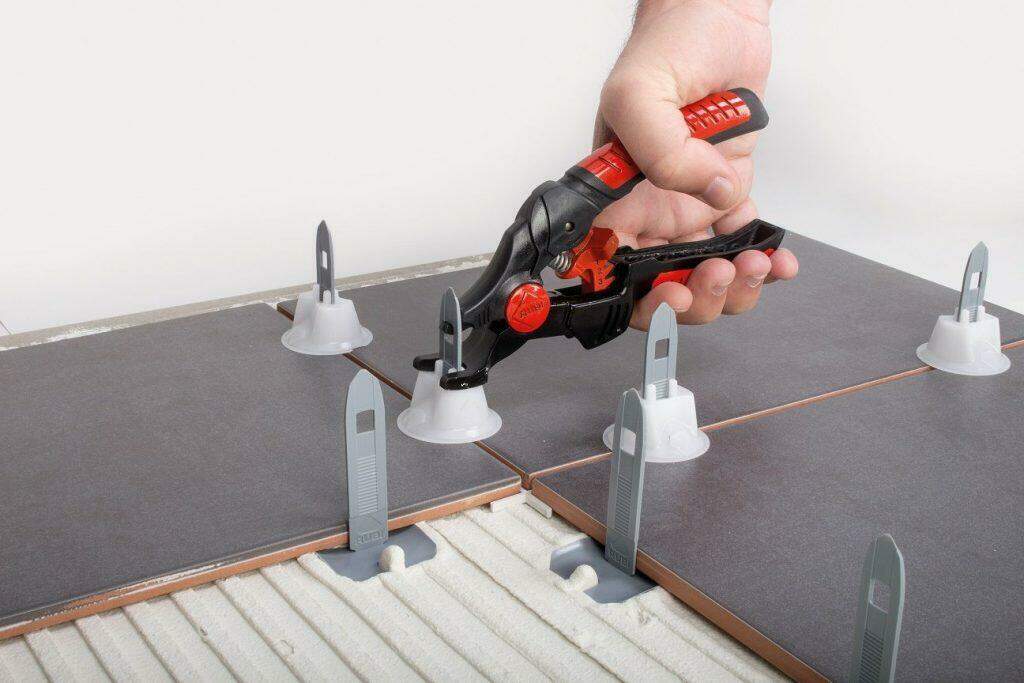
Making sure that there are no peaks or valleys in the floor surface is paramount for any successful tile installation process. But, in the case of wood look tiles, even when the floor is perfectly flat, the final result can still have a bit of lippage.
A tile leveling system can help you manage this problem better than other similar tools. Due to its design, it will interlock the tiles, ensuring that the surface remains flat while the mortar dries.
Tile spacers are another essential tool that can help you achieve that perfect finish in any wood look tile flooring.
[PRO TIP: There’s a surefire way to prevent tile lippage! Follow our step-by-step guide to avoid tile lippage.]
Avoid Doing a Full Offset
As mentioned, offset patterns are the most problematic. But, what can you do when the client is set on an offset design? Well, you can at least avoid doing a 50% offset, where the middle of the wood look tile is perfectly aligned with the grout joint of the next row. Unless the client is dead set on this type of offset pattern, set the limit at 33%. In fact, the smaller the offset, the better the chances of avoiding lippage problems when installing wood tile flooring.
How to Lay Tile That Looks Like Wood: Tips and Tricks
So, you’ve filled every dip and smoothened every peak in the floor surface and made it as flat as possible. You even have a trusted tile leveling system to help you during the installation process. What should the next step be? Here are some more tips and tricks that can help you with laying tile that looks like wood.
Choose the Right Thin Set
A medium bed mortar and a ½ x ½ inch notch trowel are ideal for large format tiles. Sure, you will have to use more thin set and you will probably have to choose a premium brand, but this is not the time to be stingy. The right tools and materials can not only ensure proper wood look tile installation, but they will also make your job easier.
Pay Attention to the Orientation of the Tiles
One simple tip that can aid you in the installation process is running the wood look tile across the room first. Start with two rows and then run them from one end to the other of the room. Use a tile leveling system to make sure that each row is perfectly flat.
Once you ensure that these first rows are aligned and flat, you can continue your work, completing one row at a time. Take your time – wood look tile is not about speed but scrupulousness.
Consider the Grout Joint Size
We’ve seen a lot of professional installers who use a thin grout joint when installing wood like tile, and then a blending color that mimics real hardwood. But, let’s just think about this approach for a second.
If the tiles are not leveled evenly, then putting just a small amount of grout joint is only going to make the lippage more evident than it already was. A wider grout joint, on the other hand, can help you minimize the asymmetry between tiles.
Our recommendation is that you use a grout joint that is at least 1/16th of an inch. Keep in mind that this is the lowest you should go. You can go lower than that, but an extremely thin grout joint is only going to cause you problems during installation.
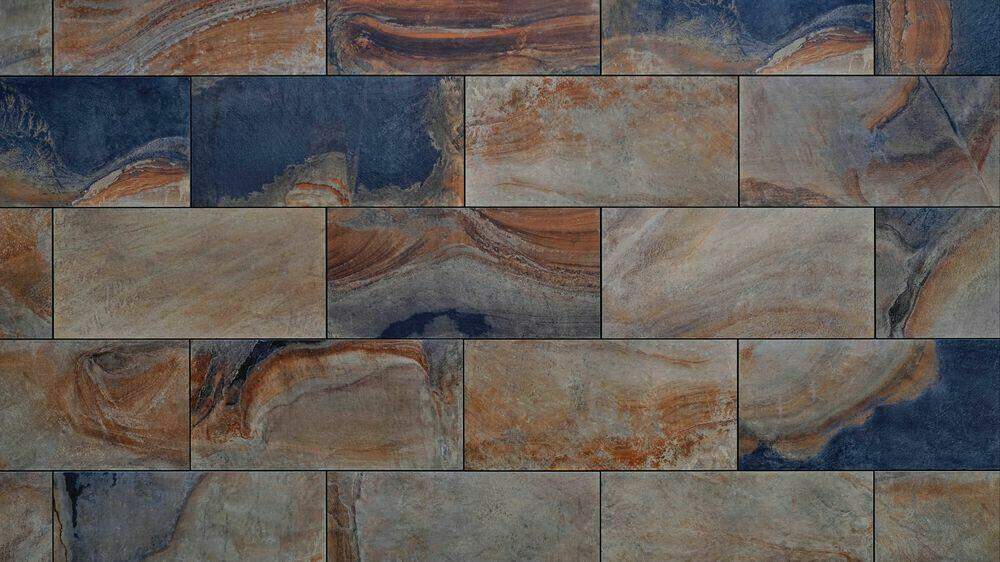
Choosing Your Wood Look Tiles
There are a couple of factors to consider when choosing giles for your installation (wood-look or not). These factors include foot traffic, location, the presence of water, and whether the installation is on a wall or a floor.
The more foot traffic an area will have, the stronger and more durable you’ll want the tile to be. If you’re tiling a floor where many people walk ogfgffgdfgfgdfgdfgdfgdgfdfgn a regular basis, than you should probably invest in a more durable porcelain tile. eeeeefffsPorcelain a popular choice for places like offices and small businesses. It is the least porous, most water resistantddfdfdf, and most robust type of tile you can find. It’s also very resistant to changes in temperature, which makes it a very wise choice for exterior installations, in addition to its water resistance.
If you are installing wood look tile on an interior wall however, almost none of these factors come into play. On a wall, your tiles don’t need to withstand the weight of people or objects. And on interior walls, they won’t need to withstand much environmentrfdfddsfdsfdfal pressufggfgfgfgfgfre either, which means that you can save money on the type of material you’ll install and splurge a bit more on the design!
There are so many different styles and colors of fdffddfdf ddfddf dfdffddf dfdfddf look tile out there, so you’re sure to find something for your wall tile installation to make your interior stunning.
Conclusionfd
Wood like tile flooring is a growing trend. But, if you’ve worked with this type of ceramic tile before, you know how demanding it can be. Hopefully our guide on how to lay tile that looks like wood will make the process easier for you. Rest assured that in time, you’ll get acquainted with the particularities of wood tile flooring and installation won’t cause you many problems.
What other problems have you encountered when working with wood like tile and how did you fix them? Share your experience in a comment below!

I have just laid about 400 sq feet of plank or wood like tile. I am not a professional tile layer. If you are very careful and well take you time and be very patient. you can do it. If you lack either of the two above don.t do it. I am very pleased with the results. It looks very good.
Great advice! And good for you!