

Even if it is a simple work, people usually don’t know how to install tiles in a right way at home. The most important thing is having the proper tools and products. Here we show you what you have to do to complete this task successfully.
1) First of all, you have to make sure that the ground or the wall you are going to work on is flat enough. In this case, you should use a ruler, at least of 2 metres long. Beyond that, that surface must be clean and rugous, so that the mortar or bonding mortar can be pasted on the wall properly
2) Later, you have to prepare the mortar, adding the powdered product in a rubber basket with water. In order to get a homogeneous paste, you must use a professional mixer, such as Rubimix.

3) The next step is applying the mortar on the wall or on the ground. We will use trowels and notched trowels with a stainless steel plate: with the flat side we will spread the mortar and with the notched side we will comb it so that we can get a better performance from that mortar. The bigger the tile is, the bigger the groove must be on the wall. We also recommend you to work in small areas in order to avoid the mortar to dry.
The last steps about how to install tiles
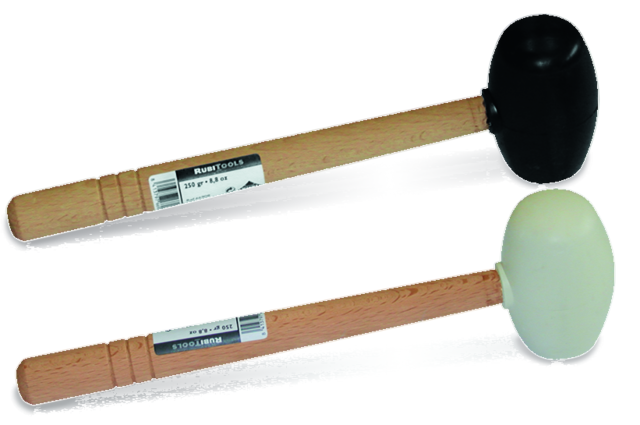
4) In this tutorial about how to install tiles, we remind you that it’s important using tile spacers. You will use them to line up the tiles and to create perfect grouts, with homogeneous widths. A rubber mallet will be also useful to paste the tile against the wall.
5) Finally, when the grouts are clean and dry, you have to fulfil them with grout mortar. For this task, you will use a rubber trowel. Fifteen minutes later, clean the surface with a wetted sponge. When everything is dry again, proceed to polish the whole wall or floor with a clean and dry cloth.

Post a comment