
Not so long ago, wood was the most-used choice for flooring for virtually all rooms in the home. But today, that’s no longer the case. From the entryway and mudroom to the kitchen and laundry room, slab tiles are the new wood. Slab tile installations can add a distinctive and warm touch to any room. Read on to learn about how to remodel your home using slab tiles, how to choose the tile type, and the advantages of using them.

How to Tile a Floor: Steps and Tools
Not sure how to install your tiles? This section delves into everything you need to know about getting started with tiling your floor, from the equipment needed and easy-to-follow instructions to give you a professional-looking result.
Here’s a list of the essential tools needed to install slab tiles:
- Triangle Ruler, Tape Measure, and Chalk – For a professional look, mark out the layout on the floor of where the tiles will go.
- Electric Tile Cutter – If you’re using thinner or smaller slab tiles, then you could manually cut them to shape using the score and snap method. However, if your slab tiles are thick and large, then you’ll need to invest in a wet tile saw.
- Mixing Paddle – Sure, you can mix your tile adhesive by hand, but it’s a lot of effort. You can save yourself a lot of time by using a mixing paddle. They attach to most power drills and speed up this process.
- Notched Trowel – This is an essential piece of kit for applying the adhesive to your slab tile. Different types of notch are available: either u-notch or square-notched. As a general rule if you need to apply a lot of adhesive, using a u-notched trowel allows you to wiggle a tile into position better than using a square-notched trowel.
- Spirit Level – You should check frequently that the level of your tiles is consistent. The easiest way to do this is by using a spirit level.
- Rubber Mallet – To help align your slab tiles, use a rubber mallet to tap them into place. Gently tap on the corners of the tiles so that they line up accurately with the tile adjacent to them.
- Bucket and Sponge – To wipe any excess adhesive off the surface of your tiles.
- Grout Float – For finishing the tile surface.
Slab Tiles: A Step-by-Step Guide
Depending on the slab tiles you have chosen, these stages might vary slightly. For thicker or oversized tiles, you will need to use a wet tile saw. If you’re applying slab tiles to the floor, then to stop them from cracking, ensure that the floor is level.
This guide is for porcelain or ceramic tiles on a concrete surface.
1. Prepare the surface you want to tile
Before you begin to lay your tiles, you need to prepare the surface. Start by removing any loose surface dirt. This includes dust and old paint or varnish, as well as tiles and plaster work. Wash the surface to ensure it’s grease-free by using a detergent such as trisodium phosphate (TSP).
Safety point: Ventilate the area well when you are using chemical cleaners.
Then check the levels of the surface floor. If the floor isn’t level, you will need to use a self-leveling underlayment. This will ensure the final result is even. If the floor is level, but there are large holes, then fill these with a small amount of leveling compound or filler.
If you are applying tiles to a porous surface, then you’ll also need to use a primer, such as a latex primer to seal the surface. Wait for everything to dry completely.
To help prevent the cracking of tiles, it’s advisable to use a layer of the anti-fracture membrane. This can be bought either in sheet or liquid form. This also adds an insulating layer between the tile and the concrete which is especially useful to combat any change in temperature, such as seasons.
2. Arrange the layout of your tiles
Mark out where the slab tiles need to go, ensuring that any lines are perpendicular to the walls. Start in the center and work your way to the edges.
Carefully unpack your tiles and lay them out on the floor, following your guidelines. Check the tiles for color inconsistencies and that you have enough to cover the whole surface. Think of this as a test run.
If something doesn’t look right at this stage, adjust your center line and repeat the process again.
Cut any tiles to size using the tile cutter. If you have intricate shapes, then a nipper can be used. Check that the cut tiles fit into the layout.

3. Laying your tiles
Remove the tiles from the floor, remembering the order they need to go back down. You might want to write a number on each of them to make this easier.
When it comes to laying them, it’s best to start in the corner farthest away from the door, so you won’t have to walk over your freshly laid tiles.
Mix up your tile adhesive using the mixing paddle. Spread a layer of adhesive over an area of about three by three feet. Use the smooth edge of the trowel first. Then comb the adhesive using the notched trowel. Make sure the lines always run in the direction of the tile’s short edge.
Start with the central tile. Push the tile down lightly to ensure it adheres. If any adhesive gets on the surface of the tile, wipe it off immediately using water and a sponge.
Use tile spacers between the tiles and put one on each corner of the laid tile. Repeat the process with your next tile, lining it up carefully. Use a spirit level and rubber mallet to adjust the level of the tiles.
Continue until the whole floor is tiled. Wait for 24 hours before moving on to the next stage.
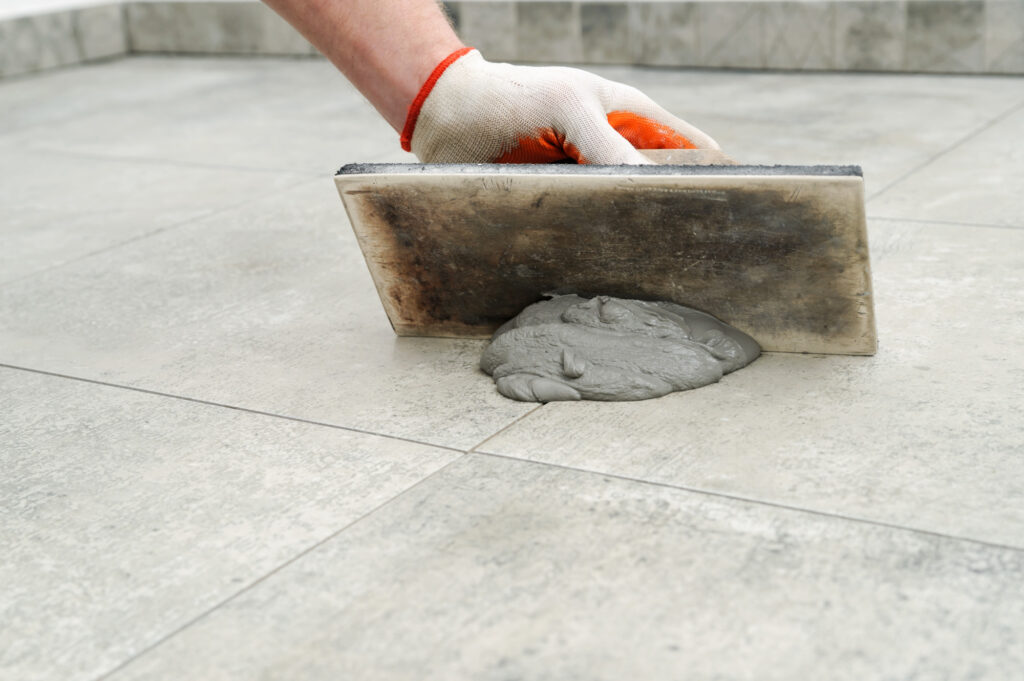
4. Finishing the surface
Mix your grout so that it’s lump-free before spreading it. Use the grout float at a 45-degree angle to spread the grout mix onto the gaps between the tiles. Wait 20 minutes for it to dry and use a damp sponge to wipe off any excess.
Allow to dry fully for up to 72 hours before applying a sealant coat.
Slab Tiles: Uses and Benefits
Here you’ll find the answers to some of the most common questions we hear about slab tiles. We give you the low-down on why slab tiles are the perfect choice for your home renovations, along with what to look for in a slab tile and how to cut them.
What Are Slabe Tiles?
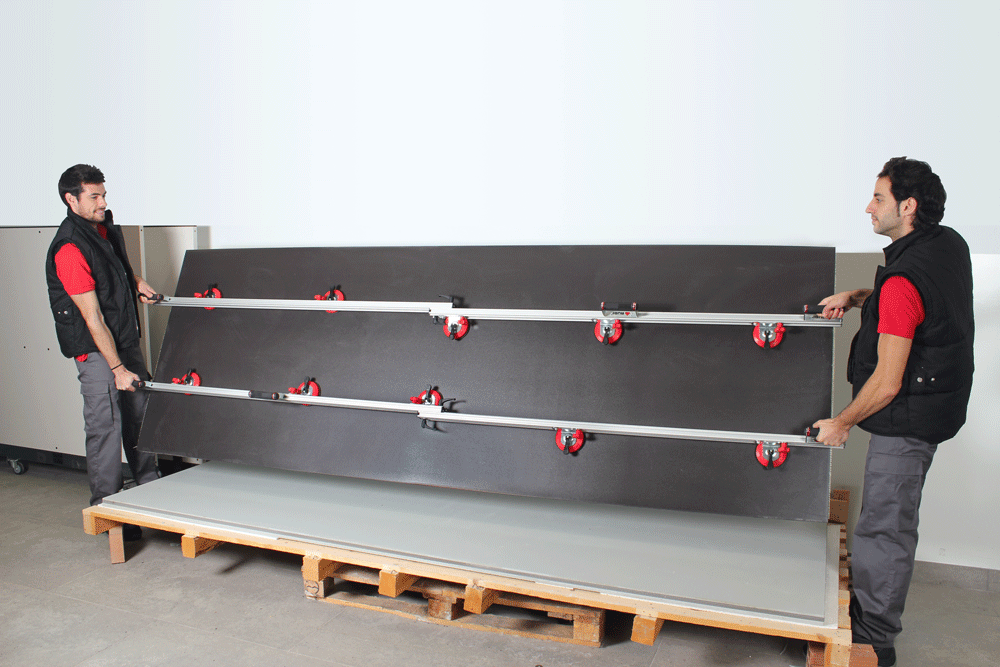
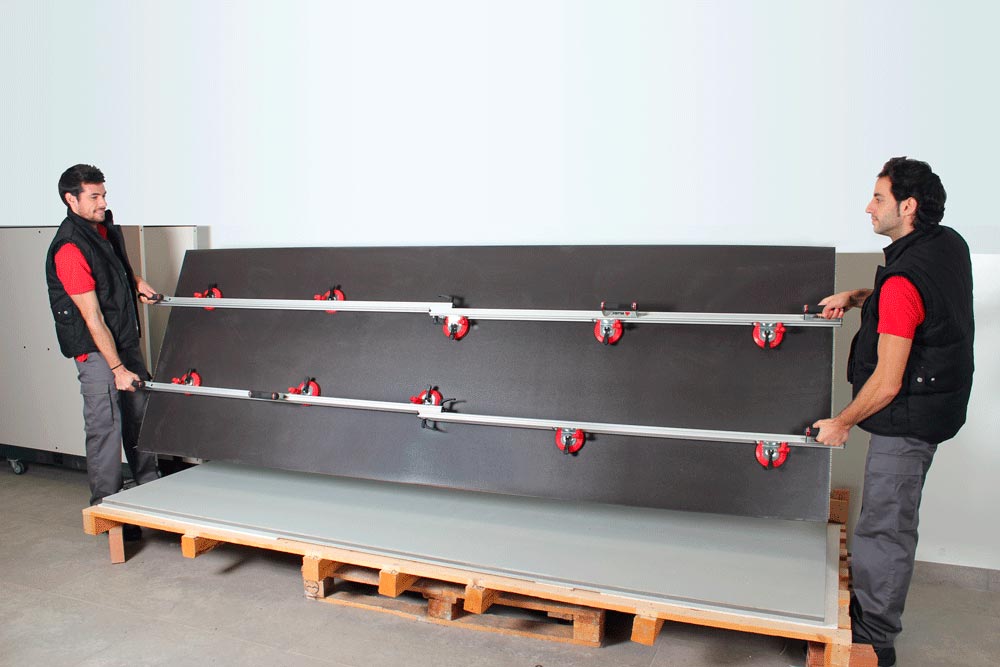
A slab tile is a large single piece of tile, or it can be made up of an integration of smaller tiles or available as a single large-scale tile.
The main materials they are available in are ceramic, porcelain, glass, marble, granite, or natural stone. They are also designed to mimic other materials, such as wood.
Slab Tile Uses
Because of the size of slab tiles, they can be used for a whole range of uses. Aside from being used as flooring, they make fantastic feature walls and stylish bench tops. They can also be used to add a porcelain veneer or facade to furniture.
Because tiles are available in so many varieties of texture, material, colors, and size, they can be used to transform an interior quickly and easily.
Slab tiles are also a great option if you live in a warm or humid climate. They are inherently cool to the touch and work as a natural air conditioner. The hard surface repels heat, and this effect helps to keep the room cool.
Benefits of Slab Tiles
One of the main reasons why slab tiles are popular now is because of their versatility and aesthetic appeal. Because they require fewer connections to cover a surface, they give a much more sleek appearance compared to regular tiles.
Another benefit of using slab tiles is that they are also much easier to clean and maintain. If you’re planning on using tiles in a wet environment, such as a bathroom, they are also more efficient at protecting the underlying walls from moisture.
How to Choose Slab Tiles
When it comes to choosing the best slab tiles, tiles made of ceramic and porcelain offer the best durability with the lowest maintenance. During production, tiles are heated to extreme temperatures. This makes them not only robust but resistant to stains.
They are also impenetrable to moisture, which makes them perfect for kitchen backsplashes, outdoors, or bathrooms. They also have a good resilience against extremes in climate and can withstand rain, cold, and even frost.
How to Cut Slab Tiles
If you need to cut a slab tile, two important factors to consider are the size of the diamond tile saw blade you need for your tile cutter as well as any limitations in the thickness your tile cutter will go. Often a regular tile cutter is not suitable.
You can use a circular saw as long as it has been set up on a workbench properly. However, you need to ensure you’re using a diamond-coated blade as well as a water pump for lubrication.

Are You Thinking of Installing Slab Tiles?
Interested in finding out more about transforming the look of your home with slab tiles?
Then contact us at Rubi. We’re market leaders in everything to do with tile manufacturing and installation. You’ll find everything you need to know on our site about how to get started, the best equipment and tools, plus lots of tips from the pros.

Post a comment