
You’re looking to transform your space with terracotta tile, blending timeless beauty with durability. But whether reviving a room or crafting a new oasis, the challenge of selecting and installing these ceramic treasures can seem daunting.
So today we’re taking you through everything you need to know about how to do a terracotta tile installation!
From selection tips to installation techniques, we’ll guide you through every step, ensuring you not only achieve stunning results but also enjoy the process.

Selecting Terracotta Tiles for Your Project
Choosing the right terracotta ceramic tiles for your project is an exciting step. It’s where you start to see your vision come to life. When picking out these tiles, there are a few important things to think about.
First, consider the size and thickness of the tiles. This choice will affect how your finished project looks and feels. Also, think about whether you want tiles with a shiny glaze or ones that show the natural clay.
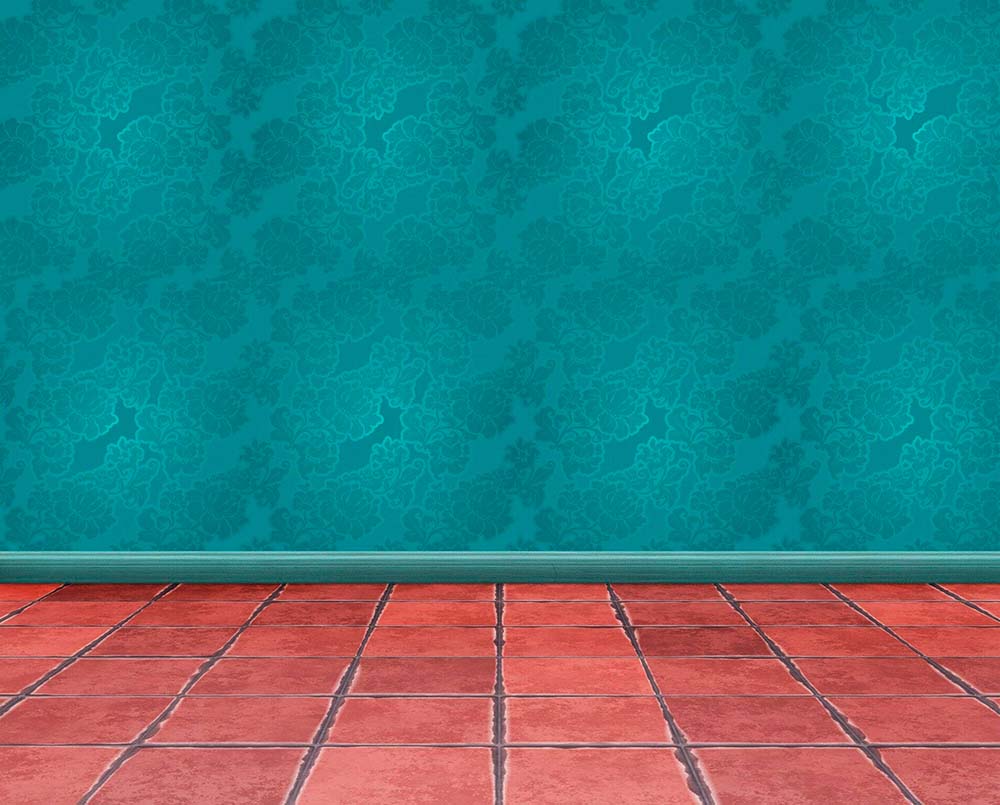
Terracotta tiles are great for both floors and walls. If you’re choosing tiles for flooring, you want to make sure they’re tough enough to handle foot traffic. Look for tiles that are thick and durable.
For walls, you might choose thinner tiles. Slip resistance is another key factor for flooring, especially in areas like bathrooms and kitchens. The look of terracotta can vary a lot.
Some tiles are bright and uniform, while others have a more rustic feel. This means you can find tiles that fit with many different styles, from modern to traditional.
When you’re picking tiles, think about the overall look you’re going for in your room. Terracotta can add warmth and character to any space.
Another thing to keep in mind is where the tiles will be used.
Some terracotta tiles are made for indoor use, while others can be used outside. If you’re planning an outdoor project, make sure the tiles you choose are suitable for exposure to the elements.
Tile Installation Tools and Materials
Before you start installing terracotta tiles, gathering the right tools and materials is crucial. This step makes the whole process smoother and helps you get professional-looking results. Let’s talk about what you’ll need.
First, a tile cutter is key for shaping your tiles to the right size. Whether you’re filling a small space or working around corners, a cutter ensures your tiles fit perfectly.
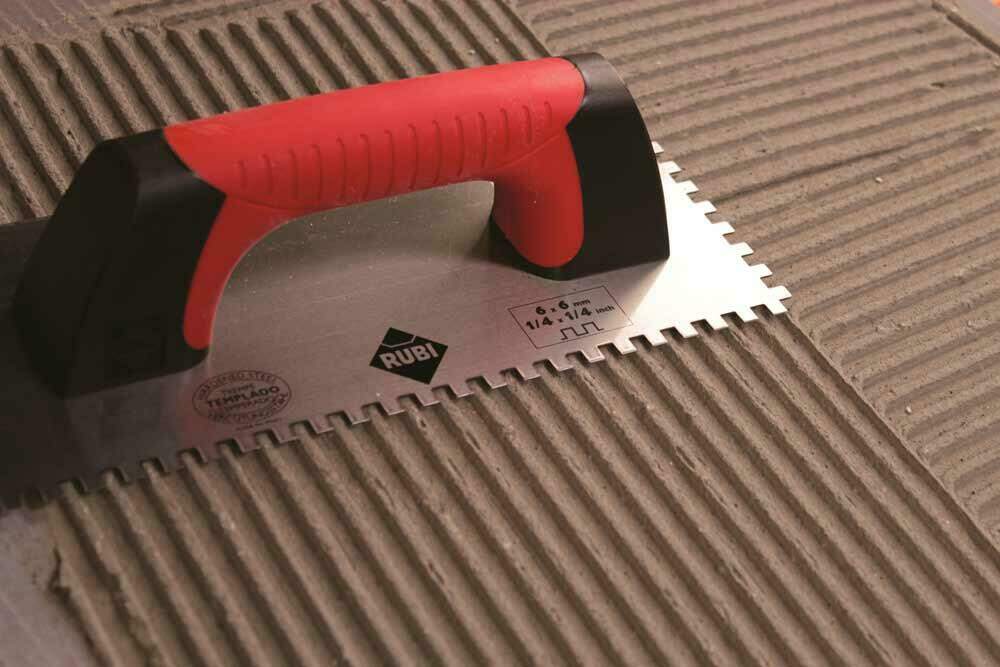
A notched trowel is another must-have. This tool helps you spread adhesive evenly on surfaces, making sure tiles stick properly. You’ll also need spacers. These small but mighty tools keep your tiles evenly spaced, giving your project a neat and orderly look.
Leveling systems are great for keeping tiles flat and even. They prevent tiles from shifting or sinking as the adhesive dries. This is important for a smooth, trip-free surface. Mixing paddles are used to mix adhesive and grout. Getting the right consistency is key for a strong bond and clean finish.
Adhesives and grouts play a big role in tile installation. Adhesives stick your tiles to the surface, while grout fills the gaps between them. There are different types of each, so choosing the right ones for terracotta tiles and your project’s needs is important.
Don’t forget about safety equipment. Gloves protect your hands from sharp edges and chemicals. Goggles keep your eyes safe from dust and debris. Knee pads are a lifesaver if you’ll be on the floor for a long time.
Preparing for tile installation means having the right tools and materials. From cutters and trowels to adhesives and safety gear, each item has a role in helping you achieve a beautiful, durable terracotta tile installation. With these essentials in hand, you’re ready to move on to the next step: preparing for installation.
Preparing for Installation
Getting ready to install terracotta tiles is like setting the stage for a play. Everything needs to be just right for the performance to go smoothly. This means making sure the area where you’ll install the tiles is prepared properly.
First, focus on the base, where the tiles will go. This could be a floor or a wall.
The base must be clean, level, and stable. If it’s a floor, remove any debris, dust, or old flooring materials. For walls, you might need to take down old tiles or wallpaper. Once the area is clean, check for any uneven spots.
You can use a leveling compound to fix these areas. This step is important because an uneven base can lead to tiles cracking or coming loose over time.
Next, think about the layout of your tiles. Before you start sticking them down, lay out your tiles on the floor or against the wall. This is called dry laying. It lets you see how the tiles will look once they’re installed. You can move tiles around to avoid having small pieces at the edges or to make sure the pattern looks good.
Taking the time to plan your layout can make a big difference in the final look of your project. These steps help ensure that your terracotta tiles look great and last a long time.

Installation Process
Installing terracotta tiles can be a rewarding project. With the right preparation and tools, you can create a beautiful and durable surface. Here’s how to do it step by step.
Start by spreading adhesive on the surface where you’re installing the tiles. Use your notched trowel for this. The notches help you spread the adhesive evenly.
Then, take your first tile and press it into place. Use a slight twisting motion to make sure it sticks well to the adhesive.
Next, place spacers around the edges of the tile.
These spacers keep your tiles evenly spaced, ensuring your lines stay straight. Continue this process, adding adhesive, placing tiles, and inserting spacers. Check your work with a level regularly to make sure tiles are flat and even.
After laying all the tiles, let the adhesive dry. The time this takes can vary, so check the adhesive’s instructions. Once it’s dry, you can remove the spacers.
Cutting and Fitting Tiles
You might need to cut tiles to fit around corners, doors, or fixtures. A tile cutter or a wet saw can do this job. Measure the space where the cut tile will go and mark your tile.
Then, use your cutter to score and snap the tile or a wet saw to cut it. Always wear safety gear when cutting tiles.
Grouting and Cleaning Up
With all the tiles in place and the adhesive dry, it’s time to grout. Mix your grout according to the package directions. Use a grout float to apply it, pressing the grout into the spaces between the tiles.
Wipe away excess grout with a damp sponge. Be sure to rinse the sponge often to keep it clean.
After grouting, give the grout time to set. This usually takes about 24 hours. Then, use a soft cloth to polish off any haze left on the tiles.
Finally, sealing your terracotta tiles can protect them from stains and damage. Check the manufacturer’s instructions to see if your tiles need sealing before or after grouting. Apply the sealant with a brush or roller, following the product directions.
Installing terracotta tiles takes patience and attention to detail. But, by following these steps, you can achieve a beautiful result that lasts for years. Remember to work carefully and take your time. The beauty of terracotta tiles is worth the effort.
Pro Tips for Achieving Stunning Results
Working with terracotta tiles offers a chance to get creative and achieve stunning results in your projects. Here are some professional tips to help you elevate your tile work.
First, consider mixing tile sizes or colors. Terracotta comes in a variety of shades and dimensions. By combining different sizes or hues, you can create a unique pattern or design.
This adds visual interest and can make a space feel more dynamic. For example, alternating light and dark shades can add depth to a room, while varying sizes can create a sense of movement.
Next, think about the layout. Instead of the standard straight or diagonal patterns, try something more intricate. Herringbone or chevron patterns can give your project a sophisticated look.
These patterns require careful planning and precision, but the effort is well worth it. They can turn a simple tile installation into a focal point of your decor.
Lastly, don’t forget the details. Incorporating decorative tiles or borders can add a personal touch to your project. Whether it’s a few hand-painted tiles scattered throughout your installation or a bold border framing your space, these details can bring your vision to life.
Terracotta Tiles Will Glam Up Your Space!
In mastering the art of working with terracotta tiles, from selection to installation and care, you unlock the potential to transform any space.
You’ll infuse warmth, character, and durability into your projects, ensuring your terracotta tile work remains timeless and captivating for years to come.
RUBI Spain is the leading manufacturer of equipment and tools for laying tiles and construction in Europe. Let us help you with information about all your tiling needs!

How do you clean Teracota tiles
And what do you put on them
Use a damp cloth to clean the floor. Never use abrasive or acidic cleaning agents, which can damage the surface of the terracotta floor. We recommend using lukewarm water combined with two glasses of white vinegar or neutral detergent, which will help degrease the surface without causing damage.