
Learning how to remove floor tile properly can be a tough part of the tile installation process, especially when they don’t meet you halfway and come up easily. That’s why we’ve put together some tips and tricks. Home improvement projects are on the rise, with Americans spending an average of $7,560 on these in 2018!

Of these projects, room remodels were the most popular. Ranking second is none other than the installation of new flooring.
Even back in 2017, projects involving floors (and ceilings) were big. As many as 5.2 million homeowners reported getting work done for these parts of their home.
For homeowners thinking of getting a new floor, the first concern will likely be how to remove the old floor tile. After all, this type of flooring is present in almost U.S homes. In fact, in 2018, U.S. homeowners consumed 3.11 billion square feet of ceramic tile alone.
The thing is, there are many instances when floor tiles can be difficult to pry off. In these cases, a regular hammer and chisel won’t cut it.
What should one do in such cases then? That’s exactly what we’re here to share with you, so keep reading!
1. Gather These Essential Tools
The first step in removing tile that stubbornly sticks to the underlayment is using power tools. You’d still need manual tools to get the rest of them pried off though. So be sure you have all the tools listed below before you start your floor tile removal project.
- A drill with a tile drill bit or a diamond drill bit
- A masonry hammer
- A wide or cold chisel
- A square tipped spade
- A floor or mortar scraper
- A pry bar
- A high powered vacuum
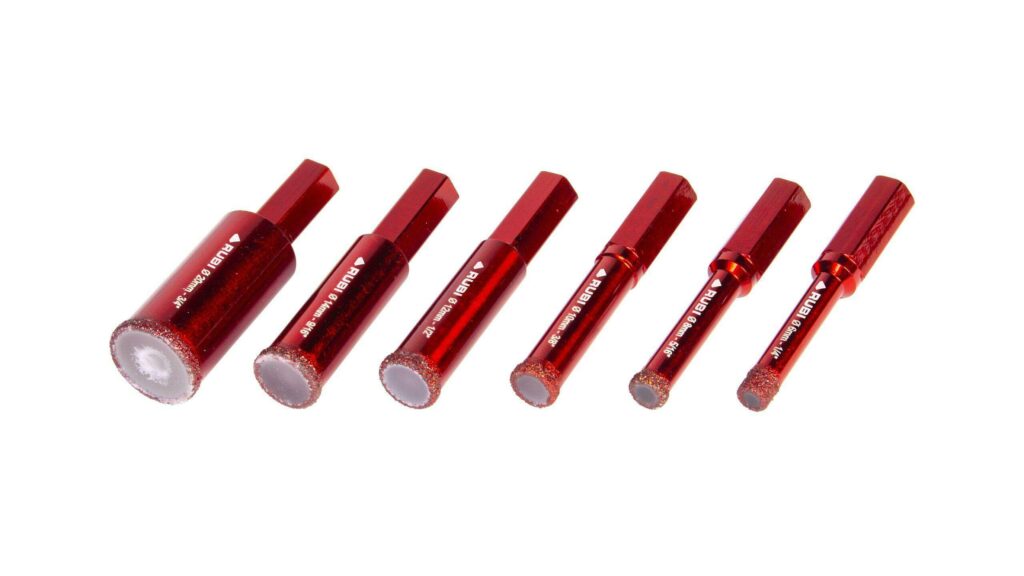
A drill with a tile drill bit will let you bore deeper holes much more quickly on those super tough tiles. These holes will make it easier to break through both the tile and the grout. Also, if you have ceramic tiles, which are very strong, a diamond drill bit may be a better option.
If you plan to recycle trim work, prepare a utility knife (with various blades) and putty knife. This will help you remove the trim work with a much lower risk of damage.
Make sure you also get some plastic wrap for your furniture and have your broom and dustpan ready. Gathering these tools and materials in one place will make the tile removal (and the clean up after) faster.
2. Prepare Your Home for a Big Mess
Don’t skip this step while you remove floor tile, otherwise, dust and debris will cover most of your stuff. Considering that the average U.S. home contains about 300,000 items, they’ll be a pain to clean up after the project.
It’s best to cover your furniture with plastic wrap or tarpaulin to avoid dust settling on them. If you have an air conditioning unit, cover that up too to prevent dust from getting into it. If you have a duct or central air conditioner, cover the vents in the room you’ll be removing floor tiles in.
3. Don Protective Clothing and Gear
Did you know that around 4.6 million U.S. workers sustain injuries on the job every year? As if that’s not enough, these workplace injuries lead to a whopping 104 million days away from work!
As you can imagine, many of these are injuries like cuts, lacerations, and punctures. What’s more, a huge number of them are preventable, if the workers wear the right protective gear.
That’s why personal protective equipment is crucial for your tile removal project. Remember, you’ll be handling cutting and drilling machines for the project. Also, you’ll be dealing with a lot of dust as you tear away those floor tiles.
So, before you go down on all fours, get yourself a pair of goggles and face mask. Gloves will protect your hands and let you grip the hand tools better. Don footwear that has features like slip, puncture, and abrasion resistance.
4. Carefully Pry Off Trim Work
If you plan to reuse the trim work, be sure to remove it before you start prying off tiles. This way, flying debris won’t hit and damage it.
To remove trim work, use your utility tool to slice away at paint or caulk that glued the trim to the wall and floor. It’s best to use a thin, but sharp blade, although you’d likely use other blades to cut through hardened paint. Not only will this make the trim easier to remove, but it’ll also prevent damage to both the trim and the wall.
Next, insert the putty knife into the sliced-up area to further loosen the trim. Wiggle and push the knife until it makes a crack big enough for you to insert the pry bar into.
Get the pry bar in the crack and carefully pry away the trim work. You can use the putty knife as a “shield” for the wall as you wiggle the pry bar.

5. Time to Drill
Most DIY-ers use only a hammer and chisel to pry away floor tiles. Professionals, however, know that a tile drill or diamond drill bit will do the job faster. This makes a drill (with the right bit) one of, if not the most important tile removal tool.
Once you’ve attached either the tile drill or diamond drill bit, get ready for some drilling! Position the drill so that the tip of the bit touches a grout line, and hold the machine at a 45-degree angle. You may have to adjust the position to find one you’re more comfortable with.
Make sure you get a firm grip on the drill before you power it on. Holding the machine steady, start chipping through the grout. Slowly advance towards the underside of the tile until it breaks into pieces.
It’s best to start from the center of the floor and make your way to either side. Continue drilling along the floor until you’ve chipped away at all the tiles.
6. Break Other Tiles with a Hammer
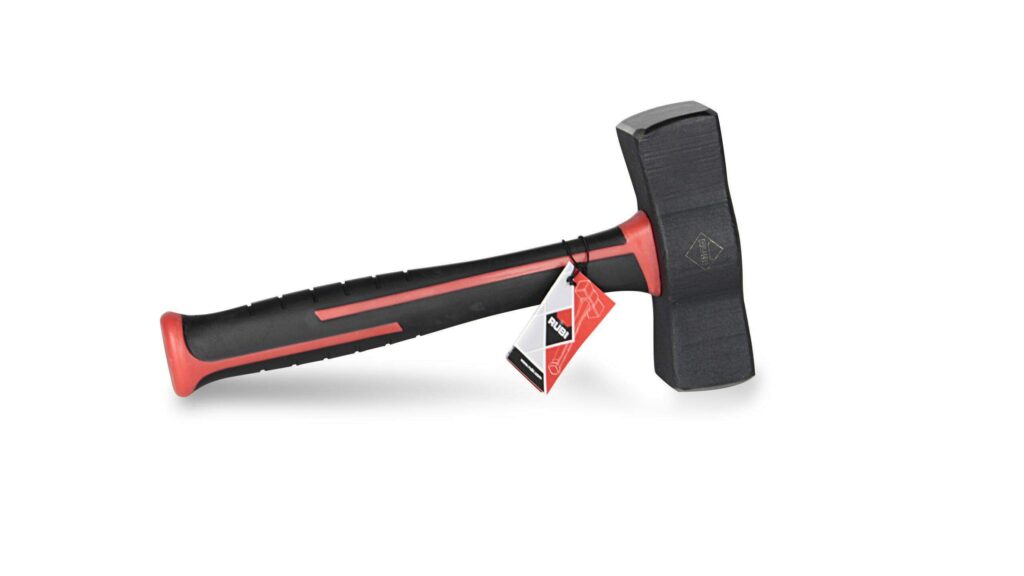
Every self-respecting tiler still uses manual tiling tools, like a masonry hammer. Even with a powerful drill, some tiles will still stick together, making it hard to pry them off. A masonry hammer will allow you to break these into smaller pieces.
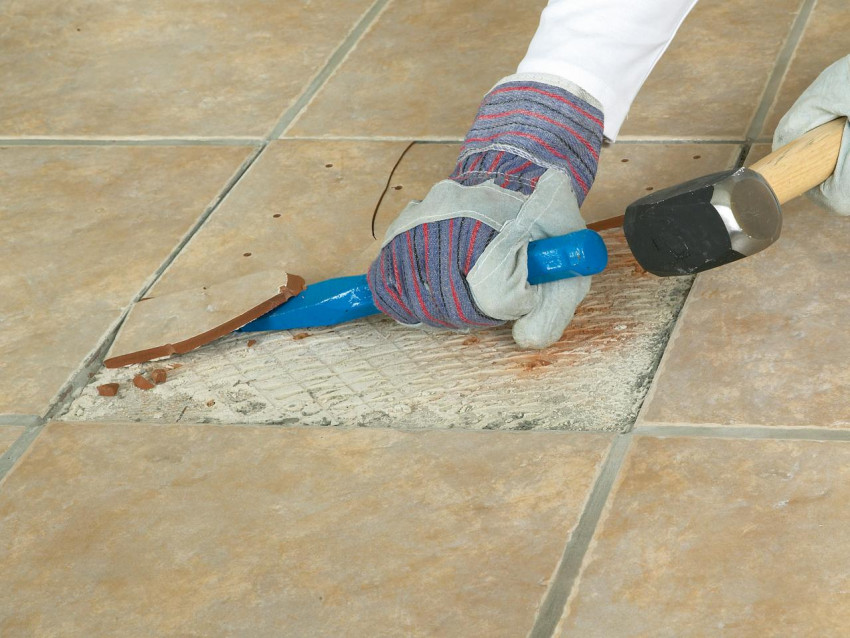
You can then use a wide or cold chisel to pry up what’s left of the cracked, yet still attached tiles.
7. Gather Up the Broken Tiles
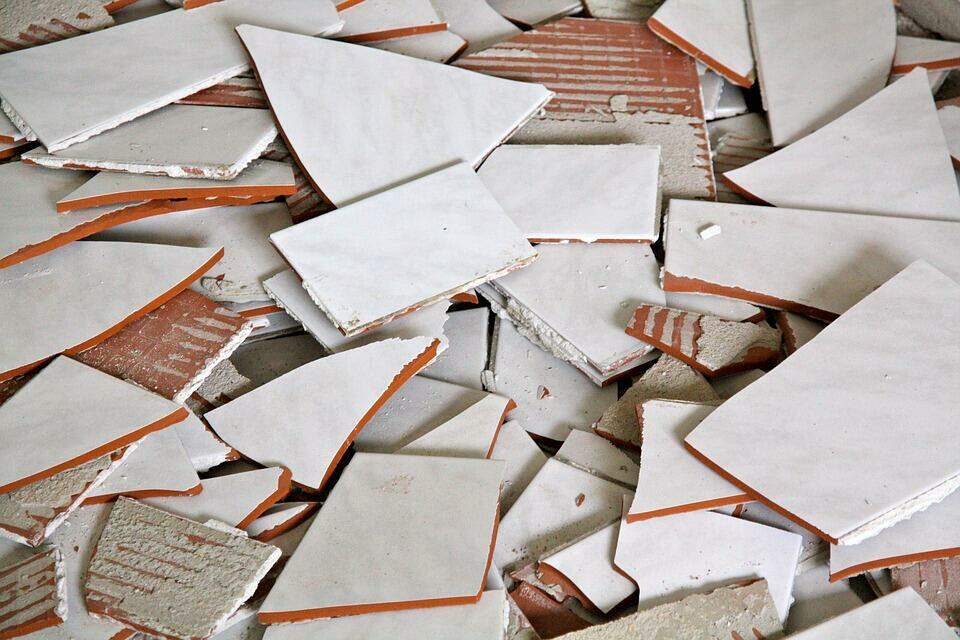
Once all the tiles have come loose, use a square-tipped spade to get the debris into your garbage bags. Sweep up the remaining bits of tile and grout with a broom and dustpan.
Pro tip! A wheelbarrow will allow you move out all the trash from the project site in just one or two trips.
8. Get Rid of the Mortar
It’s important to remove all traces of mortar before installing the new tiles. Otherwise, the bumps it leaves will cause an uneven surface for the new floor.
Many tiled flooring systems use thin-set as the bonding agent for the tiles and underlayment. In this case, a chisel and a single mortar layer scraper will do the trick to remove the mortar. Use both tile tools to scrape away at the mortar until the surface is smooth.
For harder-to-remove mortar, you can use the masonry hammer to smash it up. Then, use the scraper to get rid of the smaller pieces of mortar still sticking to the underlayment.
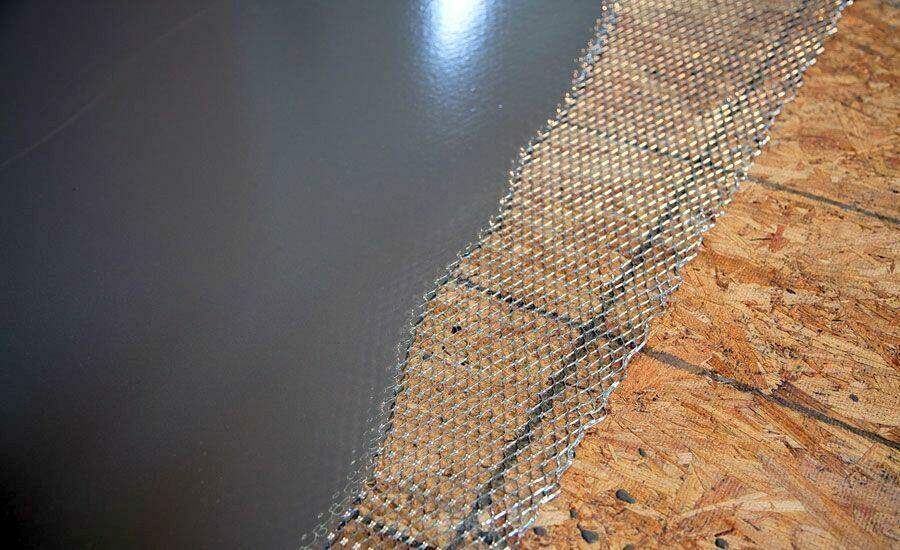
9. Remove the Underlayment
Depending on the condition of the underlayment, you may have to remove it. You might find that this part of the floor has already deteriorated. This may also be the case for mortar that simply won’t budge.
Either way, removing (and changing) this part will make the new floor more stable.
Let’s say you do need to get rid of the underlayment. Remove all the screws that attach it to the subfloor. Then, get your flat shovel to prop up its edges and to remove it entirely.
10. Clean Up the Subfloor
After getting rid of the underlayment, it’s time to clean and prep up the subfloor! Your square-tipped shovel and scraper will let you remove any adhesive that’s left. For smaller bits of adhesive, your chisel and hammer will do the trick.
Clean up the debris using the broom and dustpan. Then, run the high-powered vacuum to remove all traces of dust. Using a vacuum will also make it easier to ensure that the subfloor is completely smooth.
Now You Know How to Remove Floor Tile the Right (and Safe) Way
There you have it! The steps you should follow on how to remove floor tile that just doesn’t seem to let go. Make sure you have the right tools and that you know how to use them correctly. With these, plus careful preparation, you’ll get cracking on cracking those stubborn tiles.
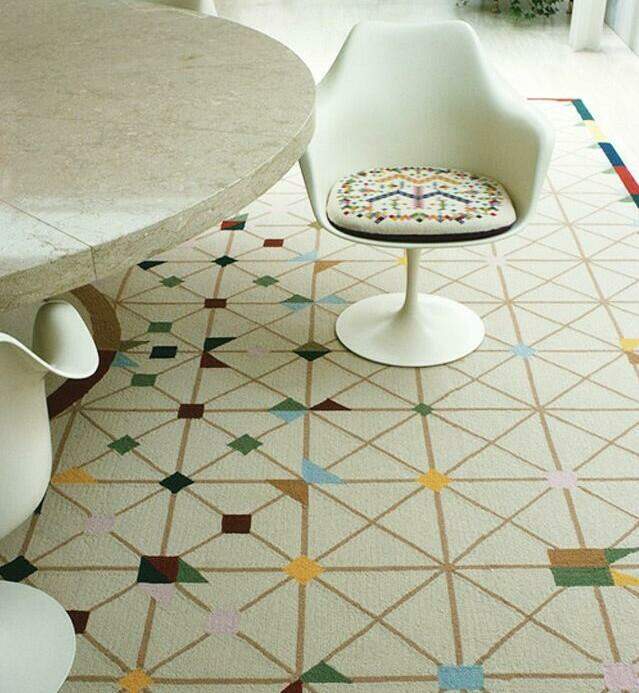
Now that you have a tile-less floor, the next step is to figure out what kind of new flooring to get. If you need ideas, be sure to check out this list of the best tile flooring ideas!

Agreed leaving your concrete slab flat and smooth, will ensuring a better and faster new floor installation. You can also grid the MORTAR off.