


Complex tile cuts rarely fail on the straight section. They usually fail at the internal corner, around pipe entries and on short returns, where vibration, poor support or the wrong blade can crack the tile before the shape is finished. Dense porcelain and visible edges need tighter control over marking, pressure and the way the cut is set up. For professionals learning how to cut intricate cuts, RUBI offers practical solutions for drilling, grinding and finishing detailed shapes with better control and less waste, including advice in How to Cut 20mm Porcelain Tiles Without Chipping: 5 Pro Tips.

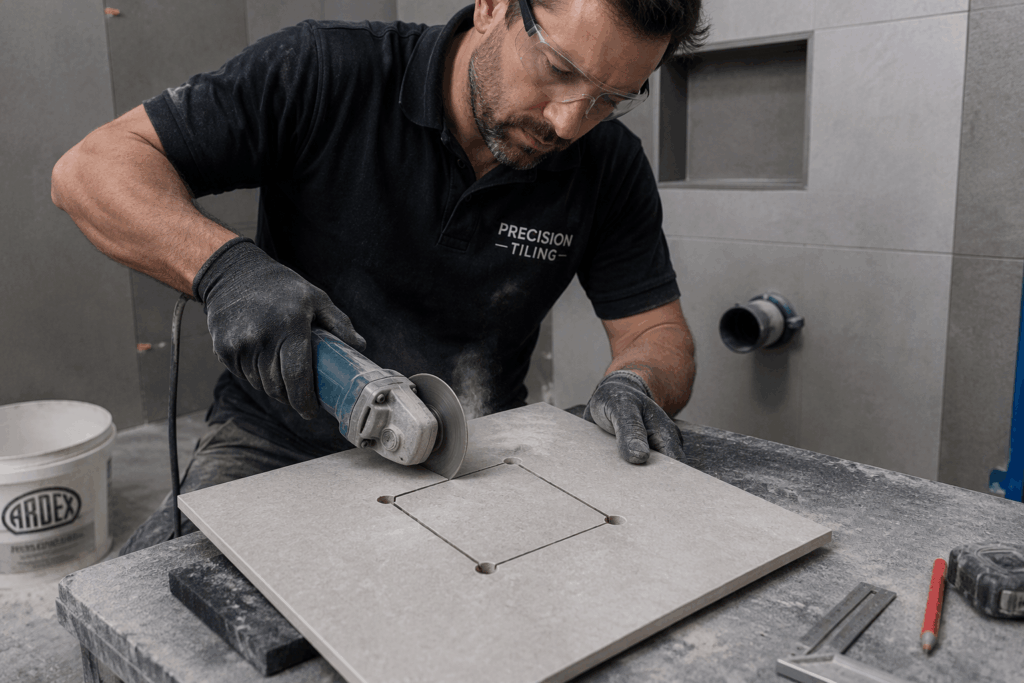
When do you need intricate tile cuts?
Intricate cuts rarely serve a decorative purpose on site. Instead, installers make them to fit tiles around services, sanitaryware, boxed-in pipework, sockets and structural features. As soon as a cut creates an internal corner, the risk increases because that corner becomes the weakest point in the tile unless the installer relieves it correctly. For this reason, experienced fixers treat every irregular cut as a stress-management task rather than a simple shaping exercise.
Common cuts around pipes, corners, sockets and obstacles
Installers regularly cut curves around sanitaryware, create L-cuts around door linings and boxed-in pipework, drill circular openings for pipes and fittings, and form socket cut-outs in bathroom walls. Each shape alters how force moves through the tile, so the cutting method matters just as much as the tool itself.
Why porcelain and ceramic tiles need different cutting care
Successful cutting depends less on whether the tile is porcelain or ceramic and more on how well the tool, blade and feed rate match the material, thickness and surface finish. Porcelain places greater demands on the blade because of its density, while ceramic generally cuts more easily but can still chip along glazed surfaces and exposed edges. Regardless of the material, the right set-up delivers cleaner, more accurate results.
Tools for cutting complex shapes in tiles
Complex shapes rarely rely on a single tool. Professional tilers achieve the cleanest results by using each tool for the part of the cut it handles best: a wet saw for straight entries, then a second tool for internal corners, short returns, curves or finishing touches. Consistent results come from good preparation and selecting the right tool for the material, not from forcing one machine to do every stage of the work.
Wet saws, grinders and diamond blades
When a shape allows a guided straight entry, a wet saw produces a controlled, clean cut, particularly along longer visible edges. For curves, irregular profiles and stopped cuts, an angle grinder with the correct blade offers greater flexibility. RUBI provides a wide range of diamond blades. For porcelain dry cutting, products such as the TCR Turbo Porcelain Diamond Blade Pro and the J-Slot-Slither Superpro Porcelain Tiles Diamond Blade allow installers to balance cutting speed, precision and finish quality according to the demands of the job.
Hole saws, drill bits and tile nippers
Dedicated hole saws and drill bits create cleaner circular openings than improvised nibbling methods. For pipe penetrations and other round cut-outs, use Dry Cutting Diamond Drill Bits. Before connecting the main cuts, drill a relief hole at every internal corner. The radius disperses pressure, reducing the risk of cracks spreading beyond the cut line. Once you remove the main waste section, parrot nippers help fine-tune small areas without having to remake the tile.
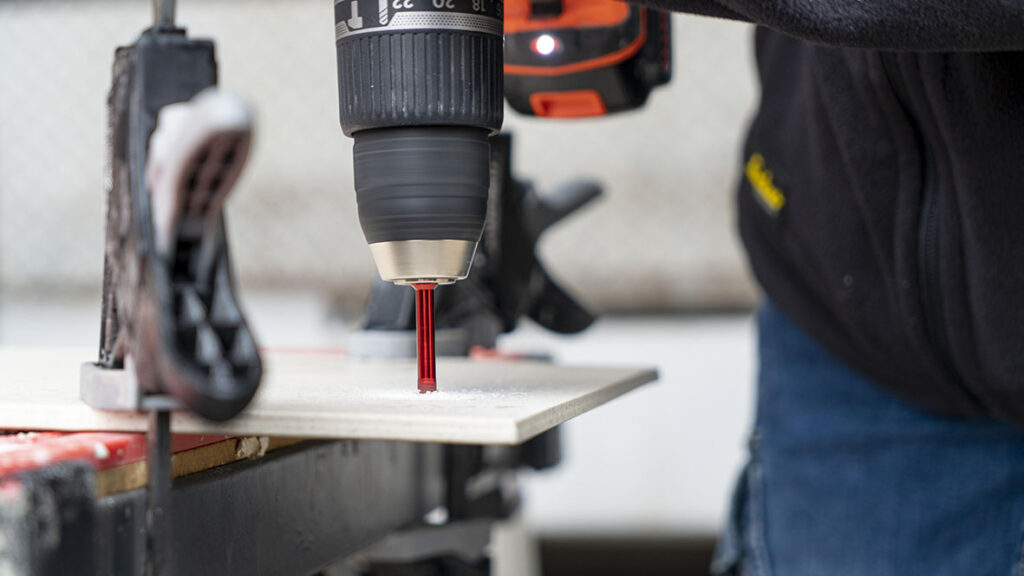
How to Cut Intricate Shapes in Ceramic and Porcelain Tiles
Clean, detailed tile work starts long before you make the first cut. Mark the shape clearly, separate waste-removal cuts from finishing cuts, and keep the tile fully supported throughout the process. Rather than forcing the entire shape in a single pass, create it in stages. Careful planning helps prevent cracked corners, chipped glazes and unnecessary waste.
How to Mark Complex Shapes Accurately
Accurate marking starts with a clear reference line and a good understanding of how removing material will affect the tile’s strength. Before you begin cutting, identify every internal corner and visible edge, as these areas determine the safest cutting method.
- Mark the complete outline of the cut and identify any edges that will remain visible after installation.
- Plan waste-removal cuts separately from finishing cuts to avoid weakening the tile too early.
- Drill a relief hole at every internal corner before cutting into it, making the radius as large as the detail allows.
- Keep the tile flat, secure and fully supported while checking measurements, particularly when working with large-format porcelain.
How to Cut Curves and Irregular Shapes
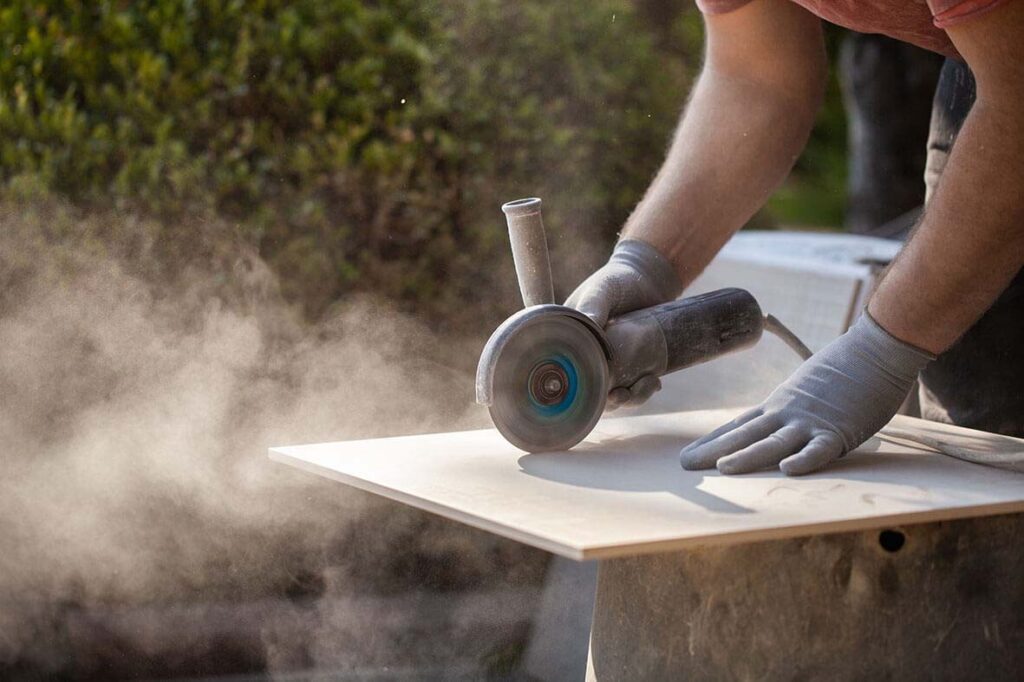
An angle grinder fitted with a high-quality diamond blade remains one of the most versatile tools for curved cuts. Success depends on control rather than speed. Excessive RPM and pressure generate heat and vibration, which can damage the edge and increase the risk of chipping.
Mark the curve clearly, make several shallow passes and allow the blade to shape the tile gradually. Avoid trying to achieve full depth in a single cut.
How to Cut Holes for Pipes and Fittings
Pipe penetrations and fitting openings rank among the most common cuts installers make on site. Use a dedicated diamond drill bit or hole saw for the primary opening and keep the tile firmly supported throughout drilling.
When a hole needs to connect to an edge or another cut, drill the radius first and then join the straight cuts to it. This approach reduces stress concentrations that can lead to cracks. On exposed installations, refine the edge with a conical or cylindrical diamond bit. If the finish requires additional work, use polishing pads or flap discs to improve the final appearance.
How to Make L-Shaped and Corner Cuts
For most L-shaped cuts, combine multiple tools rather than relying on a single method. Use a manual cutter or wet saw for the long straight section, then complete the internal corner or short return with the most suitable powered tool.
The internal corner presents the greatest risk of failure, so avoid leaving it sharp. Drill or hole-saw a relief radius before making the remaining cuts, keeping the radius as large as the design allows. This simple step disperses stress, strengthens the corner and significantly reduces the risk of cracking as you complete the cut.

Tips to avoid chipping, cracking and wasted tiles
Most failed detailed cuts are not caused by the shape alone but by the last part of the operation being rushed. The goal is not simply to get through the tile; it is to keep the finish intact on the edge that will actually be seen. That means tighter control over support, blade condition and feed pressure from start to finish.
Support the tile correctly before cutting
Stable support limits torsion, flex and edge breakout before the blade reaches the most vulnerable part of the shape. On large-format porcelain and slim pieces, a proper bench, support rails or other stable work surface helps keep the tile flat throughout the cut. Just as important, clamp the tile where appropriate so it cannot chatter or shift while you are drilling, grinding or finishing delicate sections.
Use the right blade, speed and pressure
Blade choice has a direct effect on finish quality. A porcelain-specific blade kept sharp will usually cut with less resistance than a worn general-purpose disc, especially on dense floor tiles and visible edges. Match the blade to the material, keep the feed steady and avoid driving the blade aggressively through the final part of the cut. If you need a porcelain-focused option for dry working, review the RUBI range of diamond blades and select the blade profile that best suits the balance of speed and finish required on site.
Work gradually on detailed or curved cuts
Detailed shapes need a progressive approach, especially on visible edges, short returns and tight details. Removing waste in stages protects both the edge finish and the structural integrity of the remaining tile, which is why calm, repeatable passes outperform one aggressive cut.
- Keep the tile well supported and clamped throughout the cut.
- Use the sharpest suitable blade and avoid excessive feed pressure.
- Reduce vibration as much as possible on visible edges.
- Form a radius at internal corners before joining cuts.
- Dress the final edge lightly if needed rather than forcing the blade into the visible corner.
Frequently asked questions about intricate tile cuts
What is the best tool for cutting intricate shapes in porcelain tiles?
There is no single best tool for every intricate porcelain cut. For curves and free-form shapes, an angle grinder with the correct diamond blade is usually the most versatile option. For long straight entries or exposed edges, a wet saw may give a cleaner starting cut, while drill bits or hole saws are essential for service penetrations and radius corners.
Can you cut curves with a manual tile cutter?
A manual tile cutter works well for straight scores, but it is not the right tool for curves, stopped cuts or internal corners. Once the shape bends or returns, move to a grinder, hole saw, drill-assisted radius or a finishing tool rather than trying to force the tile to snap through the detail.
How can you prevent tiles from breaking during detailed cuts?
Keep the tile supported and clamped, match the blade to the material, and avoid rushing the final part of the cut. On notches and L-cuts, drill a radius corner first to relieve pressure at the internal angle. Then remove waste in stages and finish the exposed edge carefully rather than trying to take everything out in one heavy pass.
Achieve cleaner complex tile cuts with RUBI
Cleaner detailed cuts come from accurate marking, stable support, proper clamping and the right method for the shape being cut. RUBI’s strength is that it lets professionals combine drilling for pipe holes and radius corners, grinding for curves and internal corners, and material-specific blade selection for porcelain or ceramic work.
For UK tile fixers, that matters because cleaner complex cuts depend on practical methods, not generic advice. When the cut is set up properly, the tile is supported correctly and the internal corner is relieved before it is finished, you reduce waste, protect visible edges and achieve a cleaner result on site.

Post a comment