

Every herringbone floor reveals even the smallest variation because each angled cut influences the next joint. A chipped corner stands out immediately once the pattern closes. Dense porcelain and larger-format tiles place greater stress on the break line, so repeated diagonal cuts can drift, crack, or lose a sharp edge when installers do not support the tile correctly. To help professionals maintain edge accuracy, RUBI provides a range of tile cutters and wet saws designed specifically for demanding herringbone work.


Why herringbone layouts are more challenging to cut
Herringbone layouts demand more precision than straight-lay patterns because they repeat the same angle across the entire floor. Even a minor error in angle control carries through every row, and the problem quickly becomes visible where cuts meet skirtings, thresholds, or feature borders. Before selecting a machine, review the pattern logic in Herringbone Tile Layout: A Comprehensive Guide and identify which cuts will remain visible after installation.
Why precision matters in herringbone flooring
Precision matters because herringbone patterns rely on consistent geometry, not just neatly cut individual tiles. A single tile that is short, out of square, or slightly chipped can shift multiple joints and disrupt the overall appearance. On floor installations, these inaccuracies create wandering points, uneven joint widths, and additional time spent adjusting tiles that should have fitted correctly from the start.
Common cutting mistakes that affect alignment
Most alignment issues stem from cutting technique rather than the pattern itself. Uneven scoring pressure can prevent the tile from snapping cleanly along the score, creating jagged edges that compromise the layout. Likewise, cutting the wrong orientation of tile or pushing a wet saw too quickly through dense porcelain often damages the edge. Insufficient support at the overhang can also cause the break line to wander, leaving a corner that no longer follows the required herringbone angle.
Manual cutters vs wet saws for cutting herringbone tile
Rather than asking which machine performs best overall, professionals evaluate the specific demands of the project. Tile composition, thickness, surface finish, cut volume, and edge visibility all influence the decision. On most installations, experienced tilers switch between manual cutters and wet saws to achieve the required finish in each area.
When a manual cutter is the best option
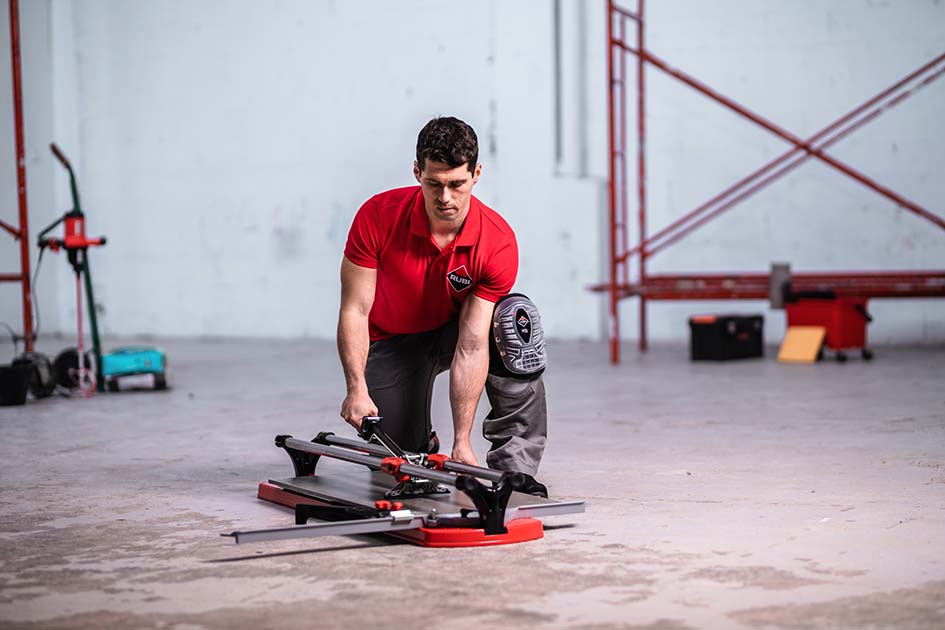
Choose a manual cutter when the job involves large numbers of repeatable straight or diagonal cuts, when the tile responds well to score-and-snap cutting, and when a dry setup is important. The RCH / RCH RS handles professional porcelain and ceramic installations with a one-hand MAGNET multipoint breaker that delivers 950 kg of breaking force.
For extremely dense porcelain above 15 mm thick, especially when breaking on the point of a herringbone score, score-and-snap cutting becomes far less reliable. In these situations, upgrading to RUBI’s heavy-duty TZ or TX-MAX ranges provides up to 1,500 kg of breaking force and significantly improves cutting performance on demanding materials.
When a wet saw delivers better results
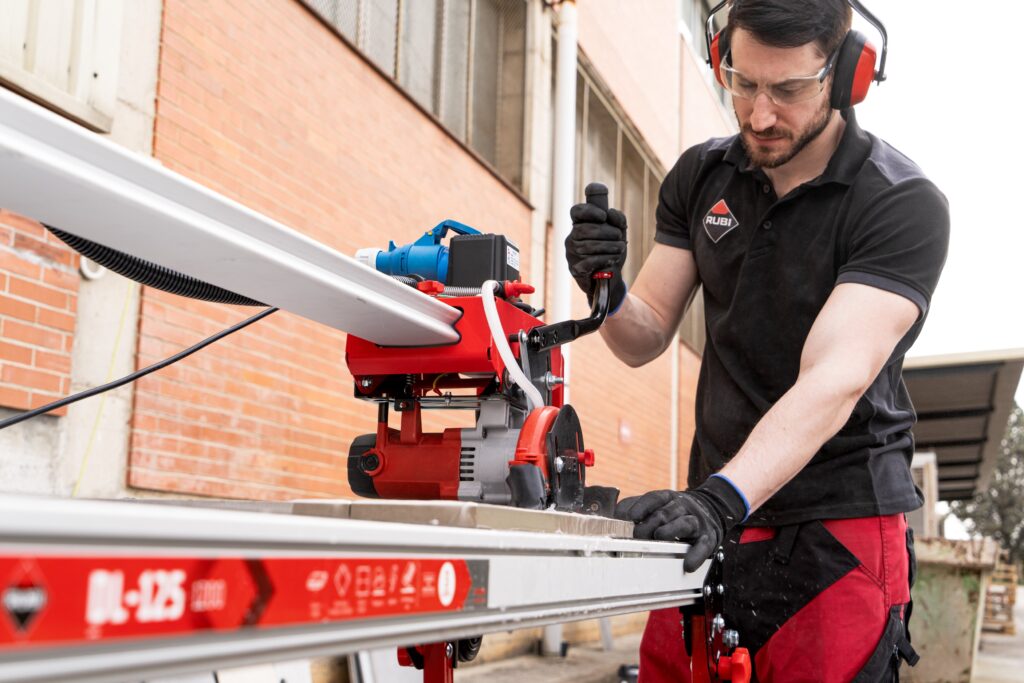
Choose a wet saw when cut edges will remain visible, when working with particularly hard porcelain, or when the layout includes small perimeter pieces that require a flawless finish. With the correct blade and feed speed, a wet saw produces clean, accurate cuts that closely match the manufacturer’s factory edge.
The DV-200 combines a bearing-mounted motor system with a cutting capacity of up to 35 mm over 106 cm and an adjustable lateral stop from 0° to 60°. For even greater accuracy, many professionals move up to the DL range. Projects that involve larger bridge-format tiles often benefit from the DC 250 Python 1200.
Top tip: For the cleanest possible finish, run diamond polishing pads along exposed cut edges. This simple step softens the edge, creates a subtle chamfer, and removes minor micro-chipping left by the blade.
Which tool works best for porcelain and large-format tiles
With porcelain herringbone installations, material density typically determines tool choice more than the pattern itself. As tile sizes increase, handling and support become just as important as cutting capacity. When using a saw, feed the tile steadily and avoid rushing the cut to maintain both accuracy and edge quality.
- Use a heavy-duty manual cutter when the tile scores cleanly, cuts repeat frequently, and productivity takes priority.
- Use a wet saw for exposed perimeter cuts, polished porcelain, dense tile bodies, mitres, and any cut that must finish exactly on the mark.
For larger tiles, circular saws such as the TC-125 and TC-180 offer greater flexibility. The TC-180 handles wet or dry cutting, uses a Ø180 mm blade, and provides cutting-depth adjustment up to 55 mm. Dedicated large-format cutting systems also reduce handling and make it easier to work accurately with heavy panels.

Choosing the right tools for professional herringbone installations
Professional setups are built around system matching: one tool for fast scoring, another for exposed edges, and the right blade for the tile body in front of you. That approach improves site efficiency because it cuts rework, reduces wasted porcelain and keeps the installer in control when the pattern changes around room edges or larger panels.
Essential tools for faster and cleaner cuts
A faster installation does not mean cutting corners on equipment. The core kit for herringbone is a stable cutter, reliable stops, full tile support and correct blade matching for the material. To simplify this, it is often best to look out for colour-coded blade systems, such as red for porcelain and green for ceramic, to ensure you are using the right tool for the job.
- Heavy-duty manual cutter for angled scores: Rather than using models with a fixed square, upgrading to the TX or TZ ranges is highly recommended. These models feature a swivel square that can angle in both directions, making the setup for recurring herringbone cuts significantly easier and far more accurate.
- Wet saw for exposed edges and difficult material: The DV-200 with a Ø200 mm CEV PRO disc, 1.1 kW direct motor, water-pump cooling with flow control, and removable aluminium tables for easy cleaning.
- Portable large-format option: The TC-180 for wet and dry cutting, with a Ø180 mm blade, parallel guide, PRCD cable and transport case.
- Accessory support for extended slab work: The Angle Grinder Accessory G3 allows for precision straight cuts and side cuts at 90° when used with SLAB CUTTER G3 guides.
Crucial steps for a flawless herringbone finish
- Polish for a factory edge: When cuts are left exposed, even a good blade can leave a slightly sharp finish. Running over the cut edge with diamond polishing pads is key to providing a smooth, perfectly finished edge and removing any micro-chipping.
- Keep the pattern on track: Herringbone patterns can easily wander off alignment as you work across a room. Using a good quality laser level is crucial to provide a strict vertical and horizontal guide line. Following these lines closely will prevent the pattern from drifting off course, ensuring a highly professional outcome.

Post a comment