
If you’re building or remodeling a pool, then the first thing you want to do is decide how you want it to look. This means picking out all new tiles for your pool. But how do you choose pool tile? And how do you install pool tile once you have it? If you make a mistake, it could damage your entire pool.
As a professional, you need a guide that will walk you through the entire process of pool tiling from start to finish. That way you can be sure your pool’s surfaces will still be waterproof when you’re done.
Read on to learn everything you need to know about tiling a swimming pool.

1. Choosing the Tile
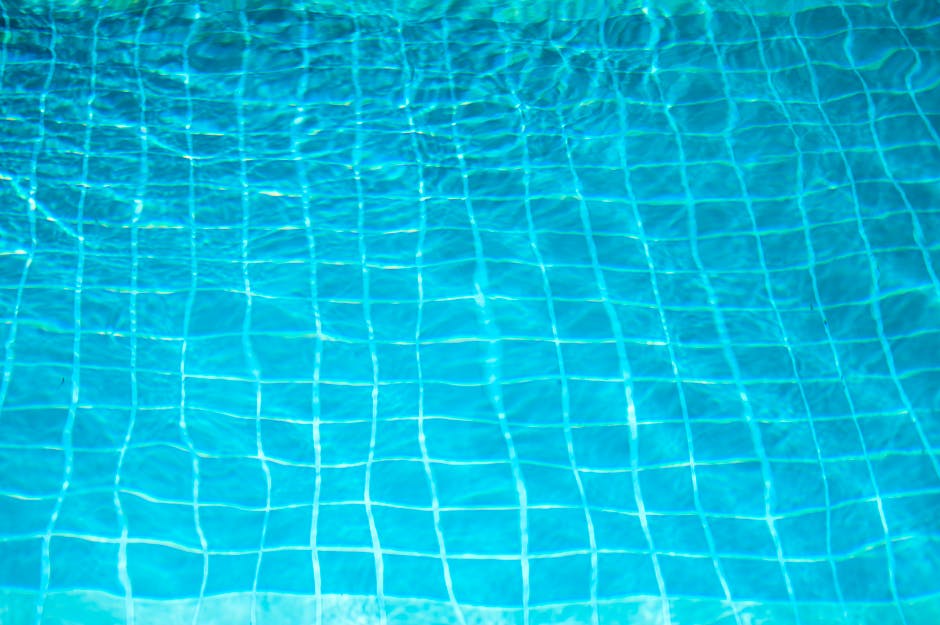
You’ll find that most tiles for pools are made of many of the same materials like the tiles you installed in your home as backsplash or flooring. They can be ceramic, glass, natural stone, or brick tile.
The good news is this means that you have a wide variety of options for pool tile. Those who are building or renovating their pools can create any number of designs with their swimming pool tiles.
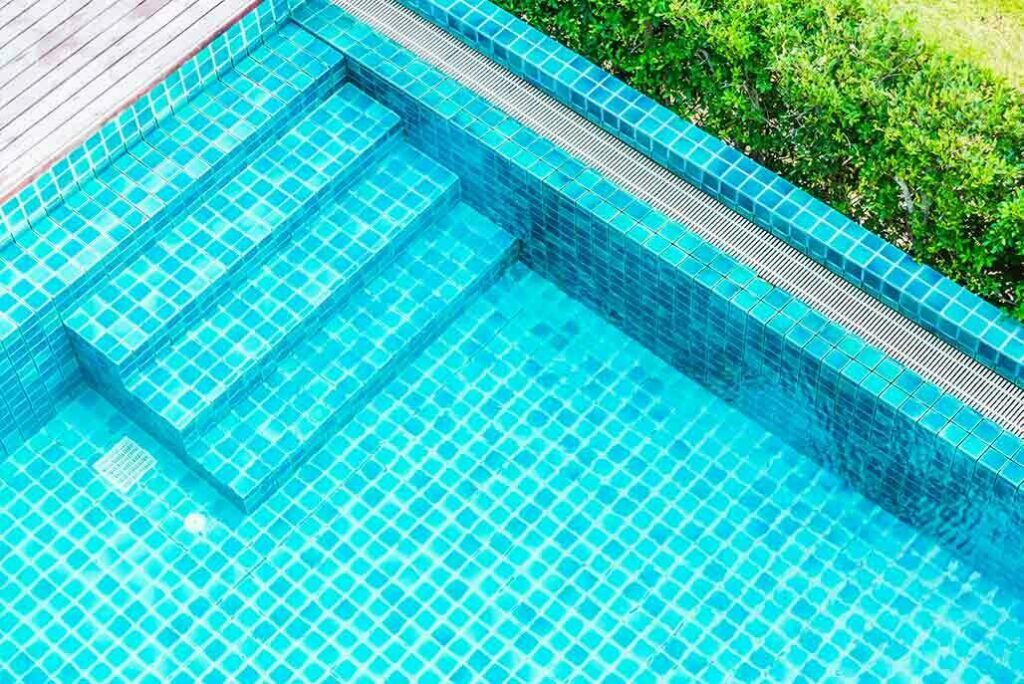
A lot of people choose to have mosaics made from the tiles they’re installing. This gives the pool a beautiful and unique look to stand out from other pools.
Others may want a more natural-looking design. These people may want to go with a natural stone or brick tile.
The only thing you really need to pay attention to ishow the tile’s material reacts to water. For example, you should be sure that ceramic tile is either impervious or vitreous before installing it in a pool.
2. Preparing the Pool
The next thing you need to do is prepare the pool for tile installation. Start by inspecting the pool. Seal any cracks that you find first.
Use a pressure washer to clean the pool. This will allow the mortar to stick better to the surface of the pool when it’s time to start tiling.
You should then paint a waterproofing membrane around the pool. This will help protect the material underneath the tiles if one cracks or chips.
If you need to cut tiles, now is the time to figure that out. Make sure your pool is level. If it isn’t, mark where the bottom row of full tiles is going to go. Use this line to cut the rest of the tile.
Once again, be extra sure that you’re using tiles for pools before you begin. Otherwise, there could be a lot of damage done to the pool when the owner goes to use it next.

3. Mortar
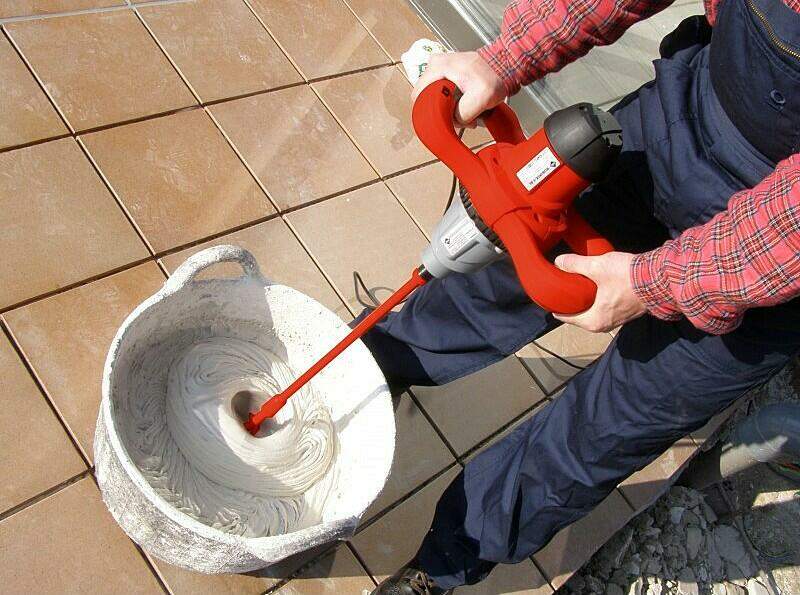
Now it’s time to start mortaring and tiling your pool. You will be alternating between this step and step 4 until the tile is completely installed. Keep in mind you need enough mortar to cover the pool and a notched trowel for this step. You can find a variety of trowels for working with mortar in the RUBI catalog.
Make sure you’re using a mortar designed for prolonged use in water. Otherwise, you may accidentally damage the entire pool. Make sure to mix it with the amount of water indicated in the manufacturer’s instructions. At RUBI we have the RUBIMIX range to help you mix your mortar efficiently.
And keep in mind that mortar will dry fairly quickly. The manufacturer will provide information on how long this takes. Make sure not to apply mortar over more space than you can tile.
Use the flat side of your trowel to apply a thin layer of mortar. Then turn your trowel and use the notched edge to create a ribbing within the mortar. Don’t forget to comb the adhesive in a line parallel to the short side of the tile. This will help your tile stick to it when you’re ready.
4. Pool Tile
The other side of this part is installing the pool tile in place. For this, you will need your tile and spacers. Again, you can find spacers in the RUBI catalog.
Place your tiles in vertical rows for the best effect. Then place the spacers in between tiles as you go. This will ensure even joints between tiles when you go to apply grout later.
To place the tiles, press them into the mortar firmly at an angle and then turn them as needed to straighten them out. Place them between the ends of the spacers until you need to apply more mortar. Again, you will be switching between this step and step three until the entire pool has been tiled.
Once you have finished this step, you should let the mortar and tiles set for approximately 24 hours before you continue. Once you’re confident that it’s all dried and secure, then you can move on to applying the grout.
5. Grout
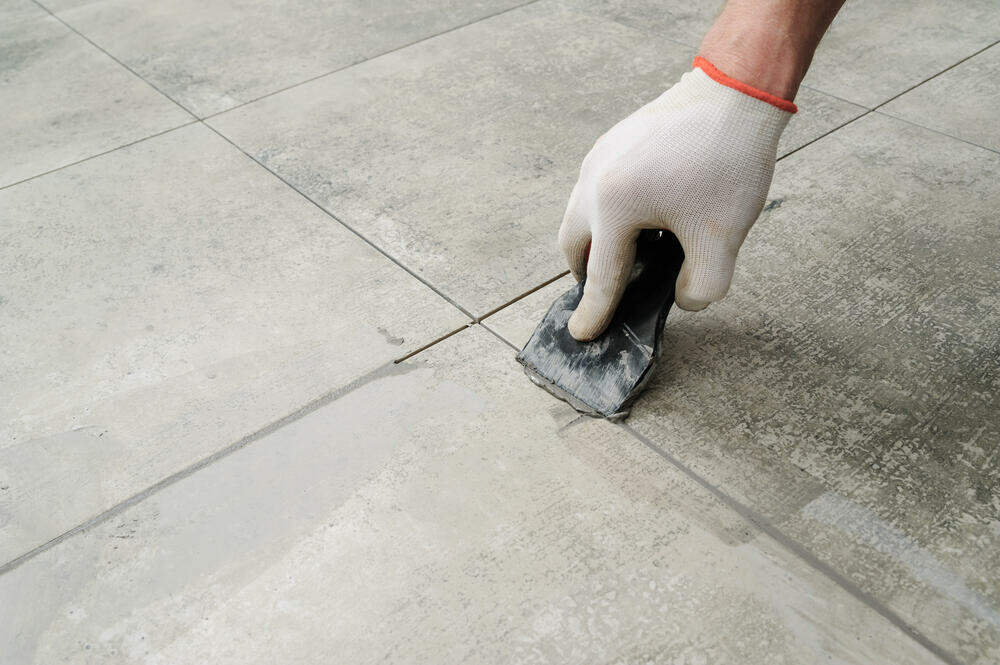
Finally, the last thing you need to do is apply the grout to the joints. You will need a grout float to do this. You can find a high-quality selection of grout floats on RUBI’s catalog.
Before applying the grout, make sure you’ve chosen a grout that is polymer fortified so that it’s extra strong. This will add to the waterproofing of the pool.
Mix the grout with as much water as is indicated in the manufacturer’s instructions. Remember that it will dry quickly, so only mix as much as you can apply within fifteen to twenty minutes. Otherwise, you’ll waste a lot of your grout.
Then use the flat end of your float to apply the grout in a thin layer over the tile. Turn your float, and use the edges of it to gently move the grout into the tile joints.
Repeat this process until the entire pool has grout. Then wait another 24 hours to let it set completely.
Get Ready to Install Pool Tile Today
As a professional, the only thing left for you to do now is practice. That’s the only way you’ll feel confident when you install pool tile.
And of course, you’re going to need the proper tools for the job. That’s why RUBI’s catalog has a wide selection of high-quality tools for whatever tile jobs you’re working on. It’s everything you need for every tile job all in one place.
Download the catalog today to get everything you need for your next tile job today.

can i have pool tile installed one or two rows down from the top in a 40 foot long fiberglass pool already installed?
What do you mean by rows? Fiberglass pools don’t have rows because the entire pool is made of a continuous material. That said, there shouldn’t be any issue with sticking tiles to the fiberglass. Just make sure that whatever adhesive you use won’t damage the fiberglass.